You’ve seen them everywhere — on Pinterest, on celebrities, on your favorite beauty creators. That soft, glowing, glass-like finish that makes nails look like they’ve been dipped in liquid pearl. Glazed donut nails are the most beautiful, most talked-about nail trend of the last two years — and the best part? You can achieve this dreamy look entirely at home, without a salon appointment and without spending a fortune.
This guide walks you through everything you need to know about how to do glazed donut nails at home, including the exact products, techniques, and pro tips to get that viral glass-like glow without going to a salon. Whether you’re a complete beginner or someone who’s tried and failed before, this tutorial has everything you need.
If you love glass-like nail finishes check out our guide on glazed jelly nails for another dreamy translucent look.
Table of Contents
What Are Glazed Donut Nails?
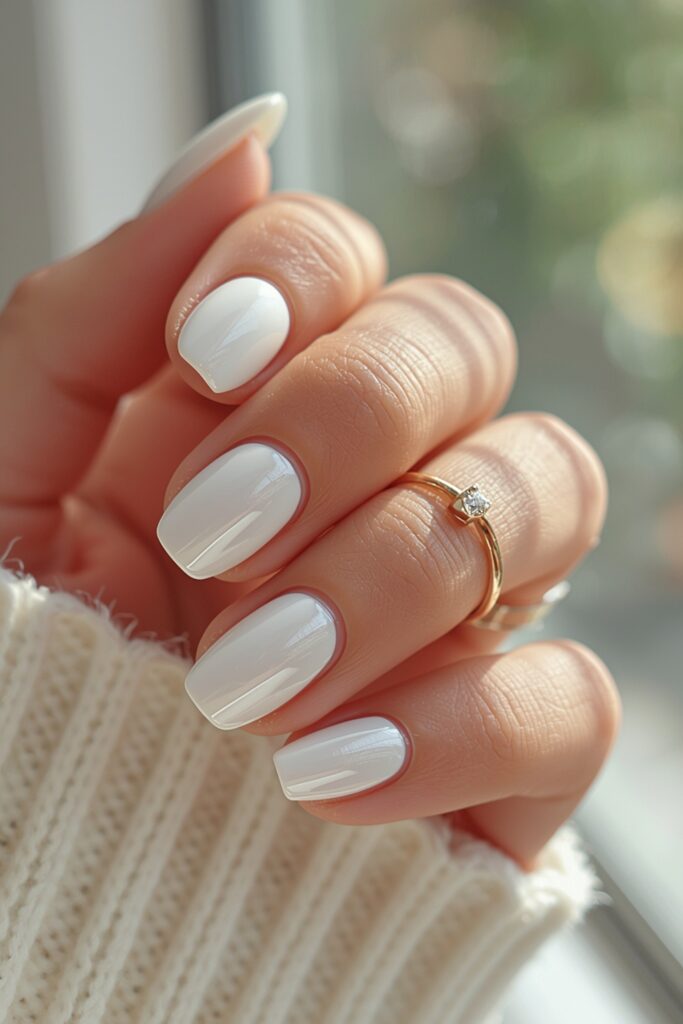
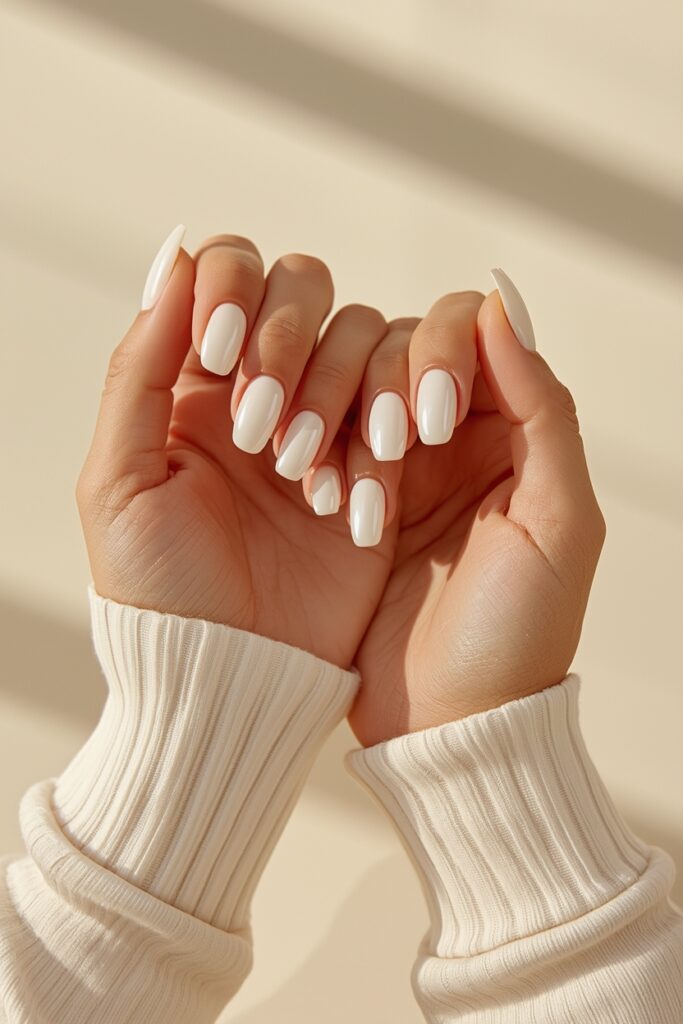
Glazed donut nails are characterized by an ultra-shiny, pearl-like, almost wet-looking glow on the nail surface. The name comes from the way the nails catch light — just like the glossy sugar glaze on a fresh donut. The trend was popularized by Hailey Bieber in 2022 and has never left. In 2026 it’s evolved into multiple variations — chrome glazed, milky glazed, pearl glazed, and colored glazed — but the core aesthetic remains the same. Soft. Luminous. Effortlessly expensive-looking.
What You Need to Do Glazed Donut Nails at Home
Before the steps, gather everything you need:
- Nail file and buffer (180/220 grit)
- Base coat (clear or ridge-filling)
- Sheer milky white or nude polish — OPI Bubble Bath, Essie Ballet Slippers
- Chrome powder in silver, rose gold, or pearl
- No-wipe gel top coat OR high-shine regular top coat
- Silicone applicator or eyeshadow sponge
- UV nail lamp (only if using gel)
- Cuticle oil
Step-by-Step: How to Do Glazed Donut Nails at Home
Follow this exact method if you want to master how to do glazed donut nails at home with a flawless, salon-quality finish.
Step 1 — Prep Your Nails Properly
Proper preparation is the single most important part of achieving a flawless glazed donut finish. Remove all old polish completely. Push back cuticles gently. File nails into your desired shape — oval and almond shapes look particularly beautiful with the glazed finish. Buff the surface lightly with a 220 grit buffer. Wash hands thoroughly to remove all dust.
Pro Tip: Never skip the buffing step. The glazed donut finish amplifies any surface imperfections — a smooth base is everything.
Step 2 — Apply Your Base Coat
Apply one thin, even layer of base coat to all nails. Let it dry completely — approximately 2 minutes. The base coat protects your natural nails from staining and gives your colored polish something to grip.
Step 3 — Apply Your Sheer Base Color
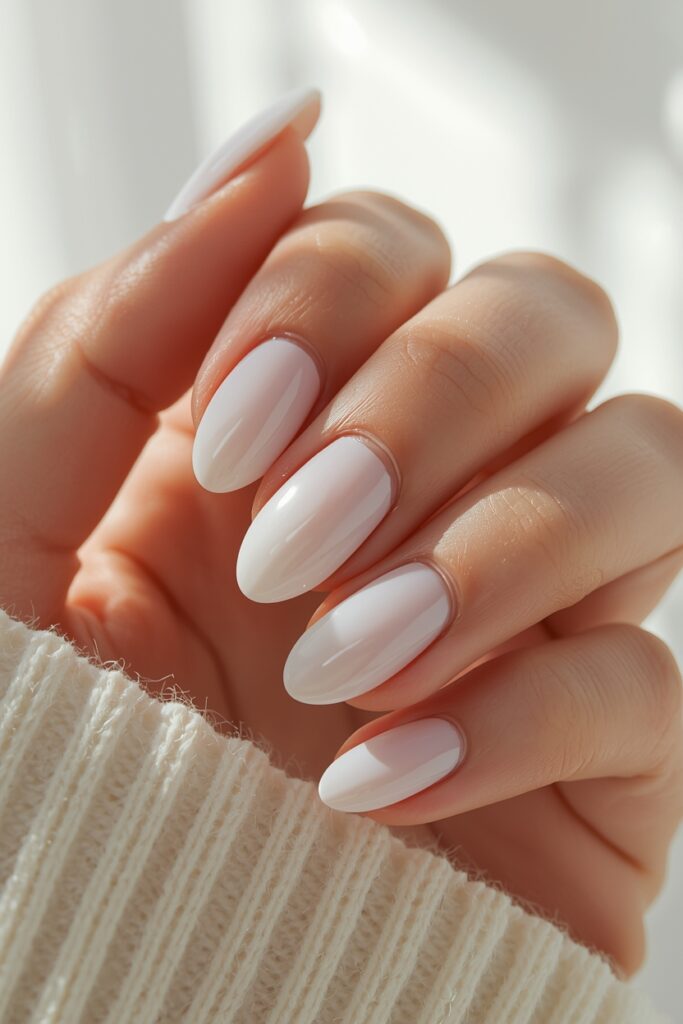
Apply 2 to 3 thin coats of your chosen sheer milky polish. The key word is thin — thick coats cause bubbling. Best sheer colors: milky white or cream (most classic), soft nude pink (warmer glow), pale lavender (dreamy ethereal), sheer peach (perfect for summer). The final result should be slightly translucent — this transparency creates the authentic glazed effect.
Pro Tip: Apply a satin finish top coat instead of high gloss on solid pastels for short square nails — it looks incredibly elevated and modern.
At this stage, you’re already halfway through learning how to do glazed donut nails at home, and the signature glow starts to come together.
Step 4 — Apply No-Wipe Top Coat
This is the step most tutorials skip — and it’s the most important one. Apply one layer of no-wipe gel top coat over your sheer base. If using gel, cure for exactly 60 seconds. Do NOT wipe the surface after curing — the sticky uncured layer is what makes the chrome powder adhere and create the mirror-like glow.
Pro Tip: Chrome powder only works on a tacky or uncured surface. If fully dry the powder will simply brush off.
Step 5 — Apply The Chrome Powder
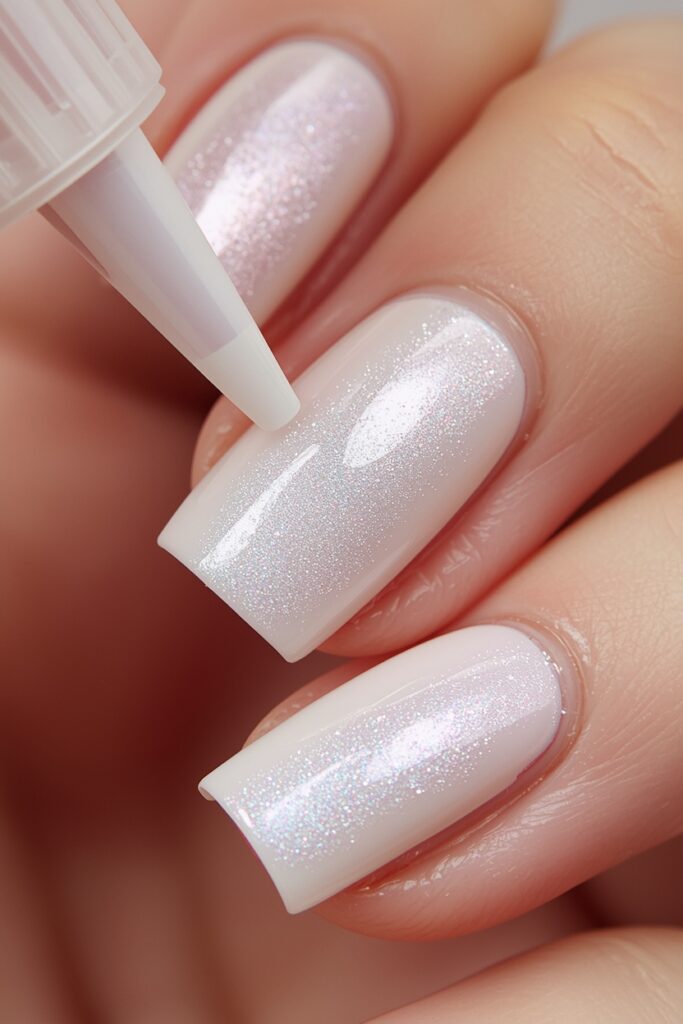
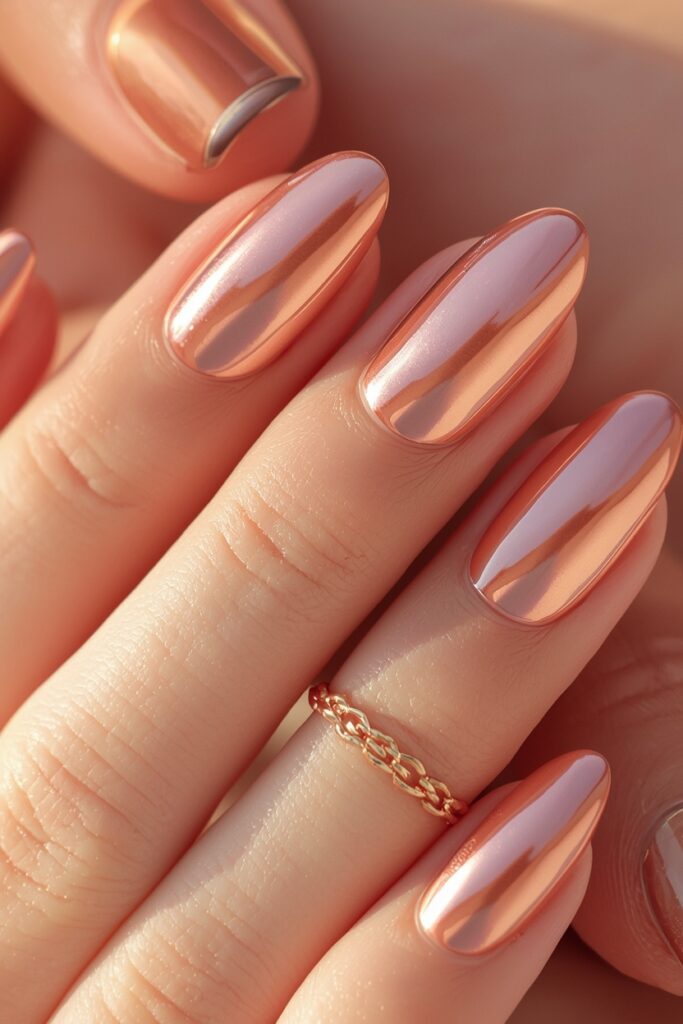
Dip your silicone applicator into your chrome powder — start with less than you think you need. Using small firm circular motions rub the chrome powder across the entire nail surface. Build up intensity by adding more powder and buffing until you reach your desired shine level. Silver chrome powder gives the classic ice queen finish. Rose gold gives warm romantic glow. Pearl white gives the most authentic Hailey Bieber original look. Holographic gives a rainbow-shifting effect.
Step 6 — Seal With Final Top Coat
Apply one more layer of no-wipe gel top coat over the chrome powder and cure for 60 seconds. This seals the chrome permanently. Apply cuticle oil generously around each nail and massage in for a polished salon-quality finish.
Step 7 — Maintenance Tips
Apply fresh top coat every 2–3 days to maintain shine. Wear gloves when washing dishes. Apply cuticle oil daily. With proper care your glazed donut nails should last 7–10 days on natural nails and up to 3 weeks with gel products.
Common Mistakes to Avoid
- Applying thick coats — always thin coats
- Skipping the no-wipe top coat — regular top coat dries too fully for chrome to adhere
- Using too much chrome powder — a little goes a very long way
- Rushing between steps — each layer needs to dry fully
- Ignoring nail prep — uneven oily nails cause lifting and peeling
Glazed Donut Nails Variations to Try
Once you’ve mastered the basic look explore these beautiful variations: Colored glazed donut nails (chrome technique over a pastel base), Glazed jelly nails (translucent jelly polish base for even more glass-like depth), Double chrome glazed nails (two different chrome powders for a duochrome effect), Glazed French tip nails (chrome only on the tip area). For more sheer nail styles check out our milky nails guide.
For summer variations of the glazed finish, our glazed donut nails summer 2026 covers warm-weather colors worth trying next.
Final Thoughts
Now that you know exactly how to do glazed donut nails at home, you can recreate this viral trend anytime without salon visits. Once you practice the technique, doing glazed donut nails at home becomes quick, affordable, and incredibly satisfying. With the right products, the right technique, and a little patience you can achieve a finish that looks completely professional from your own home. Save this guide for your next nail day and tag us on Pinterest when you recreate the look — we want to see your glazed donut nails.
Products You Need for Glazed Donut Nails at Home
Getting the glazed donut nail effect at home requires specific products — not an extensive or expensive kit, but a targeted selection where each element serves a specific function in the final result. Here’s exactly what you need and why each item matters.
Gel base coat: Any professional gel base coat works — OPI Base Coat, Gelish Foundation, or your gel kit’s included base. The base coat creates the adhesion layer that keeps the gel on the nail and prevents the chrome powder from having direct contact with the natural nail. Apply thin, cure fully.
Sheer milky gel color: The characteristic glazed donut nail base color. Look for polishes labeled “sheer,” “jelly,” or “milk” — formulas that are translucent at one coat and buildable. Beetle Gel, Modelones, and Gellen all make dedicated glazed donut nail base shades. The milky white-to-cream range is the most accurate to the original look; sheer pink and sheer coral are popular seasonal variations for glazed donut nails in 2026.
Chrome powder: The element that creates the glazed donut nail finish. Pearl chrome or aurora chrome (color-shifting pink-to-white-to-gold) is the most authentic choice for glazed donut nails. Buy from a nail art supply store rather than a beauty retailer — the fine-particle chrome powders sold by nail supply brands ($5–$12) produce significantly better glazed donut nail results than coarser formulas sold in beauty packaging.
Silicone applicator finger: Included with most chrome powder kits. The soft silicone tip applies the chrome powder to the sticky gel surface in circular motions that spread it evenly and build the glazed donut nail finish without creating streaks. Do not substitute a brush or sponge — both leave marks in the chrome layer that undermine the mirror-smooth glazed donut nail effect.
No-wipe gel top coat: Critical for sealing the glazed donut nail chrome layer. A standard wipe-off top coat removes a significant amount of chrome powder when you wipe the inhibition layer — the no-wipe formula cures without a sticky surface, sealing the chrome completely without disturbing it. OPI GelColor No-Cleanse Top Coat, Modelones No Wipe Top Coat, and Gelish Top It Off are all reliable options for sealing glazed donut nails at home.
UV/LED lamp: A minimum of 36W for reliable gel curing. Lamps below this wattage may leave gel layers partially uncured, which causes premature lifting and reduces glazed donut nail longevity significantly. Any 36W+ LED lamp from a reputable nail supply brand will work.
Step-by-Step: Glazed Donut Nails at Home
Follow this sequence exactly for the best glazed donut nail result at home. The order matters — skipping or reordering steps produces noticeably worse results.
Step 1 — Prep: Clean nails with pure acetone on a lint-free pad to remove all oils and residue. Push cuticles back. Lightly buff the nail surface to create micro-abrasion for better adhesion. Wipe again with acetone and allow to dry completely. Do not touch the nail surface with fingers after this point — skin oils are the primary cause of glazed donut nail lifting at the cuticle.
Step 2 — Base coat: Apply a thin layer of gel base coat, keeping clear of the cuticle and side walls. Cure 30–60 seconds under LED.
Step 3 — Milky color: Apply two to three thin coats of your sheer milky gel color, curing each coat fully. The glazed donut nail base color should be buildable — start lighter and add coats until you reach the desired opacity. Thinner coats cure more evenly and produce a smoother glazed donut nail surface than thick single applications.
Step 4 — Chrome application: After the final color coat cures, do NOT apply top coat yet. The sticky (inhibition layer) surface of the cured gel is what the chrome powder adheres to. Use your silicone applicator to rub chrome powder in small circular motions across the nail surface. Apply moderate pressure and work from the center outward. The glazed donut nail finish builds with each pass — typically 5–10 seconds of rubbing per nail achieves full coverage.
Step 5 — Seal: Apply no-wipe top coat over the chrome layer without disturbing it. The top coat brush should glide over the chrome rather than dragging. Cure fully under LED. Do not wipe. The glazed donut nail is complete — the chrome is now sealed and protected for the full gel wear cycle.
Glazed Donut Nails at Home — FAQ
Why does my glazed donut nail chrome look dull?
The most common cause of dull glazed donut nail chrome is insufficient inhibition layer on the gel surface. If you accidentally cured the color coat with a no-wipe top coat before applying chrome, there’s no sticky surface for the powder to adhere to. Always apply chrome to the raw sticky surface of cured regular gel, never over a no-wipe top coat.
Can I do glazed donut nails without a UV lamp?
Not with gel — gel requires UV/LED curing and cannot be done without a lamp. Air-dry alternatives using regular polish and chrome eyeshadow powder can mimic the glazed donut nail effect at very low intensity, but the result is significantly less durable and luminous than proper gel glazed donut nails.
How do I remove glazed donut nails at home?
Standard gel soak-off removal: soak cotton pads in acetone, place on each nail, wrap tightly in foil, and wait 10–15 minutes. The gel and chrome come off together. Never scrape or force the removal — this takes natural nail with it. Patient soak-off keeps nails healthy for the next set of glazed donut nails.
Glazed donut nails at home are one of the most rewarding nail skills to develop — the gap between a first attempt and a polished result is typically just two or three practice sessions. Once you understand the prep, the chrome application pressure, and the no-wipe top coat sealing step, you can produce glazed donut nails at home that are genuinely indistinguishable from salon work in photographs and in person. The initial kit investment pays off within the first two applications compared to salon pricing, and the technique transfers to other chrome and glass nail trends, making it one of the most versatile skills in your at-home nail repertoire. In 2026, glazed donut nails remain one of the most-requested and most-loved nail aesthetics — and doing them at home gives you the flexibility to rotate through seasonal color variations without the recurring salon cost.
The right nail look is always the one that suits your lifestyle, skin tone, and personal style — executed as well as possible and maintained consistently. That combination of intentionality and care is what separates nails that get compliments from nails that simply exist. In 2026, the full range of techniques, products, and aesthetic directions makes that goal more achievable than ever, regardless of your starting point, budget, or experience level.