Syrup nails are the one 2026 manicure trend you can still claim before everyone else catches on. While jelly nails and glazed donut nails spent the last two years going mainstream, this glossy, fruit-toned style has been quietly building momentum on Korean and Japanese nail accounts, and it’s only now crossing over into the West. If you want a manicure that looks expensive and glassy without a single rhinestone or chrome powder in sight, this is the trend to learn right now.
In this guide, you’ll learn exactly what the style is, why it’s different from glazed jelly nails and regular sheer polish, the best colors for every skin tone, how to recreate syrup nails at home or in the salon, and how to make it last. We’ve also included a full FAQ section answering the most common questions people are searching this season.
What Are Syrup Nails?
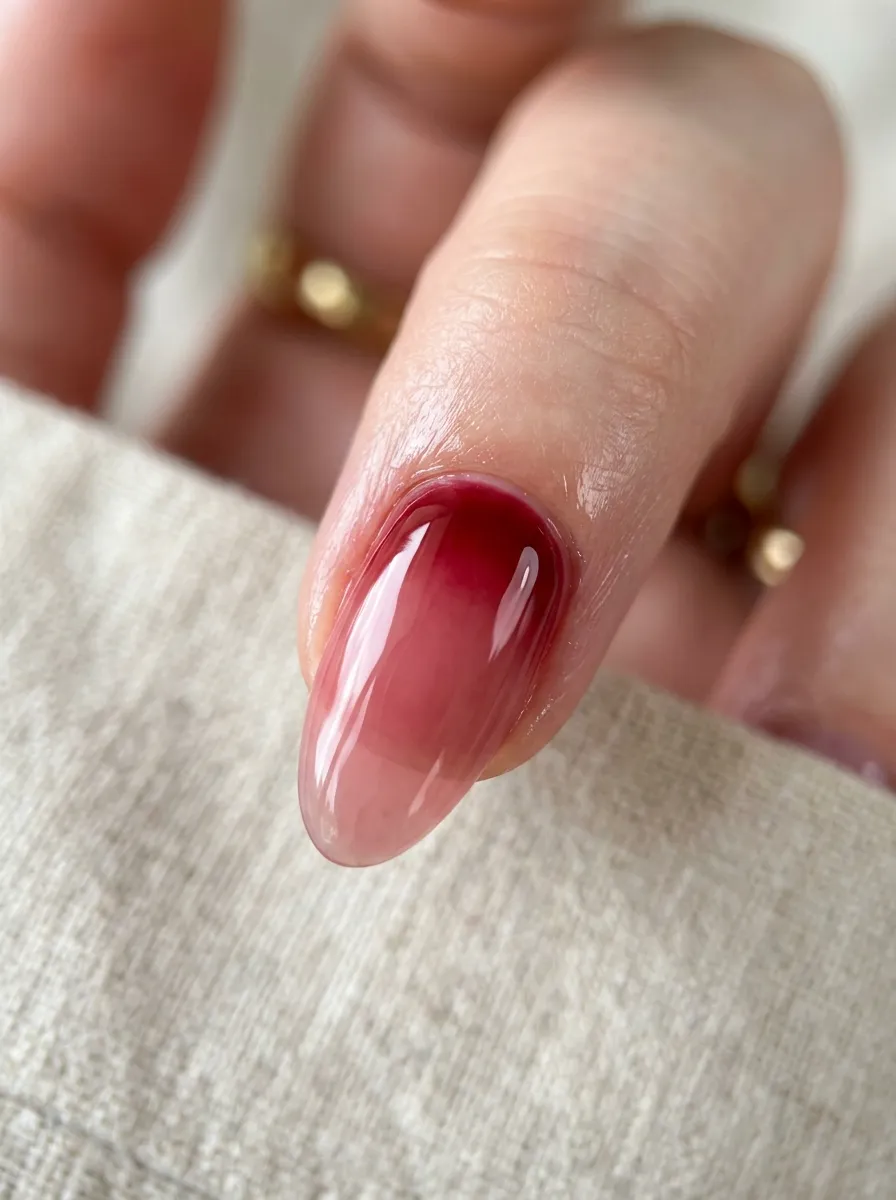
Syrup nails are a translucent, high-gloss manicure style built from thin, layered washes of sheer color that mimic the way fruit syrup looks when it drips and pools — glassy, saturated at the edges, and slightly lighter toward the center. Instead of one flat coat of opaque polish, syrup nails are created by applying two or three thin layers of a sheer jelly-finish polish or gel, letting the natural nail bed show through for depth.
The name comes directly from the visual effect: nails that look like they’ve been dipped in raspberry, cherry, or tangerine syrup. The finish is wet-looking, glossy, and almost edible, which is part of why syrup nails have spread so fast on social media. Unlike a standard manicure, it changes in intensity depending on how many coats are applied and how the light hits, giving each set a slightly different look from every angle.
Why This Trend Is Everywhere Right Now
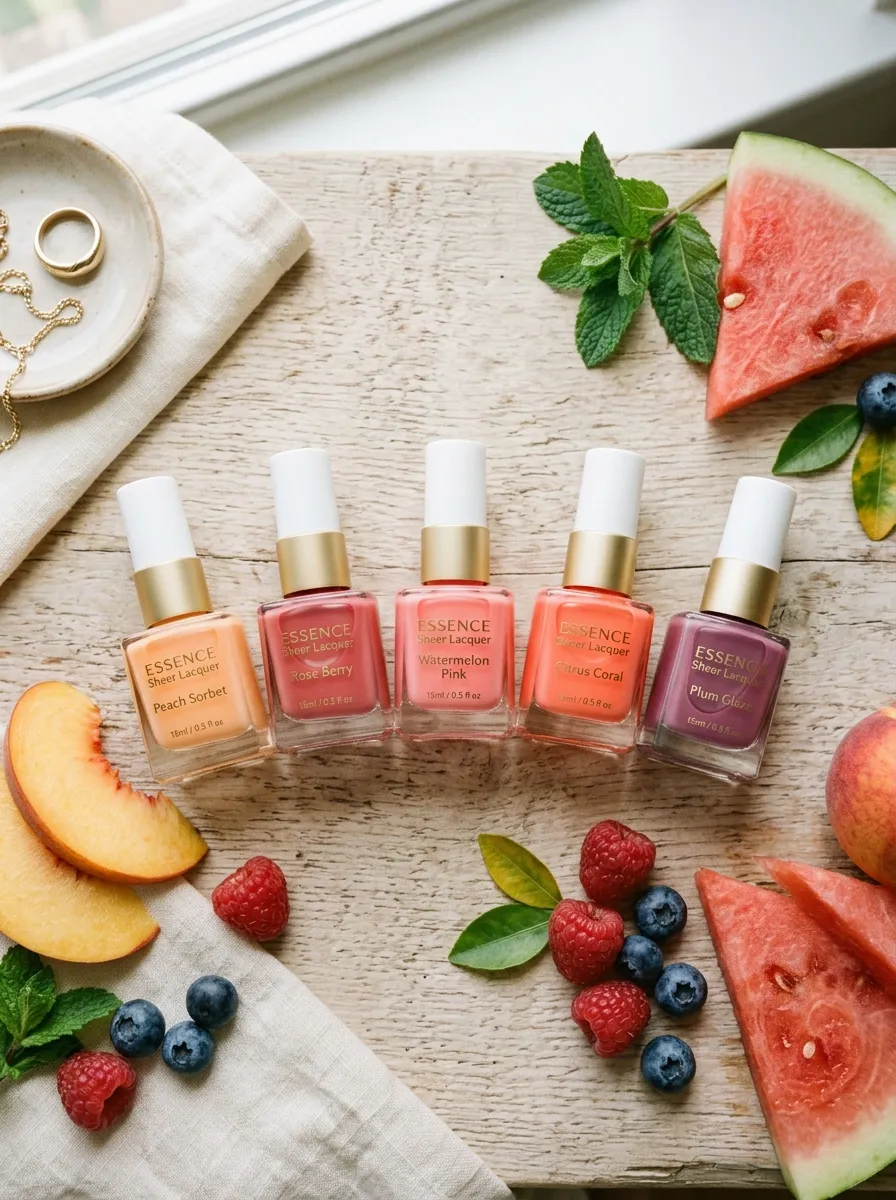
This style sits at the intersection of two manicure movements that have been building for several seasons: the rise of sheer, jelly-finish polish, and a broader shift away from heavily decorated nail art toward simpler, color-driven looks. Industry experts have pointed to a surge coming out of the Asian nail market, where translucent jelly finishes have been popular for longer, and the aesthetic is now spreading into Western salons and DIY routines.
Part of the appeal is how low-effort it feels despite looking polished. There’s no nail art skill required, no rhinestones to place, and no chrome powder to burnish. You just need patience for thin, even coats. That accessibility, combined with a finish that photographs beautifully, is exactly why syrup nails are showing up everywhere from salon menus to nail polish brand launches this year.
It also helps that the technique is genuinely versatile. The same method works on short nails, almond nails, and long extensions, and it transitions easily from a casual daytime look to something a little more elevated for evening, which is rare for a single manicure trend.
Search interest tells the same story. Pinterest has flagged this gourmand, jelly-adjacent aesthetic as one of the fastest-rising manicure searches of the season, and most of what currently ranks for it is scattered pin boards rather than a single, complete guide — which is exactly the gap this post is built to fill.
Syrup Nails vs. Glazed Jelly Nails vs. Chrome Nails
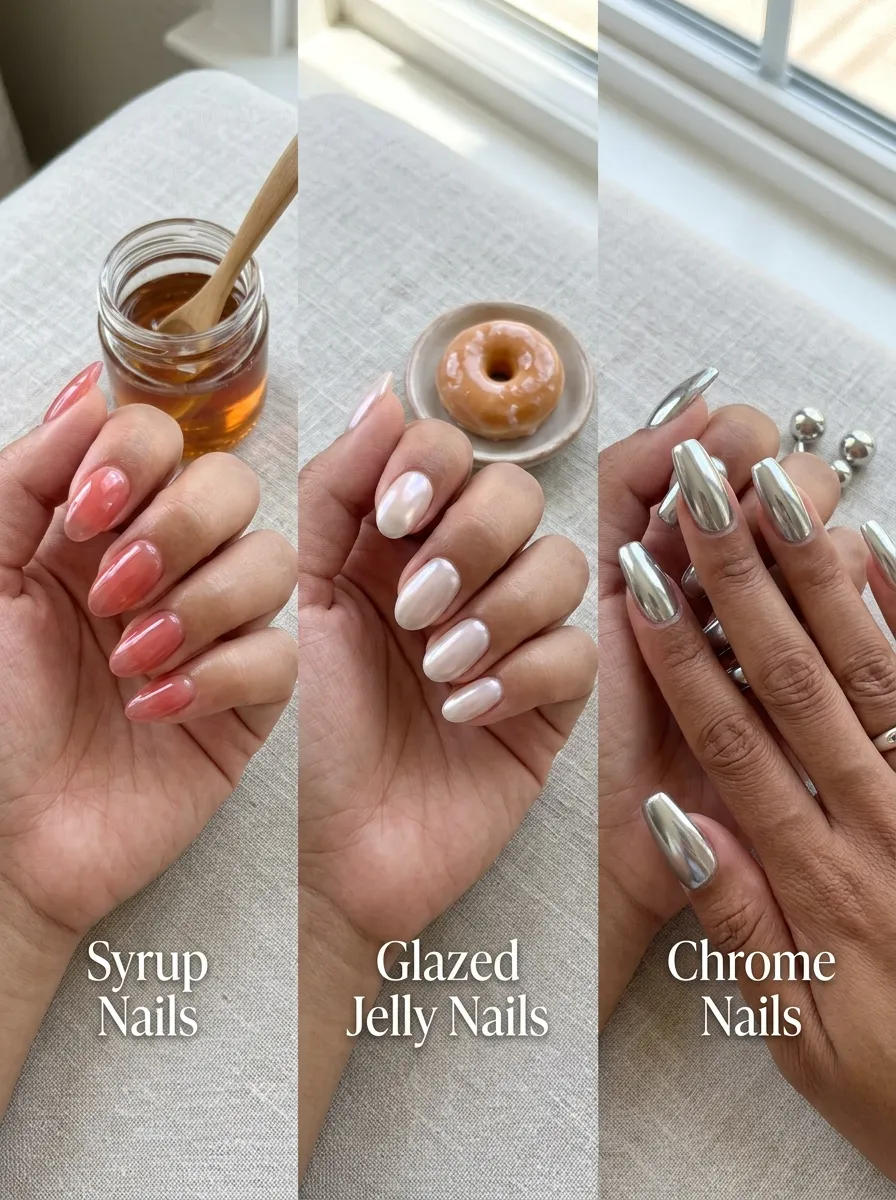
Because this look shares DNA with a few other translucent trends, it’s easy to confuse them. Here’s the simplest way to tell them apart.
Syrup Nails
Built from sheer, saturated color in fruit-inspired tones like raspberry, cherry, and tangerine. The finish is glossy and warm, with color that pools and deepens at the cuticle and tip, similar to actual syrup.
Glazed Jelly Nails
A cooler, more iridescent cousin of the trend. This style combines a sheer jelly base with a shimmering chrome or aurora powder layered on top, creating a holographic, almost metallic shine rather than a pure color wash. If you’ve already tried glazed jelly nails, syrup nails are the next logical step toward something warmer and more color-forward.
Chrome Nails
Chrome nails are opaque or near-opaque with a mirror-like metallic finish. There’s no translucency and no visible nail bed underneath, which is the opposite of what makes syrup nails work.
Best Syrup Nail Colors
The strength of this manicure style is that the color story is built entirely around fruit and dessert-inspired shades. Here are the syrup nail colors worth trying this season.
Raspberry Pink
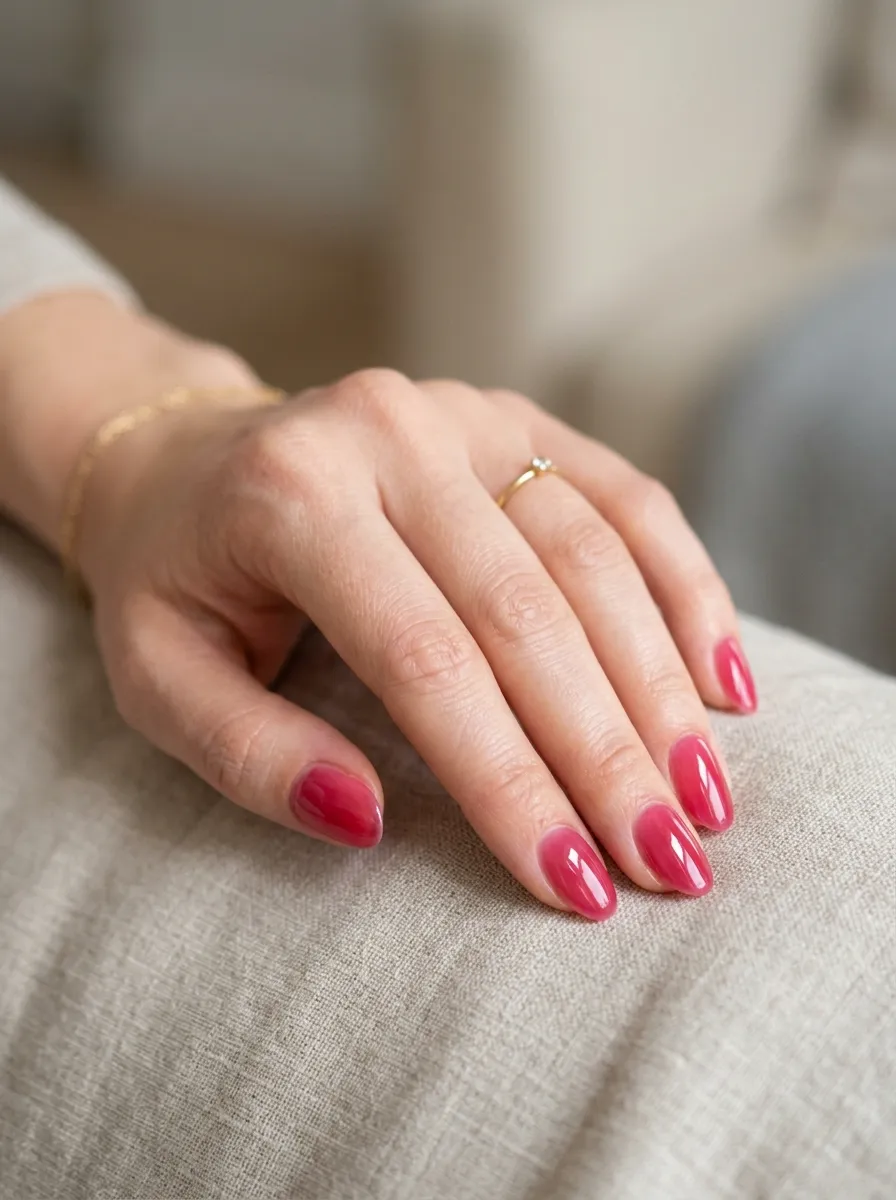
The most popular shade by far. A cool-toned, slightly berry pink that reads as flattering on almost every skin tone and pairs perfectly with gold jewelry.
Tangerine Orange
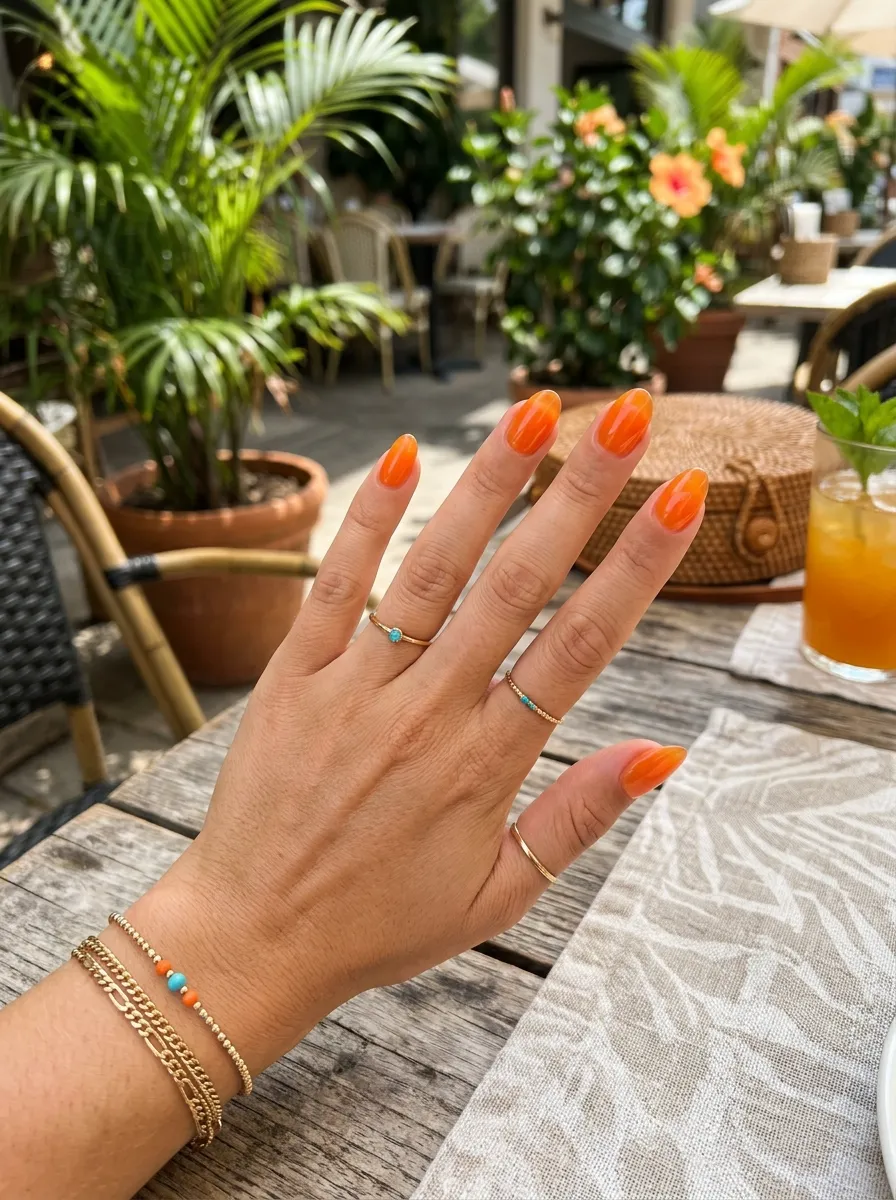
A warm, citrus-bright shade that feels especially right for summer. It’s bold without being overpowering because the sheer application keeps it light.
Cherry Red
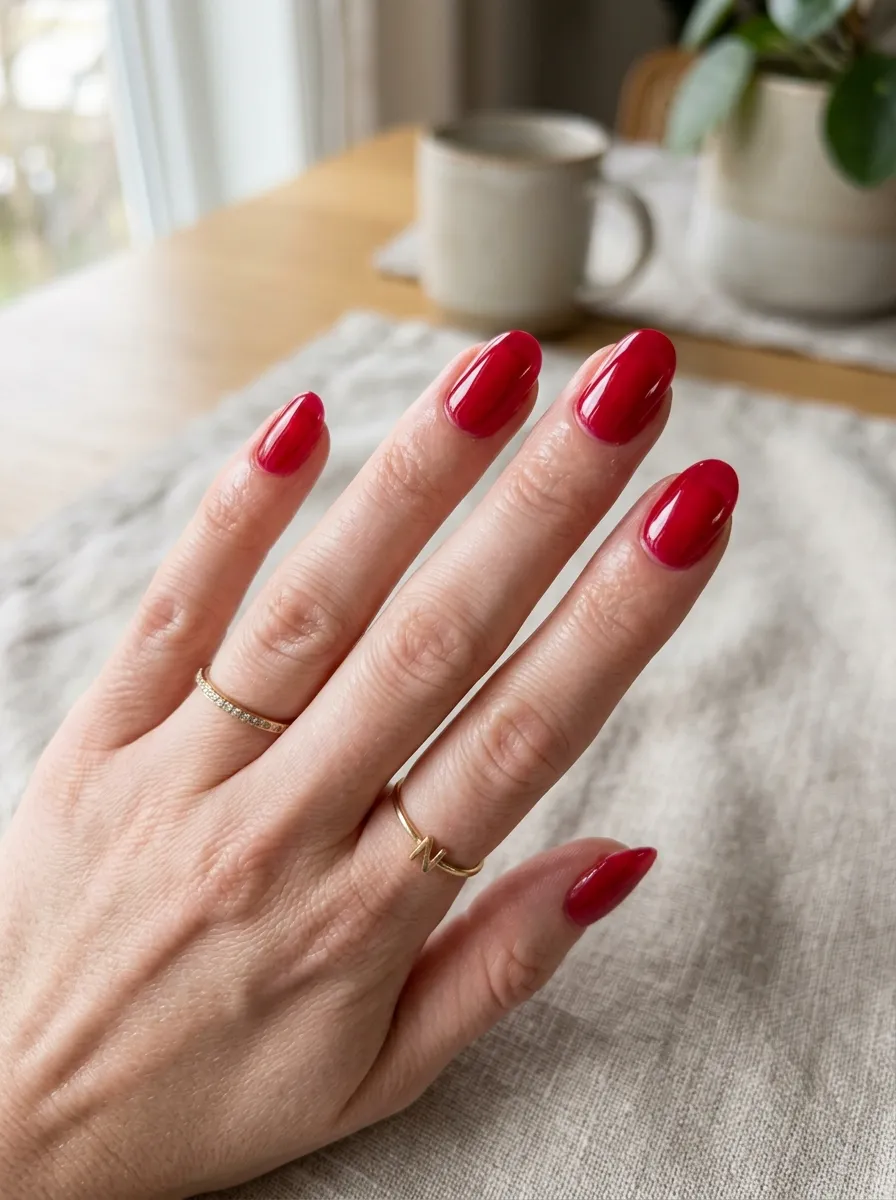
A deeper, richer take on syrup nails that works year-round. This shade is glossy and a little vampy without the heaviness of a fully opaque red manicure.
Blackcurrant Violet
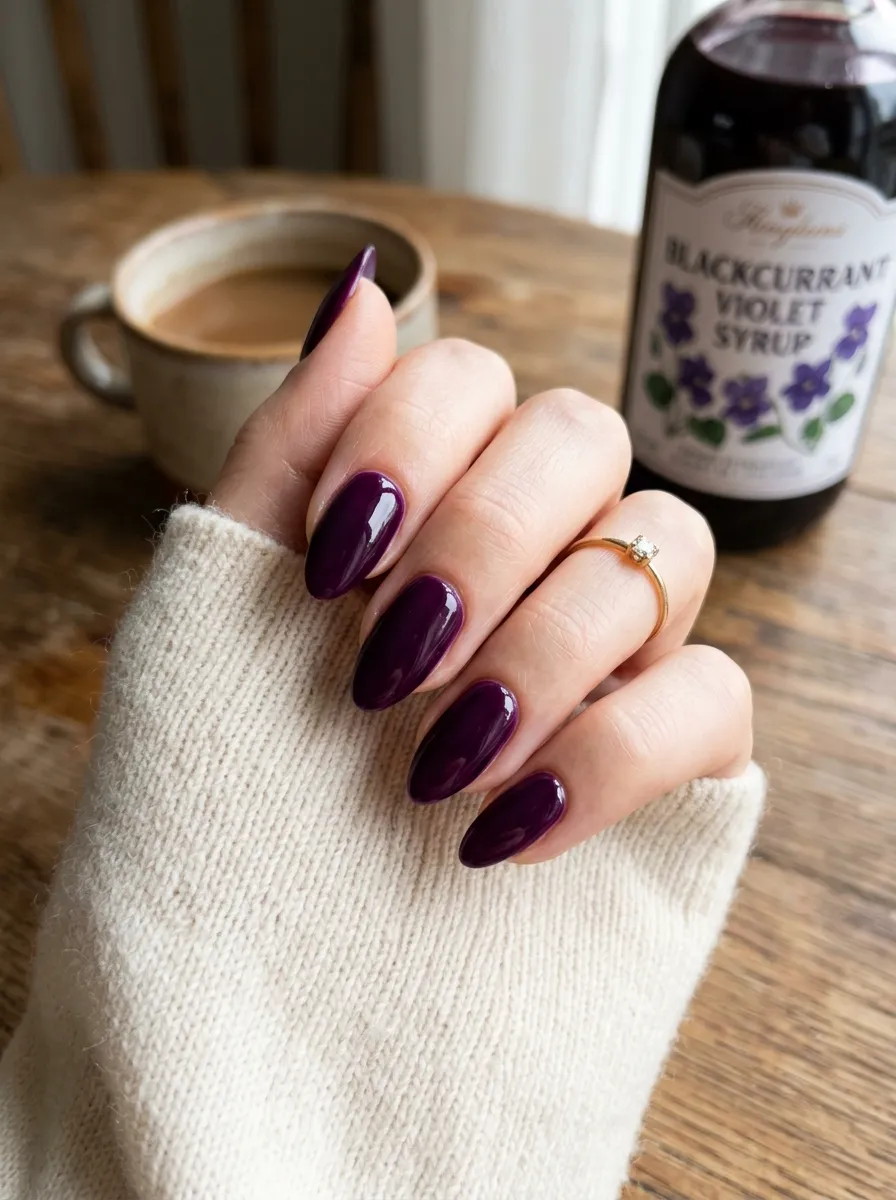
A moodier option for anyone who wants the same glassy finish with more depth. This shade leans into the dessert-inspired side of the trend and looks especially good on longer nail shapes.
Lemon Yellow
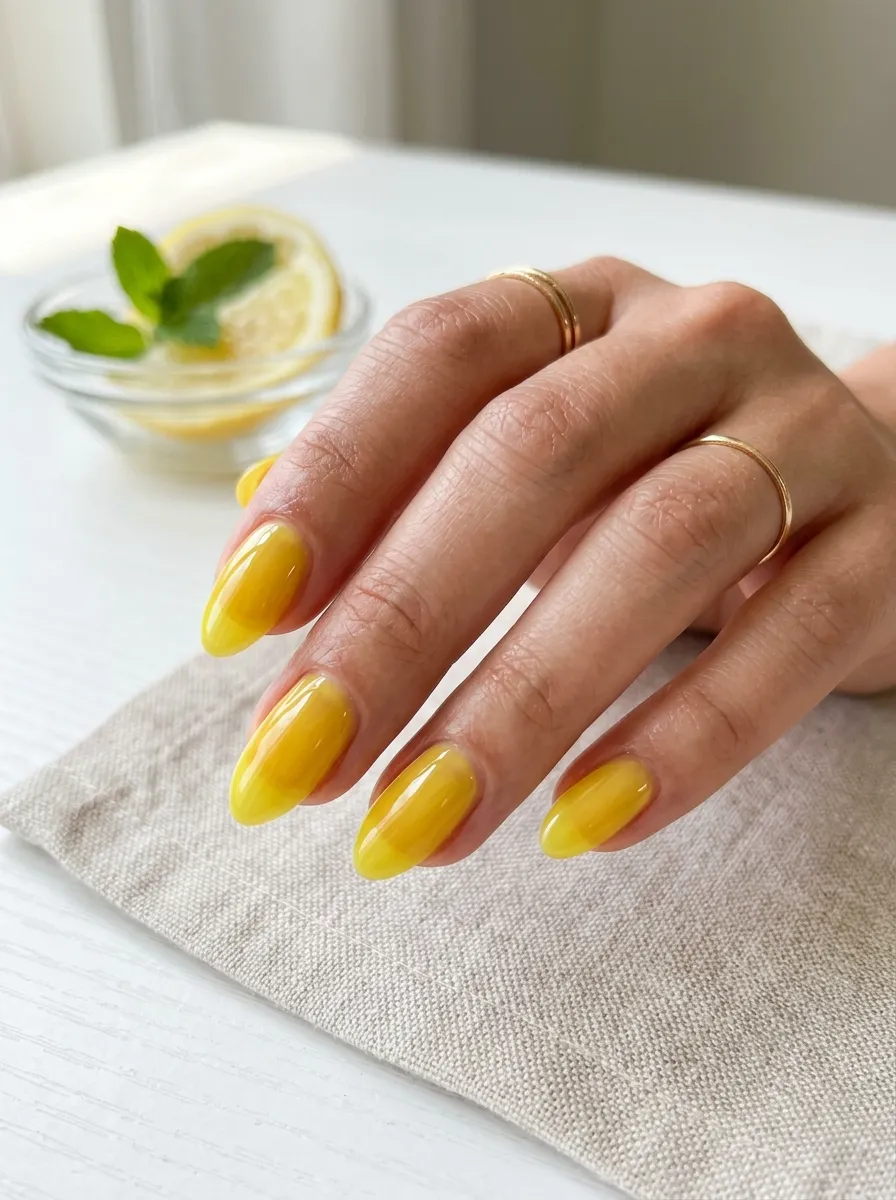
The brightest and most playful of the bunch. Best applied in very thin layers, since yellow polish tends to look streaky if built up too quickly.
Milky Pink
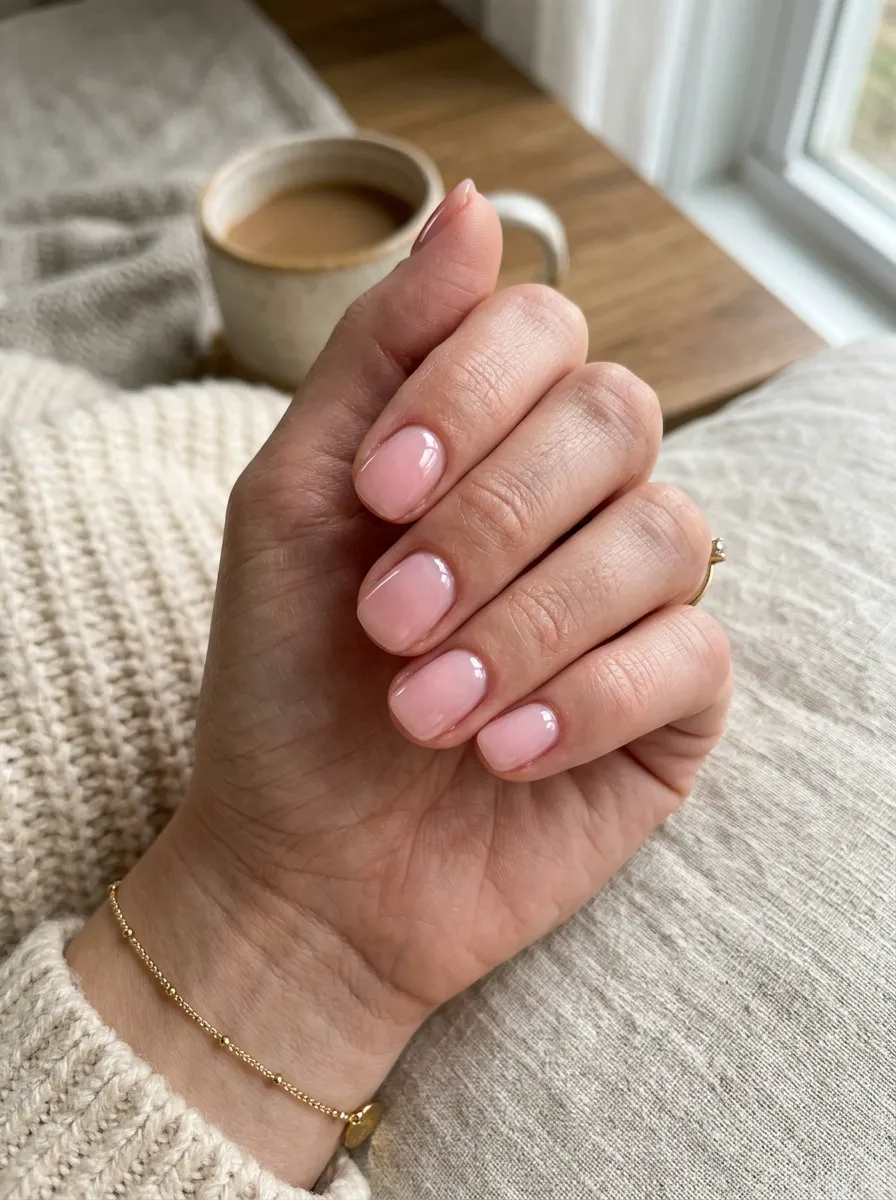
A softer, more muted version that blends the syrup technique with a milky, your-nails-but-better base. This is the easiest entry point if you want to try the trend somewhere office-appropriate.
How to Get the Look
You don’t need professional equipment to recreate this manicure trend at home, but the technique does reward patience. Here’s the basic process nail artists use to achieve the effect.
Step 1: Start With a Clean, Buffed Base
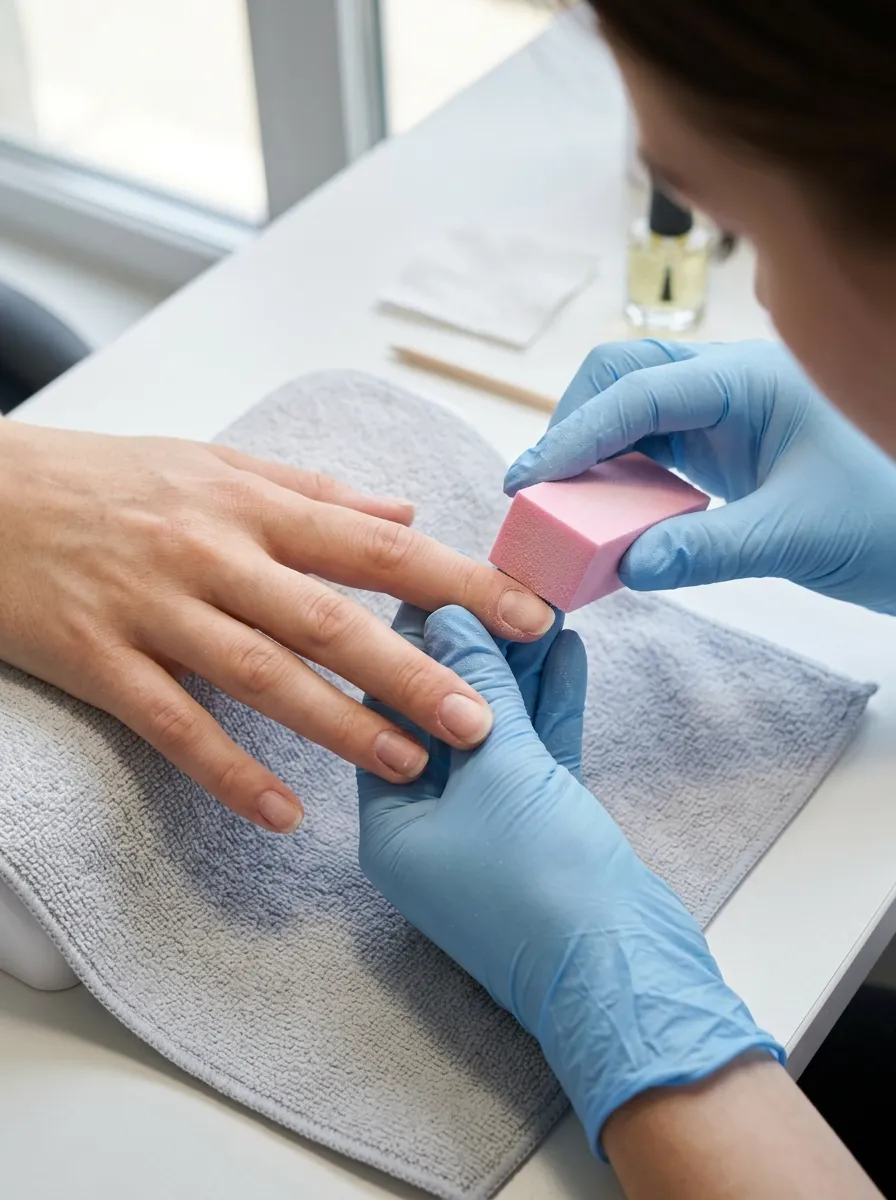
Push back cuticles, lightly buff the nail surface, and apply a base coat. A smooth, even canvas is essential because every layer of sheer color will show any texture underneath.
Step 2: Choose a Jelly or Gel-Effect Formula
Look specifically for polishes labeled “jelly,” “syrup,” or “sheer gel-effect.” These formulas are designed to stay translucent even after several coats, unlike standard cream polishes that go opaque quickly.
Step 3: Apply Thin, Even Coats
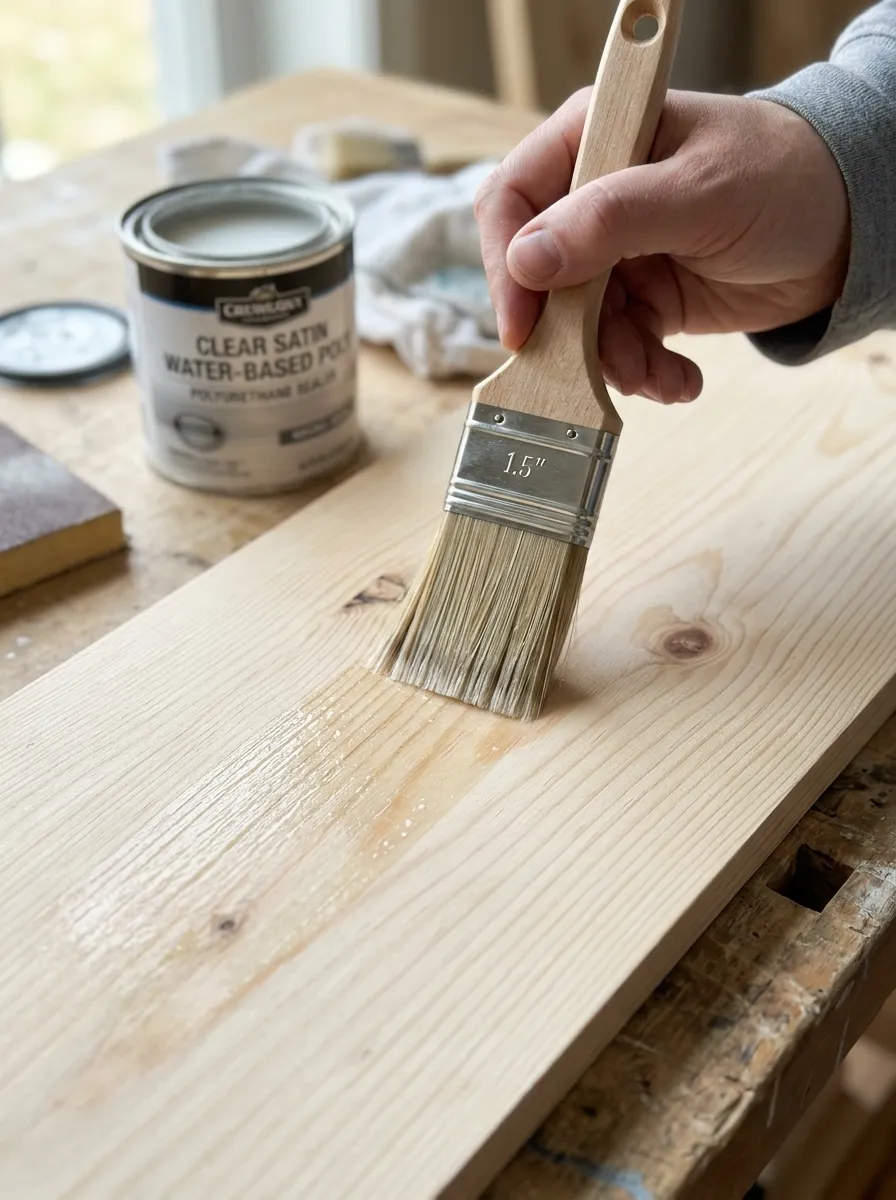
This is the step most people get wrong. Apply one very thin layer, let it dry fully, then assess. Most syrup nail looks need two to three coats total. Applying too much product at once kills the translucency that makes the trend work.
Step 4: Build Color Gradually at the Cuticle and Tip
For the classic “dripping” effect, apply a slightly heavier touch of color near the cuticle and let it taper toward the center, mimicking the way liquid pools.
Step 5: Seal With a High-Shine Top Coat
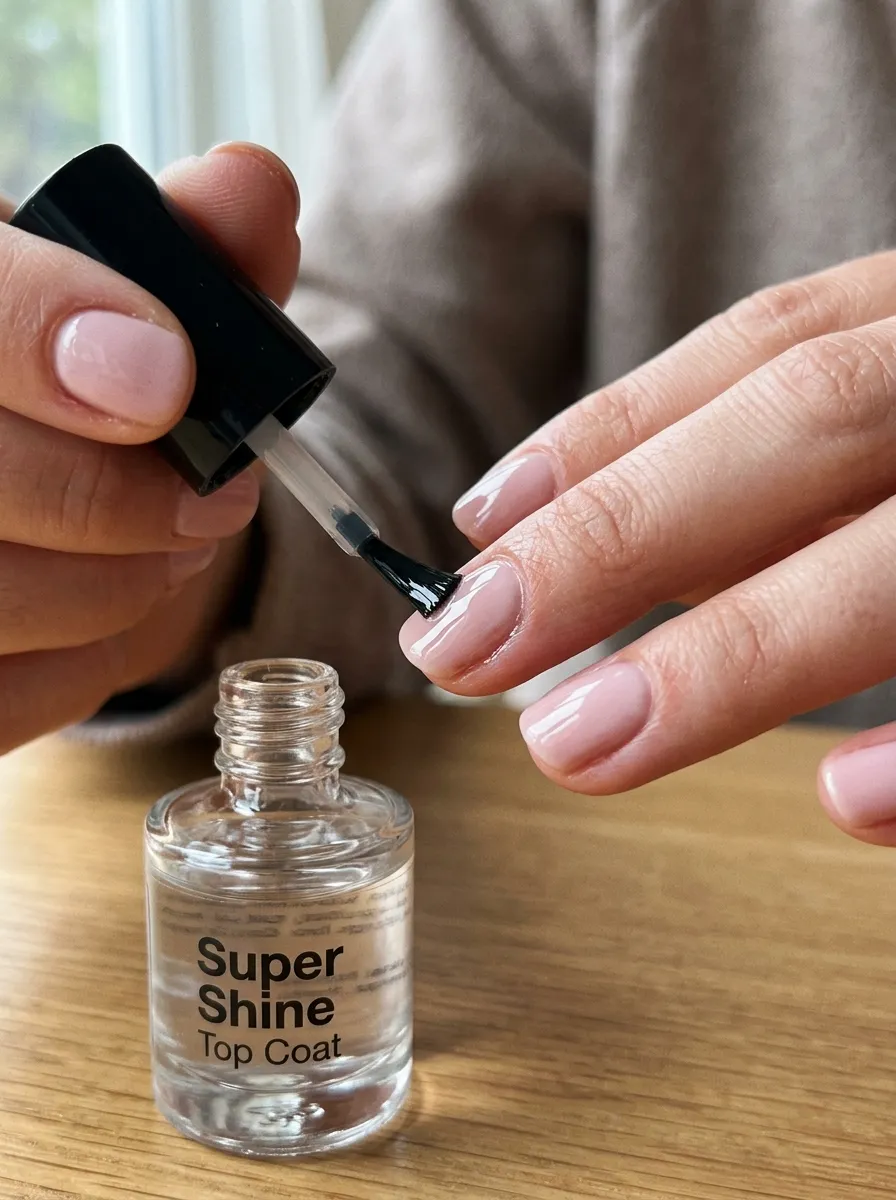
A glossy, non-yellowing top coat is non-negotiable for this look. The wet, glassy finish is half the trend, so skipping a quality top coat will flatten the entire effect.
Salon vs. DIY: Which Should You Choose?
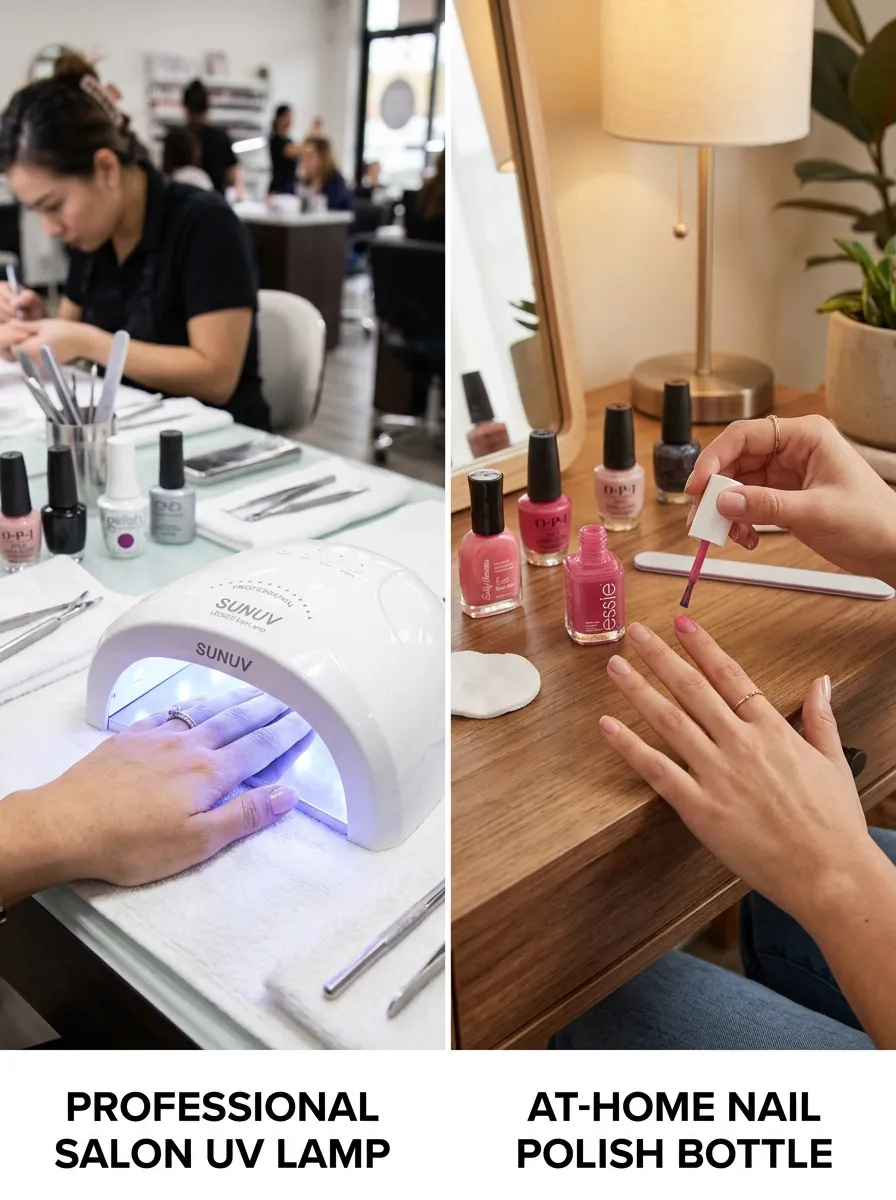
Whether to book a salon appointment or attempt syrup nails yourself depends mostly on the formula you want. A gel version requires UV curing between layers, which dermatologists recommend doing in moderation and lasts considerably longer, which usually means a salon visit unless you already own an at-home gel lamp. A regular jelly polish version is fully DIY-friendly and only requires patience with thin coats. If this is your first time trying syrup nails, doing one hand at home as a trial before committing to a full gel set at the salon is a low-risk way to see whether the color and finish suit you.
Choosing the Right Shape and Length
One reason syrup nails have spread so quickly is that the technique adapts to nearly any nail shape or length.
Short Nails
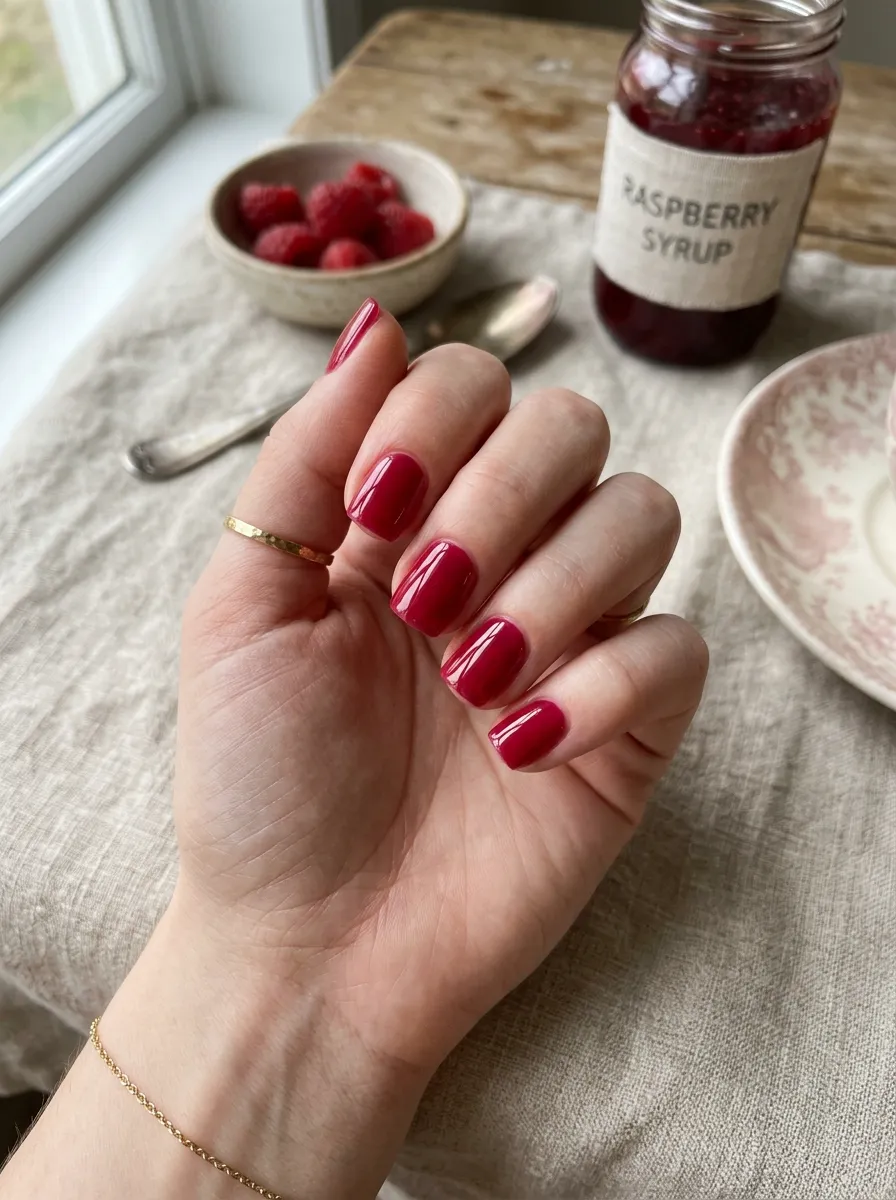
On shorter nails, the syrup effect reads as clean and minimal rather than statement-making. This pairs especially well with the short square nail shape that’s already dominating this season.
Almond Nails
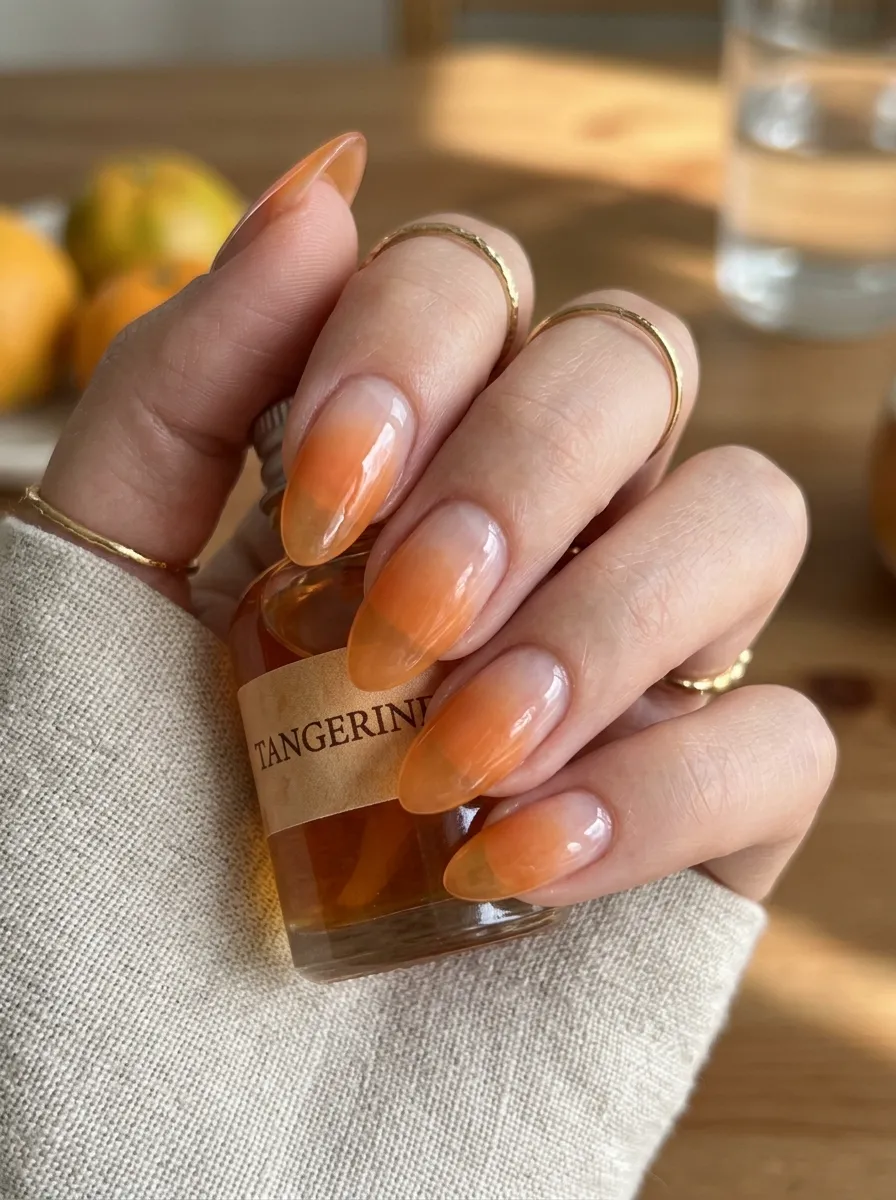
The tapered tip of an almond shape gives the gradient more room to “pool” near the cuticle, which makes the effect look more dramatic.
Long Nails
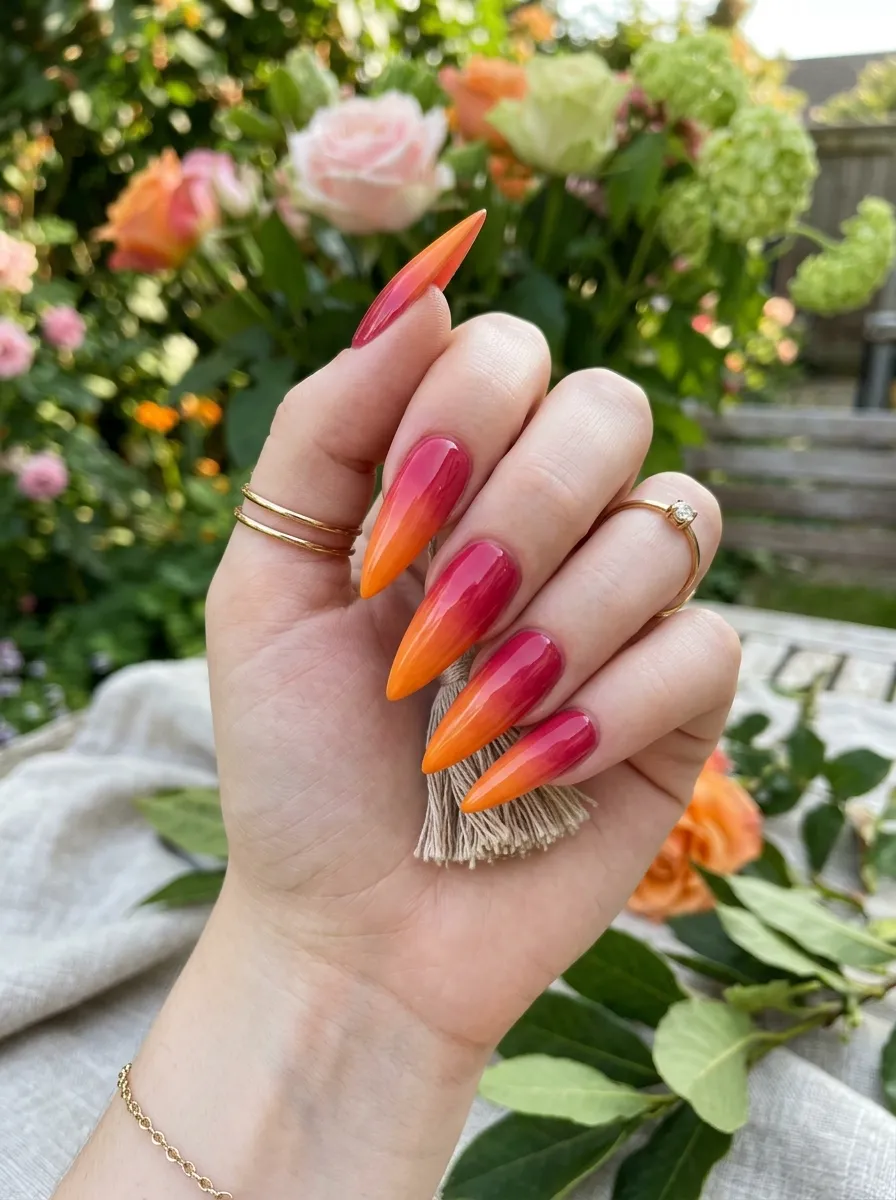
On longer extensions, syrup nails can be layered with subtle ombré transitions between two complementary shades, like raspberry fading into tangerine.
Styling the Look for Every Occasion
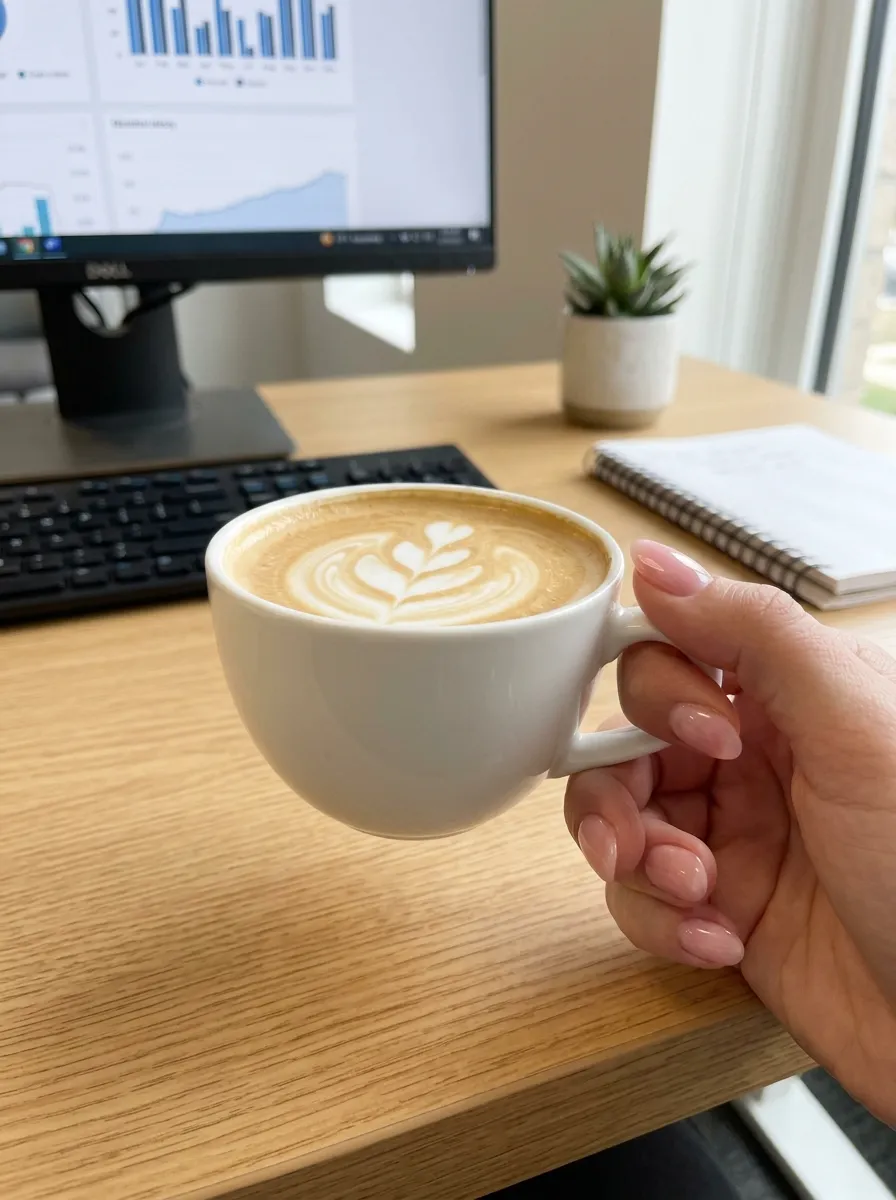
This manicure style is flexible enough to work across very different settings, which is part of what makes it worth investing in rather than treating as a one-week experiment.
For the office, a milky pink or soft raspberry version reads as polished and professional. For weekends and casual outfits, tangerine or cherry red adds a pop of color without looking try-hard. If you’re searching for something with more shimmer for an evening look, the sheer base pairs well as a foundation under a single accent nail finished with techniques used for mermaid nails or a soft aurora topper. And if you’re drawn to the broader translucent-nail movement, this aesthetic sits alongside trends like pearl nails and Korean-inspired sheer manicures as part of the same minimal-but-elevated look shaping 2026.
How Long Does the Look Last?
If applied with a gel-effect or true gel formula and cured properly, syrup nails last as long as any standard gel manicure — typically two to three weeks before noticeable regrowth. If you’re using regular jelly-finish nail polish rather than gel, expect a shorter wear time of five to seven days before chipping, since the durability gap between gel and regular polish is well documented starts to show, since sheer polish formulas are often thinner and more delicate than fully pigmented ones.
Maintenance Tips
Because this style relies on translucency, scuffs and chips are more visible than they would be on an opaque manicure. A few habits help it last:
- Apply a fresh layer of top coat every four to five days to keep the glossy, wet finish intact.
- Avoid harsh soaps and prolonged water exposure in the first 24 hours after application, since jelly formulas can take longer to fully cure than cream polish.
- Wear gloves for cleaning or dishwashing — sheer finishes show wear from cuticle oil and friction faster than solid color.
- Keep cuticles moisturized; dry, lifted cuticles are more visible under translucent polish than under an opaque one.
Common Mistakes to Avoid
The biggest mistake people make when trying syrup nails for the first time is applying the color too thick, too fast. A single heavy coat instantly turns a sheer, glassy finish into something flat and opaque, which defeats the entire point of the trend.
The second most common mistake is skipping the top coat step, or using a matte or dull formula instead of a high-shine one — the glossy finish is what makes the syrup effect read correctly, so a low-shine top coat will make even a well-applied set look unfinished. Finally, picking a color that’s too dark or too pigmented for a sheer application can also work against syrup nails; the most successful shades for this technique are ones that still let light pass through even after three layers.
Where to Find More Inspiration
Because this is still an emerging trend, inspiration is scattered across individual posts and pins rather than centralized in one place. Searching color-specific terms — like raspberry syrup nails or tangerine jelly polish — alongside broader terms like sheer manicure or translucent nail art will surface the widest range of examples. Save a handful of references in different colors before your appointment so your nail artist can see exactly how saturated or sheer you want the finish to be, since the look can be interpreted differently depending on the salon.
Frequently Asked Questions About Syrup Nails
What exactly are syrup nails?
They’re a translucent manicure trend made by layering sheer, fruit-toned polish or gel — like raspberry pink, tangerine, or cherry red — to create a glossy, dripping effect similar to fruit syrup.
Are they the same as jelly nails?
They’re closely related. Jelly nails is the broader category of any sheer, translucent polish finish, while this specific trend refers to the fruit-syrup color palette and the gradient, “pooled” application technique.
Can I do syrup nails at home without gel?
Yes. Regular jelly-finish nail polish works for a DIY version, though it won’t last as long as a gel set applied and cured at a salon.
What colors work best for syrup nails?
Raspberry pink, tangerine orange, cherry red, blackcurrant violet, and lemon yellow are the core shades, with milky pink as a more subtle, everyday-friendly option.
Do syrup nails work on short nails?
Yes, the technique works on any length, including short and squoval shapes, where the effect reads as clean and minimal rather than dramatic.
How many coats does the look need?
Most versions need two to three thin coats. Applying too much product at once makes the polish go opaque and removes the translucent effect that defines the trend.
Will this look work for a wedding or formal event?
A milky pink or soft raspberry version looks elegant enough for formal occasions, especially paired with simple jewelry, since the finish reads as polished rather than casual.
How do I make syrup nails last longer?
Use a true gel formula cured under a lamp, reapply top coat every few days, and avoid prolonged water exposure or harsh soaps that wear down sheer finishes faster than opaque polish.
Syrup Nails for Different Skin Tones
Because the effect relies on translucency rather than full opacity, the same shade can look noticeably different depending on your natural undertone, which is worth factoring in before you pick a color.
Fair to Light Skin Tones
Raspberry pink and milky pink tend to read as the most flattering here, since the sheer wash adds a soft flush of color without overwhelming lighter undertones. Tangerine can also work well as a brighter pop for spring and summer.
Medium Skin Tones
Cherry red and tangerine orange both look especially rich against medium undertones, where the warmth of the color complements the natural skin tone rather than competing with it.
Deep Skin Tones
Blackcurrant violet and cherry red show up beautifully on deeper skin tones, where the saturated jewel-toned shades create striking contrast while still keeping that glassy, translucent quality intact.
Regardless of undertone, the rule that matters most is the same: keep the application thin enough that light still passes through the polish, since that translucency is what separates this look from a standard manicure.
What Nail Artists Are Saying
Manicurists working with syrup nails consistently point to the same two things: formula choice and patience. A true jelly or gel-effect base coat makes a much bigger difference than the brand of color polish used on top, since a poor base will go cloudy or uneven no matter how carefully the color layers are applied. Several artists working with the Asian market origins of this style have also noted that it pairs unusually well with minimal, undecorated nail beds — unlike most viral nail trends of the last few years, this one is built to look intentional without any add-on nail art, charms, or embellishments competing for attention.
Budget-Friendly Ways to Try the Trend
You don’t need a full salon gel set to test this look. A single bottle of jelly-finish polish in one shade — raspberry pink is the safest starting point — is enough to try the technique on one hand before committing further. Drugstore and mass-market beauty brands have started releasing dedicated jelly and sheer-finish lines specifically because of this trend’s popularity, so the formulas are increasingly easy to find without paying salon prices.
If you’re not ready to buy a new color at all, many people start by simply applying their existing sheer or light-toned polishes in thinner layers than usual, which approximates the effect even without a dedicated jelly formula. Semi-cured gel strips designed for this exact look have also started showing up online, offering a middle ground between full DIY polish and a professional gel appointment — they apply in minutes and still deliver the glassy, layered finish without any curing lamp required.
For anyone planning to try several colors before settling on a favorite, buying two or three mini bottles in different fruit-inspired shades is more cost-effective than committing to full-size bottles of each. Since each application only needs a thin layer, a single small bottle goes a long way compared to opaque polish, which tends to get used up faster.
Final Thoughts
Syrup nails are one of the rare manicure trends that manage to look both effortless and elevated at the same time. The technique is simple enough to try at home, the color palette is forgiving across skin tones, and the finish photographs beautifully — which is exactly why it’s spreading so quickly right now. Whether you start with a safe milky pink or go straight for a bold tangerine, this is worth adding to your rotation before the trend becomes oversaturated. Pin your favorite shade now, and pair it with our guides to glazed jelly nails and pearl nails for more translucent manicure inspiration this season.
Compare Before You Choose
See the Closest Alternatives
Compare nearby shapes, colors and finishes before picking a final reference.
Recommended Next