This guide to halloween nail designs skips the usual thirty-photo roundup with no order and no sense of which design you could actually pull off tonight versus which one needs a steady hand and a fine detail brush. It’s organized the other way around — by the actual icon you want on your nails, with an honest read on how hard each one is and the one technique detail that makes the difference between a clean result and a smudged one.
Pick your motif below, or mix two if you want a fuller set.
How to Choose a Motif for Your Halloween Nail Designs
A few quick questions before you start:
- How much time do you have? Ghosts and simple bats are the fastest designs here. Spiderwebs and detailed skeletons take longer because they rely on thin, controlled lines.
- What’s your nail length? Longer almond or coffin shapes give a pumpkin or a full skeleton hand more room to read clearly. On short nails, simplify — a single spider instead of a full web, one bone instead of a full skeleton.
- Are you doing all ten nails the same, or an accent nail? Every motif below works as a full set or as a single accent nail on an otherwise plain black or orange manicure — a good option if you want the look without the time investment.
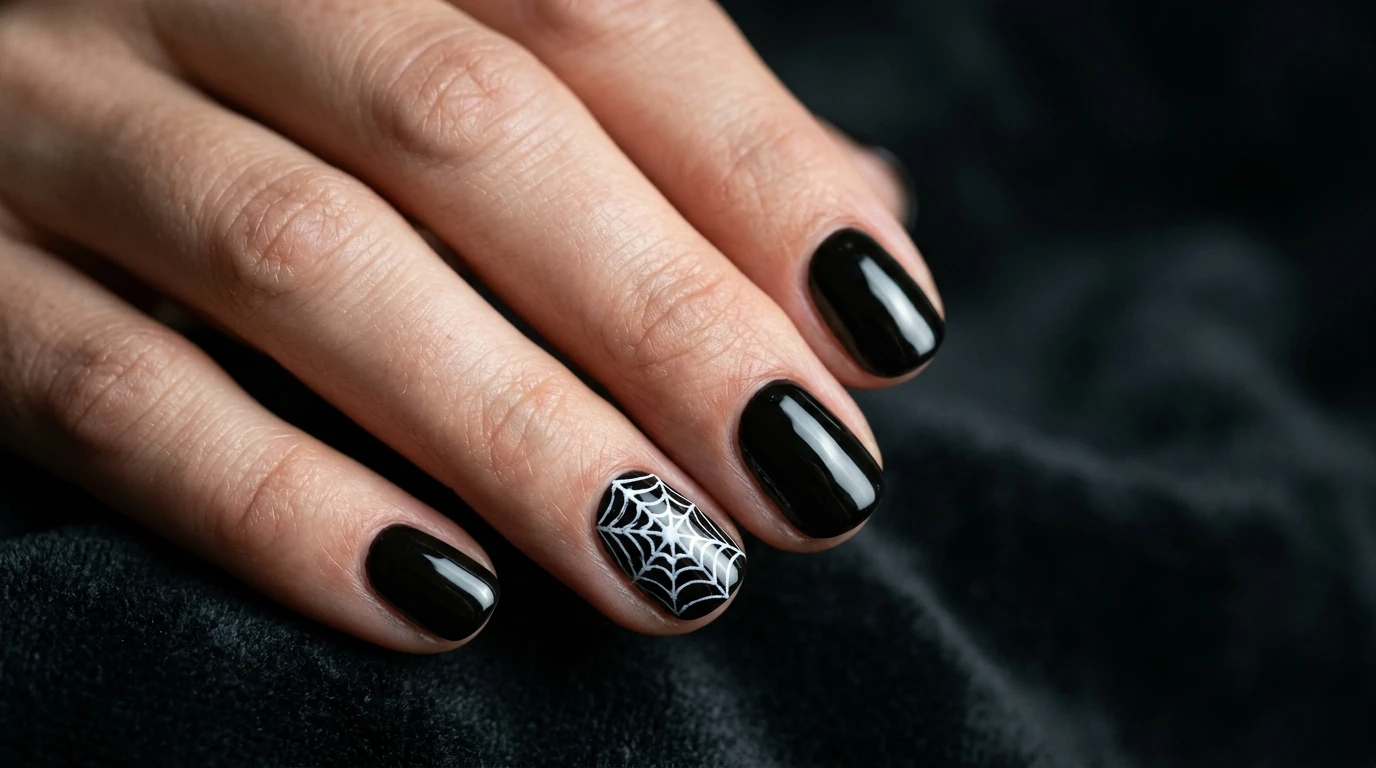
Spiderweb Nails
Difficulty: Intermediate. The look that reads “Halloween” fastest, and also the one most likely to smudge if you rush it.
Classic spiderweb nail art uses a fine detail brush or a striping brush, not a stamping plate, if you want the web to look hand-drawn rather than stenciled. Start with a dot in one corner and pull thin curved lines outward, then connect them with smaller arcs — working from the center out keeps the lines from dragging into each other. Thin your black polish slightly with a drop of polish thinner or a matching gel base before you start; full-strength polish is too thick to pull a fine line without dragging.
Design variations worth trying: a single web in one corner over a plain black base, a web that wraps around the whole nail on a clear or nude base, or a web paired with one small painted spider sitting at its center.
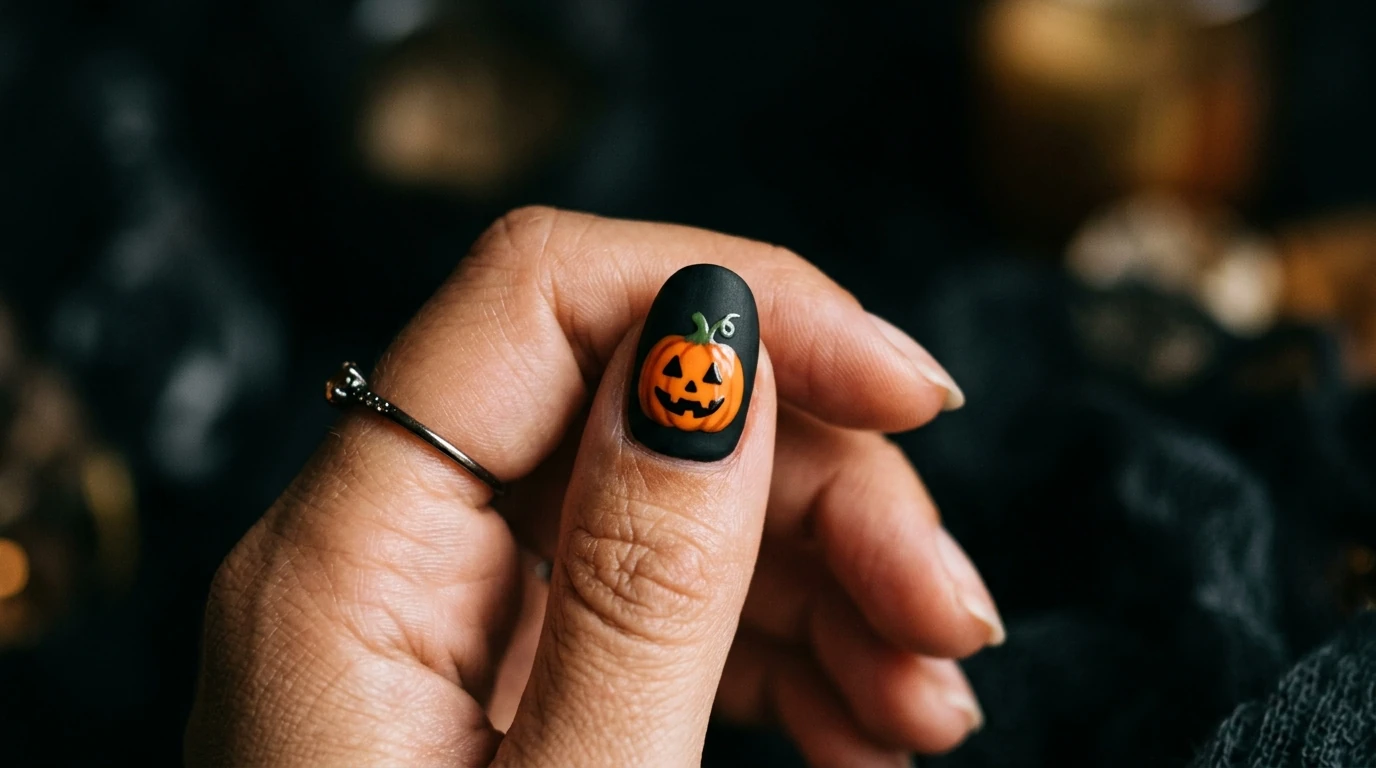
Pumpkin Nails
Difficulty: Beginner to intermediate, depending on how detailed you go.
The simplest version is a rounded orange shape with a green stem and 2-3 short black lines for a jack-o’-lantern face — genuinely doable with a dotting tool and a striping brush, no airbrush needed. For a cleaner pumpkin outline, paint the orange base first, let it fully dry, then add the black face details last; painting the face before the base is dry is the most common reason pumpkin nails end up smudged.
Design variations: an all-orange set with one pumpkin accent nail, a white or cream base with a single small pumpkin silhouette, or a “patch” look with two or three different-sized pumpkins across a few nails.
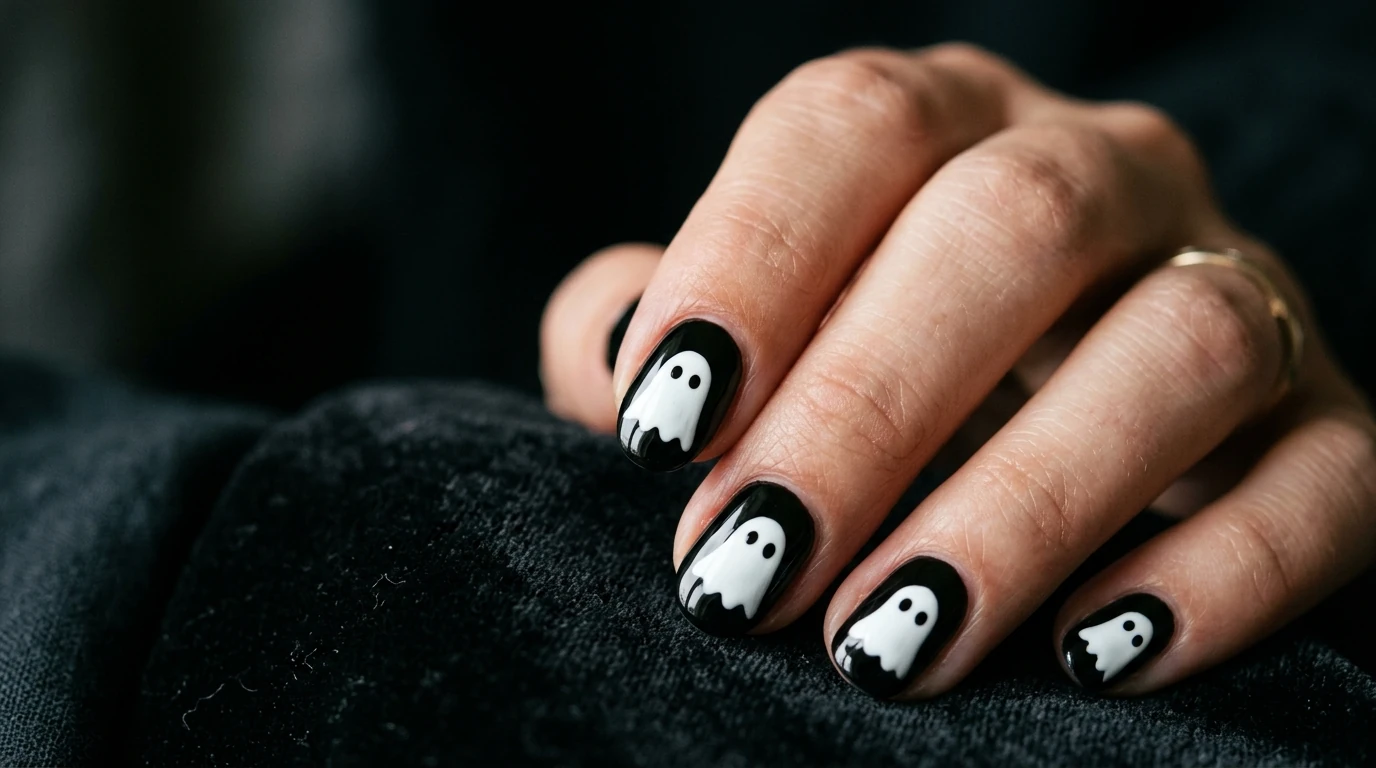
Ghost Nails
Difficulty: Beginner. The fastest design in this guide, and a good one if you’re short on time.
A ghost is just a rounded teardrop shape in white on a dark base, with two small dots for eyes and an optional “o” mouth. The trick that actually matters here: white polish needs two thin coats over a black or navy base to look opaque rather than grey and streaky — one thick coat will look patchy once it dries.
Design variations: a single ghost floating on each nail over solid black, a “peekaboo” ghost partially hidden by a French tip line, or a full set of tiny ghosts scattered across a nude base for a softer, less literal take on the motif.
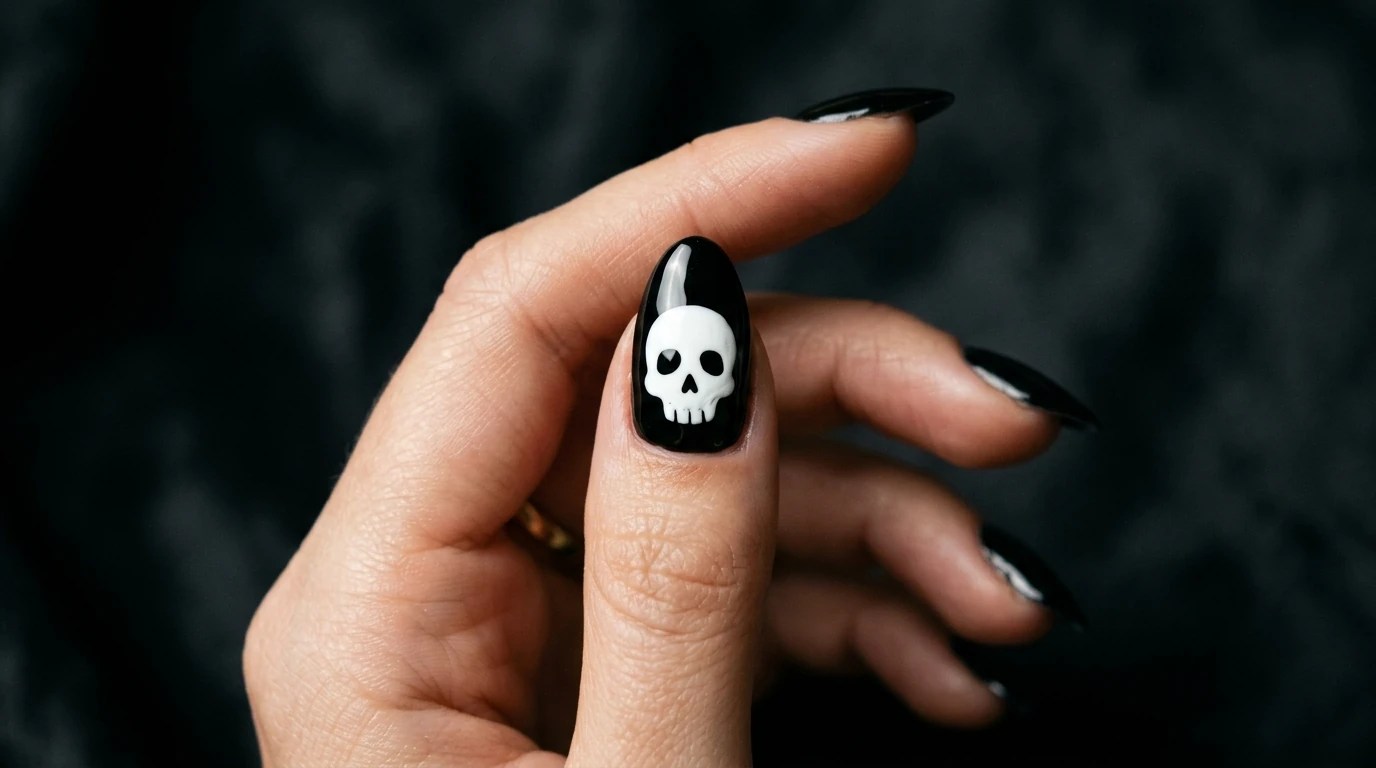
Skeleton & Skull Nails
Difficulty: Advanced for a full skeleton hand, beginner to intermediate for a simplified skull.
A full skeleton design (finger bones painted directly onto the nail to look like an x-ray) is the most technically demanding motif here — it requires steady, symmetrical linework and works best attempted on a longer nail where there’s room for the joints to read clearly. A simplified skull is much more forgiving: an oval or heart-shaped white base, two black almond-shaped eye sockets, and a small triangle nose is enough to communicate “skull” without needing fine detail work.
Design variations: a single skull accent nail with the rest of the set in solid black or chrome, a full skeleton-hand set for someone comfortable with detail work, or a skull-and-crossbones motif using the same simplified skull shape — a nod to the skeletal imagery long used in folk art traditions like the Danse Macabre.
Bat Nails
Difficulty: Beginner. A good motif for a subtle, non-costume-y Halloween look.
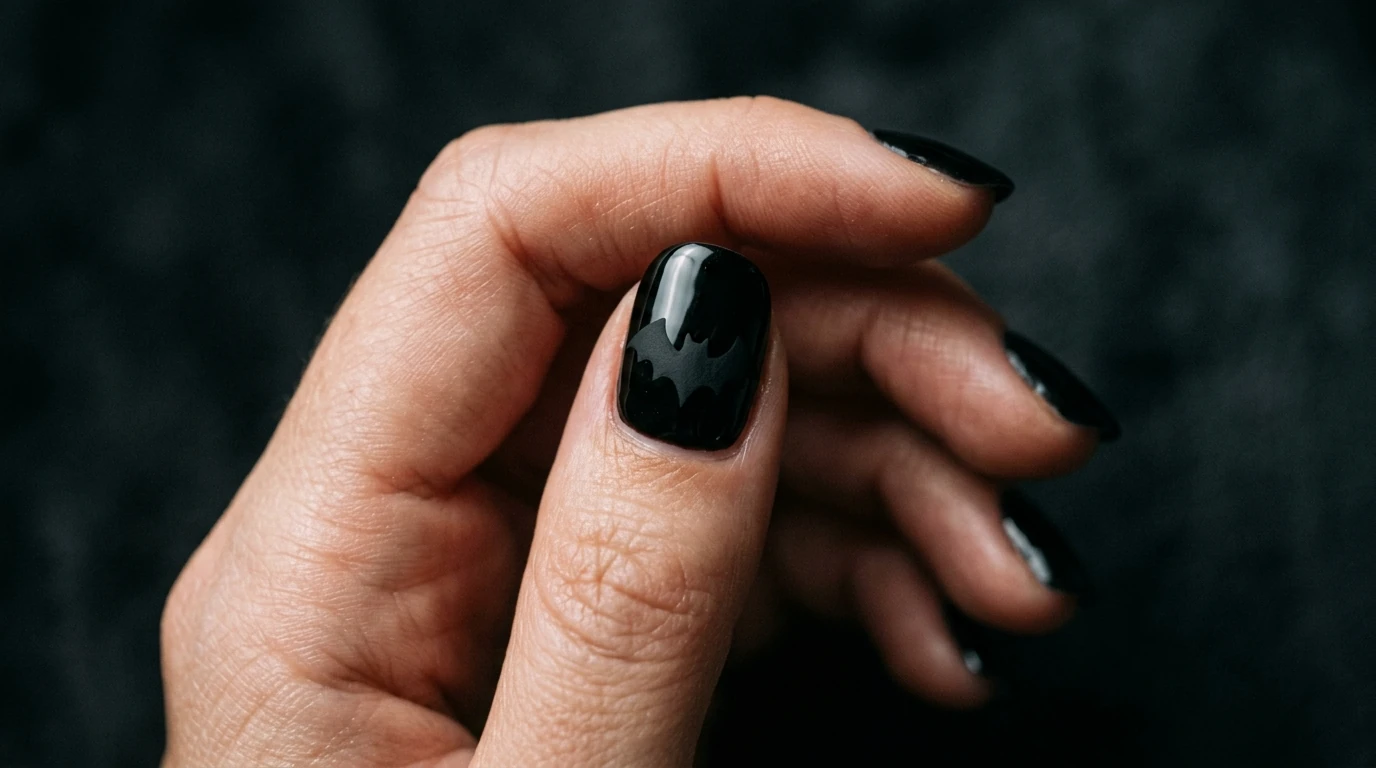
A bat silhouette is two triangular wings and a small rounded body — genuinely achievable freehand with a fine brush, no stencil required, because the shape is forgiving of small asymmetries (real bats aren’t perfectly symmetrical either). Painting it in matte black against a glossy black base gives it definition without needing a second color.
Design variations: a single bat silhouette per nail scattered like they’re mid-flight, one bat as an accent against a moon-and-stars base (a natural crossover with a witchy aesthetic, though the full witch look lives on its own page), or a row of small bats along a French tip line.
Mixing Motifs in One Set
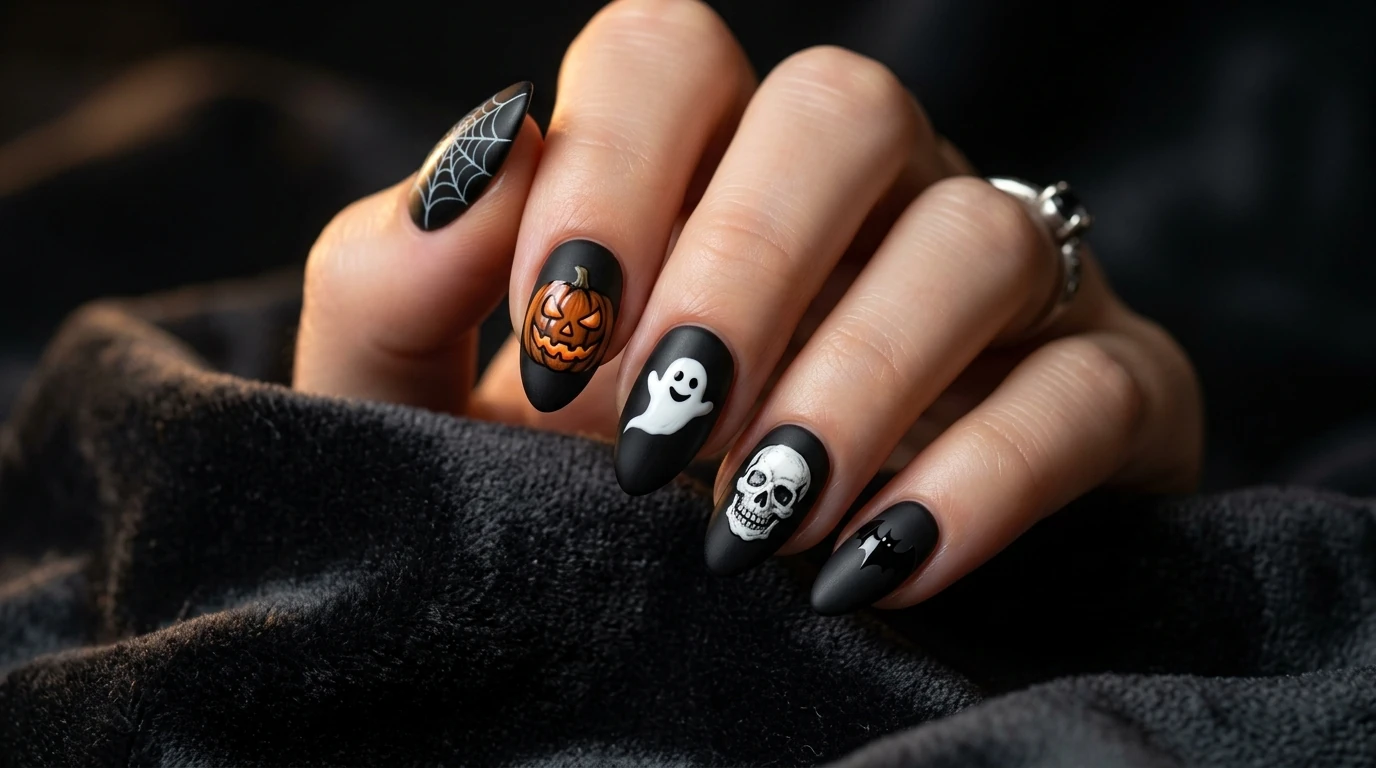
You don’t have to pick just one. A set that pairs a spiderweb accent nail with a couple of plain black nails and one small ghost or bat reads as more intentional than five different busy motifs competing for attention. The rule of thumb: if you’re combining motifs, keep the base color consistent across the set (all black, or all one dark shade) so the different icons don’t fight each other visually.
FAQ
What’s the easiest Halloween nail design to do at home?
Ghost nails and bat silhouettes are the most forgiving — both are simple shapes with no fine linework required, and small asymmetries don’t read as mistakes the way they would on a spiderweb or skeleton design.
Do I need special tools for these designs?
A fine detail brush or striping brush and a dotting tool cover everything in this guide. A stamping plate can substitute for spiderweb or skull designs if you’d rather not freehand them, though the result will look more uniform and less hand-drawn.
Can I do these on short nails?
Yes, with adjustments — simplify a full spiderweb to a single corner web, and a full skeleton hand to one or two bone details, rather than trying to fit the full-size version onto less surface area.
Related Halloween Styles
If you want a full aesthetic rather than a single motif, see our Halloween Nails 2026 guide for the full range of styles, Prefer pastel and kawaii takes on these same icons? See our cute Halloween nails guide. Or pick your look by color first with our Halloween nail colors guide.
Compare Before You Choose
See the Closest Alternatives
Compare nearby shapes, colors and finishes before picking a final reference.
Recommended Next