Pumpkin nails are the one seasonal manicure that works in September, still looks right at the Thanksgiving table, and doesn’t need a ghost or a bat to say “autumn.” The trick is picking the version that matches your week: a soft, milky orange for the office, a hand-painted patch for a weekend market, or a glowing jack-o’-lantern for the 31st.
Below are 18 pumpkin nails designs, grouped by how loud they are, with notes on base colors, finishes, difficulty and what actually lasts. If you want the full spooky side of the season, our Halloween nail ideas guide covers it, and for harvest-table looks see Thanksgiving nails.
Soft Pumpkin Nails You Can Wear to Work
The pumpkin itself ranges from pale cream to deep rust, so there is plenty of room to borrow its colors. Orange is still a hard color to wear on nails. Too saturated and it reads as traffic cone; too flat and it washes out. These five sit in the muted, creamy range that flatters most skin tones and keeps the pumpkin idea without shouting it. If you like earthy shades, terracotta nails live in the same family.
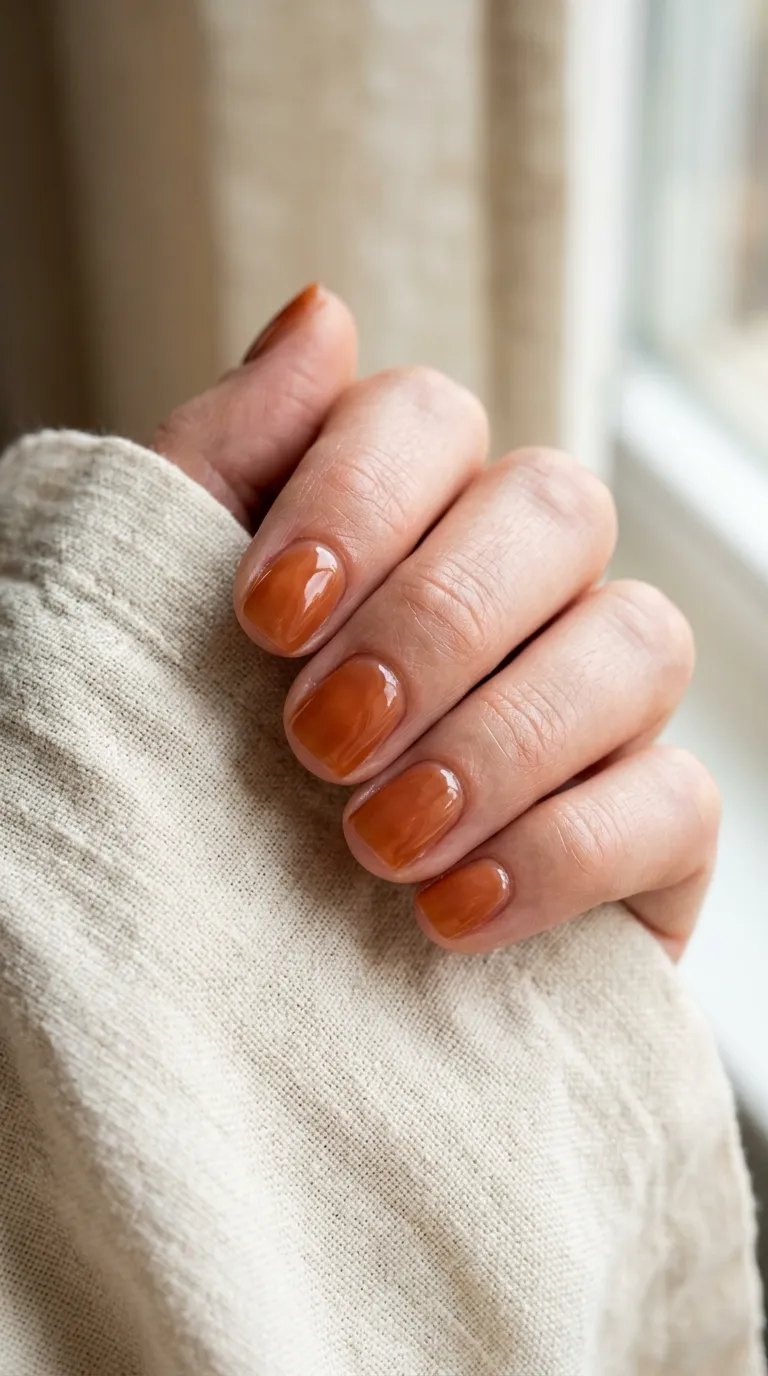
1. Pumpkin spice milky orange
A sheer, milky coat of burnt orange over a clean, short natural nail, built in two thin layers. It looks like the color of pumpkin-spice foam rather than the vegetable. Difficulty: easy. Tip: finish with a glossy top coat, because milky shades look flat without it.
2. Creamy peach-orange
A soft peach with an orange undertone, the kind of shade that works on pale and deep skin alike. It is the safest pumpkin color if you only own one orange. Difficulty: easy. Wears best on short square or squoval nails.
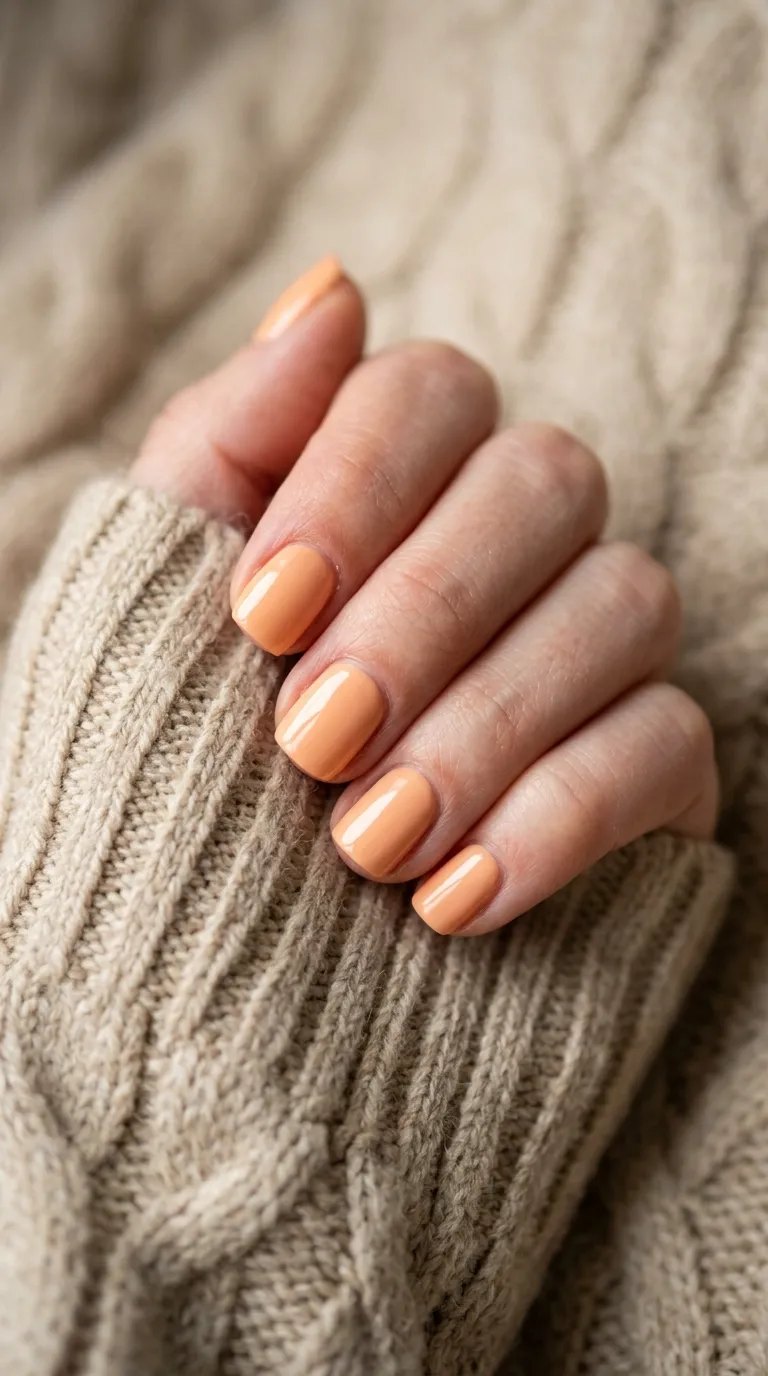
3. Pumpkin latte ombre
Cream at the cuticle fading into warm orange at the tip. Use a makeup sponge and dab, don’t swipe. Done well, it looks like a gradient in a coffee cup. Difficulty: medium, since the blend takes patience.
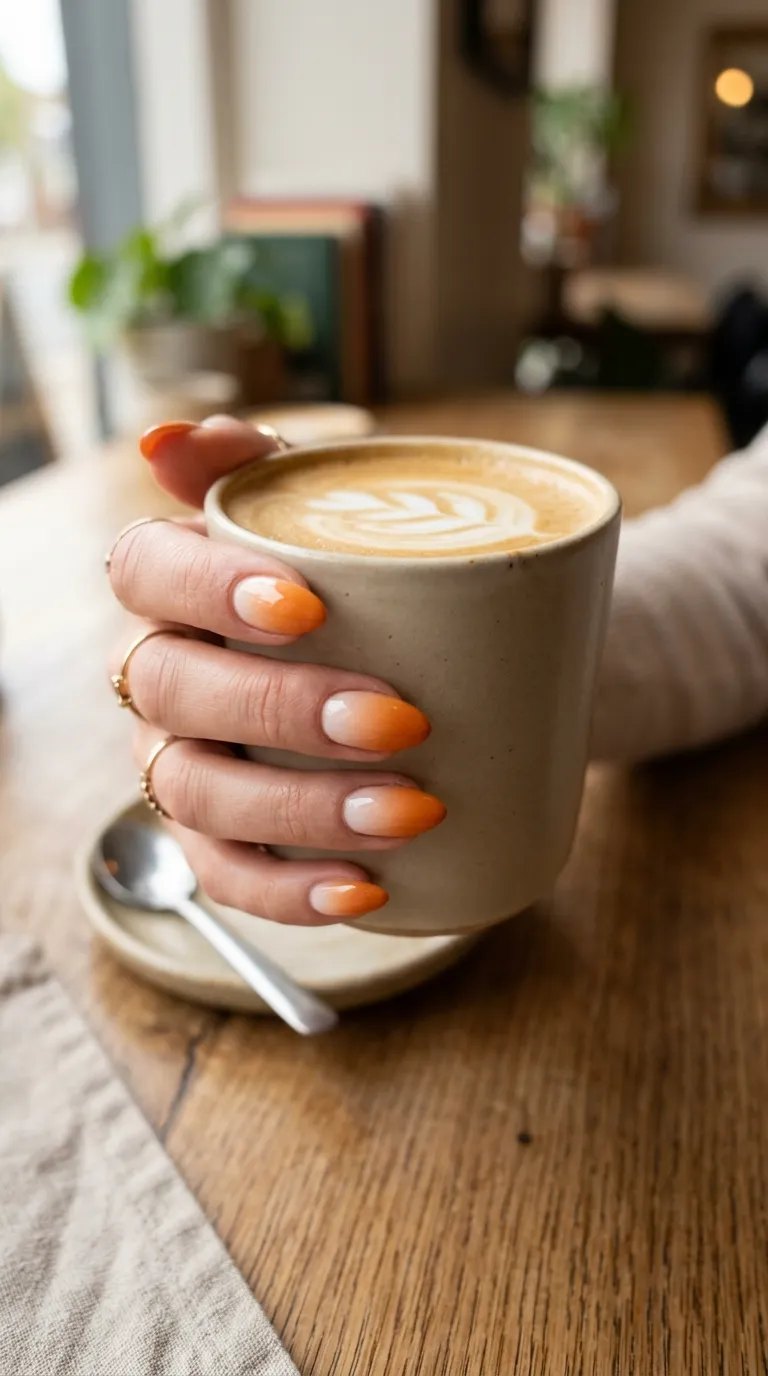
4. Matte burnt orange
A deep, brownish orange with a matte top coat. Matte hides small bumps in the polish but shows oils and fingerprints, so carry a tissue. Difficulty: easy. Pairs well with chunky knits and brown boots.
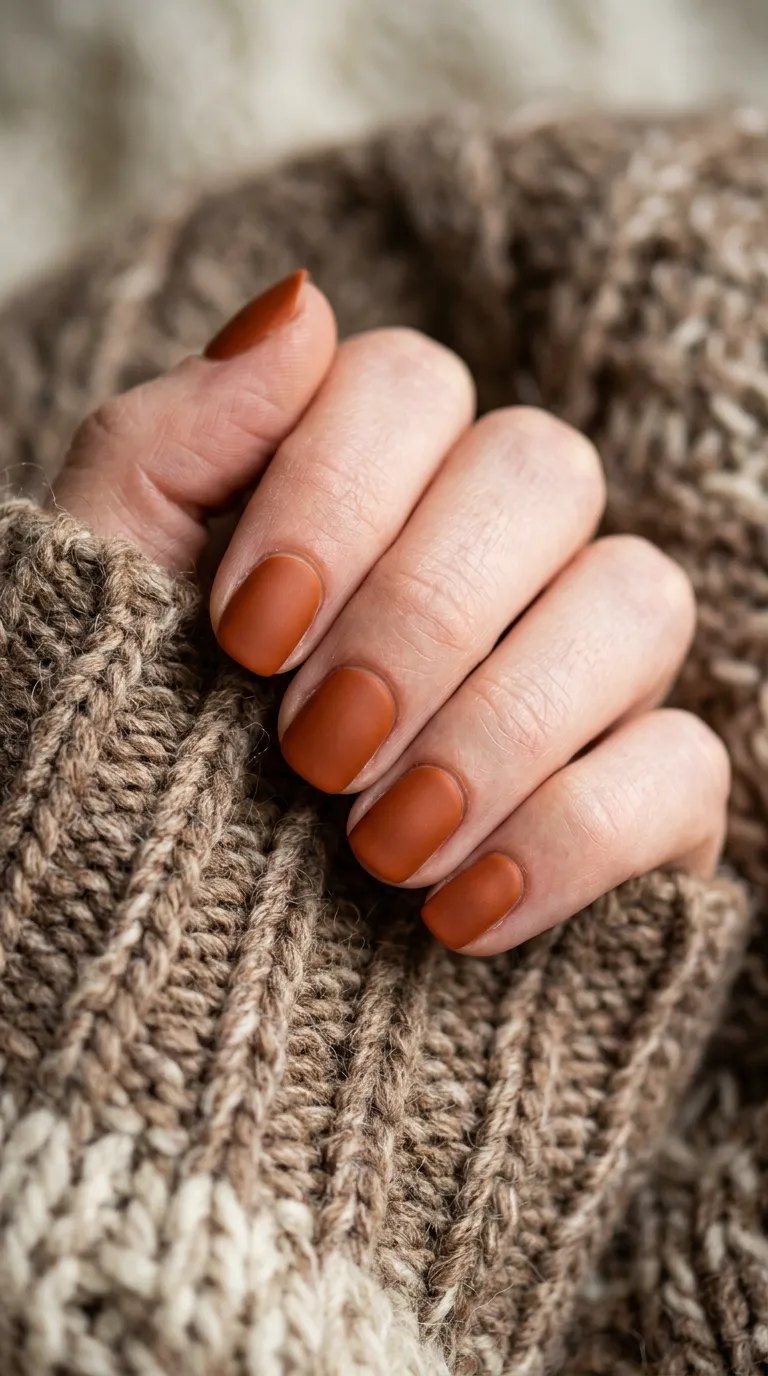
5. Cinnamon-and-cream French
A cream base with a thin cinnamon-orange tip instead of white. It is the most office-friendly of the five and the easiest to grow out. Difficulty: medium; use a thin brush and keep the smile line shallow.
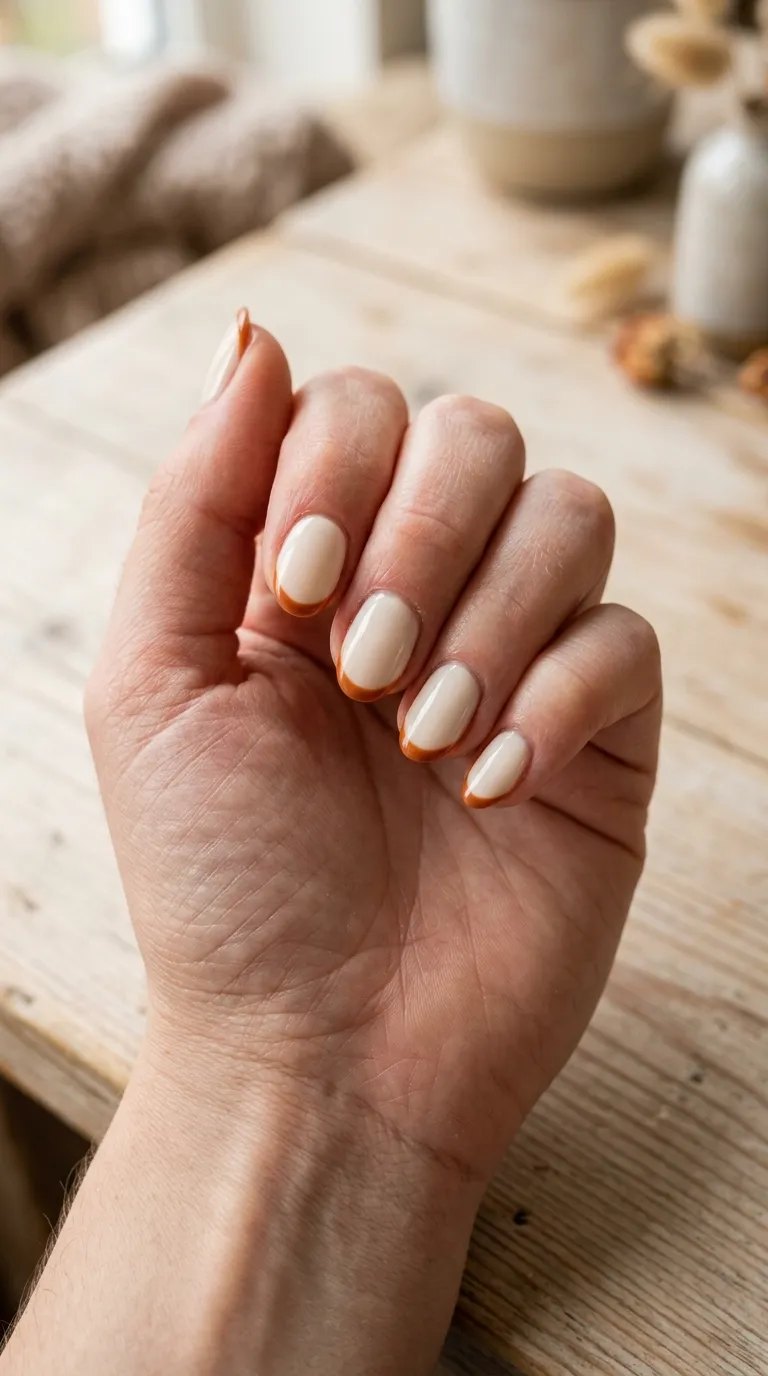
Hand-Painted Pumpkin Nails From the Patch
This is where pumpkin nails become tiny illustrations. None of these needs artistic talent, only a dotting tool and a thin liner brush. Keep the pumpkins small, one per nail at most, so the set reads as charming instead of crowded.
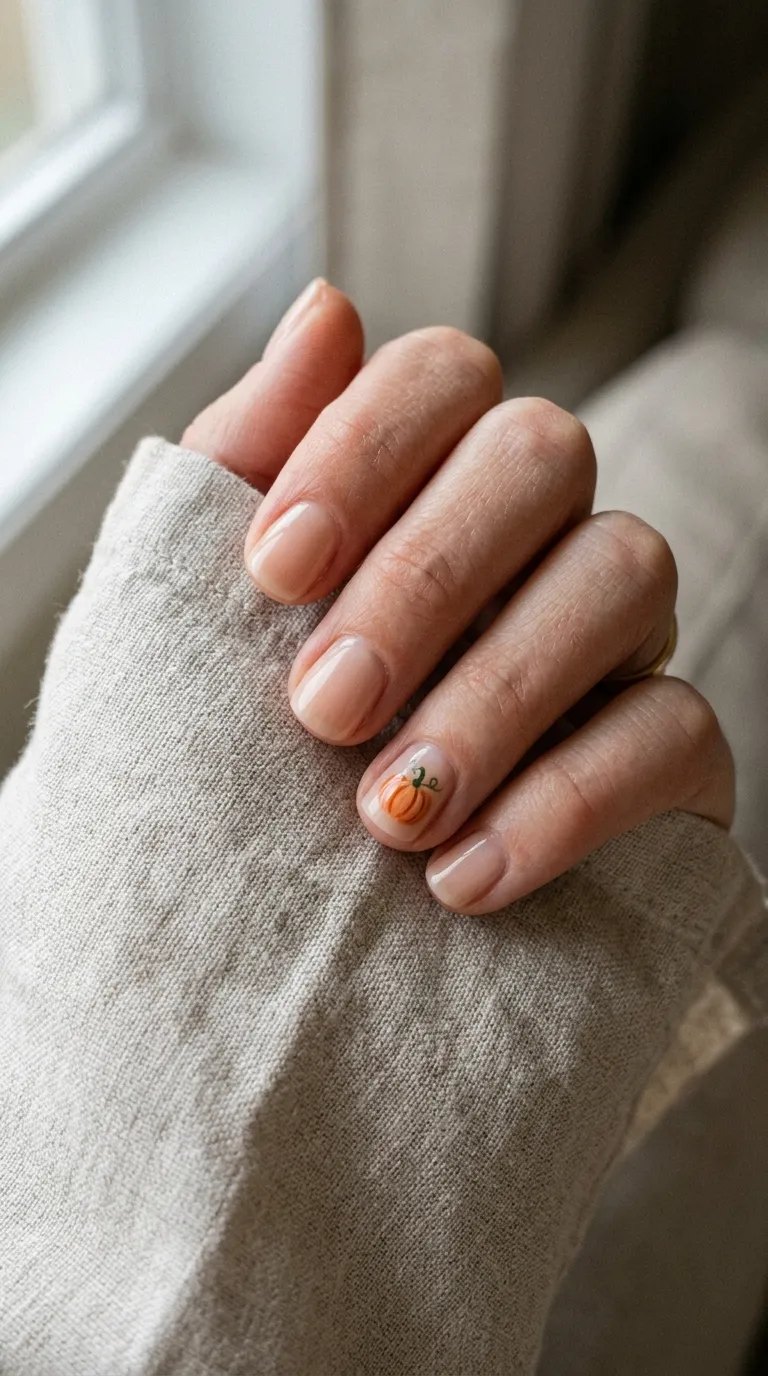
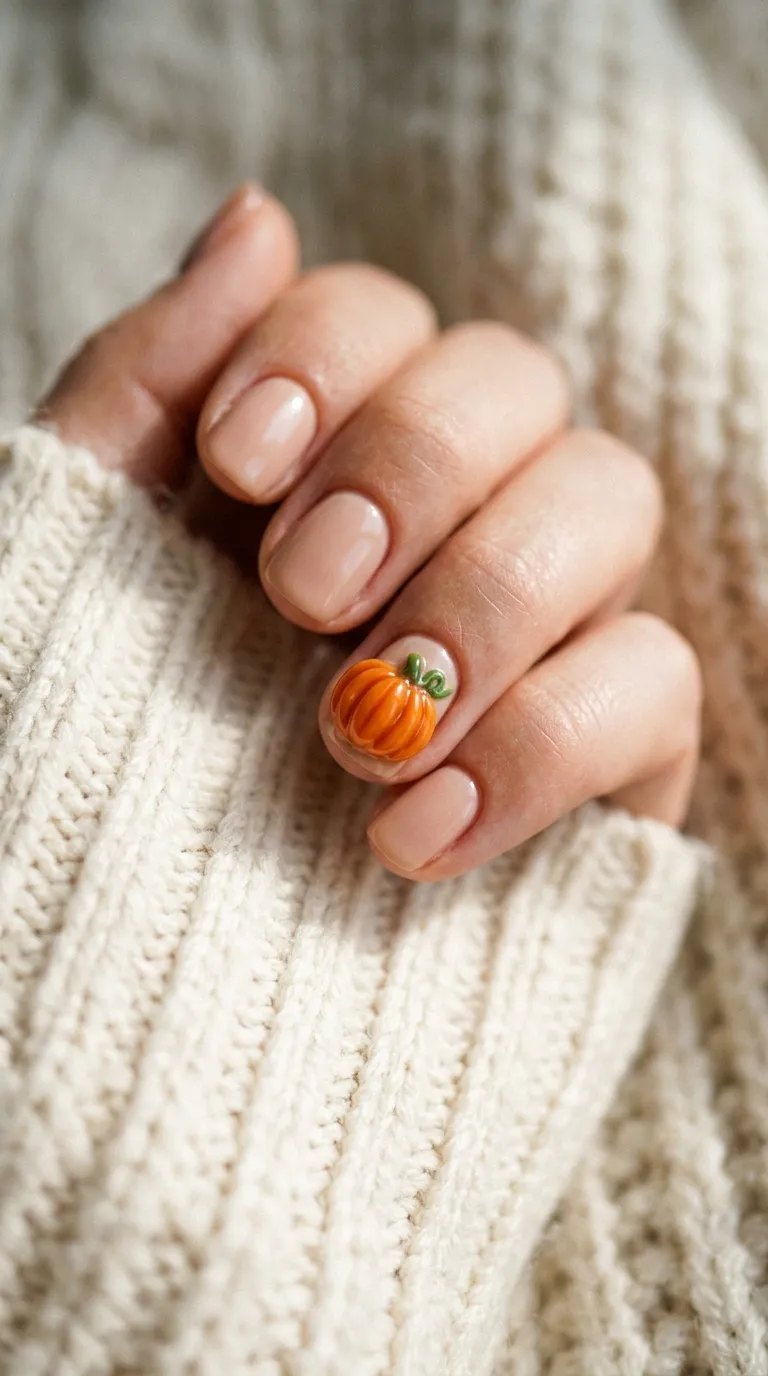
6. Tiny pumpkins on a nude base
One small orange pumpkin with a green stem on a ring-finger accent, the rest left sheer nude. Start with a dot of orange, add two curved lines for ribs, then a single brown stem stroke. Difficulty: medium.
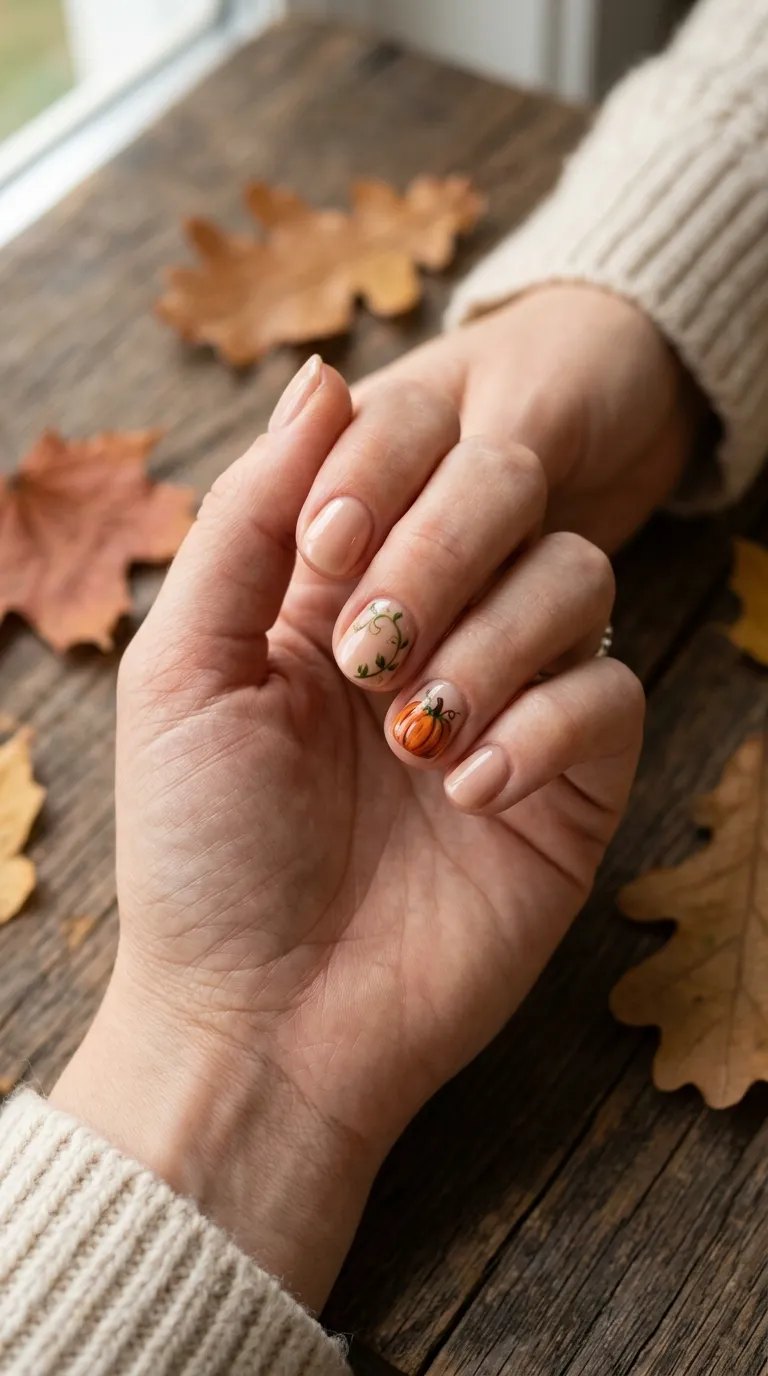
7. Pumpkin with a vine accent
A single pumpkin on one nail and a curling green vine climbing up the neighboring nail. The vine is just a wavering line with two or three leaf-shaped dots. Difficulty: medium, and forgiving, because vines are meant to wobble.
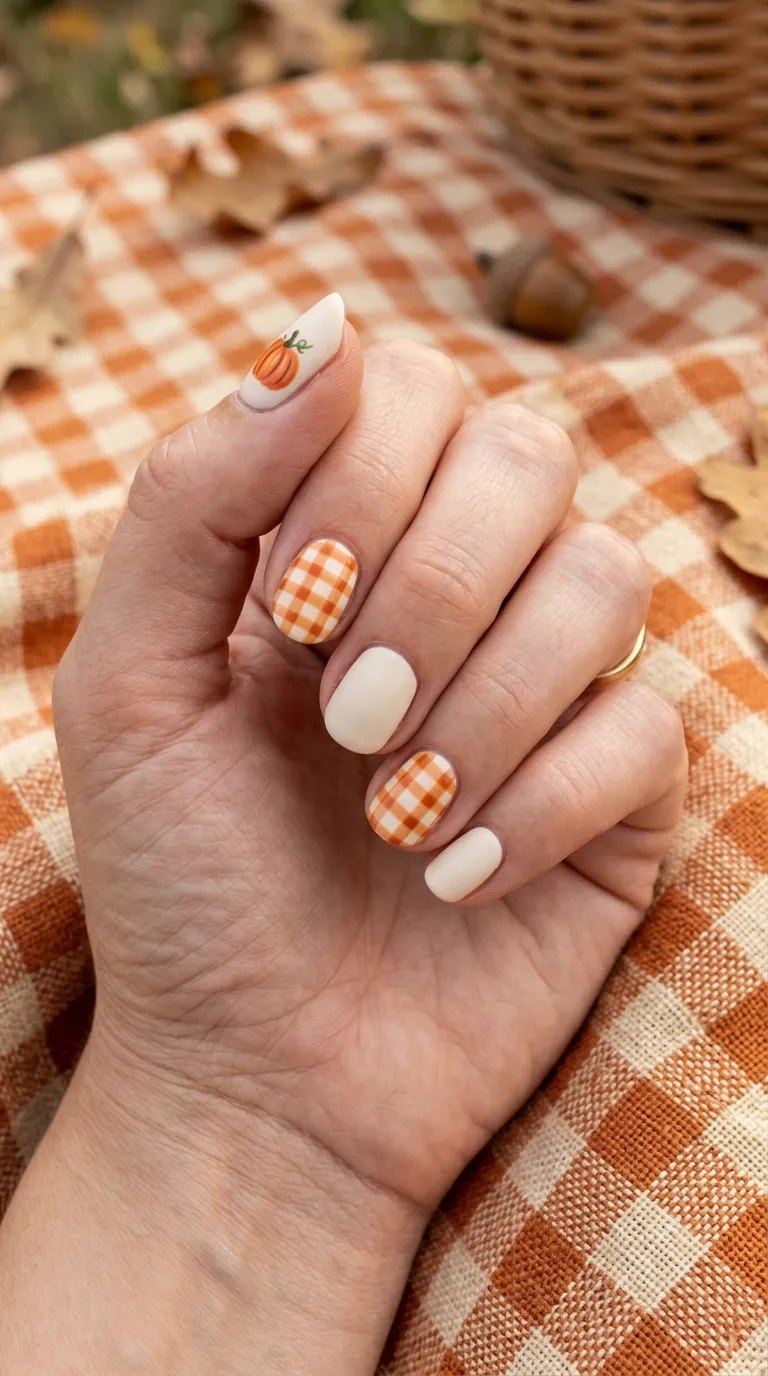
8. Pumpkins with gingham
Orange gingham check on two nails, plain cream on the rest, with a small pumpkin on the thumb. It looks like a picnic blanket at a farm stand. Draw the checks with a striper brush in a light layer first, then cross them. Difficulty: hard to get straight, so give yourself time.
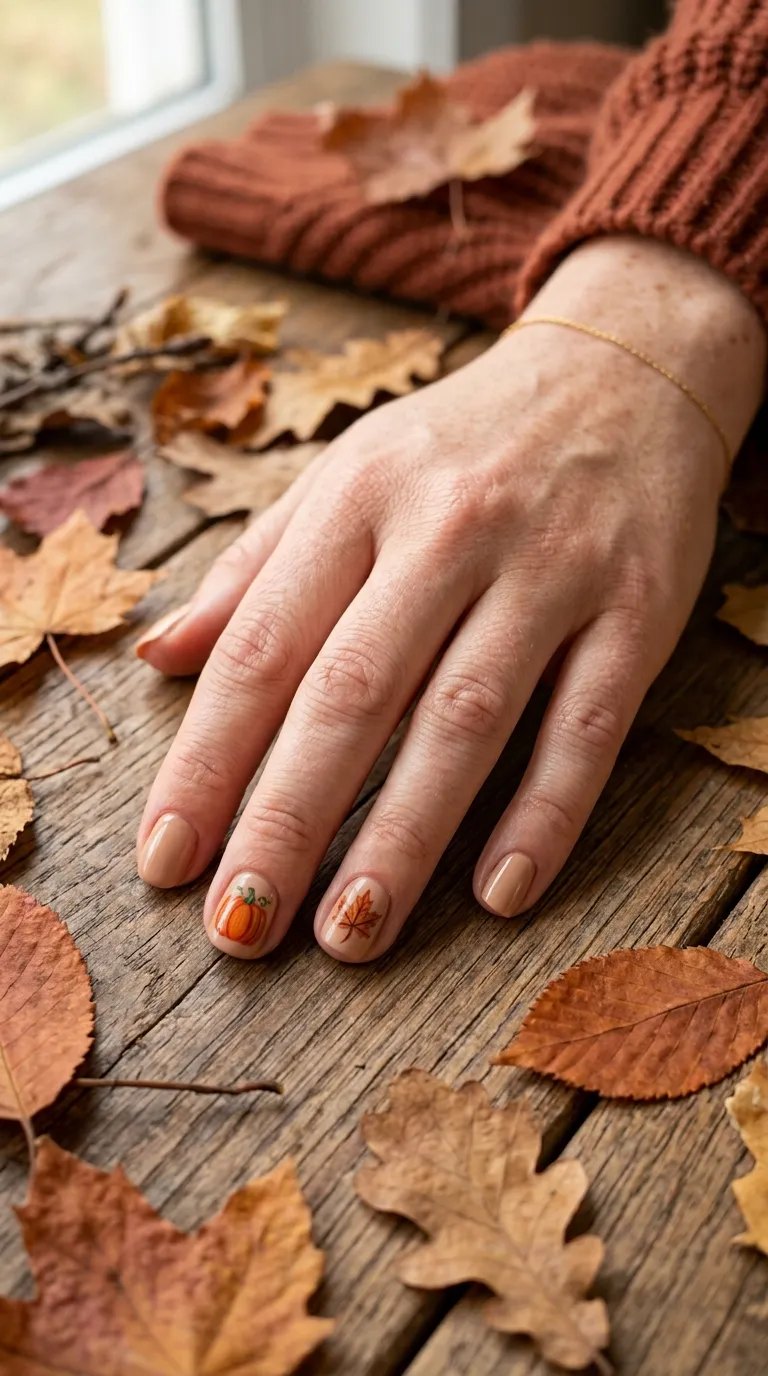
9. Pumpkin and fall leaf accent
A pumpkin on the ring finger and a single rust leaf on the middle, over a warm beige base. Cut leaf shapes from striping tape if you can’t paint them freehand. Difficulty: easy to medium.
Jack-O’-Lantern Nails for Halloween Week
The jack-o’-lantern tradition goes back centuries, and the carved-face look translates well to a nail, which is basically a tiny canvas. Save these for the last two weeks of October, when a grinning pumpkin on your hand looks intentional. For more minimal takes on the season, browse simple Halloween designs.
10. Classic carved smile
Orange base, black triangle eyes and a jagged smile. Do the base in two coats, let it dry fully, then use a thin brush for the face. If your hand shakes, stamp the face with a nail plate. Difficulty: medium.
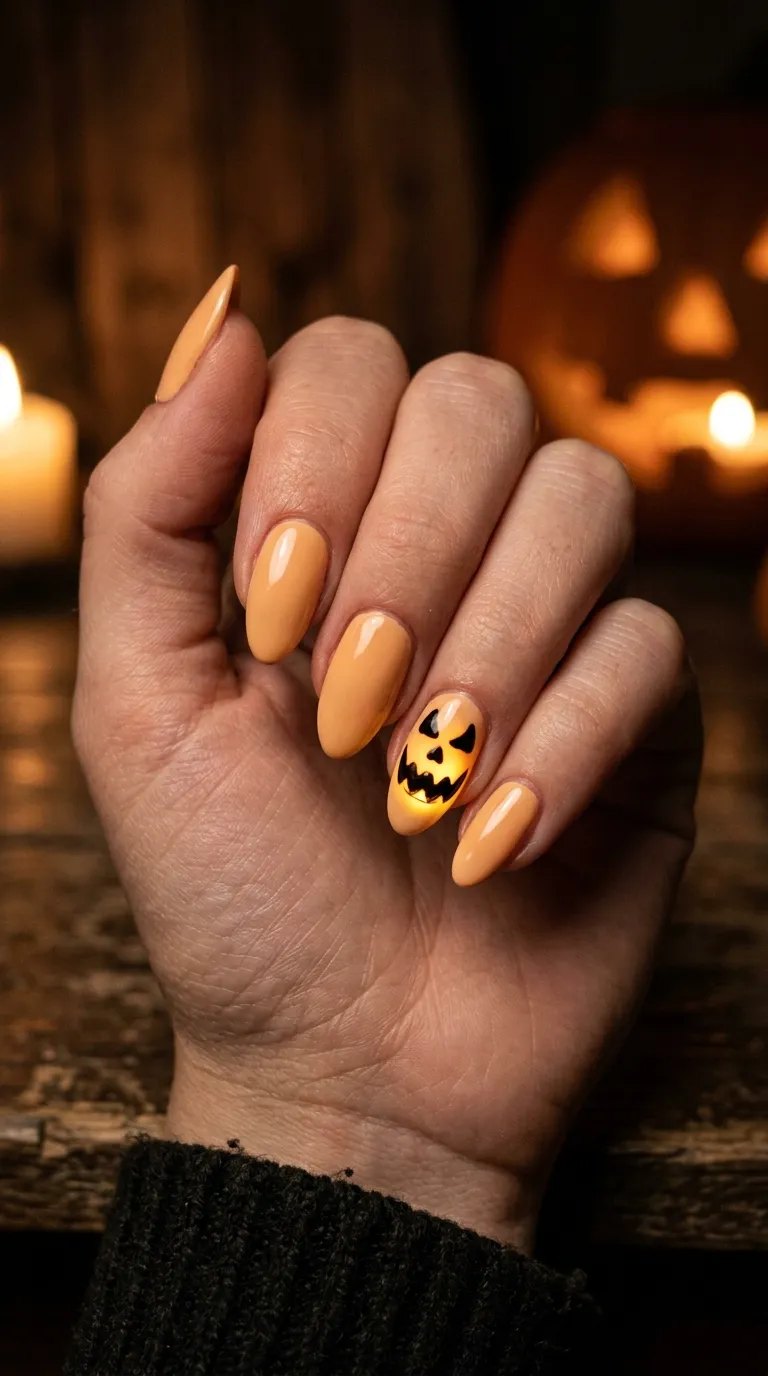
11. Ghost-face glow
Pale orange with a soft-yellow glow behind the carved mouth, so the face looks lit from inside. Add the glow with a sponge dabbed through a dot of yellow before painting the black features. Difficulty: medium.
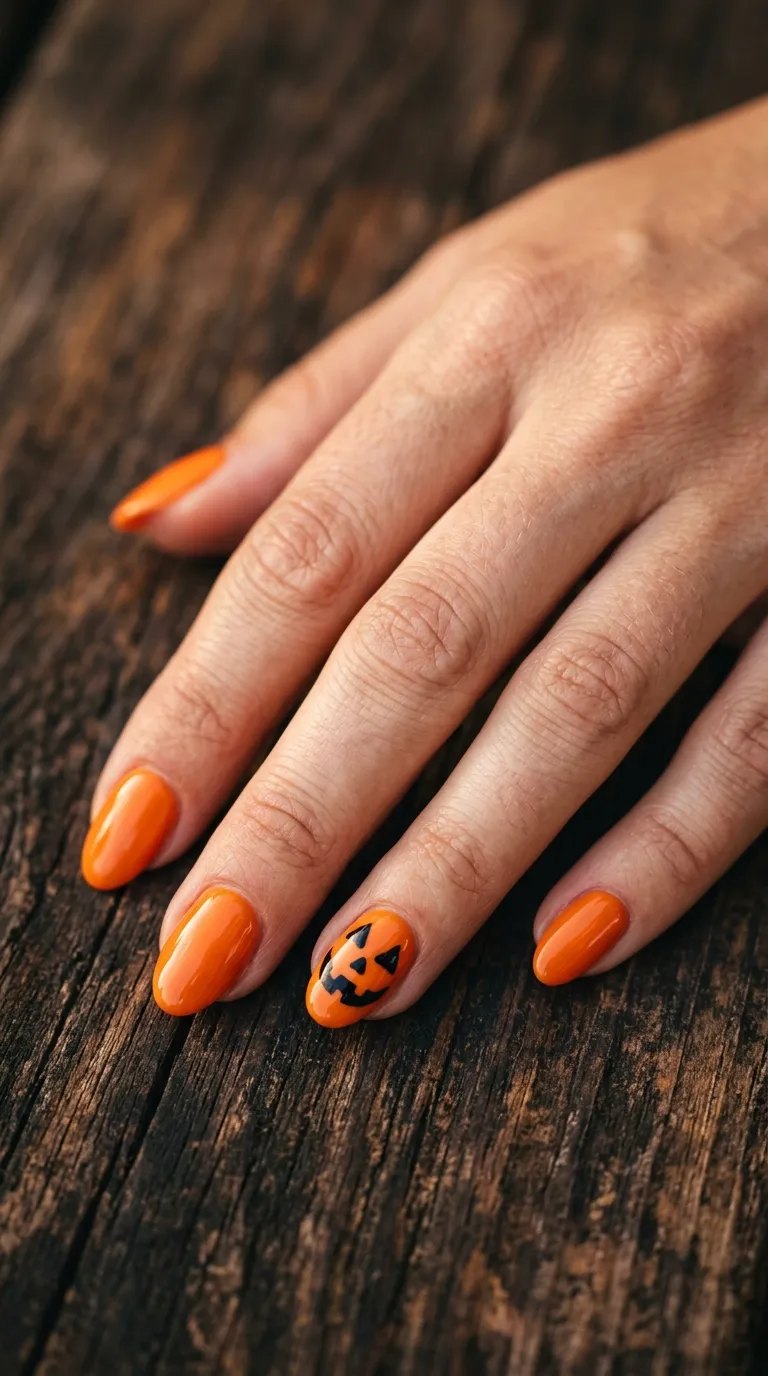
12. Glitter-glow candle effect
A black base with a hand-dotted orange glitter flame inside a carved opening. The contrast is strong and photographs well. Difficulty: medium, with a bit of cleanup around the cuticle.
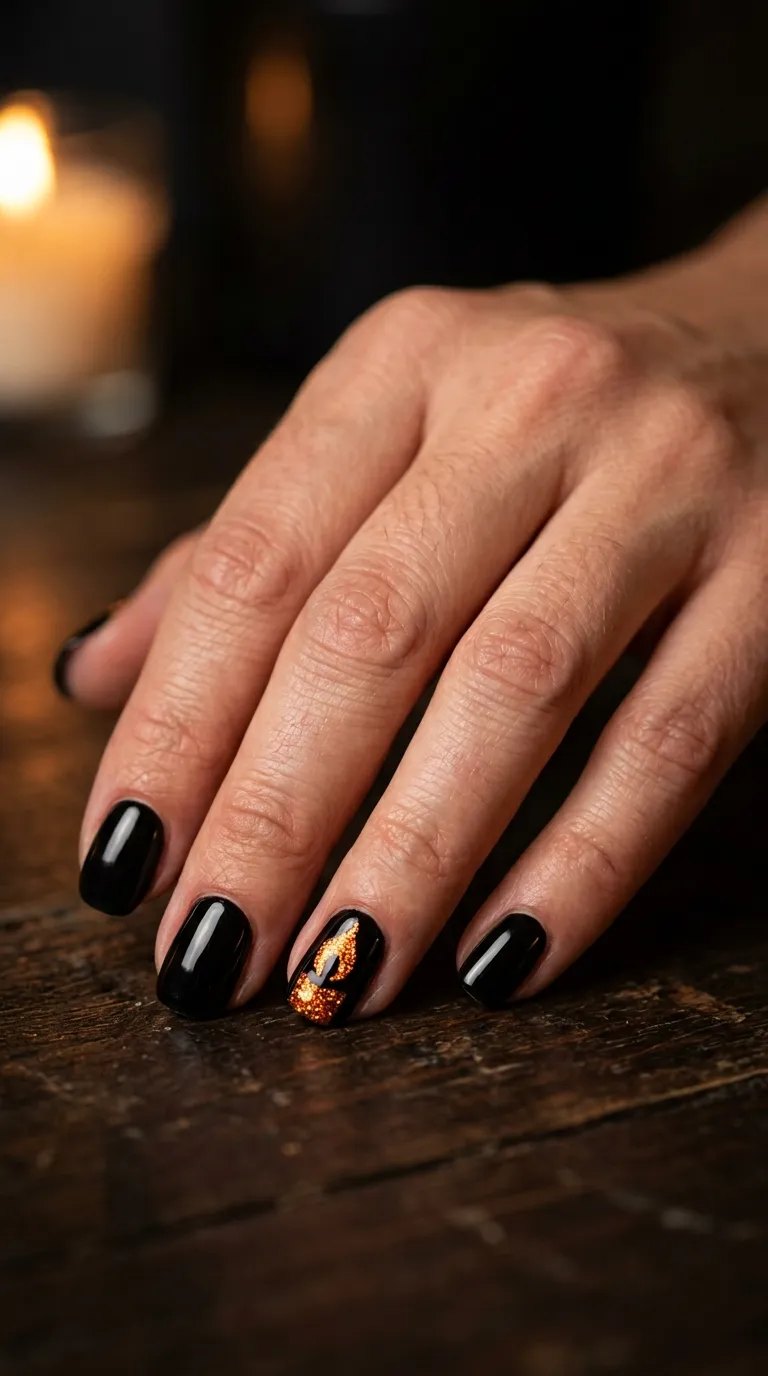
13. Black base with an orange face
An inverted version: black nails with a small orange pumpkin face on each accent nail. Easier than it looks because the black hides mistakes. Difficulty: easy to medium.
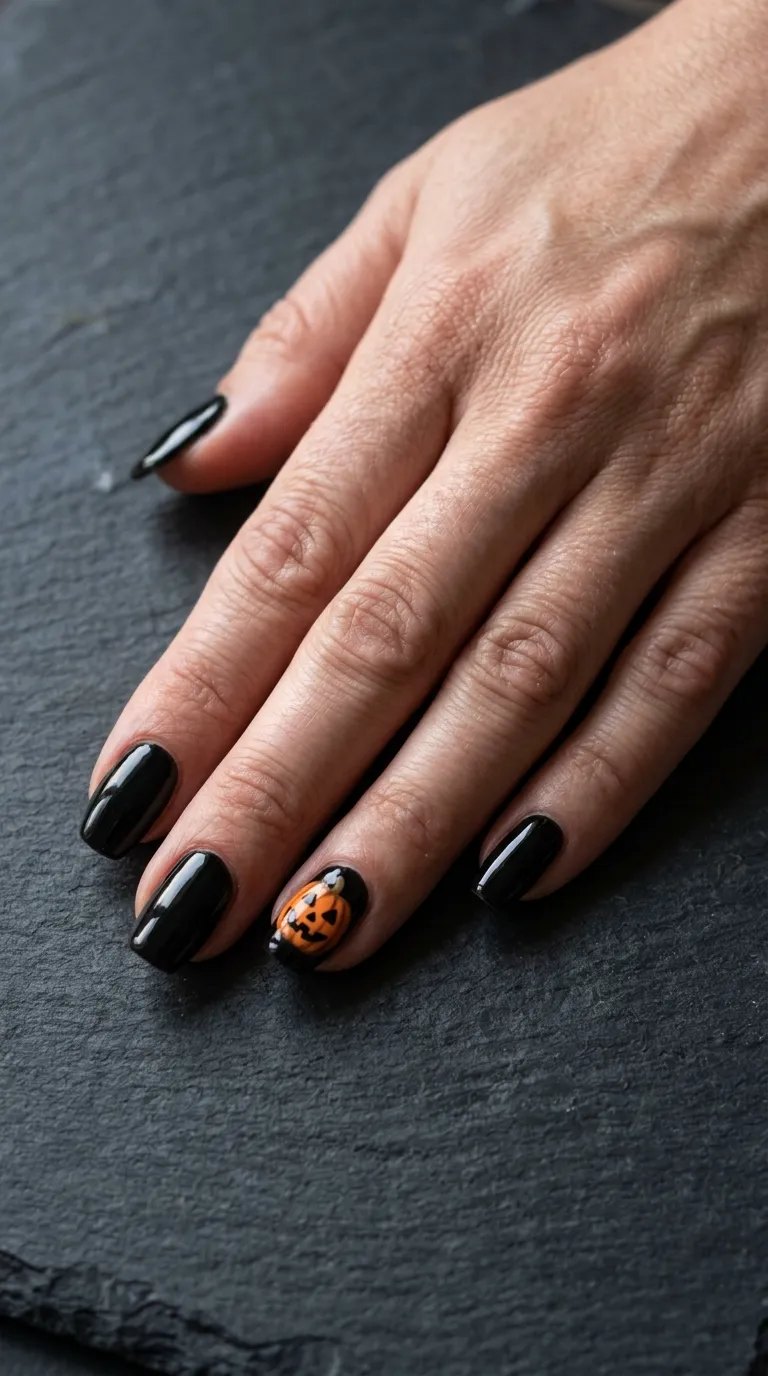
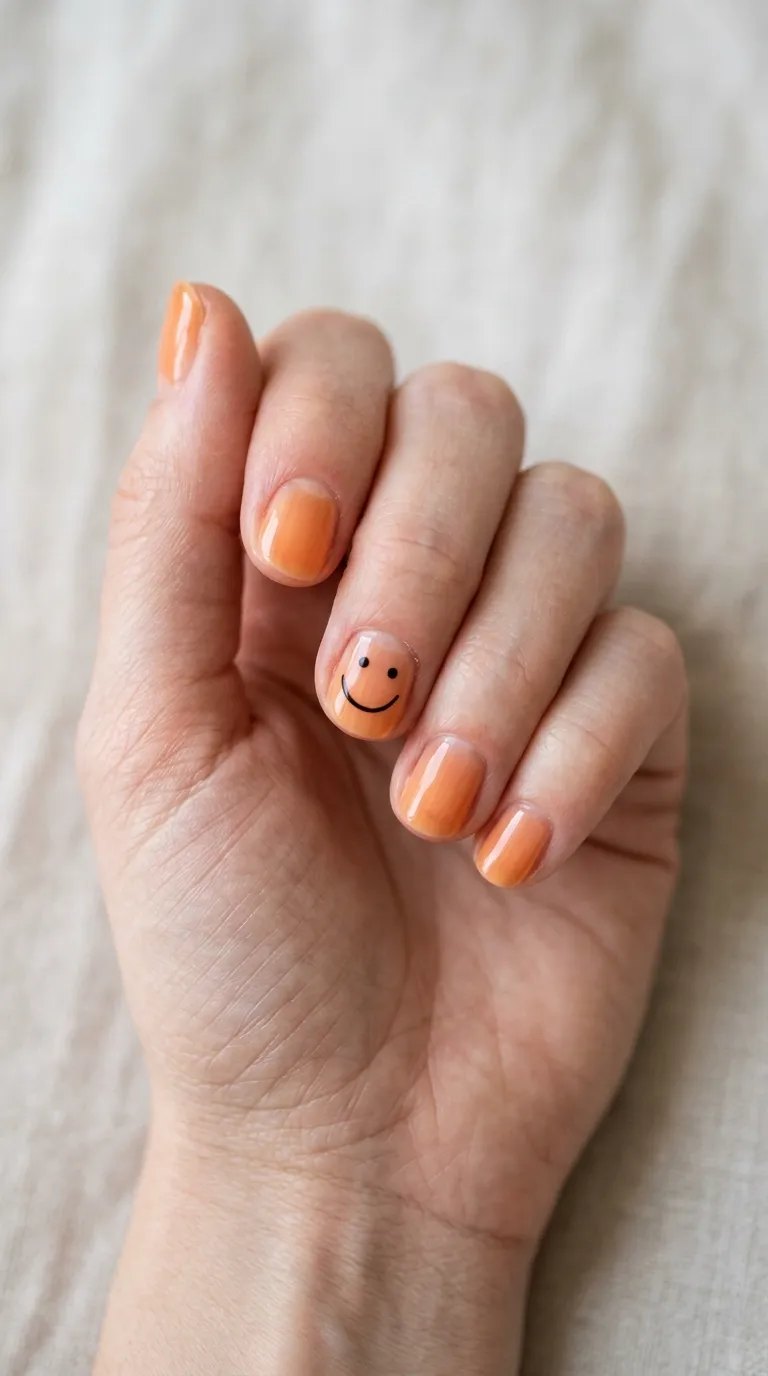
14. Minimalist single-line grin
Sheer orange or nude with one thin black grin line and two dots for eyes. This is the version for people who like the idea but not the effort. Difficulty: easy. Looks sharp on short almond nails. See also our spooky nail ideas for classic, no-fuss sets.
Textured and Dimensional Pumpkin Nails
Finish does a lot of the work in these sets. A pumpkin that catches the light looks richer than one painted flat, and texture is also what separates a salon-level set from a quick home job.
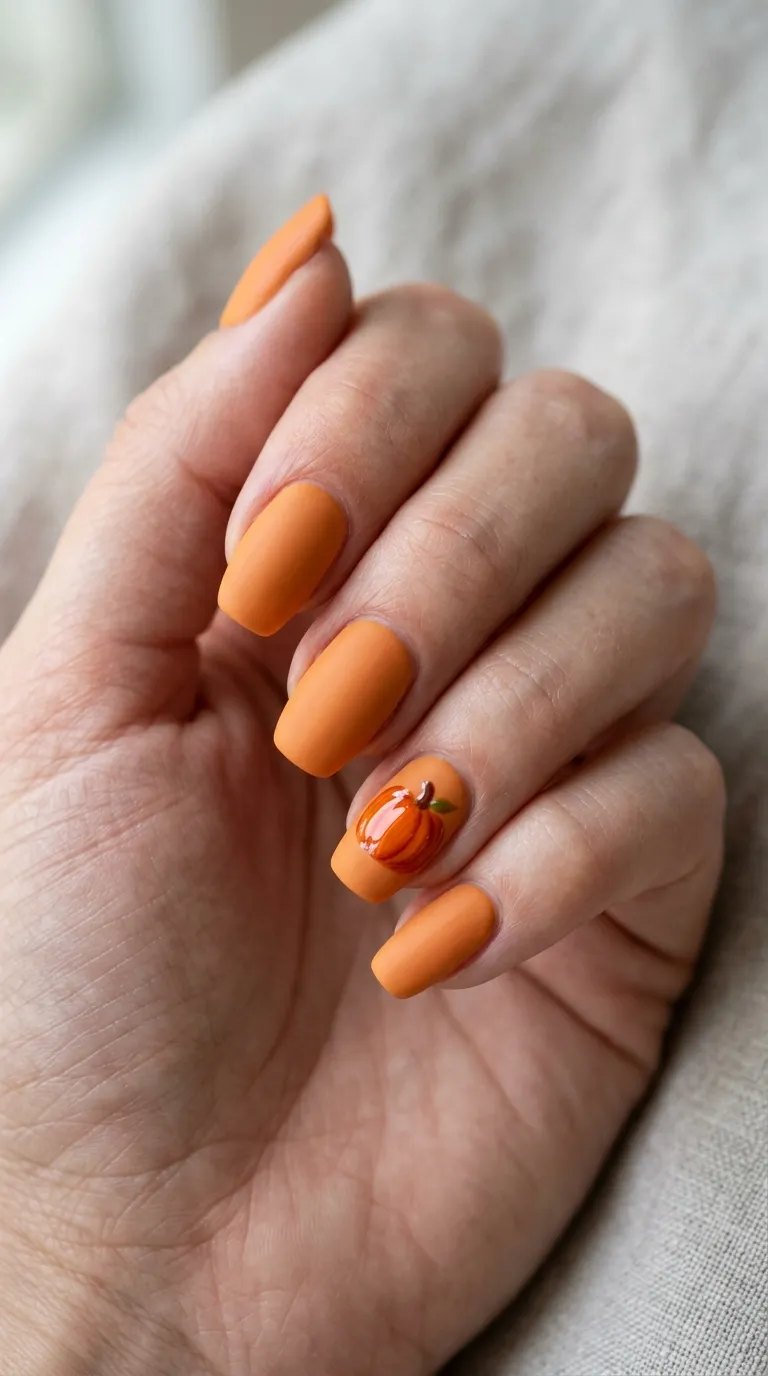
15. Gloss-and-matte pumpkin
A matte orange base with a glossy pumpkin shape painted on top with clear top coat. The contrast only shows when the light moves, which makes it feel quietly clever. Difficulty: medium.
16. 3D gel pumpkin charm
A small sculpted gel pumpkin on one accent nail, usually done with builder gel by a nail tech. It lasts as long as the gel set does, but it snags on sweaters, so skip it if you wear a lot of knitwear. Difficulty: salon only.
17. Glittery pumpkin skin
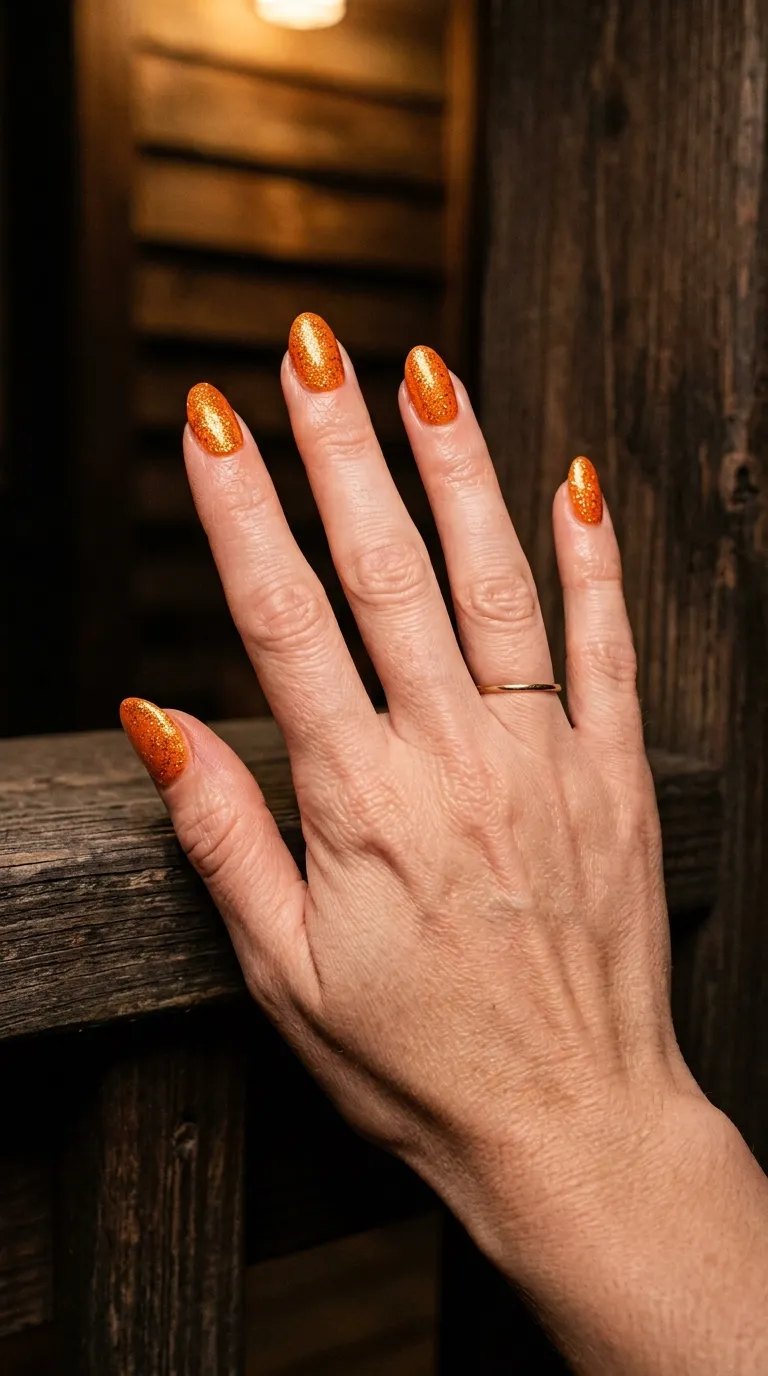
Orange base with fine gold glitter pressed in while the last coat is tacky, then sealed. It reads like the sheen on a pumpkin under a porch light. Difficulty: easy, but glitter takes effort to remove, so plan for soaking.
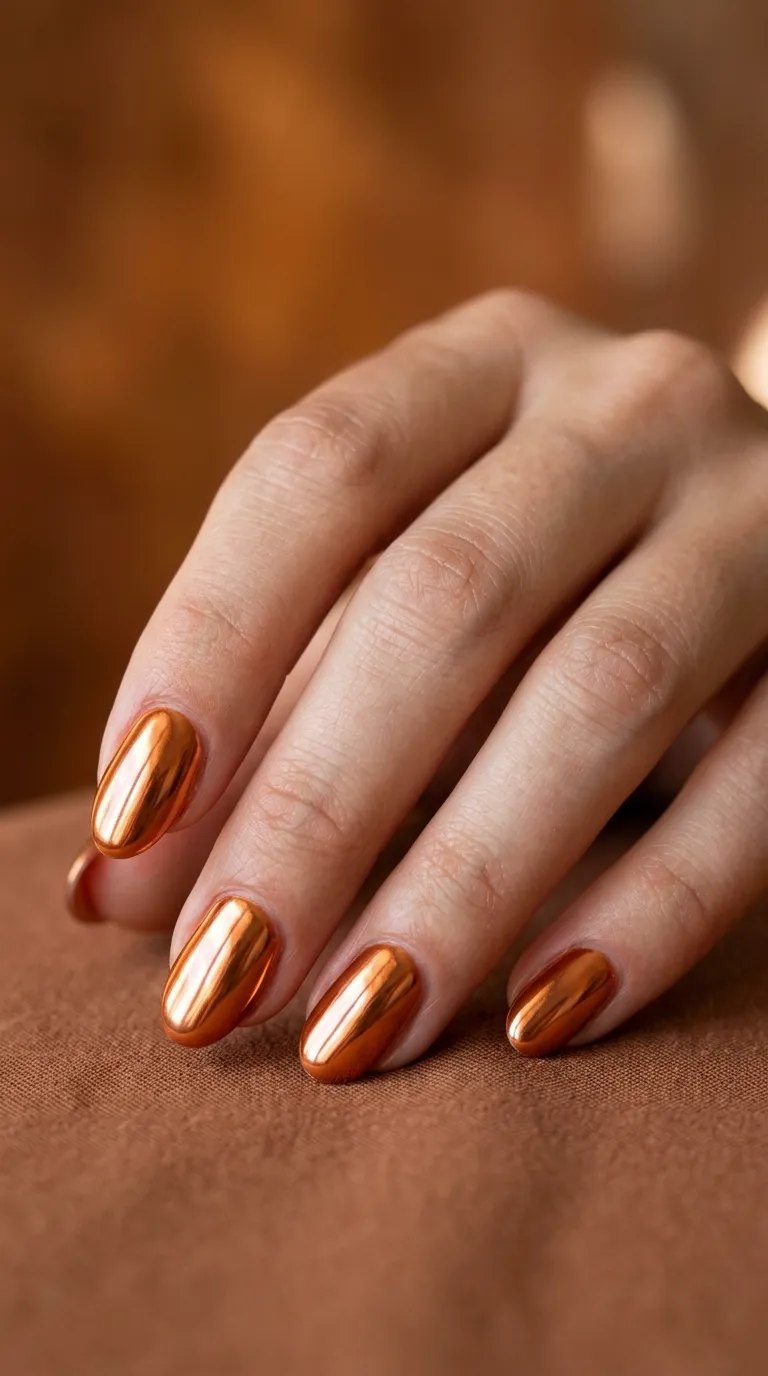
18. Chrome orange
Orange gel with chrome powder rubbed over a cured no-wipe top coat. It turns the color metallic, like copper foil. Difficulty: medium. It requires a UV or LED lamp, so this one is best left to a salon or home gel setup.
How to Choose Between These Pumpkin Nails
Start with the occasion, not the Pinterest board. For a normal work week, pick one of the first five. For a weekend event or a seasonal photo, pick from the patch or textured groups. Reserve the carved faces for Halloween week, when they look planned rather than early.
Match the orange to your undertone. Warm, golden undertones look good in burnt and rust oranges. Cooler or pinker undertones usually do better with peach and cream-based oranges. If an orange looks neon on you, add a thin layer of brown or nude underneath to calm it down. Our fall nail color trends page shows how this season’s oranges sit next to browns, greens and burgundies.
Shape matters too. Short square and squoval nails suit milky and matte oranges. Almond shapes give pumpkin faces and vines more room. Very short nails still work for pumpkin nails, but limit art to one or two accent nails.
Styling Pumpkin Nails With Your Outfit
Think of the nails as an accessory that should agree with the rest of your look. Soft pumpkin nails in milky orange or peach go with denim, cream knits and camel coats without competing. A bold orange with a glossy finish works best when the rest of your outfit is neutral: black, grey, brown or olive. If you are wearing orange clothing already, choose nails in a deeper rust or brown-orange so the colors layer instead of matching exactly.
For events, think about the setting. A pumpkin patch outing or a fall market suits hand-painted pumpkin nails with vines and leaves. A Halloween party can handle the carved faces and glitter flames. A work week is better with the milky, matte and French variations. Whichever you choose, carry one backup shade of the same orange in your bag, since small chips show quickly on warm colors.
Common Mistakes With Pumpkin Nails
The first mistake is using orange that is too bright for your skin tone, which can make hands look sallow. Test the shade on one nail before committing to a full set. The second is overloading the design: three small elements per hand is plenty. The third is skipping the top coat on hand-painted details, because paint on its own scratches and fades within days.
A fourth mistake is expecting heavy glitter or chrome to come off easily. Both take longer to remove, so book extra time or plan a proper soak. Finally, avoid cutting cuticles right before painting delicate pumpkin nails, since irritated skin around the nail makes fine linework harder and uncomfortable to redo.
Making Pumpkin Nails Last (and Avoiding Orange Stains)
Orange pigments can stain bare nails yellow, especially the strong ones. Always use a base coat, even with sheer shades. Apply thin coats rather than one thick one, which chips faster, and seal the free edge with top coat. According to the American Academy of Dermatology, keeping nails trimmed and moisturizing the cuticle area helps nails stay healthy between manicures, which also helps polish last.
If you wear gel, don’t peel it. Soak it off properly, as explained in Healthline’s guide to removing gel polish. If you’re deciding between formulas, our comparison of gel nails versus acrylic for fall walks through wear time and removal.
Doing Pumpkin Nails at Home
You need five tools: a base coat, two oranges (one light, one deep), a thin liner brush, a dotting tool and a good top coat. Paint the base, wait until it is fully dry (not just touch-dry), then add details. A dot of black on a toothpick works for eyes. Work with a small amount of paint on the brush, because too much paint pools and smudges.
If you want an autumn color set beyond orange, the apple orchard nail ideas and cute Halloween nails pages offer other soft options. For a quick overview of the full season, check the fall nail designs guide.
Frequently Asked Questions
When should I wear pumpkin nails?
September through Thanksgiving works for the soft and patch designs. Jack-o’-lantern faces look best in the final two weeks of October.
What color pumpkin polish suits most skin tones?
Burnt orange and peach-orange are the most forgiving. If you’re unsure, try a milky orange, which is sheer and adjusts to your natural nail color.
Can I do pumpkin nails on short nails?
Yes. Stick to one or two accent nails with a small pumpkin and keep the rest in a solid or milky shade, so the set doesn’t look crowded.
How do I stop orange polish from staining my nails?
Use a base coat every time and apply thin layers. If the nails still look yellow after removal, buff gently and let them rest for a few days.
Are 3D pumpkin charms practical?
They look great, but they can catch on clothing and hair. They are best for special events or for people who don’t mind a bit of care with knitwear.
How long do pumpkin nails last?
Regular polish usually lasts about a week. Gel lasts two to three weeks with good prep, though hand-painted details can wear down at the tips first.
Whichever of these pumpkin nails you choose, keep the design simple enough that you’ll still like it in two weeks. A clean orange with one tiny pumpkin often looks better than five pumpkins fighting for space.
Compare Before You Choose
See the Closest Alternatives
Compare nearby shapes, colors and finishes before picking a final reference.
Recommended Next