A good manicure inspiration photo tells you what the design looks like. It rarely tells you how it was actually made. This roundup of september nails designs fixes that — fifteen looks, each with the specific technique and tools involved, so you can either walk into a salon with real information or attempt a version yourself with a realistic sense of what’s required.
15 September Nail Designs, With the Technique Behind Each One (september nails designs)
These september nails designs range from beginner-friendly to genuinely advanced, so we’ve ordered them roughly from easiest to most technical, and each of these september nails designs notes the tools you’ll actually need.
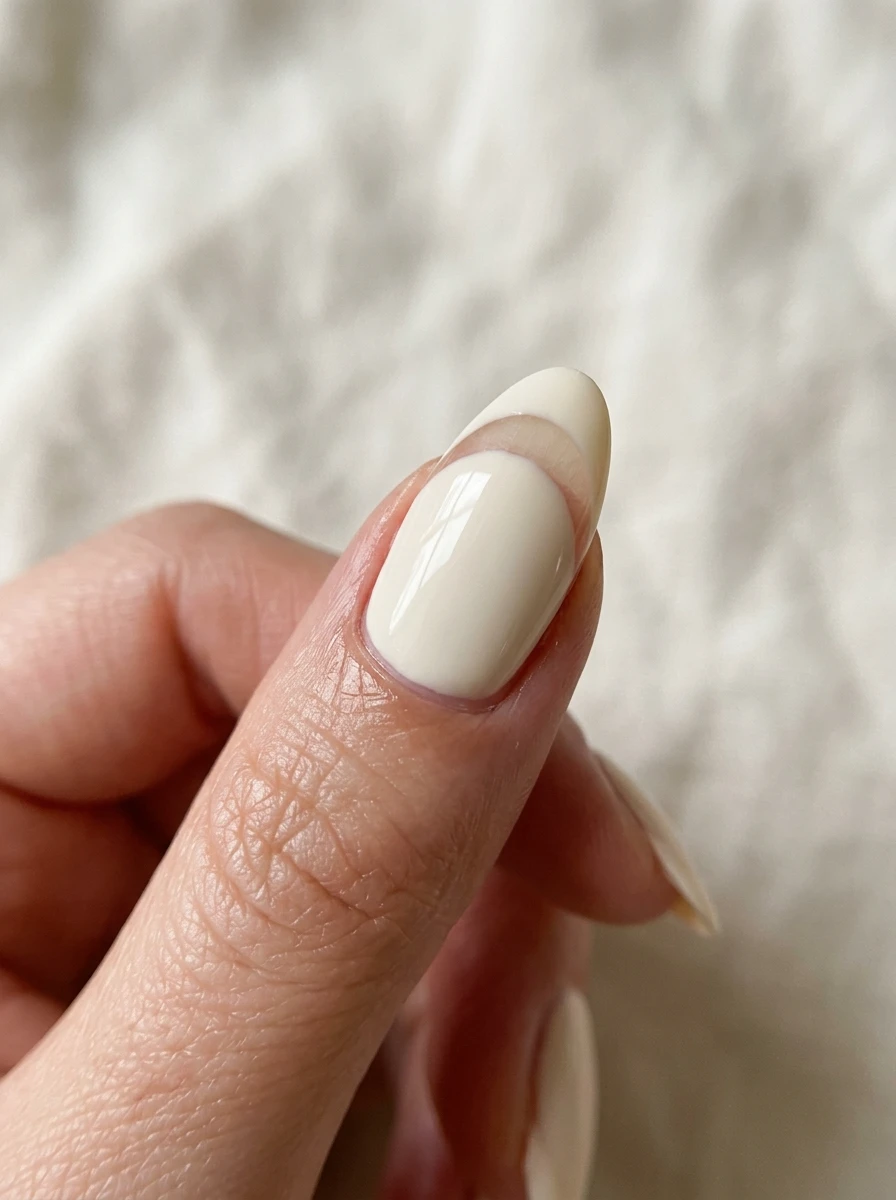
1. Negative-space French tip. Instead of a solid color at the tip, a thin unpainted gap separates the base color from the tip color. Technique: paint the base color leaving a deliberate gap near the smile line, then add the tip color using a thin liner brush along the guide. Tools: a striping brush and a steady hand, or nail vinyls for a cleaner line. For more variations on this look, see our full negative-space nail art 2026 guide. If you’re browsing options for september nails designs, this idea captures the mood perfectly.
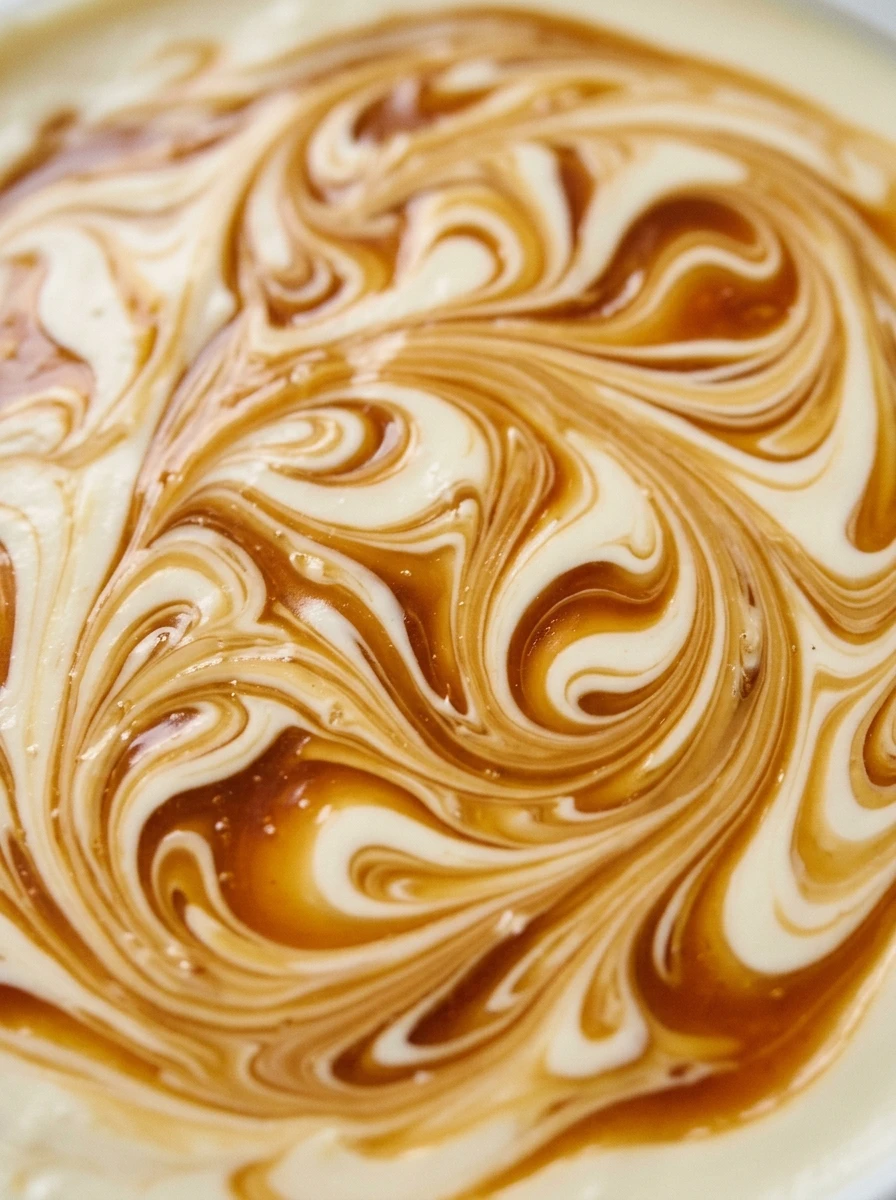
2. Caramel-and-cream marble swirl. A soft, organic marbling effect using two close-toned polishes. Technique: drop small amounts of both colors onto a plate or foil, drag a thin tool through them in loose swirls, then transfer the pattern onto the nail using a marbling tool or a fine brush. Tools: a marbling or dotting tool, nail foil or a ceramic plate as a mixing surface. This is one of the easiest september nails designs to recreate at home or ask for at the salon.
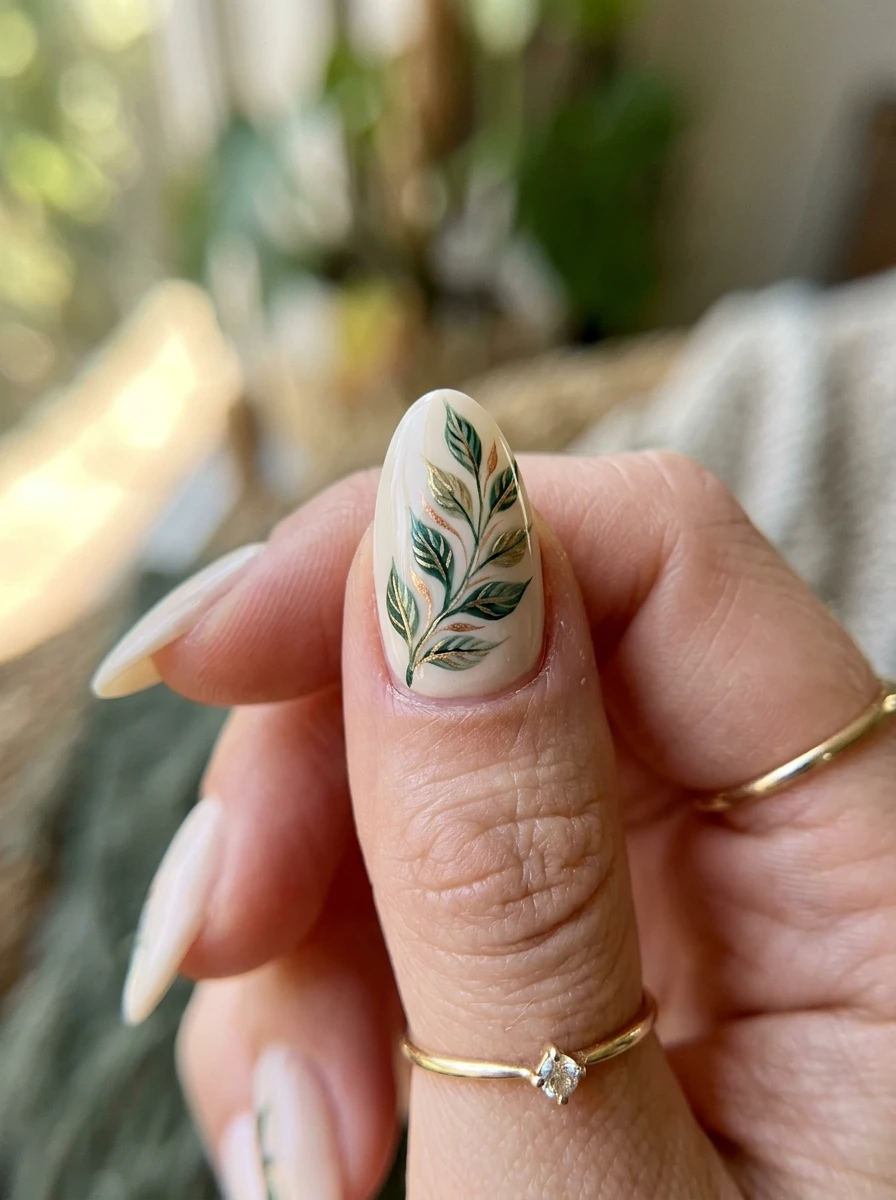
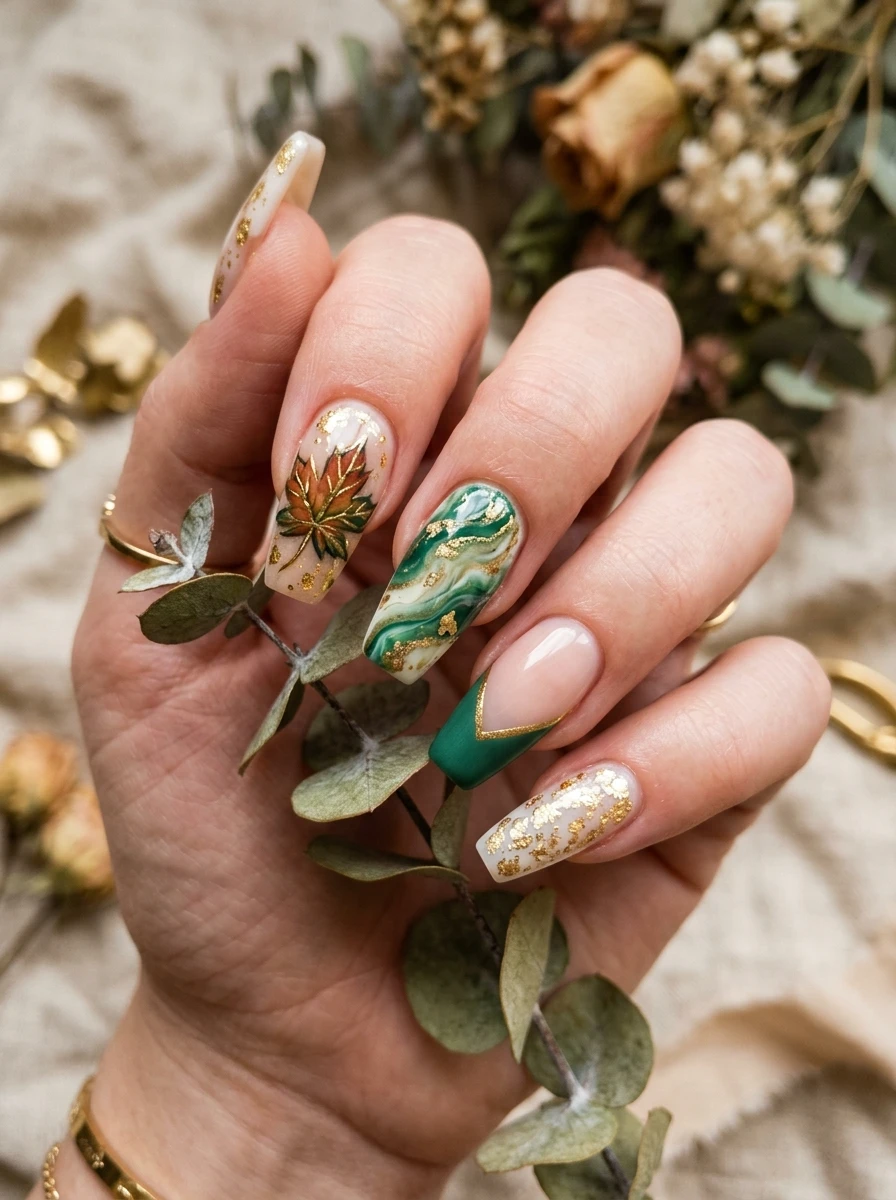
3. Hand-painted single leaf accent. One small, warm-toned leaf painted on an accent nail, left simple against a solid base color. Technique: use a flat detail brush to paint a teardrop leaf shape, then add a thin center vein line once the leaf shape has dried slightly. Tools: a size 000 or 00 detail brush, two polish shades in the same warm family for shading. Save this as a reference next time you want fresh september nails designs ideas.
4. Chrome cat-eye. A magnetic polish effect that creates a light streak resembling a cat’s eye, using a special magnetic top coat and a wand magnet. Technique: apply the magnetic polish, hold the magnet close to (not touching) the nail for several seconds to pull the metallic particles into a line, then cure or let dry before sealing with top coat. Tools: magnetic cat-eye gel polish and its matching magnet wand — this is a specific product pairing, not a general technique that works with any polish. It’s a solid pick when you’re comparing different september nails designs for the season.
5. Warm ombré fade. A gradient moving from a lighter warm shade at the cuticle to a deeper tone at the tip. Technique: apply the lighter shade as a base, then sponge the darker shade on starting from the tip and blending upward while both are still slightly wet. Tools: a makeup sponge, two polishes in the same color family a shade or two apart. This look shows why september nails designs keep trending year after year.
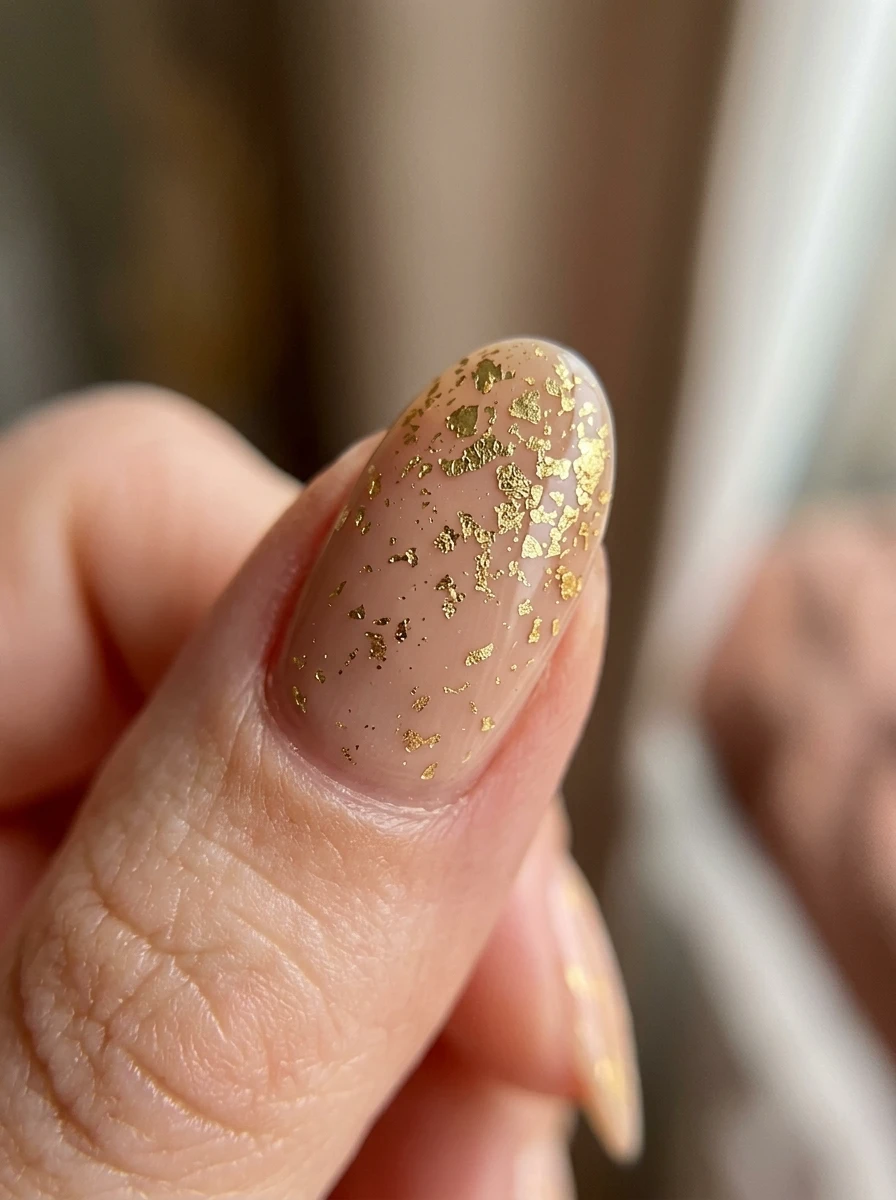
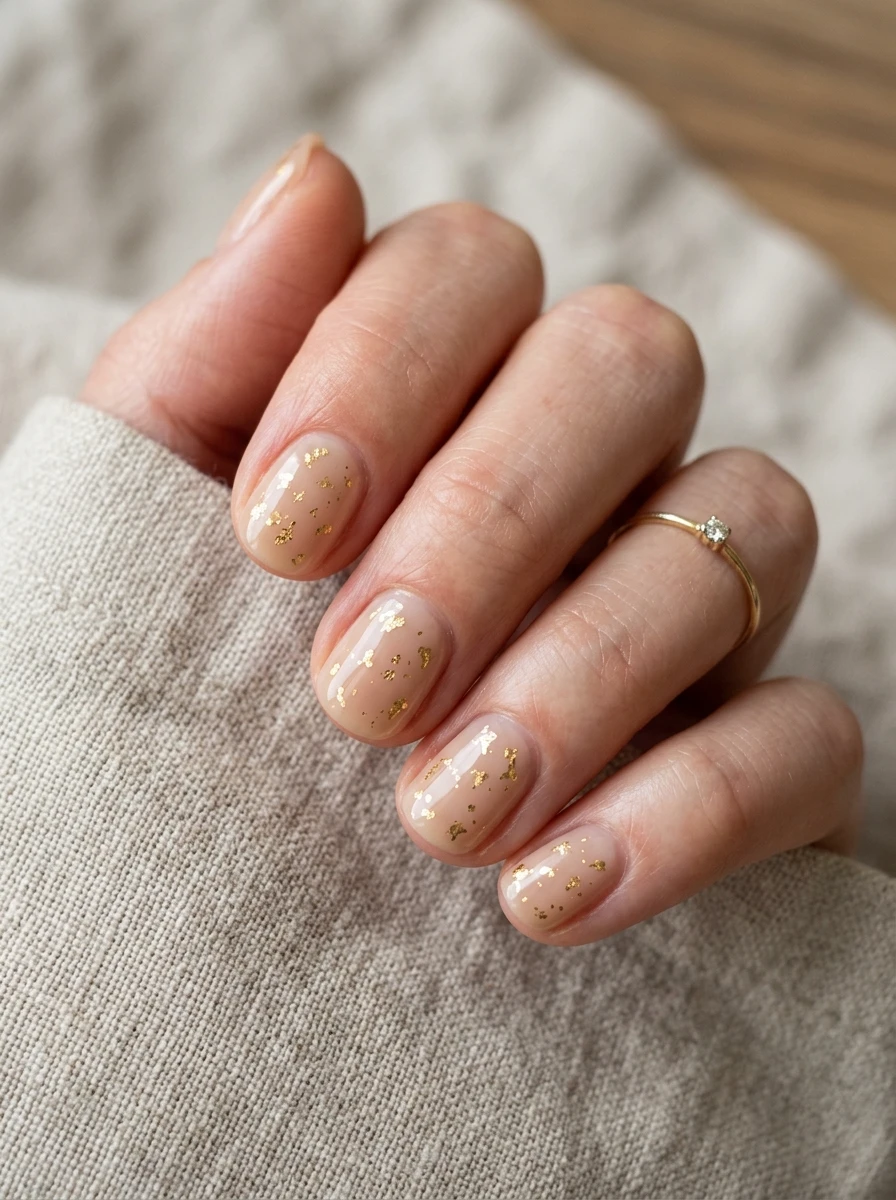
6. Fine gold-leaf fleck. Small irregular gold flecks scattered over a nude or warm neutral base, giving a subtle glimmer without full glitter coverage. Technique: apply the base color, then use tweezers to place small pieces of gold leaf sparingly before sealing with a thick top coat. Tools: genuine or imitation gold leaf sheets, tweezers, a slightly tacky top coat to help the leaf adhere. Bring a photo of this to your nail tech if you love this take on september nails designs.
7. Micro-dot constellation. Tiny dots arranged in loose, asymmetrical clusters resembling stars, usually on a deep base color. Technique: use the ball end of a dotting tool dipped lightly in white or metallic polish, tapping dots in varying sizes rather than a uniform grid. Tools: a dual-ended dotting tool in at least two sizes. It’s proof that september nails designs don’t have to be complicated to look polished.
8. Abstract line-art accent. Thin, irregular painted lines in a single contrasting color, usually on one or two accent nails. Technique: using a striping brush loaded with a thin polish consistency, draw a few deliberate but imperfect lines across the nail — the irregularity is the point, not a flaw to fix. Tools: a fine striping brush, and a bit of polish thinner if your polish is too thick to move fluidly. This variation works well whether you’re after short or long september nails designs.
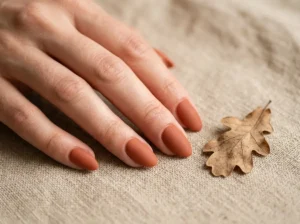
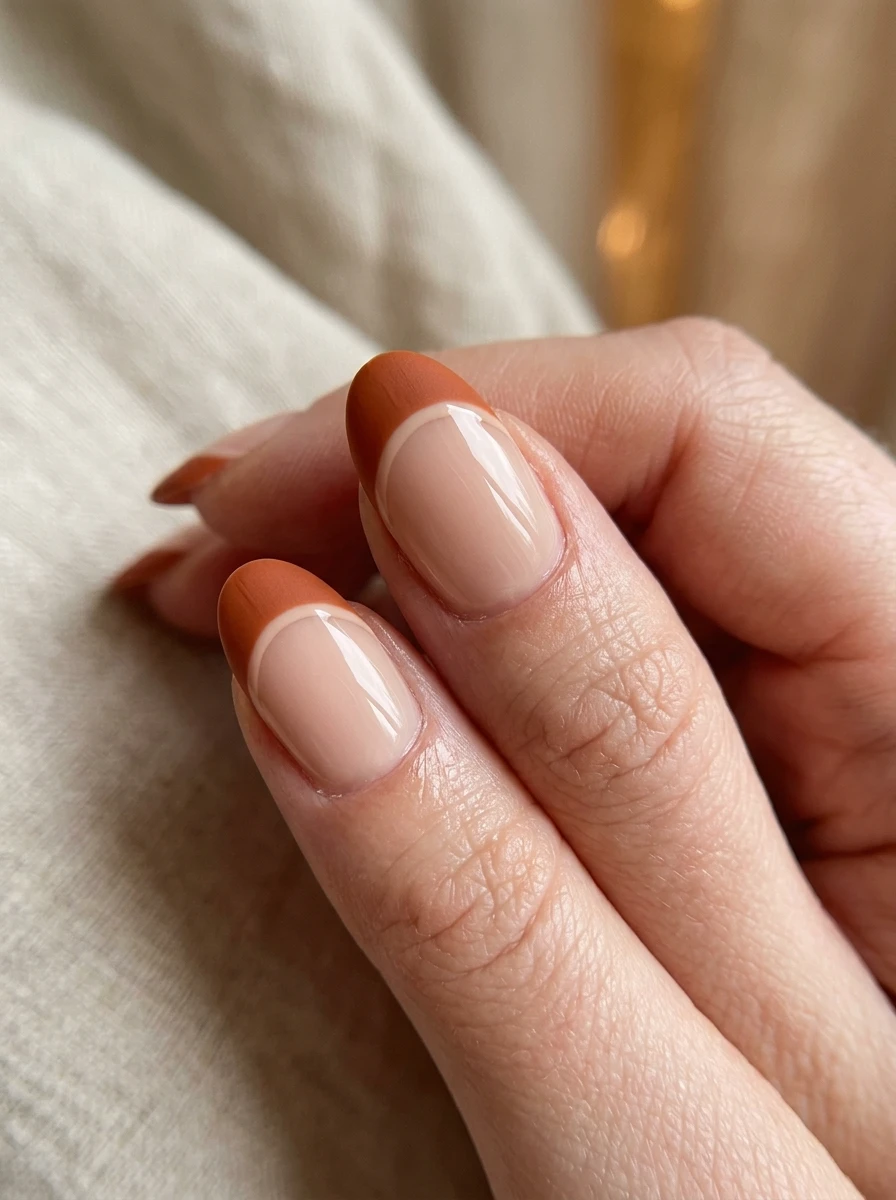
9. Terracotta half-moon. A reverse manicure where the cuticle-area half-moon is left in a contrasting nude while the rest of the nail is a solid terracotta. Technique: apply the terracotta base first, let it fully dry, then use a half-moon-shaped nail sticker or vinyl at the cuticle before applying a nude polish over it and peeling the sticker away. Tools: half-moon nail vinyls or stickers, two polish colors. Keep this in your saved folder of september nails designs for later.
10. Two-tone marble drag. Similar to the caramel-and-cream swirl but using higher contrast colors, like a deep plum against a warm cream. Technique: same drop-and-drag marbling process as design 2, but using colors with more visual contrast for a bolder finished look. Tools: same as design 2 — marbling tool and a mixing surface. A great everyday option among september nails designs that still feels intentional.
11. Watercolor wash accent. A soft, blended patch of color on one nail that fades outward like a watercolor painting rather than a hard edge. Technique: apply a small amount of polish or gel paint to a sponge, dab it onto the nail in a loose shape, and immediately blend the edges with a clean, slightly damp brush before it sets. Tools: a small sponge, a soft blending brush, and gel paint (which stays workable longer than regular polish).
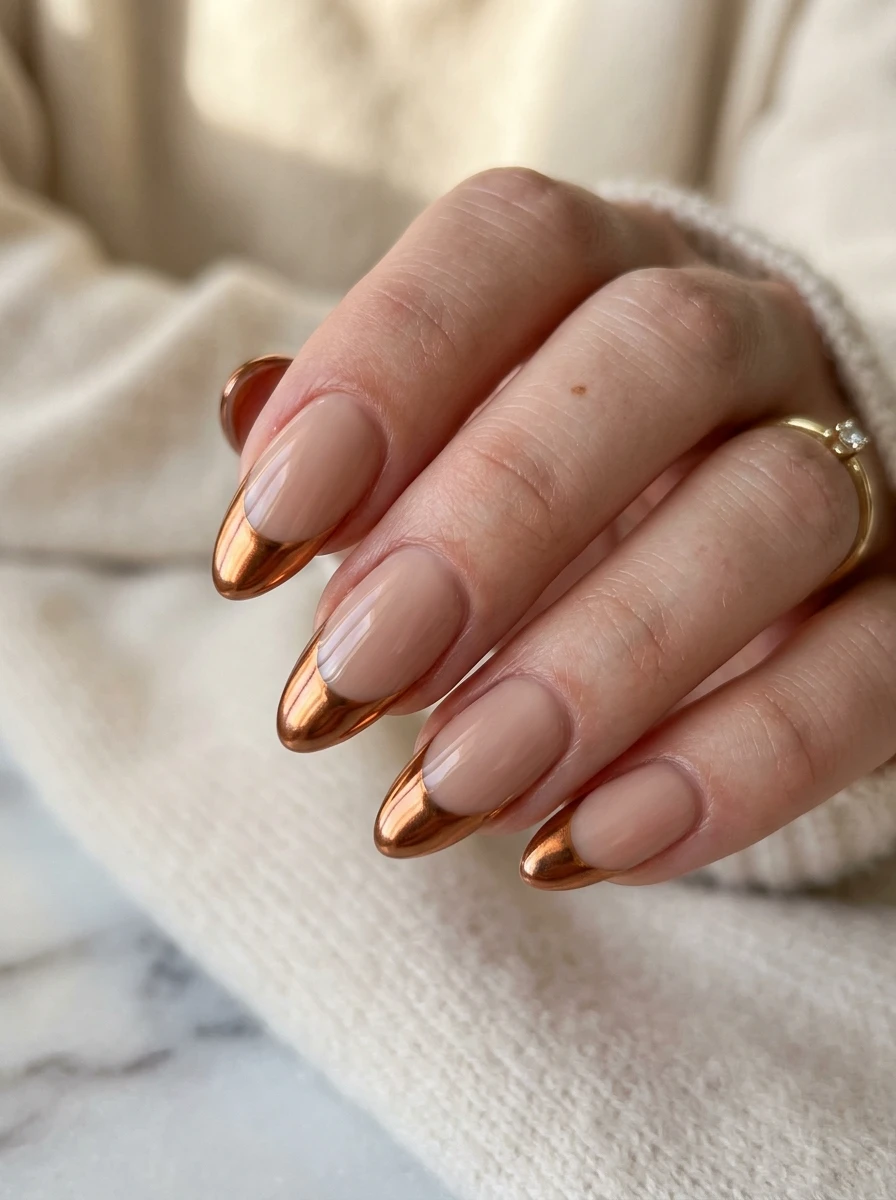
12. Chrome French tip. A French manicure where the tip is chrome rather than solid color. Technique: paint the base color, apply chrome powder only to the tip section using a small sponge-tip applicator, then buff gently and seal with top coat. Tools: chrome powder, a small foam applicator, and a soft buffer.
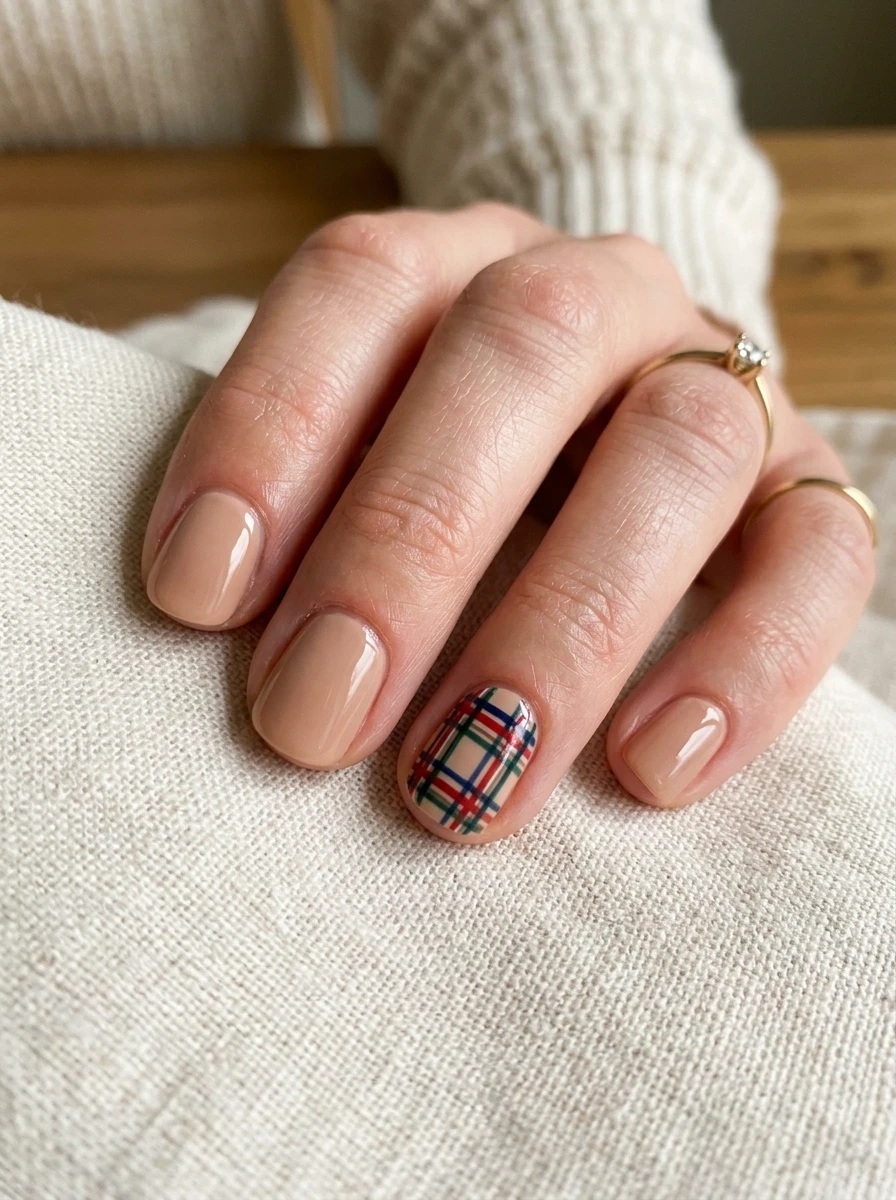
13. Warm plaid accent. A simplified plaid pattern using two or three thin crossing lines, usually confined to one accent nail. Technique: paint a base color, then use a striping brush to add evenly spaced parallel lines in one direction, followed by a second set crossing perpendicular to the first in a different shade. Tools: a fine striping brush, two to three coordinating polish shades.
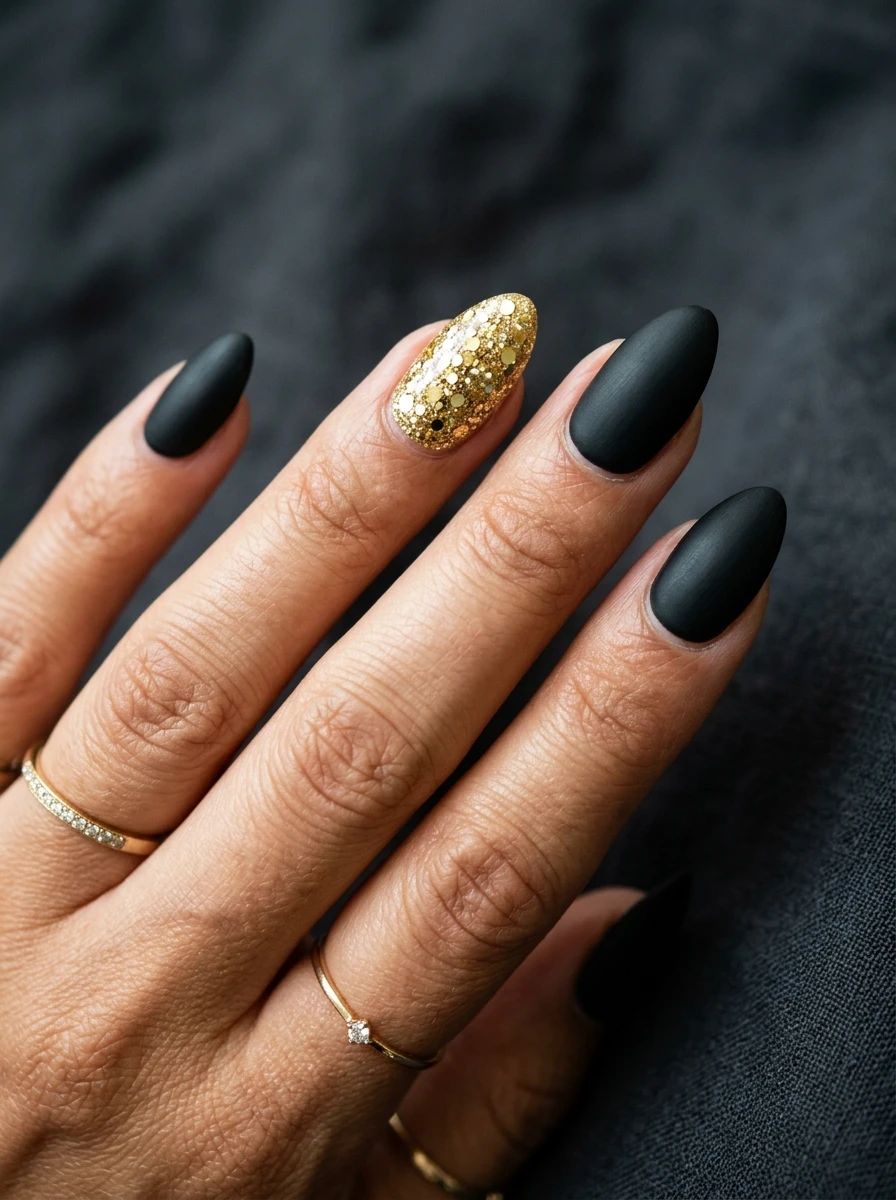
14. Textured sugar finish over jewel tone. A matte, sandy texture applied over a rich base color like garnet or emerald. Technique: apply the base color, then apply a specialized textured or “sugar” top coat, which creates the grainy finish as it dries. Tools: a texture-specific top coat product — this effect can’t be replicated with a standard top coat.
15. Hand-painted butterfly accent. A small, simplified butterfly shape painted on one accent nail, often paired with a solid warm base on the remaining nails. Technique: paint two teardrop wing shapes meeting at a center point, add a thin body line down the middle, then use a fine brush to add small dot or line details to the wings once the base wing color is dry. Tools: a detail brush, a dotting tool for wing details, and at least two colors for wing shading. For more butterfly variations, our butterfly nail art 2026 guide covers several complexity levels of this same design.
Taken together, these fifteen looks cover most of the technique categories you’ll encounter across current september nails designs — layering, blending, texture, and fine detail work — so you should be able to match nearly any inspiration photo you come across this month to one of the methods above.
Which of These to Attempt Yourself
Designs 1, 5, and 9 are the most approachable if you’re doing your own nails, since they rely on layering and blending rather than fine detail work. Designs 3, 8, 13, and 15 require a genuinely steady hand and a proper detail brush — they’re doable at home with practice, but expect your first attempt to look looser than the reference photo. Designs 4 and 14 depend on specific specialty products (magnetic cat-eye polish and textured top coat, respectively) and won’t work with substitutes, so check what you actually have before planning around them. As with any of these september nails designs, doing a test nail first on a spare tip or your non-dominant hand can save you from redoing a whole set.
When to Leave It to a Professional
Designs involving gold leaf, fine marbling, or detailed hand-painted elements like the butterfly or leaf accent are where most people get the best results from a licensed nail tech rather than attempting them solo. A trained tech has the brush control and practice to make these look clean rather than smudged, and many publish their own process breakdowns online — a licensed nail tech’s technique tutorial is a genuinely useful watch before your appointment if you want to understand what you’re asking for and roughly how long it should take in the chair.
How Long Each Design Realistically Lasts
Wear time varies a lot across these fifteen september nails designs, and it’s worth knowing before you commit to one. Solid-technique designs like the ombré fade, half-moon, and chrome French tip tend to hold up closest to a normal gel manicure, generally three to four weeks, since there’s no fine raised detail to snag or chip first. Designs with painted texture on top of the base — the leaf accent, butterfly, plaid, and line-art looks — usually show wear on the painted element before the underlying gel actually needs redoing, so plan on a touch-up around the two-and-a-half week mark even if the rest of the set still looks fine. The specialty-product designs, cat-eye chrome and the textured sugar finish, sit somewhere in between, generally lasting close to three weeks but requiring a specific top-coat refresh to keep their signature effect looking crisp.
Bringing a Design to Your Appointment
Whichever of these fifteen these catches your eye, bring more than just the photo — mention the technique by name if you know it (“marble swirl,” “negative space,” “cat-eye chrome”) so your tech immediately knows the tool and process involved rather than having to reverse-engineer it from a picture. That one detail alone tends to be the difference between a design that turns out close to your reference and one that gets reinterpreted into something simpler because the technique wasn’t clear going in.
Compare Before You Choose
See the Closest Alternatives
Compare nearby shapes, colors and finishes before picking a final reference.
Recommended Next