Making the Most of a Stiletto Canvas
Once you’ve committed to the shape covered in our long stiletto nails guide, the next question is what to actually put on that dramatic, tapered canvas. This roundup of stiletto nail art ideas gives you fifteen specific directions, from simple solid color to elaborate multi-technique designs, so you can walk into your next appointment with a clear reference instead of a vague idea. The American Academy of Dermatology recommends proper nail prep before any long extension to protect the natural nail bed.
Why Stiletto Nails Are Such a Good Canvas for Art
The wide base and dramatic taper of a stiletto nail give artists more usable surface area than most other shapes, especially near the base where designs have room to breathe before narrowing toward the point. This makes techniques like ombre, negative space, and detailed linework read more dramatically on stiletto nails than on shorter, rounder shapes, where the same design would have much less room to develop.
15 Stiletto Nail Art Ideas
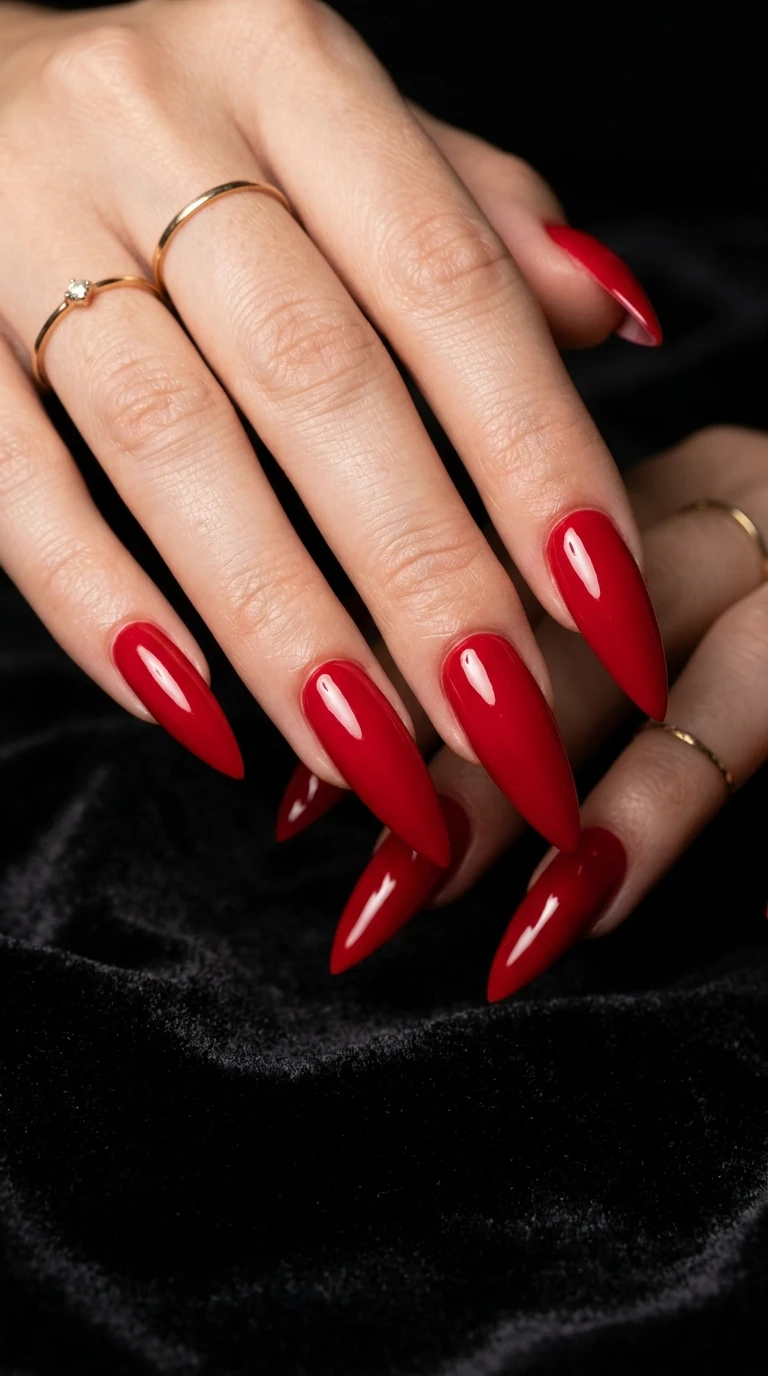
1. Solid Glossy Red
A classic, saturated red that lets the dramatic shape speak for itself without additional detail.
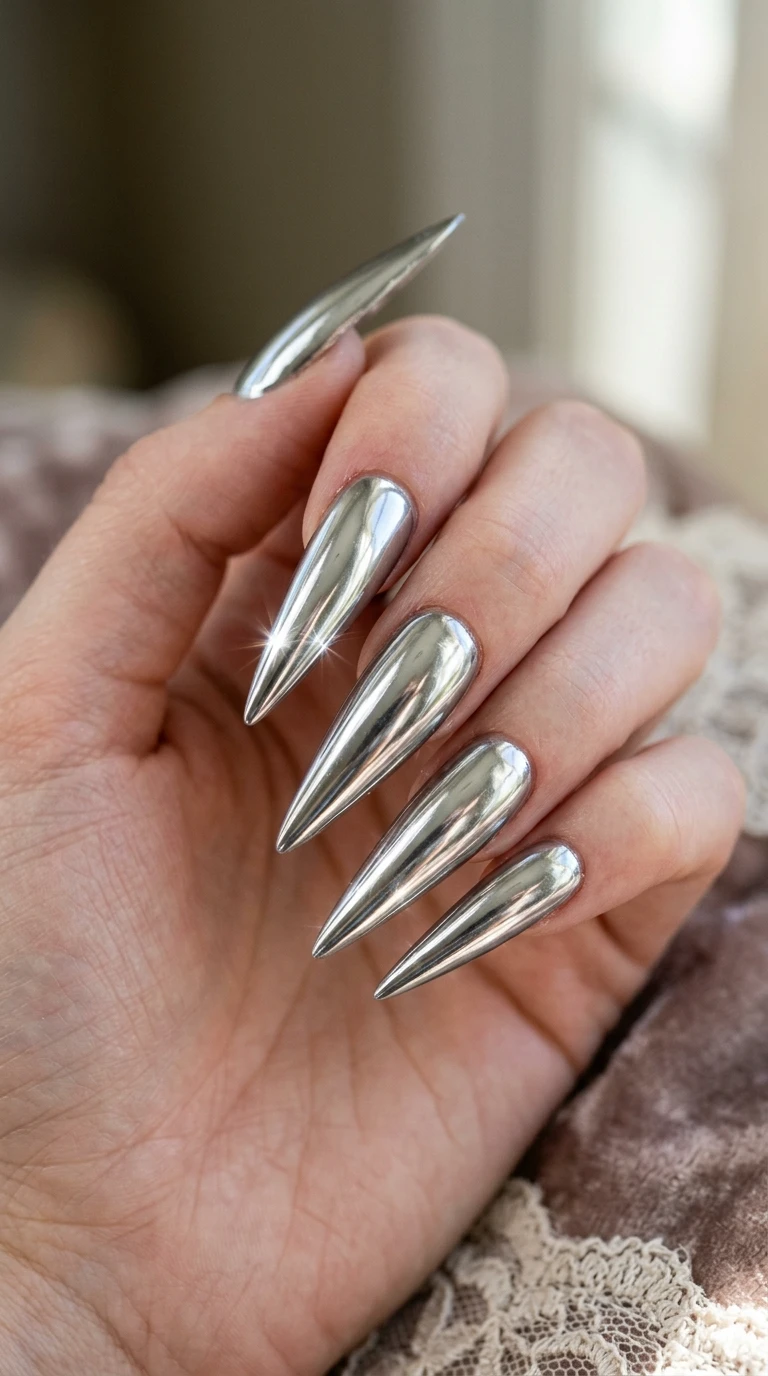
2. Full Chrome
A complete mirror chrome finish that catches light dramatically across the nail’s long taper. High-shine finishes like this are a favorite among stiletto nail art ideas.
3. Negative Space Geometric
Thin, unpolished lines or shapes near the base create a modern, architectural look, detailed further in our negative space nail art guide.
4. Ombre Sunset
A gradient from deep red at the base to a lighter orange tip, using the nail’s length to show a full color transition.
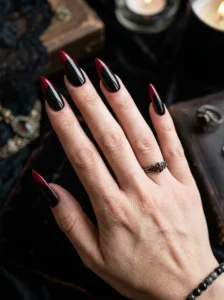
5. Matte Black With Glossy Tip
A matte black base finished with a glossy clear tip for striking contrast. Contrast is a recurring theme across bolder stiletto nail art ideas.
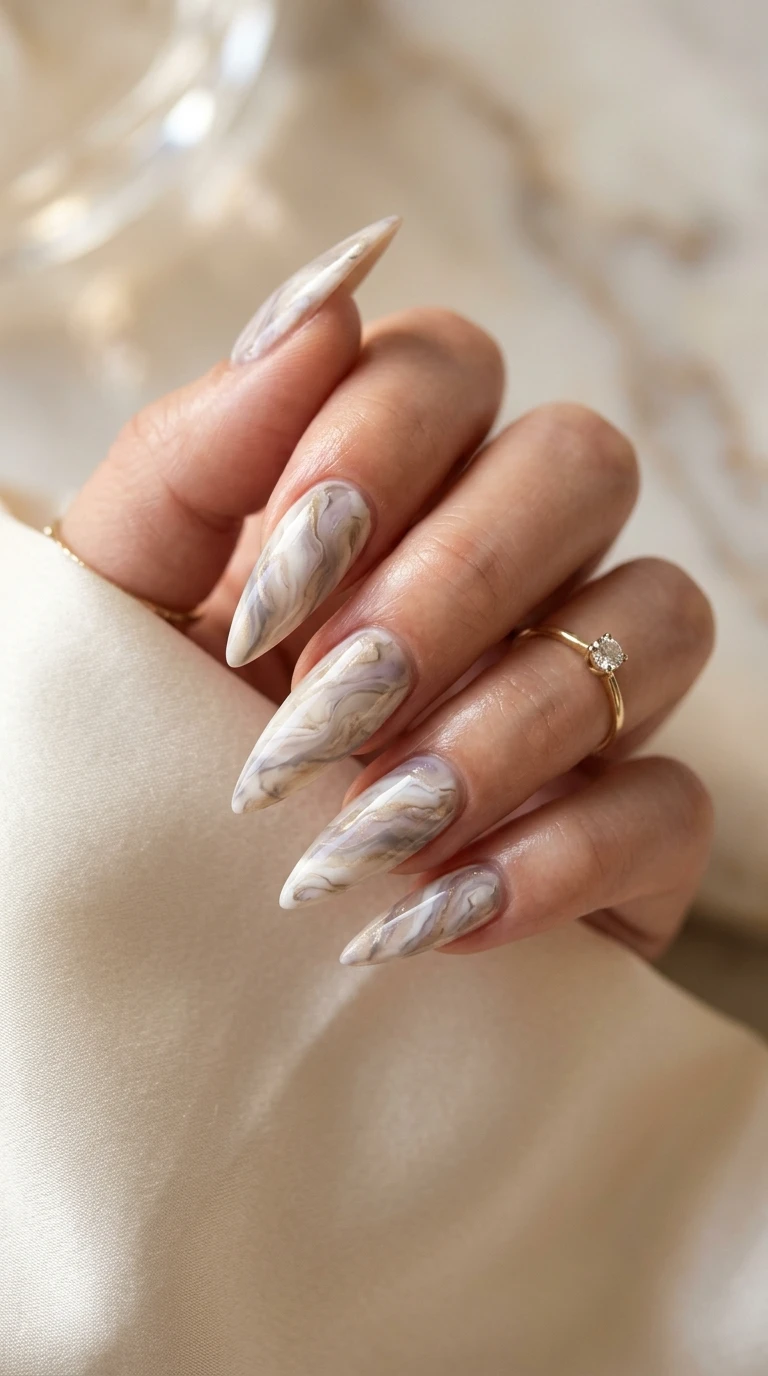
6. Marble Swirl
A soft, swirled marble effect in two or three complementary tones across the wide stiletto surface.
7. French Tip Stiletto
A classic white French tip adapted to the pointed shape for a fresh spin on a familiar look.
8. Rhinestone Cluster at the Point
A concentrated cluster of small rhinestones right at the tip, drawing the eye to the sharpest part of the shape. Sparkle placement like this is common in more detailed stiletto nail art ideas.
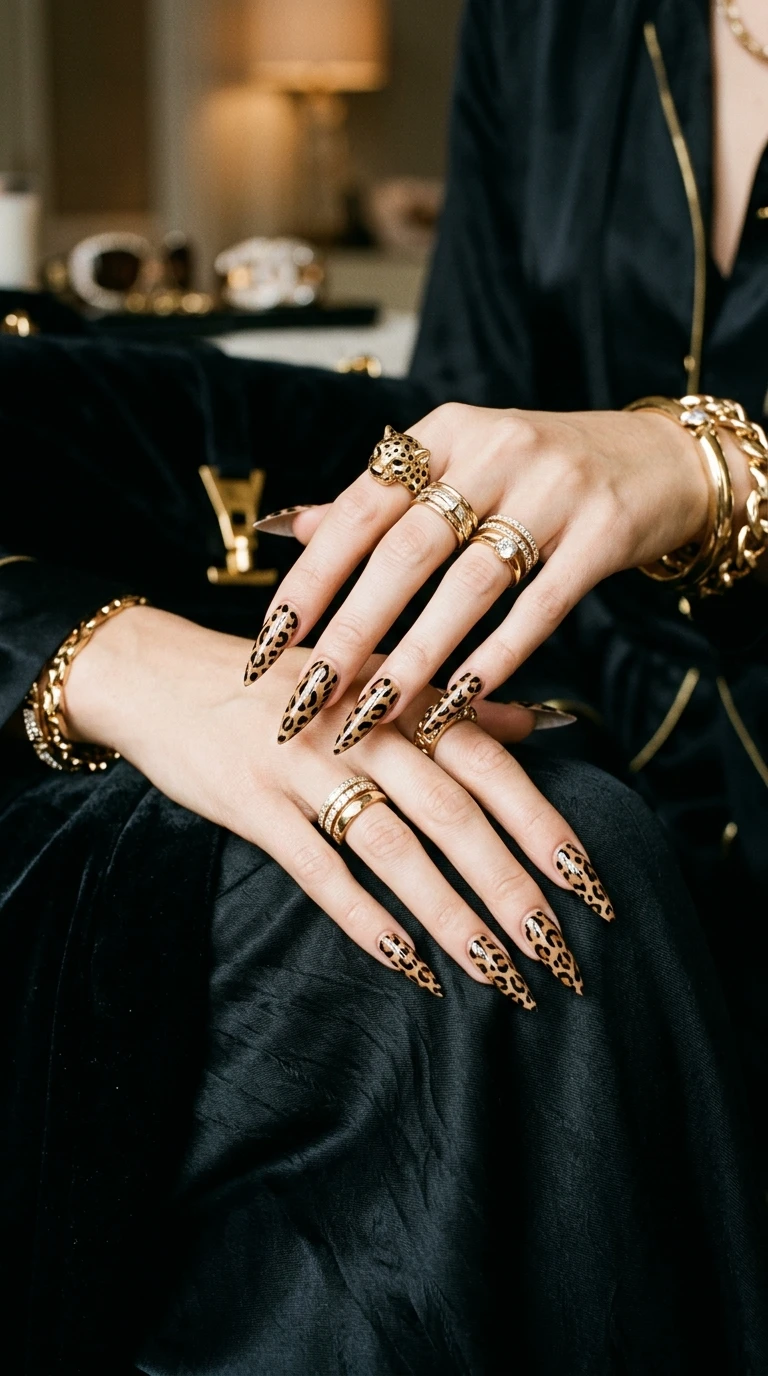
9. Animal Print
Leopard or snake print in warm tones, echoing looks in our animal print nails guide, spread across the wider stiletto canvas.
10. Jewel-Toned Gloss
Emerald, sapphire, or deep plum in a rich, high-gloss finish for a luxurious statement look.
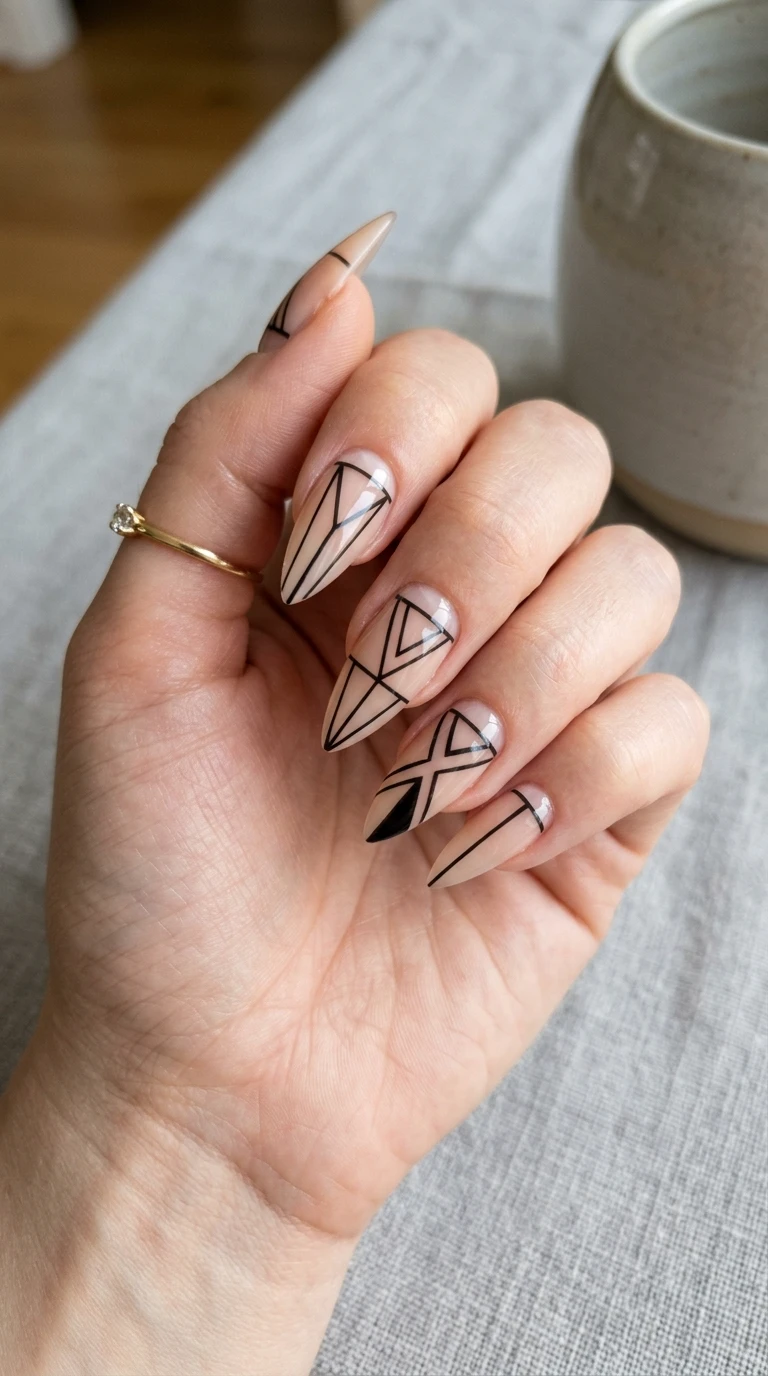
11. Geometric Line Art
Thin, precise lines in a contrasting color creating angular patterns that echo the nail’s own sharp taper.
12. Half-Moon Reverse
Color at the base with a bare or sheer tip, a reversed take on the classic half-moon manicure. Reversed color placement is a fun twist within these stiletto nail art ideas.
13. Metallic Foil Accent
A thin gold or copper foil line along the edge of an otherwise solid, matte base.
14. Two-Tone Split
A diagonal split of two contrasting colors down the length of the nail, taking advantage of the stiletto’s long surface.
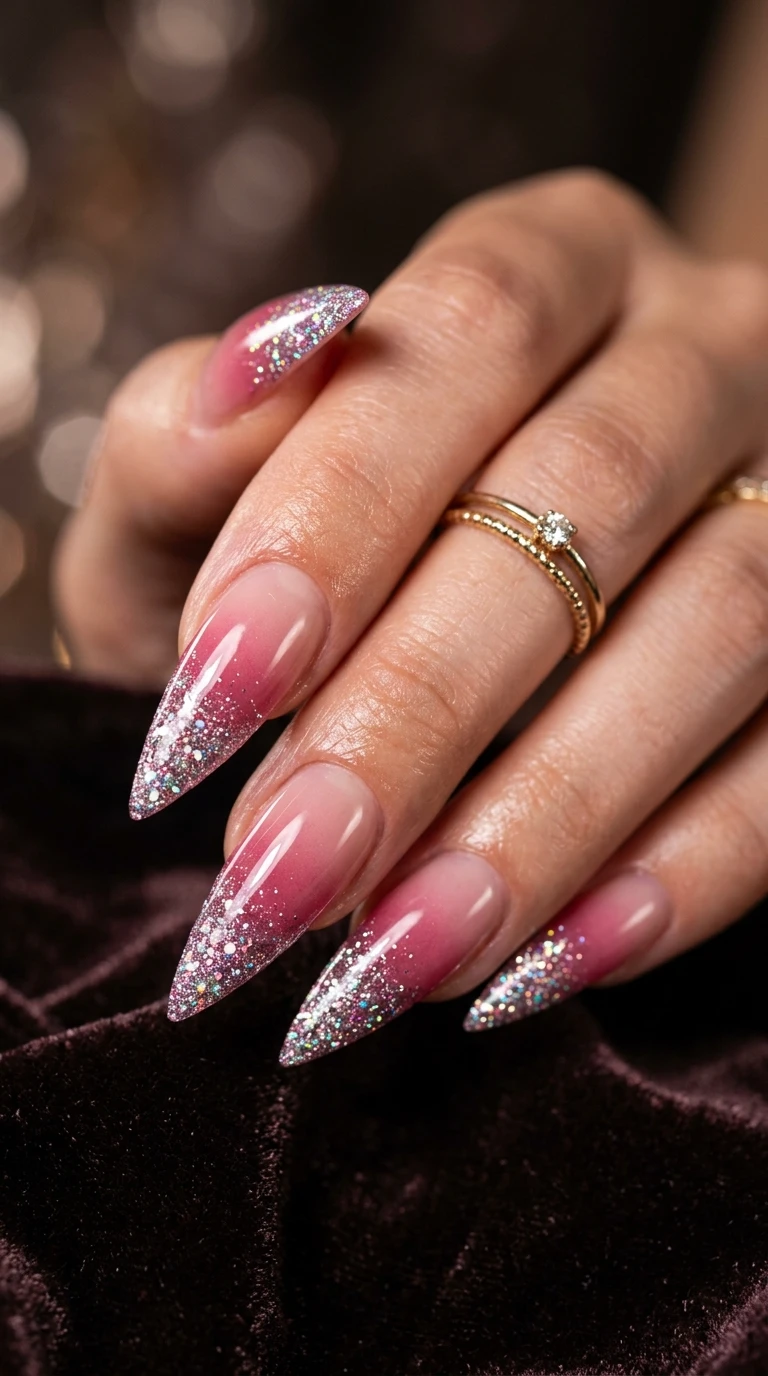
15. Airbrushed Gradient With Glitter Tip
A soft airbrushed color fade finished with a concentrated glitter tip at the point for extra drama.
Matching Nail Art to Your Comfort Level
If you’re newer to the stiletto shape, start with a solid color (ideas 1, 5, 10) before moving into more detailed techniques. Once you’re comfortable with the length and shape, negative space and geometric designs (3, 11) add visual interest without requiring extensive salon time. The most elaborate options, marble, animal print, and airbrushed gradients (6, 9, 15), are best left to an experienced nail tech for a clean, professional result.
DIY-Friendly Options From This List
Solid colors, the French tip variation, and the two-tone split are all genuinely achievable at home with basic tools and a bit of practice. Negative space designs are more approachable than they might look, since you’re essentially just leaving strategic areas of the nail bare rather than adding intricate detail. Save the rhinestone clusters, marble effects, and airbrushed looks for a salon visit where the right tools and technique make a real difference in the final result.
Techniques Worth Learning for Stiletto Nail Art
Sponge Gradient Blending
Essential for the ombre and sunset looks, dabbing two or three colors onto a makeup sponge and pressing onto the nail creates a smooth transition.
Striping Tape
Useful for clean geometric lines and the two-tone split, letting you achieve crisp edges without steady freehand skill.
Foil Application
A simple technique using adhesive and thin metallic foil sheets to add shine and detail along edges or accent areas.
Color Families That Work Best on This Shape
Deep, saturated colors, reds, jewel tones, and black, tend to look the most intentional on stiletto nails because they emphasize the dramatic silhouette rather than competing with it. Softer pastels can work too, especially for the negative space and marble designs, but they read as a gentler, less bold take on the shape overall.
Caring for Detailed Stiletto Nail Art
Because these designs often include multiple layers, base color, detail work, and embellishments, a strong top coat matters even more than usual. Seal any 3D elements like rhinestones carefully, and reapply top coat around the ten-day mark to keep detailed designs looking crisp rather than dulled or lifted at the edges.
How Salon Techs Approach Stiletto Nail Art
Detailed stiletto designs typically require more appointment time than a standard manicure because of the extra prep involved, shaping the point precisely on all ten nails before any art can begin. Experienced techs usually complete the shaping and base application first, confirming the length and taper look symmetrical, before moving on to detail work like marble effects, foil, or rhinestone placement. Booking extra time for your appointment, especially for the more elaborate designs on this list, helps avoid a rushed result.
Building a Reference Board Before Your Appointment
Because stiletto nail art spans such a wide range of possible looks, from a simple solid color to an airbrushed multi-technique design, bringing a clear reference photo (or a few, if you’re combining elements from different ideas on this list) helps your nail tech understand exactly what you’re picturing. This is especially useful for negative space and geometric designs, where small placement differences can significantly change the overall effect.
Pairing Nail Art With Different Stiletto Lengths
Shorter Stiletto (Just Past the Fingertip)
Simple designs, solid colors, French tips, and small accent details work best here since there’s less surface area for elaborate multi-step art.
Medium Stiletto
This length handles most of the fifteen ideas on this list well, including ombre and negative space designs that need a bit more room to develop.
Extra-Long, Dramatic Stiletto
The most elaborate options, marble, airbrushed gradients, and multi-color splits, look most striking here, where the extended length gives these techniques room to fully develop.
Seasonal Color Adjustments for This List
While the techniques on this list work year-round, the specific colors you choose can easily shift with the season. Try the jewel-toned gloss idea in deep emerald or burgundy for fall and winter, or lean into warmer coral and gold tones for the same technique during spring and summer. This flexibility means you don’t need fifteen completely different design concepts throughout the year, just seasonal color swaps within the same core techniques.
Budget Considerations for Detailed Nail Art
Solid colors and simple French tip variations are the most budget-friendly options on this list, requiring standard polish and application time. Techniques involving rhinestones, foil, or airbrushing add cost due to both materials and the additional time a skilled tech needs to execute them well. If budget is a concern, choose one focal detail, like a rhinestone cluster on just the accent nail, rather than applying an elaborate technique across the full set.
Removing Detailed Stiletto Nail Art Safely
Because these designs often involve extensions, multiple polish layers, and sometimes embellishments, proper soak-off removal matters even more than usual. Attempting to peel or pick off a heavily detailed set risks pulling away layers of the natural nail along with the design. A professional soak-off, or a careful at-home acetone soak with foil wraps, protects your natural nails for whatever stiletto design you try next.
Combining Multiple Ideas Into One Set
Many of the most striking stiletto sets combine two or three ideas from this list rather than sticking to just one. A solid jewel-toned base (idea 10) paired with a rhinestone cluster at the tip (idea 8) on just the ring finger, for example, gives you a cohesive look with one standout detail. This kind of thoughtful combination often reads as more intentional and polished than either technique applied alone across an entire set.
Mistakes to Avoid
- Choosing a design too intricate for your first stiletto set. Build confidence with the shape itself before adding complex nail art.
- Skipping practice on paper first for freehand designs. Geometric lines and marble effects benefit from a test run before committing to your actual nails.
- Overloading every nail with detail. One or two statement nails with the rest kept simple often looks more intentional than a fully matching, heavily detailed set.
- Ignoring nail health underneath elaborate designs. Extensions supporting detailed art still need the same care and periodic breaks as simpler stiletto sets.
Photographing Stiletto Nail Art
Because these designs rely on both shape and detail, photographing them well means capturing both elements clearly. Fan your fingers slightly rather than holding them tightly together, and angle your hand to show the full taper of the shape alongside whatever detail work is on the nail. Natural light brings out true color and shine far better than indoor lighting, which matters especially for chrome, foil, and glitter-based designs on this list.
What to Ask Your Nail Tech About Maintenance
Before leaving your appointment, ask specifically how to care for whatever design you chose, since maintenance can vary meaningfully between a simple solid color and something like a rhinestone cluster or airbrushed gradient. Detailed designs sometimes need slightly different at-home care, avoiding certain products that could dull chrome finishes, for example, so a quick conversation before you leave the salon sets you up for the longest possible wear.
Stiletto Nail Art for Special Occasions vs Everyday Wear
Some designs on this list suit big events better than daily life. The rhinestone cluster, airbrushed gradient, and full chrome options make strong statement pieces for a wedding, party, or photoshoot, while solid colors, the French tip variation, and subtle negative space designs hold up better as everyday looks that don’t feel like too much for a regular week. Matching the design’s intensity to how often you’ll actually be wearing it helps you get more genuine enjoyment out of the set.
How This List Complements Other Nail Trends on the Site
Many of these techniques, ombre, negative space, animal print, foil accents, aren’t exclusive to the stiletto shape and show up across other trend guides on the site. If you love the negative space geometric idea here but aren’t ready to commit to a full stiletto set, the same technique works beautifully on almond or coffin shapes too, detailed further in our broader negative space nail art guide. This crossover makes it easy to experiment with a technique on a more familiar shape before eventually trying it on stiletto nails specifically.
A Word on Confidence With Bold Nail Art
Stiletto nail art, almost by definition, draws attention. If you’re used to more understated manicures, easing into this list gradually, starting with a solid color before working up to more elaborate designs, gives you time to build comfort with both the shape and the attention it tends to attract. There’s no need to jump straight to the most dramatic option on this list if that doesn’t match how you’re feeling; the beauty of having fifteen ideas is that there’s a version of this trend for every comfort level.
Frequently Asked Questions
Which design is easiest for a first stiletto set?
A solid glossy color, like the classic red or a jewel tone, is the most beginner-friendly option and still delivers strong visual impact.
Can I do negative space designs myself?
Yes, with practice. It’s more about careful polish placement than freehand painting skill, making it more approachable than it might initially seem.
How long does detailed stiletto nail art last?
With gel polish and a strong top coat, most designs on this list last two to three weeks, similar to any other gel stiletto set.
What’s the most dramatic option on this list?
The airbrushed gradient with a glitter tip or the full chrome finish tend to make the biggest visual statement, especially on longer lengths.
Tools Worth Having for At-Home Attempts
If you’re trying any of the DIY-friendly designs from this list at home, a few specific tools make a real difference: a fine detail brush for linework, a makeup sponge for gradient blending, striping tape for clean geometric edges, and a good quality top coat to seal everything. None of these require a large investment, but having them on hand before you start prevents the frustration of improvising midway through a design and ending up with a messier result than planned.
How Long a Detailed Appointment Typically Takes
A simple solid color stiletto set might take around forty-five minutes to an hour at a salon, factoring in shaping and application. The more detailed designs on this list, marble, rhinestone placement, airbrushed gradients, can extend that appointment to ninety minutes or more, depending on the complexity and how many nails feature the detailed technique versus a simpler base color. Knowing this ahead of time helps you plan your schedule realistically rather than assuming every stiletto appointment takes the same amount of time.
Final Practical Tip Before You Book
Whichever design from this list catches your eye, take a moment to consider not just how it looks in a photo, but how it will feel to live with for the next two to three weeks. Elaborate designs are wonderful for special occasions, but a design you’ll actually enjoy wearing every day, through typing, driving, and daily tasks, often ends up being the simpler, more classic option after all. Let that practical consideration guide your final choice as much as the visual appeal.
Adjusting a Design if Your First Attempt Doesn’t Turn Out as Planned
It’s completely normal for a first attempt at a more detailed design, especially marble effects or freehand geometric lines, to not turn out exactly as pictured. If this happens at home, it’s usually easier to simplify than to keep layering fixes on top of an uneven base, removing the attempted detail and starting with a clean solid color is often the fastest path to a polished-looking result. If it happens at a salon, don’t hesitate to speak up before your appointment ends; a good tech would rather make an adjustment on the spot than have you leave unhappy with a design that doesn’t match your reference photo.
Choosing a Design That Grows With Your Confidence
If this is your first time exploring stiletto nail art seriously, consider treating this list as a progression rather than a one-time decision. Start with idea 1 or 10, build comfort with the shape and a bold solid color, then work toward the more technical options over your next few appointments as you get a better feel for how the shape and various techniques suit your personal style and daily routine.
Take it one step at a time, and let each set inform the next choice you make from this list.
There’s no rush to try everything at once, and each new set is a chance to refine what you actually love about this trend.
Whatever you pick first, the sharp, elongated stiletto shape gives even the simplest design a real sense of presence.
Bring your reference photo, communicate clearly with your tech, and enjoy the process of finding your favorite from this list.
Fifteen ideas, one dramatic shape, and plenty of room to make it your own.
Enjoy building your own signature take on this bold, striking trend.
One Final Reminder
Whichever of these fifteen stiletto nail art ideas you land on, remember that the point of trying something this bold is to enjoy wearing it, not to achieve a flawless, magazine-perfect result on the first attempt. Give yourself room to experiment, adjust, and eventually settle into whichever version of this trend feels most genuinely like you.
Have fun with it, and let the shape do some of the heavy lifting.

See you at your next appointment, whichever design you choose.
Happy polishing.
Enjoy every sharp, striking minute of it.
Go make it bold.
Let the shape and the design work together, and enjoy every bit of the attention it brings.
Here’s to your next great set.
Enjoy.
Book it, wear it, and love it.
Final Thoughts
Stiletto nail art ideas benefit from the shape’s dramatic silhouette and generous surface area, giving you room to experiment with everything from simple solid color to elaborate multi-technique designs. Whether you’re just starting with this shape or ready to go bold with something more detailed, these fifteen ideas offer a concrete starting point for your next set.
Compare Before You Choose
See the Closest Alternatives
Compare nearby shapes, colors and finishes before picking a final reference.
Recommended Next