Introduction
A salon French manicure looks effortless, but the price tag isn’t — which is why learning how to do French tips at home is one of the most useful beauty skills you can pick up. With the right prep, the right tools, and one of the three methods below, you can get crisp, clean smile lines in your own kitchen, on your own schedule, for a fraction of the salon cost.
This guide teaches you how to do French tips at home from scratch: the supplies worth buying, nail prep that makes polish actually last, three beginner-friendly application methods (guide stickers, freehand, and the silicone stamper trick), professional cleanup techniques, and fixes for every common mistake. No prior nail art experience needed — if you can paint inside a coloring book, you can do this.
What You’ll Need
You don’t need a professional kit to learn how to do French tips at home. These are the essentials for a classic DIY French manicure:
- Sheer nude or pink base polish — the “your nails but better” layer (one sheer coat is enough)
- White tip polish — a creamy, opaque white; avoid sheer whites, which need five coats
- Glossy top coat — non-negotiable for a smooth, salon-like finish
- French tip guide stickers — the beginner’s best friend (curved strips that mask the smile line)
- Thin detail brush — for the freehand method and touch-ups
- Small angled cleanup brush + pure acetone — for sharpening edges
- Nail file, buffer, cuticle pusher or orangewood stick
- Cuticle oil — for aftercare
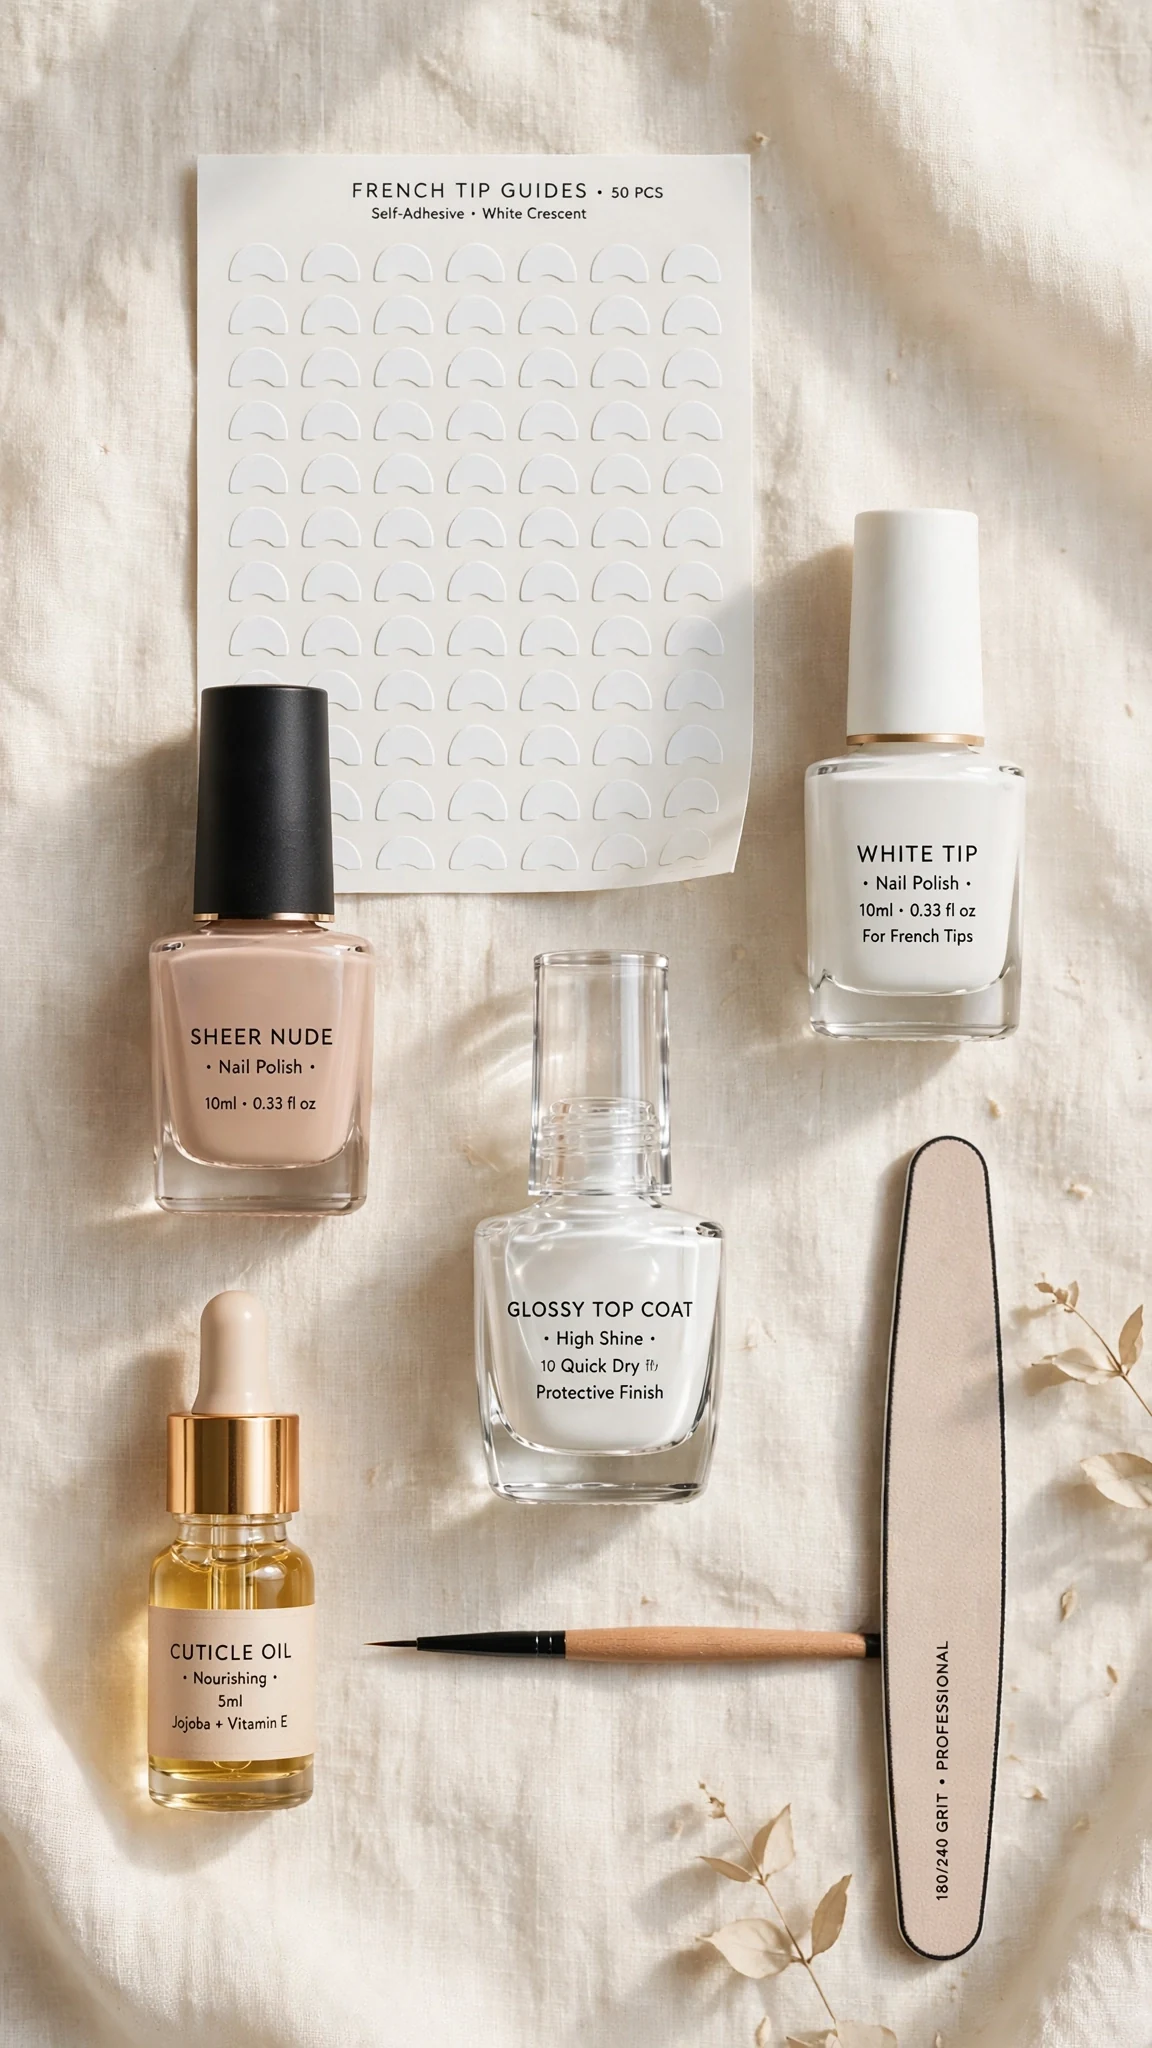
Optional but helpful: a silicone nail stamper (for method 3), cotton pads, and a quick-dry top coat if you’re impatient. According to the American Academy of Dermatology, keeping nails clean, dry, and moisturized is the foundation of any healthy manicure — the prep steps below follow that same principle (see sources at the end).
Step 1: Prep Your Nails Properly
Every long-lasting manicure starts before polish ever touches the nail. Rushed prep is the number one reason DIY French tips chip in two days.
- Remove old polish completely, then wash and dry your hands.
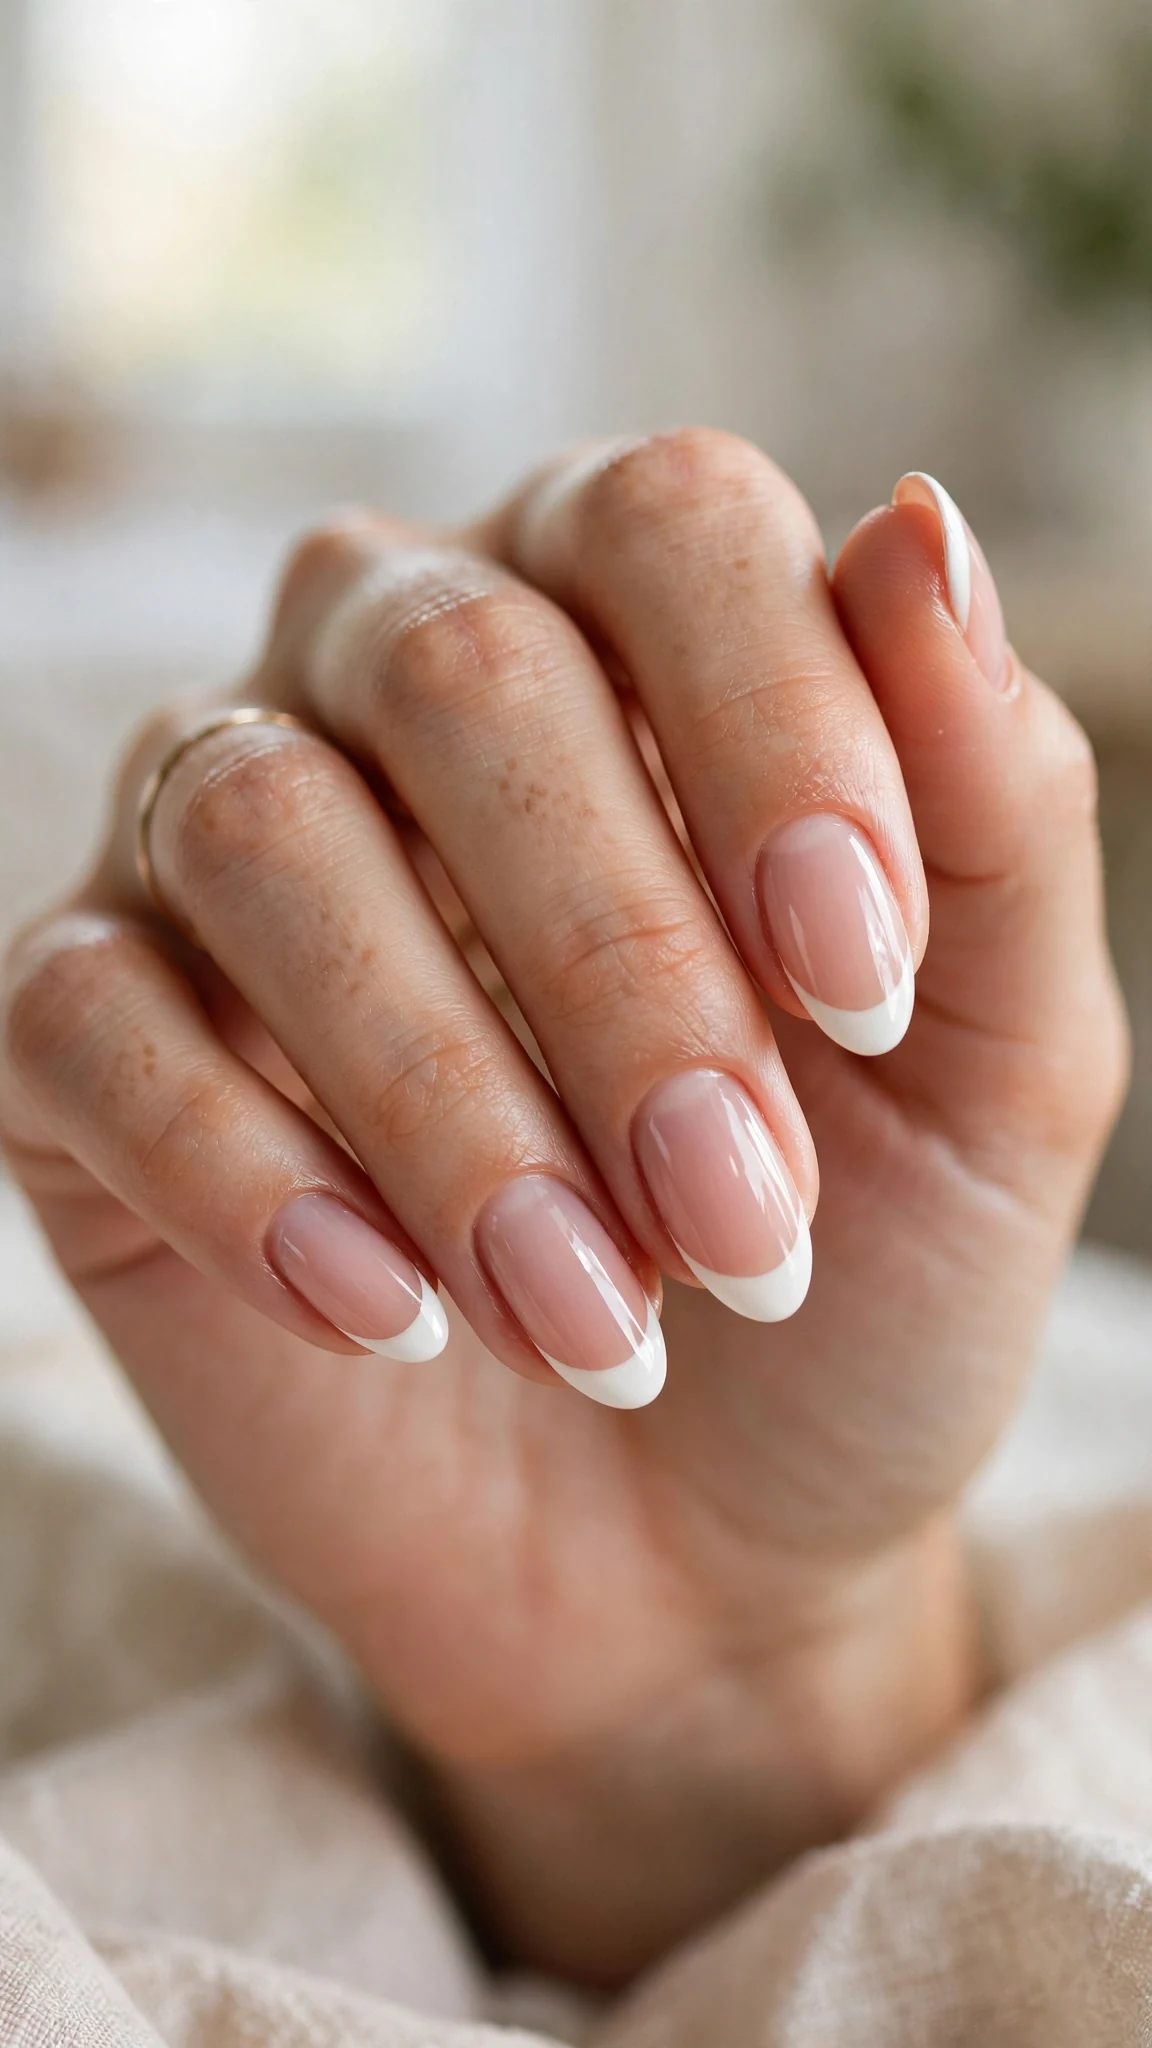
- Shape the free edge with a file, moving in one direction (sawing back and forth creates micro-tears). Almond, oval, or soft square all suit French tips — pick the shape that matches your inspo pictures.
- Gently push back cuticles with an orangewood stick after a warm-water soak. Don’t cut them — pushed cuticles give you a clean canvas without the risk.
- Lightly buff the nail surface to remove shine and oils, then wipe each nail with a cotton pad barely dampened with acetone or alcohol. This dehydration step is what helps polish grip.
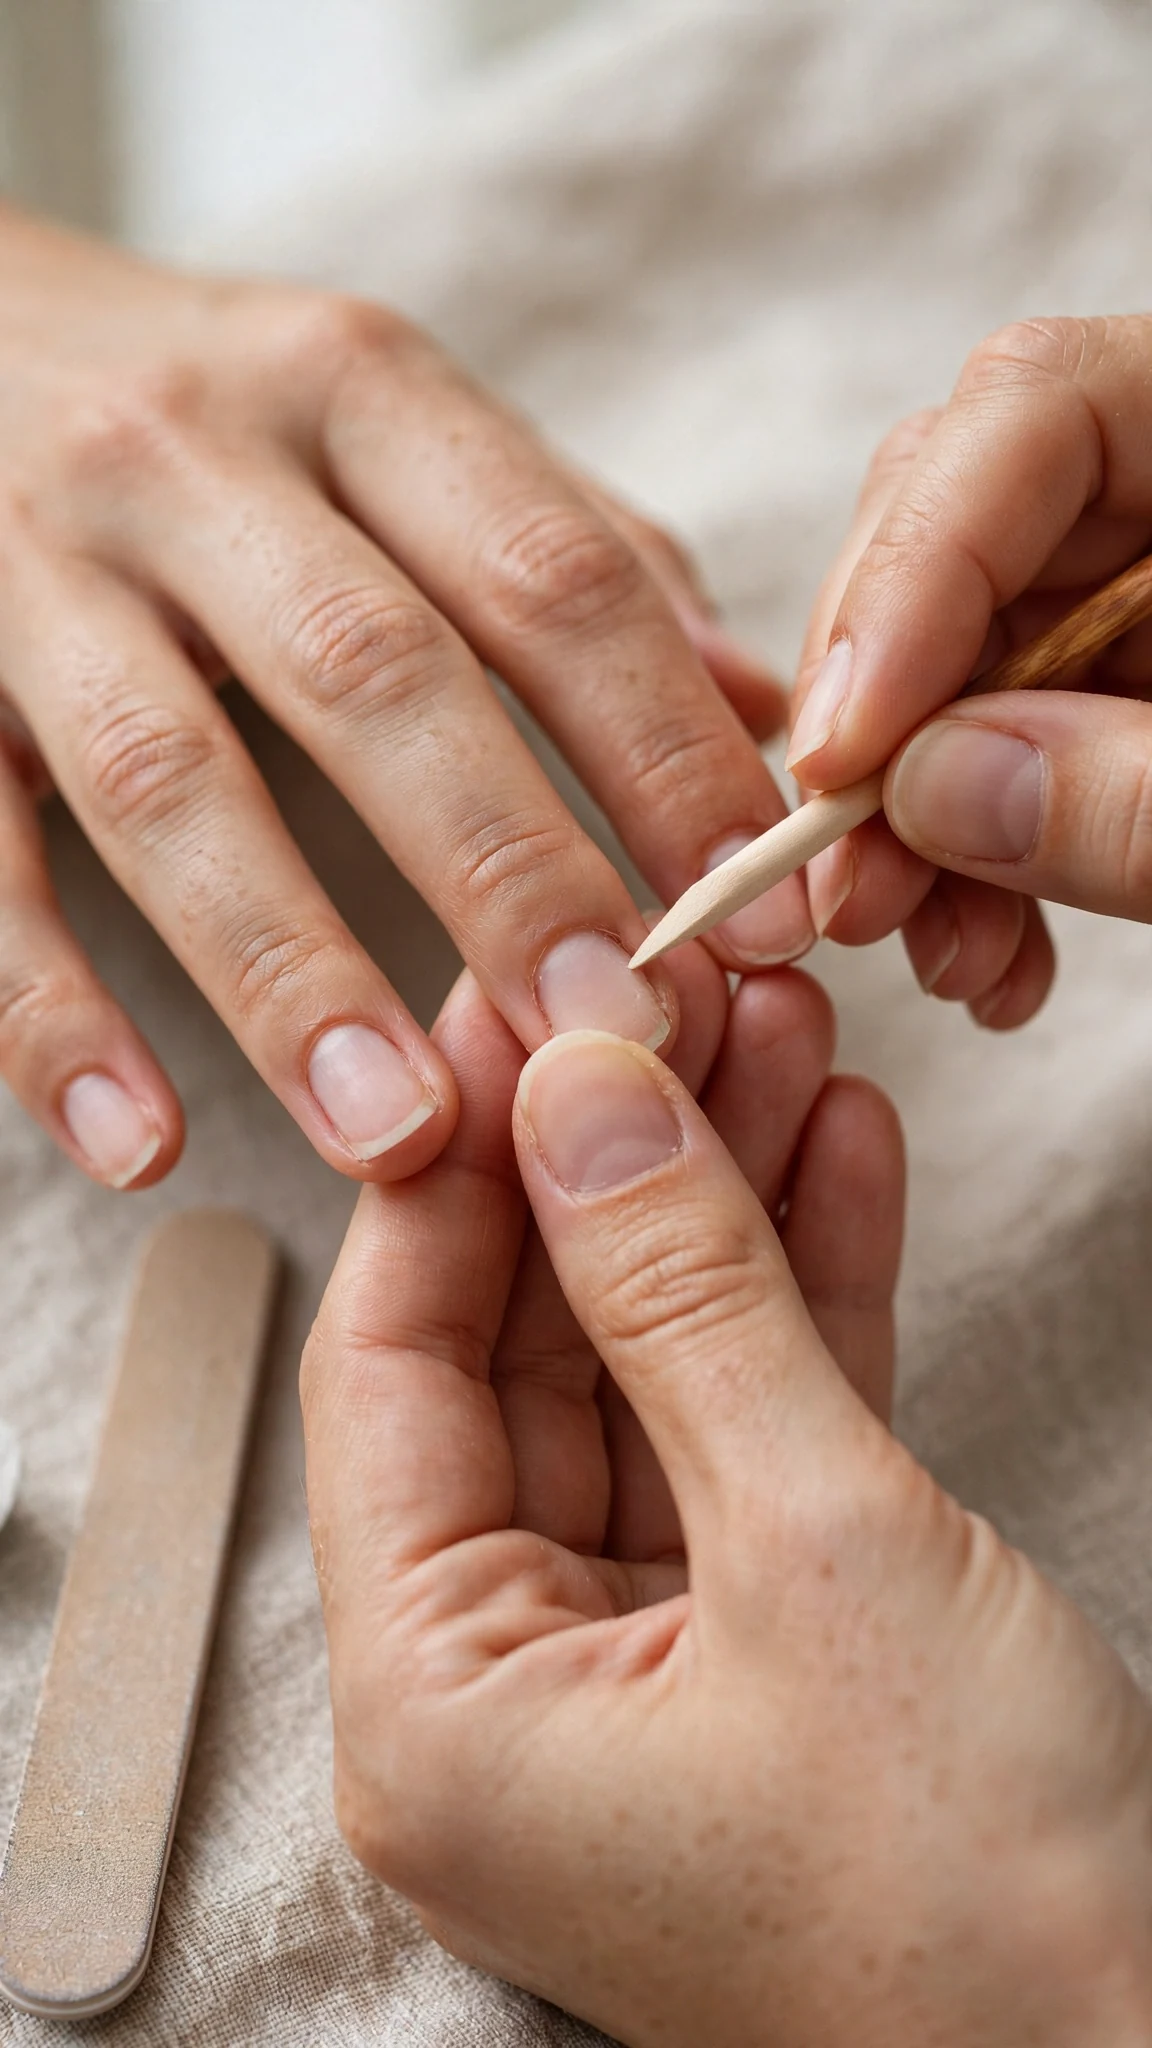
Take your time here. Ten careful minutes of prep buys you days of extra wear — it’s the least glamorous step in learning how to do French tips at home, and the most important one.
Step 2: Apply the Base Coat
Apply one thin layer of your sheer nude or pink base polish to every nail, wrapping the tip (run the brush lightly along the free edge). Thin coats are the golden rule when you’re learning how to do French tips at home: two thin coats always beat one thick, gloopy one. Let the base dry until it’s no longer tacky — about 5 minutes for regular polish. If you’re using gel, cure per your lamp’s instructions.
A sheer base does two jobs: it evens out the nail’s tone so the white tip pops, and it gives the white polish something to grip. Skip it and your tips will look patchy and chip faster.
Method 1: Guide Stickers (Easiest for Beginners)
If this is your first time learning how to do French tips at home, start here. Guide stickers do the hard part — drawing the smile line — for you.
- Place a curved guide sticker across each nail, positioning the curve where you want the white tip to begin. Press the edges down firmly so polish can’t seep underneath — this is the step most beginners rush.
- Paint the white tip above the sticker with 1–2 thin coats of opaque white polish. Don’t overload the brush; paint from the sticker upward toward the free edge.
- Remove the sticker while the white is still slightly wet — peel slowly at an angle. Waiting until it’s fully dry can pull the polish up with the sticker.
- Admire your crisp line, then move to cleanup and top coat below.
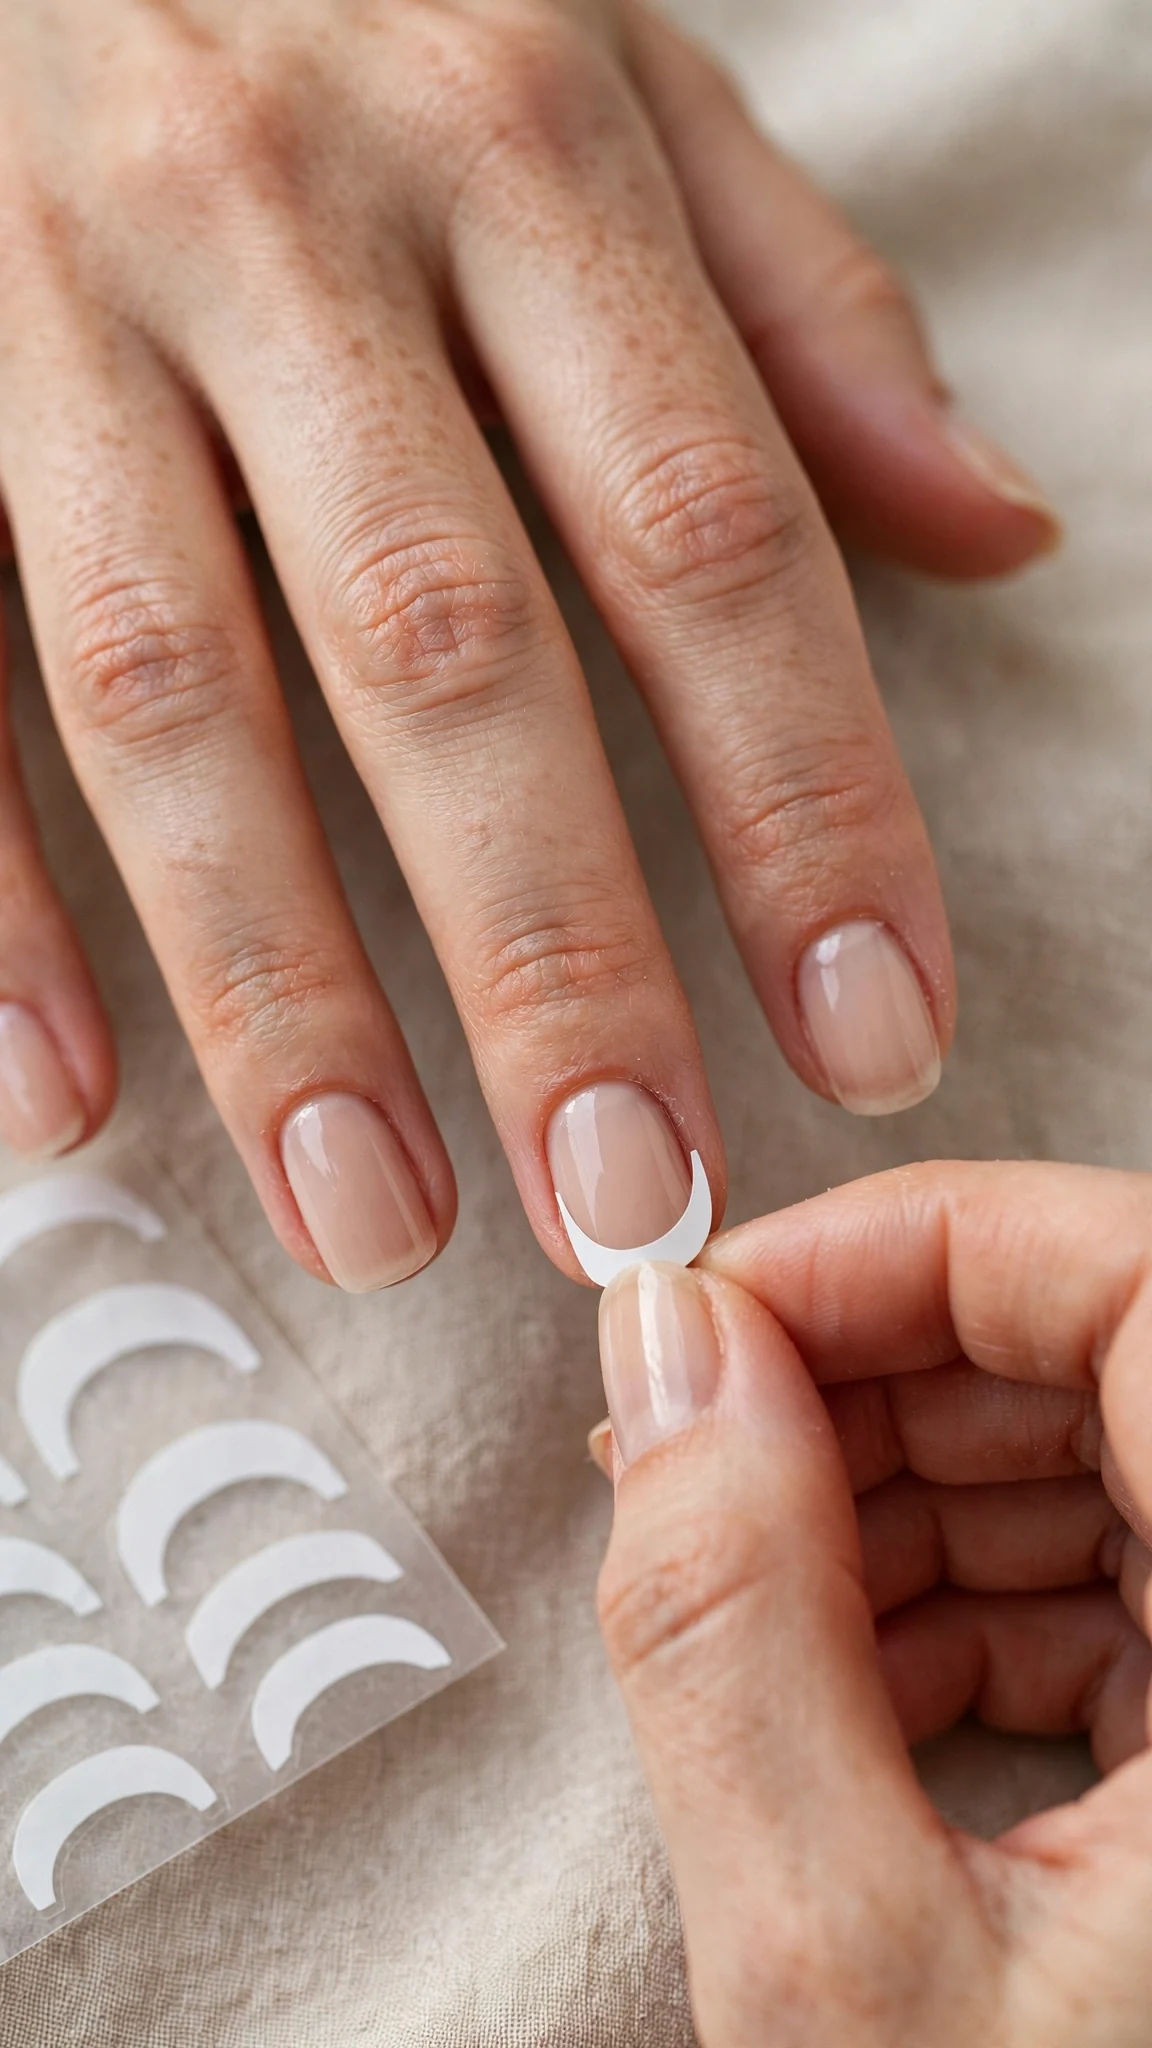
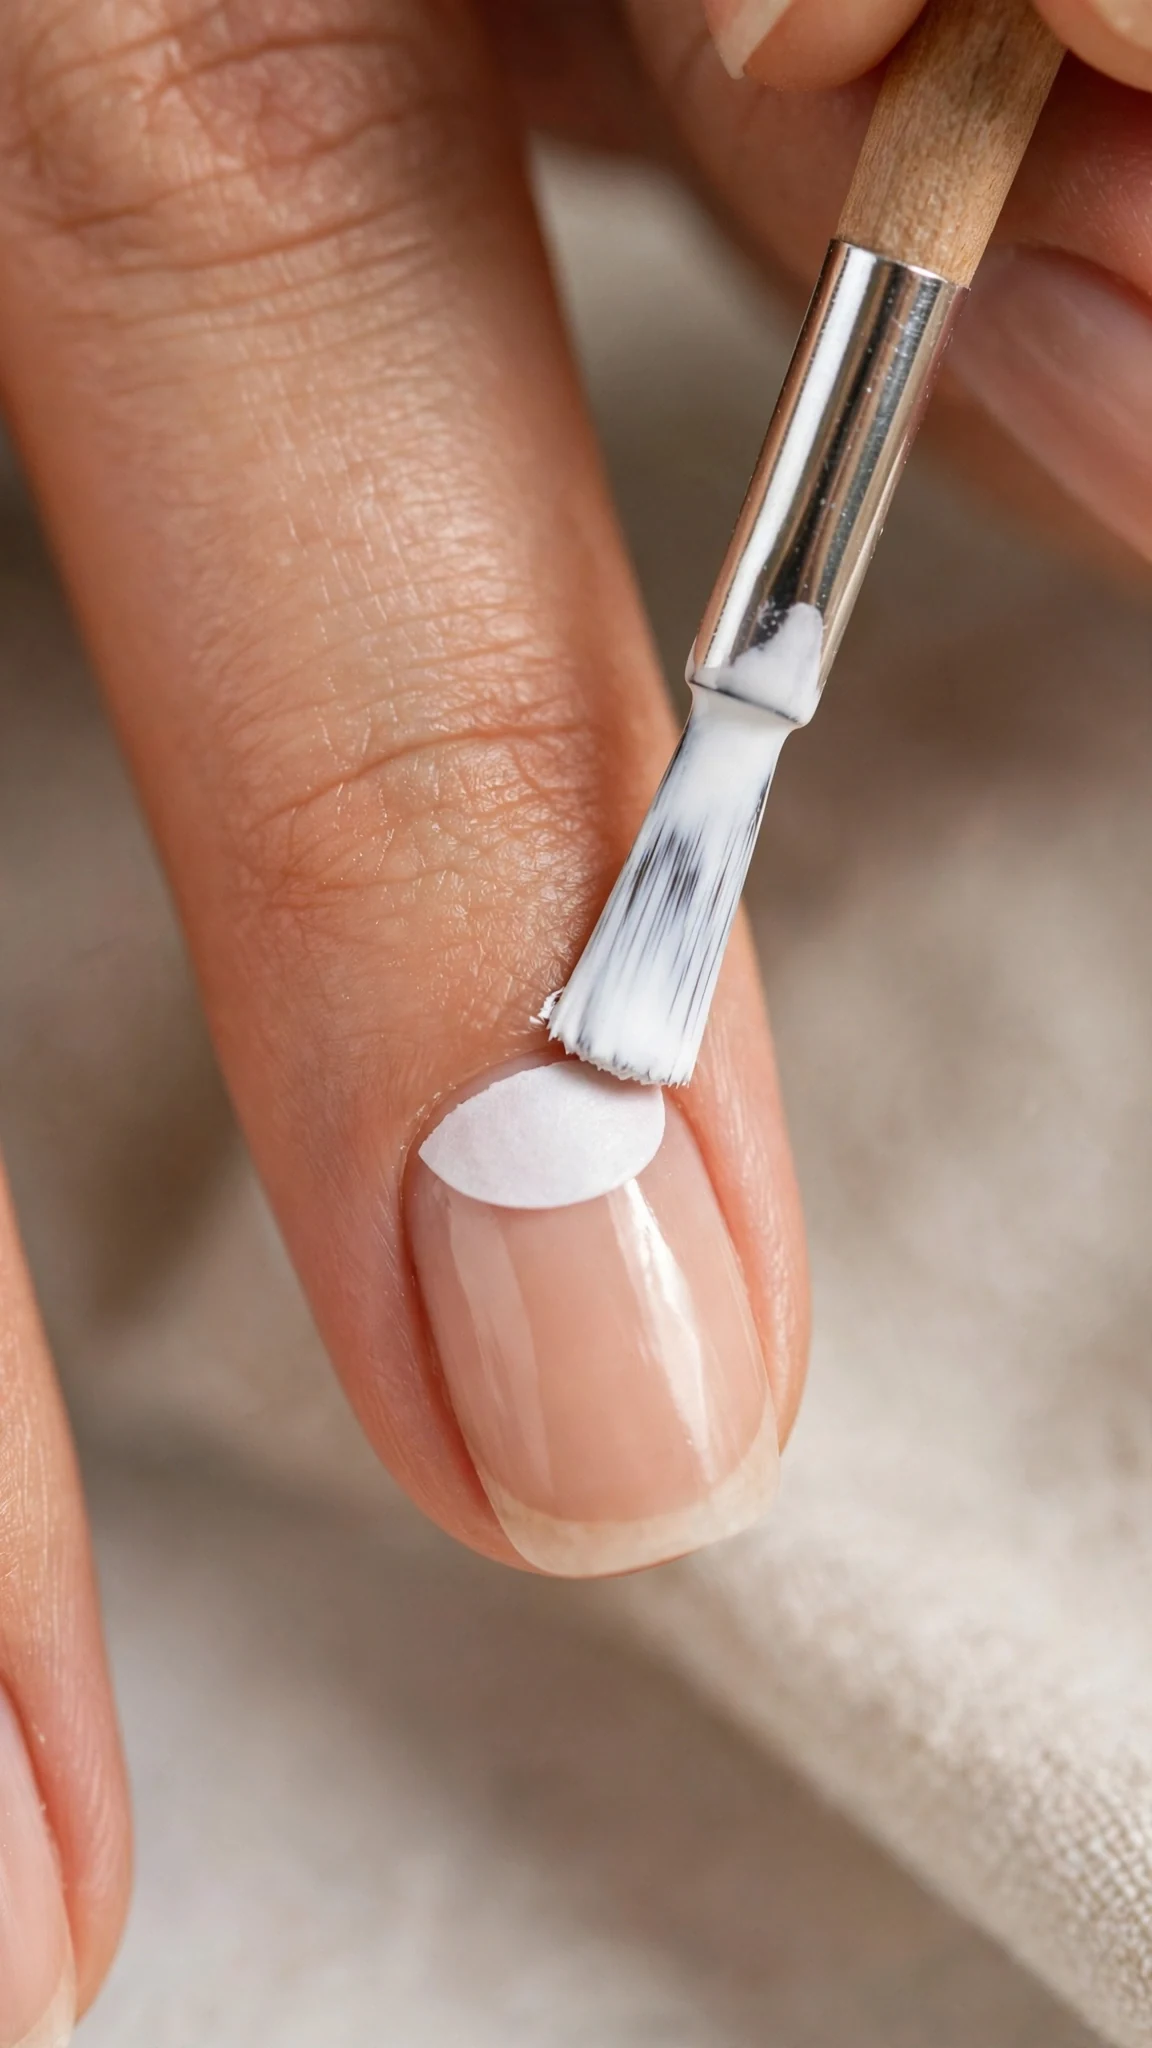
Troubleshooting stickers: if polish bled under the sticker, your sticker edge wasn’t sealed — press harder next time, or switch to a thicker white polish. If the line looks wobbly, you likely placed the sticker on a curved nail without smoothing it; reposition and press from the center outward.
Method 2: Freehand (Most Control)
Freehand is how nail techs do it — and if you want to truly master how to do French tips at home, it’s the technique worth learning. It’s more approachable than it looks, especially with a thin detail brush instead of the chunky polish brush.
- Steady your painting hand by resting your wrist on the table and bracing the finger you’re painting against the surface.
- With the detail brush loaded with white polish, draw the smile line first: start at one sidewall, sweep a gentle curve across, and finish at the other sidewall. Think of it as drawing a shallow “U” or a soft parenthesis.
- Fill in the tip above the line with smooth strokes.
- Don’t chase perfection on the first pass — you’ll sharpen everything in the cleanup step.
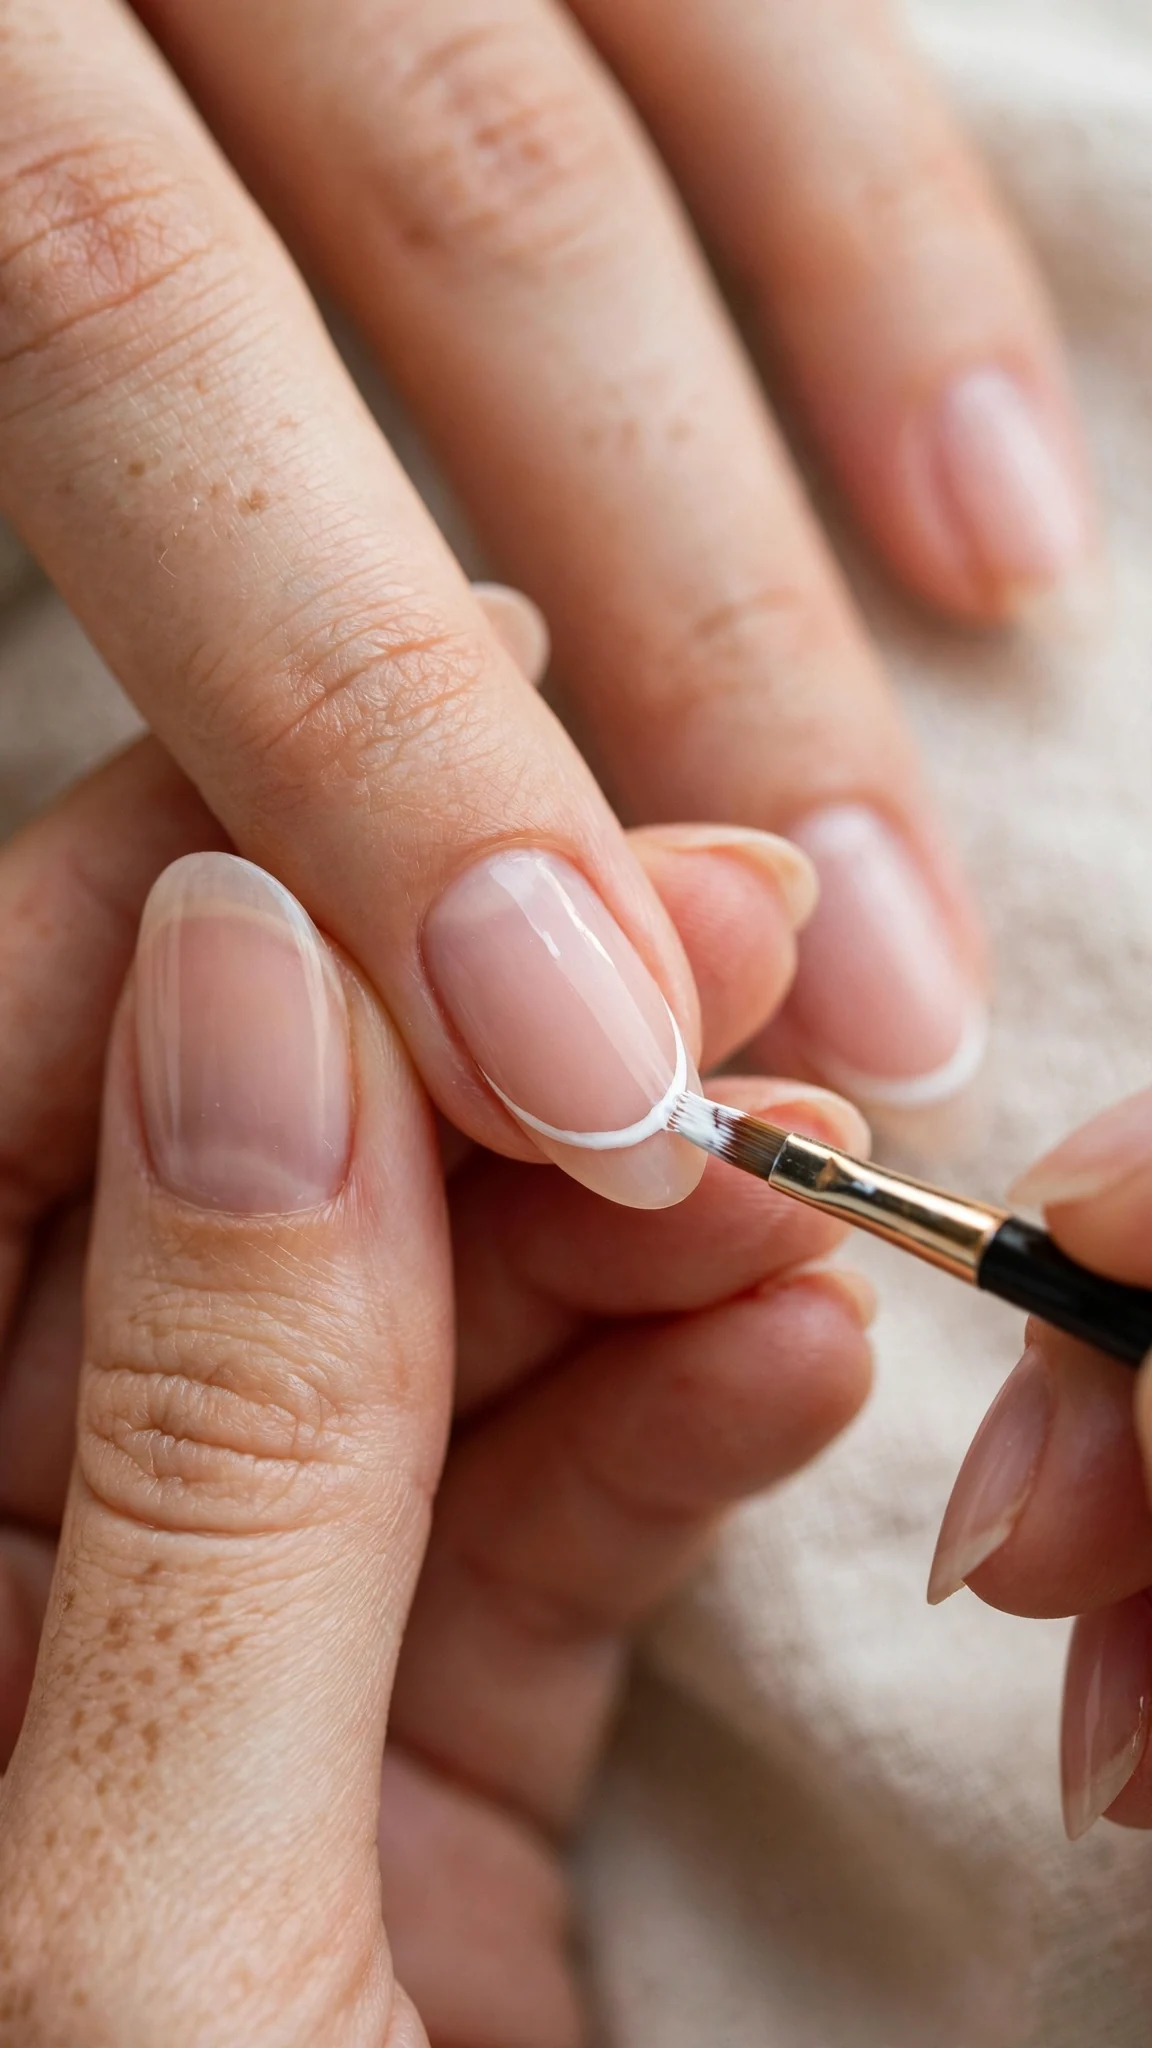
Start with a micro French (a very thin tip) for your first attempt. Thin lines are dramatically more forgiving than thick ones: small wobbles disappear, and cleanup takes seconds. Once you can nail a micro tip, widening it is easy.
Method 3: Silicone Stamper (The Shortcut)
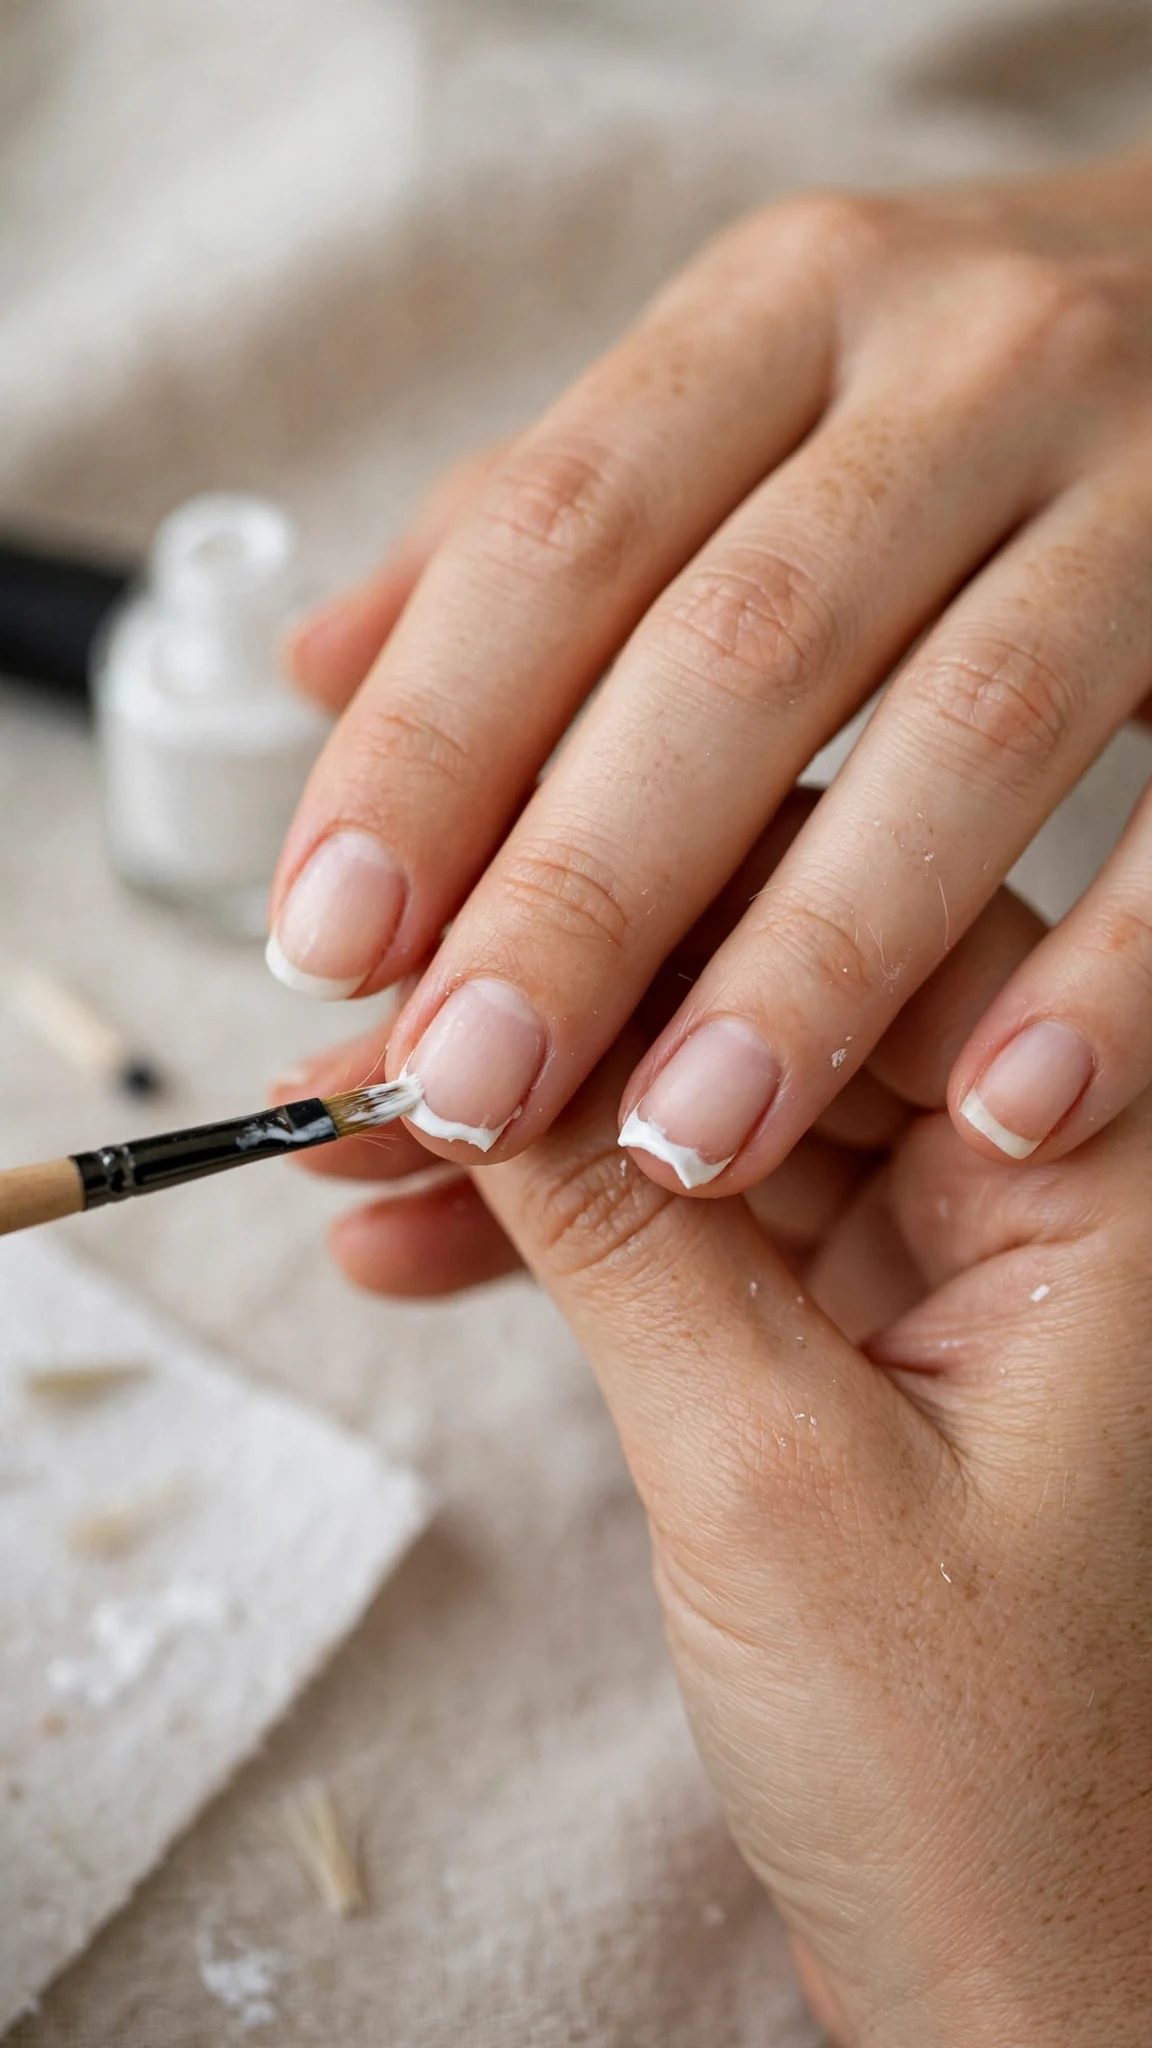
If you want the fastest way to learn how to do French tips at home, this internet-famous hack genuinely works. Paint a thick layer of white polish onto a silicone nail stamper, then gently press your fingertip into it at an angle so the polish transfers in a curved tip shape.
- Apply base coat and let it dry fully.
- Paint white polish onto the stamper head in a generous layer.
- Roll your fingertip into the polish at a slight angle — the curve of the stamper creates the smile line automatically.
- Clean up the edges (next section), then top coat.
It takes a couple of practice nails to get the angle right, but once you do, each tip takes about ten seconds. This method shines on short nails, where freehand lines are hardest to control.
Step 3: Clean Up Like a Pro
Here’s the secret most guides on how to do French tips at home skip: nobody paints a perfect French tip in one go — pros just clean up better. Cleanup is what separates “DIY” from “did you get those done?”
- Dip a small angled brush in pure acetone, then blot most of it off — the brush should be damp, not dripping.
- Trace just under the smile line to sharpen it, wiping the brush on a cotton pad between nails.
- Clean any polish on the skin around the nail with the same brush.
- Let everything dry for 2–3 minutes before top coat.
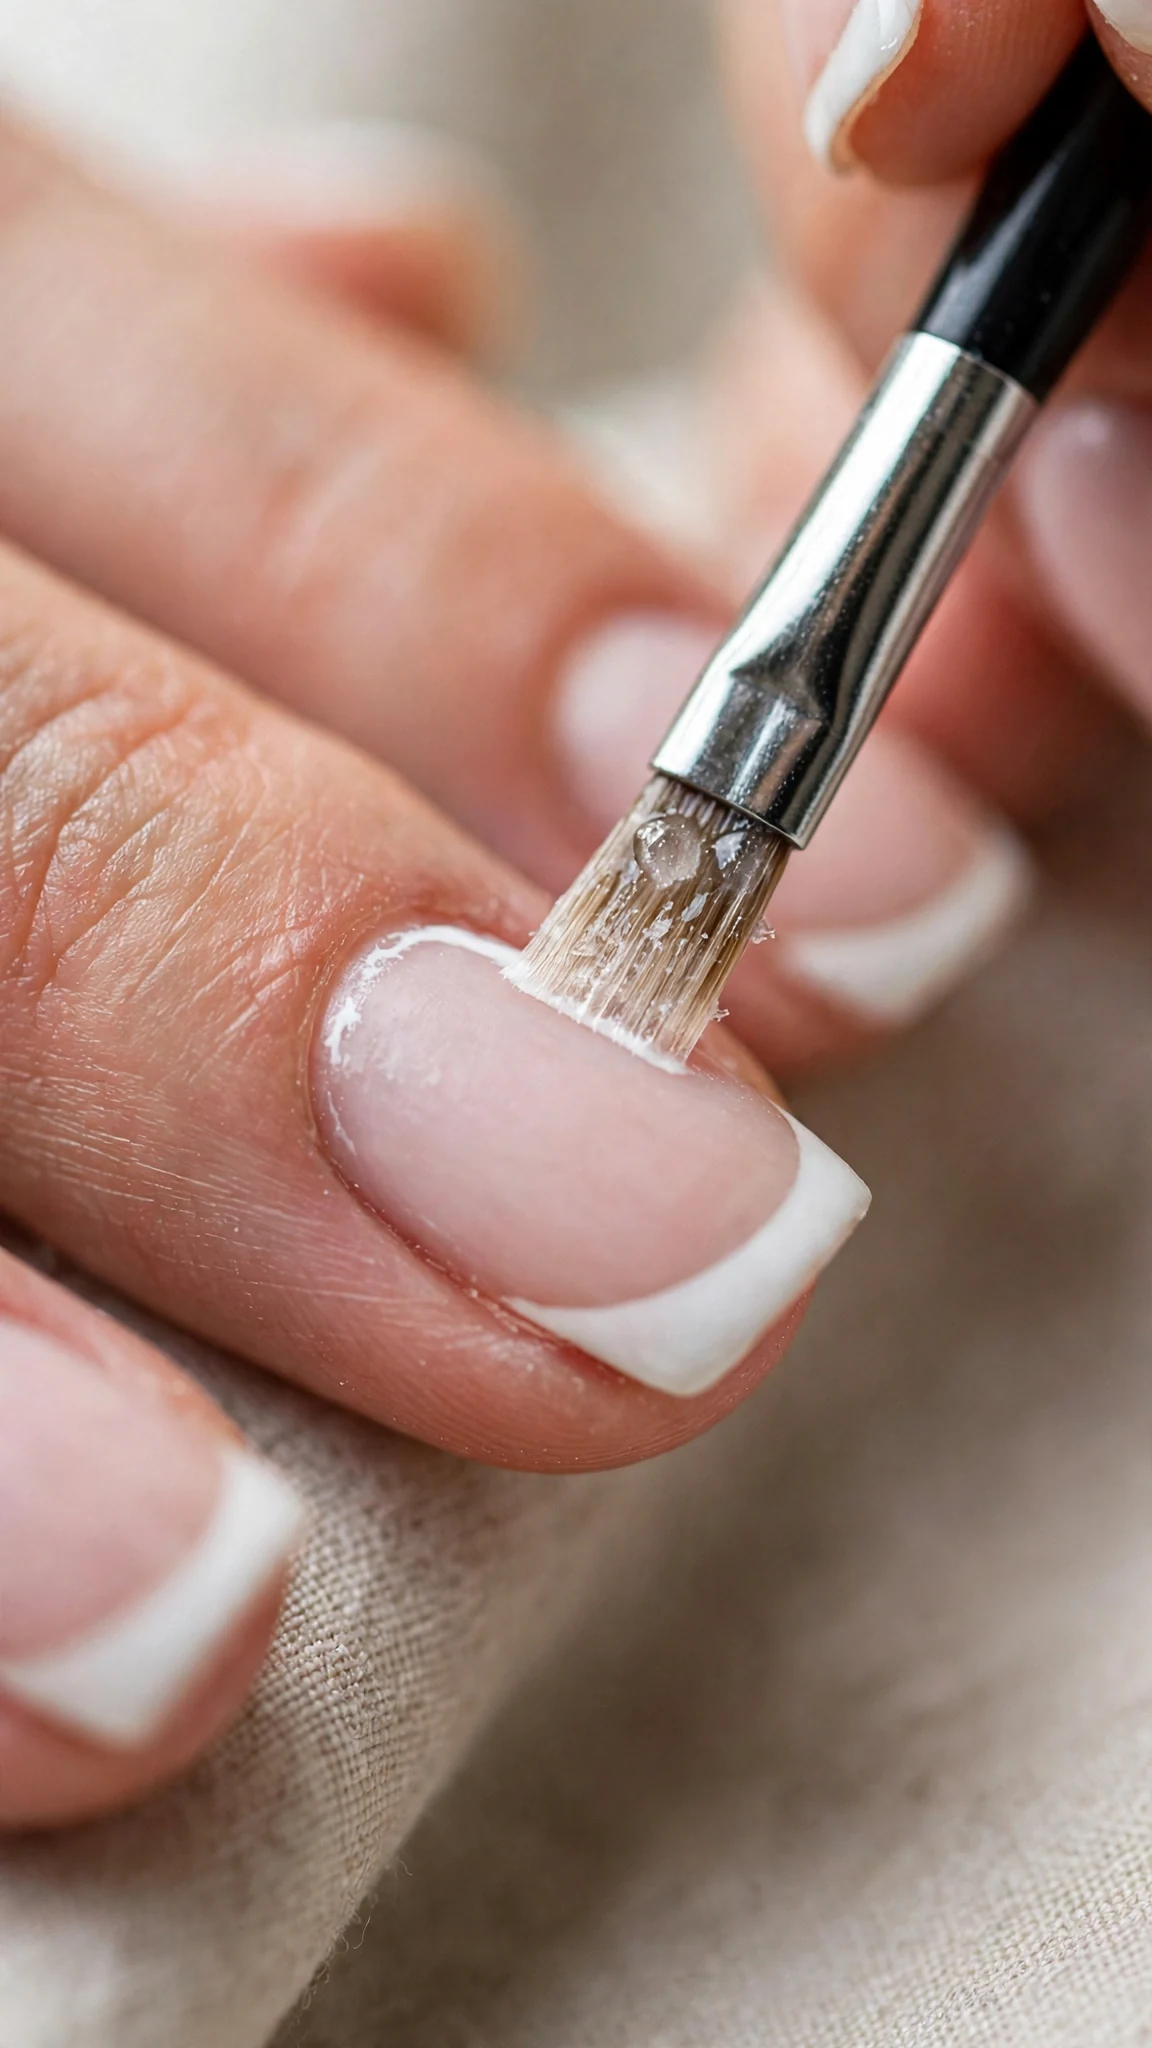
Work with a light hand and good lighting. If you gouge the white, just re-paint that tip — it’s faster than trying to rescue it.
Step 4: Seal It With Top Coat
Apply one generous layer of glossy top coat over the entire nail, wrapping the free edge (run the brush along the very tip). This seals the white layer and is the single biggest factor in how long your manicure lasts. A second thin top-coat layer every 2–3 days after that will stretch your French tips well past the one-week mark.
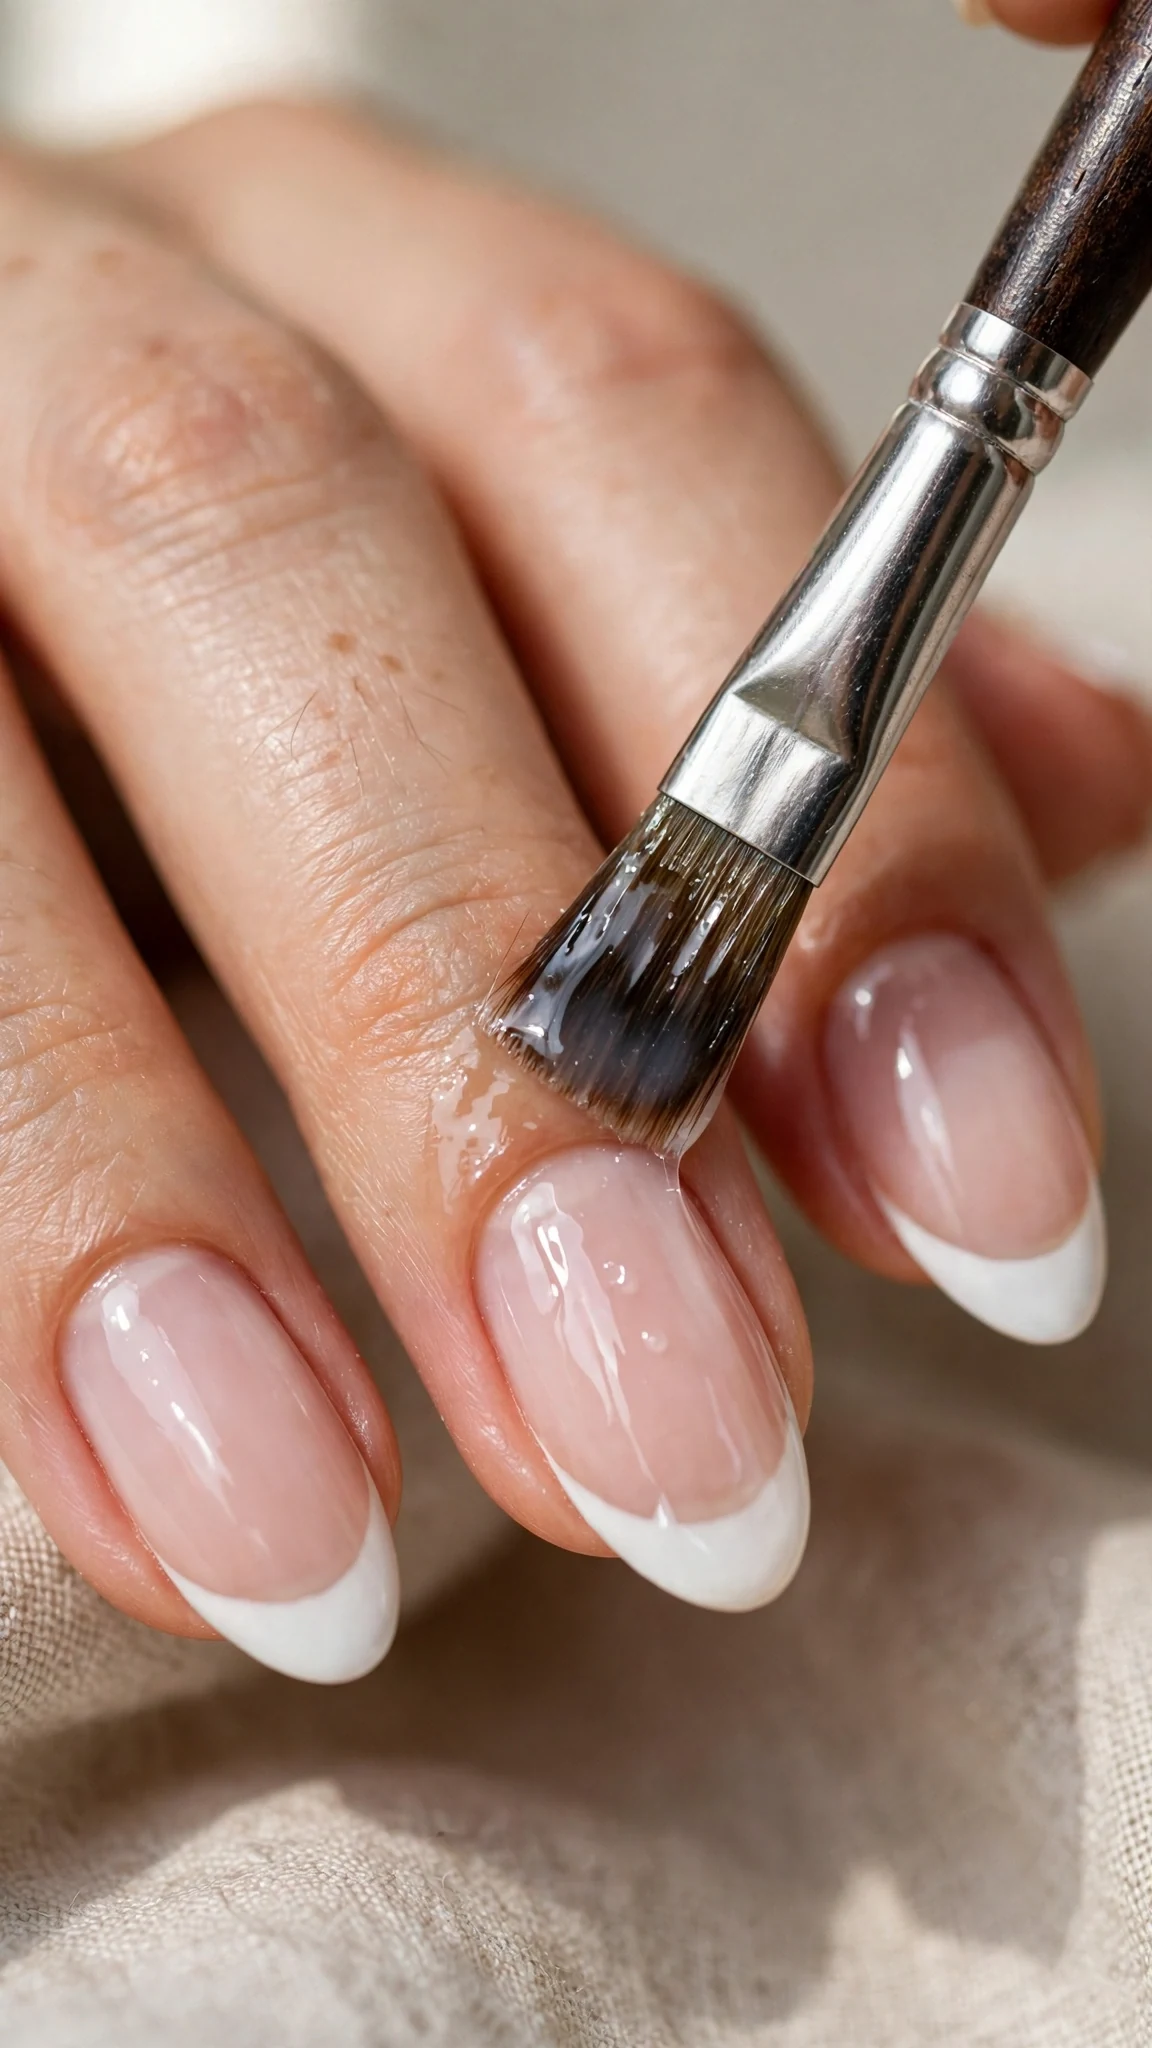
Avoid quick-dry drops or sprays directly on fresh white tips — they can cause shrinkage that drags the smile line. When you’re learning how to do French tips at home, patience beats products.
French Tips on Short Nails
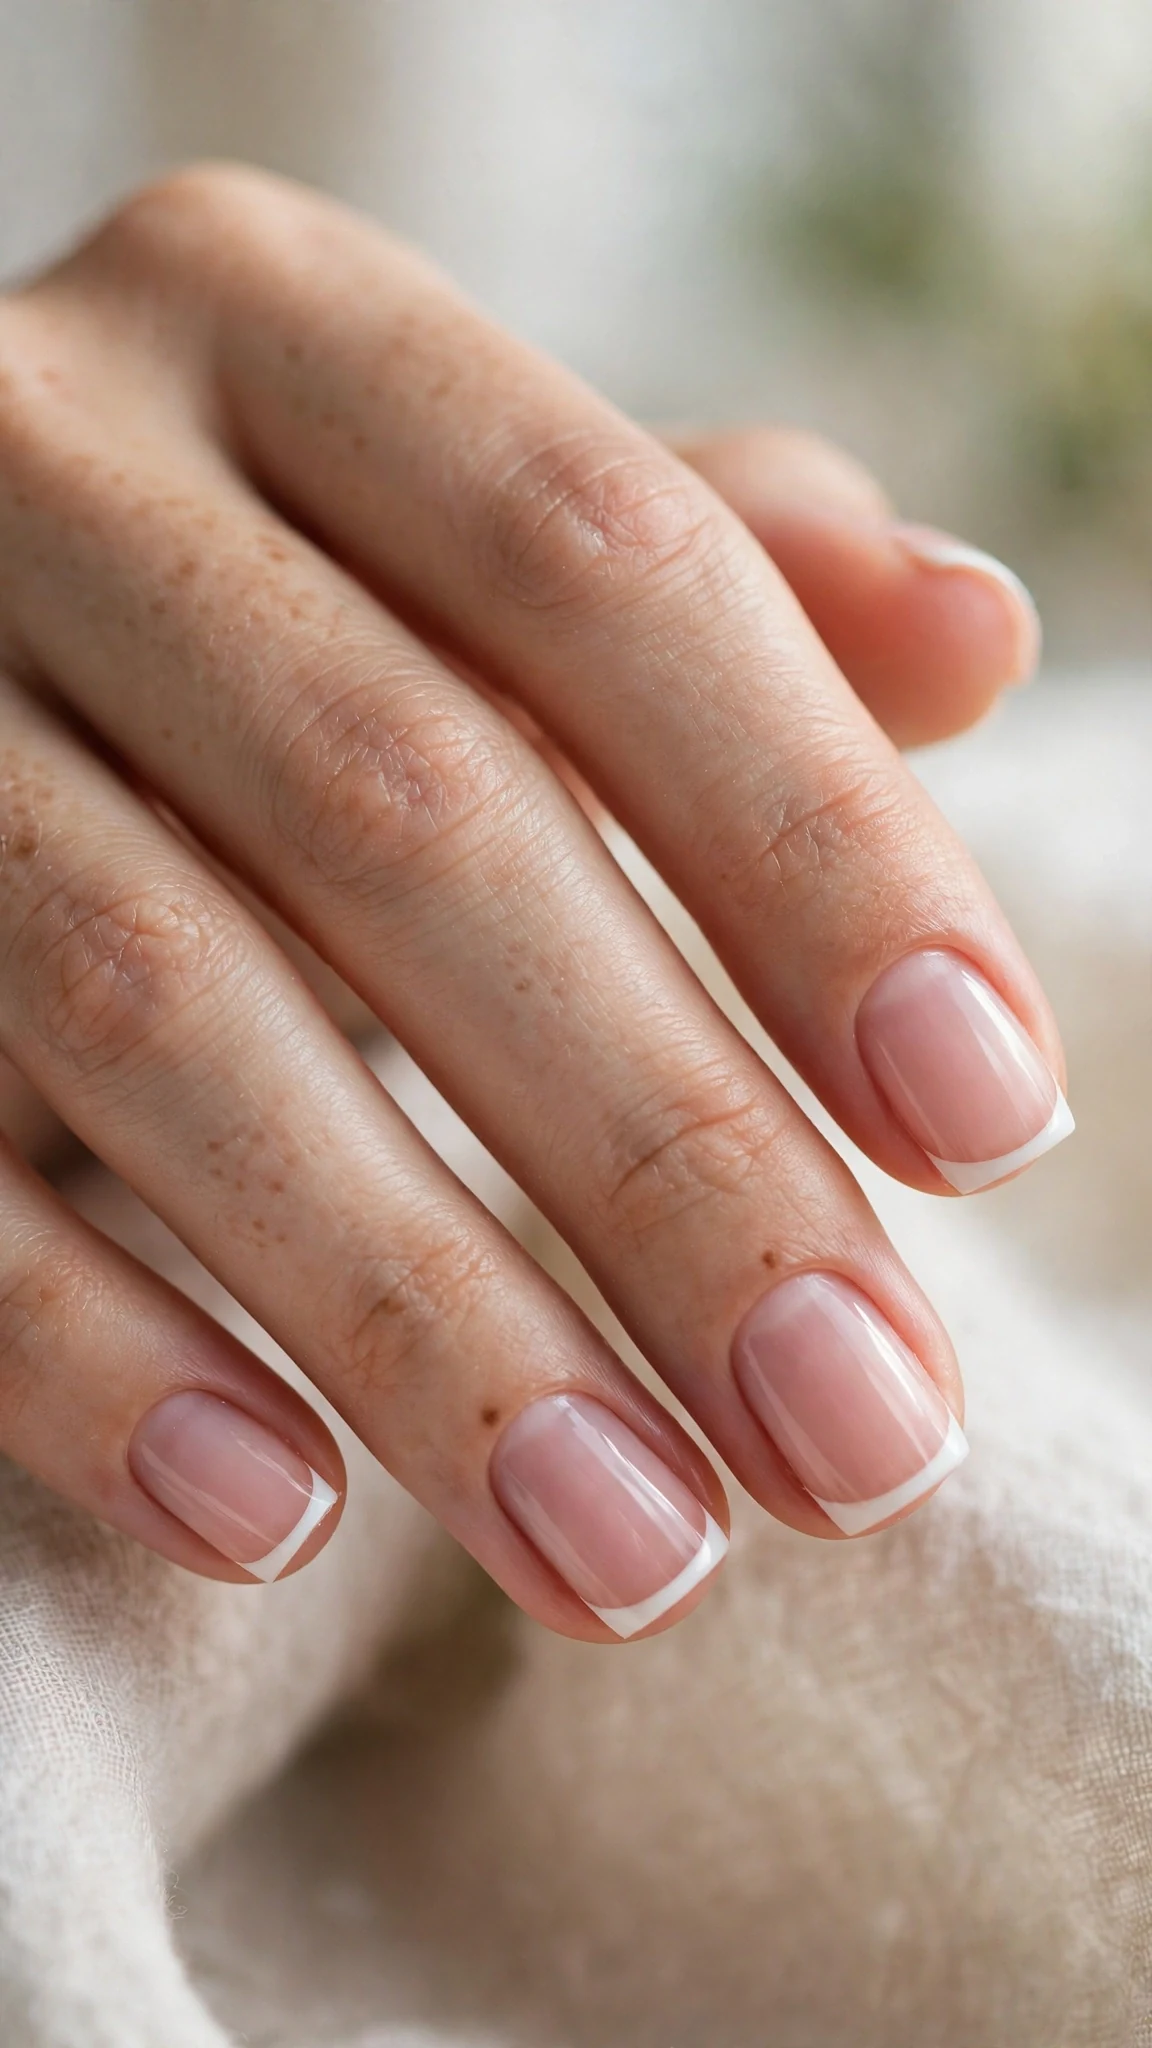
Short nails and French tips are a perfect match — here’s how to do French tips at home on short nails: you just adjust the proportions. Keep the white tip thin (a micro French): on short nails, a thick tip eats up the nail bed and makes fingers look stubby, while a hairline tip elongates them. Guide stickers or the stamper method both work beautifully at short lengths; freehand is the hardest here, so save it for when your nails grow out.
Troubleshooting Common Mistakes
Almost every problem beginners hit while learning how to do French tips at home has a simple fix:
Wobbly smile lines. The fix is almost always cleanup, not repainting. A damp angled brush reshapes a wobbly line in seconds. If the whole tip is uneven, remove it with acetone and redo — one fresh attempt beats three patched ones.
Polish flooding the cuticles. You used too much polish per stroke. Wipe one side of the brush on the bottle neck before each stroke, and keep white polish away from the skin — cleanup handles the rest.
Tips chipping within days. Three usual suspects: skipped prep (oils left on the nail), thick coats that never fully cured, or no top coat on the free edge. Next time, dehydrate with acetone, paint thinner, and wrap the tip.
Stickers pulling polish up. You waited too long to peel. Remove guides while the white is still slightly wet, peeling slowly at an angle.
How Long Do DIY French Tips Last?
Once you’ve learned how to do French tips at home, expect 5–7 days of good wear with regular polish and proper prep; with a gel kit at home, 2–3 weeks. To maximize longevity: wear gloves for dishes, reapply top coat every few days, use cuticle oil daily (according to the AAD, moisturized nails resist the cracking and peeling that ruins manicures), and don’t use your nails as tools.
Sources & Further Reading
- Manicure — Wikipedia: background on French manicure technique and history.
- Nail care secrets — American Academy of Dermatology: dermatologist guidance on prep, moisturizing, and avoiding damage.
Frequently Asked Questions
Is it hard to do French tips at home?
Not with the right method. Guide stickers make it genuinely beginner-friendly — most people get a clean result on their first or second try. Start with a thin micro tip, which is far more forgiving than a thick one. Once you know how to do French tips at home, each set gets easier and faster.
What do I need for DIY French tips?
The essentials are a sheer nude base polish, an opaque white polish, a glossy top coat, French tip guide stickers, a nail file, and cuticle oil. A thin detail brush and a cleanup brush with acetone take the result from good to salon-looking.
How do you get a straight smile line without stickers?
Steady your wrist on the table, use a thin detail brush instead of the polish brush, and draw the curve in one sweep from sidewall to sidewall. Then sharpen the line with a cleanup brush dipped in acetone — cleanup is what makes freehand look professional.
Why do my French tips chip so fast?
The usual causes are skipped nail prep, coats applied too thick, or no top coat sealing the free edge. Dehydrate nails with acetone before polishing, paint thin coats, wrap the tip with top coat, and wear gloves for wet chores.
Can you do French tips on short nails?
Yes — keep the tip thin. A micro French elongates short nails, while a thick tip shortens them visually. Guide stickers and the silicone stamper method are the easiest approaches at short lengths.
Gel or regular polish for DIY French tips?
Regular polish is easier to learn with and simpler to remove; expect about a week of wear. A home gel kit lasts 2–3 weeks but needs a UV/LED lamp and more careful removal. Beginners should master the technique with regular polish first.
Keep Practicing
Your first set won’t be perfect — your fifth will be. Save this guide, pick one method, and do a full set this weekend. For design inspiration once you’ve mastered the basics, browse our French tip nail inspo collection with 30 ideas from classic to chrome, or start from the main French Tip Nails 2026 guide. Now that you know how to do French tips at home, it’s a skill you’ll keep using.
Compare Before You Choose
See the Closest Alternatives
Compare nearby shapes, colors and finishes before picking a final reference.
Recommended Next
Syrup Nails 2026: 30+ Glossy, Translucent Designs That Are Trending Right Now
Read the guide →