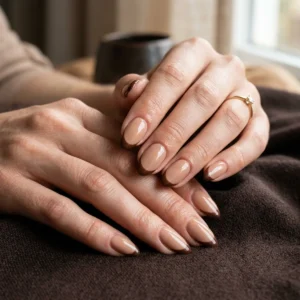
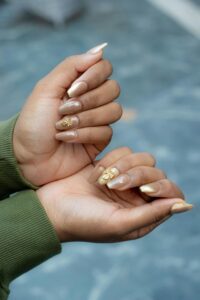
There is a special kind of heartbreak in finishing what looked like a perfect gel manicure at home — glossy, smooth, salon-worthy — only to watch it peel off in sheets three days later. If that has happened to you, you are not bad at nails. Learning how to do gel nails at home is a genuine skill, and almost everyone gets it wrong the first few times for the exact same handful of reasons.
The good news is that learning how to do gel nails at home well enough for two full weeks of wear is completely achievable with a beginner kit and a little patience. The difference between nails that lift on day three and nails that still look fresh on day fourteen usually comes down to avoiding a few specific mistakes — not talent, not expensive products, and not a professional license. Once you know what those mistakes are, you can spot them in your own routine and fix them before they cost you another manicure. These are the lessons every DIY gel nails beginner learns the hard way — this article just teaches them the easy way.
This is not a step-by-step tutorial. Think of it as a field guide to everything that goes wrong when beginners learn how to do gel nails at home — why it happens, what it does to your manicure, and what the fix looks like. The complete beginner-friendly process that avoids all seven of these mistakes, laid out from the first prep wipe to the final top coat, lives in the guide linked further down. First, let’s talk about the mistakes.
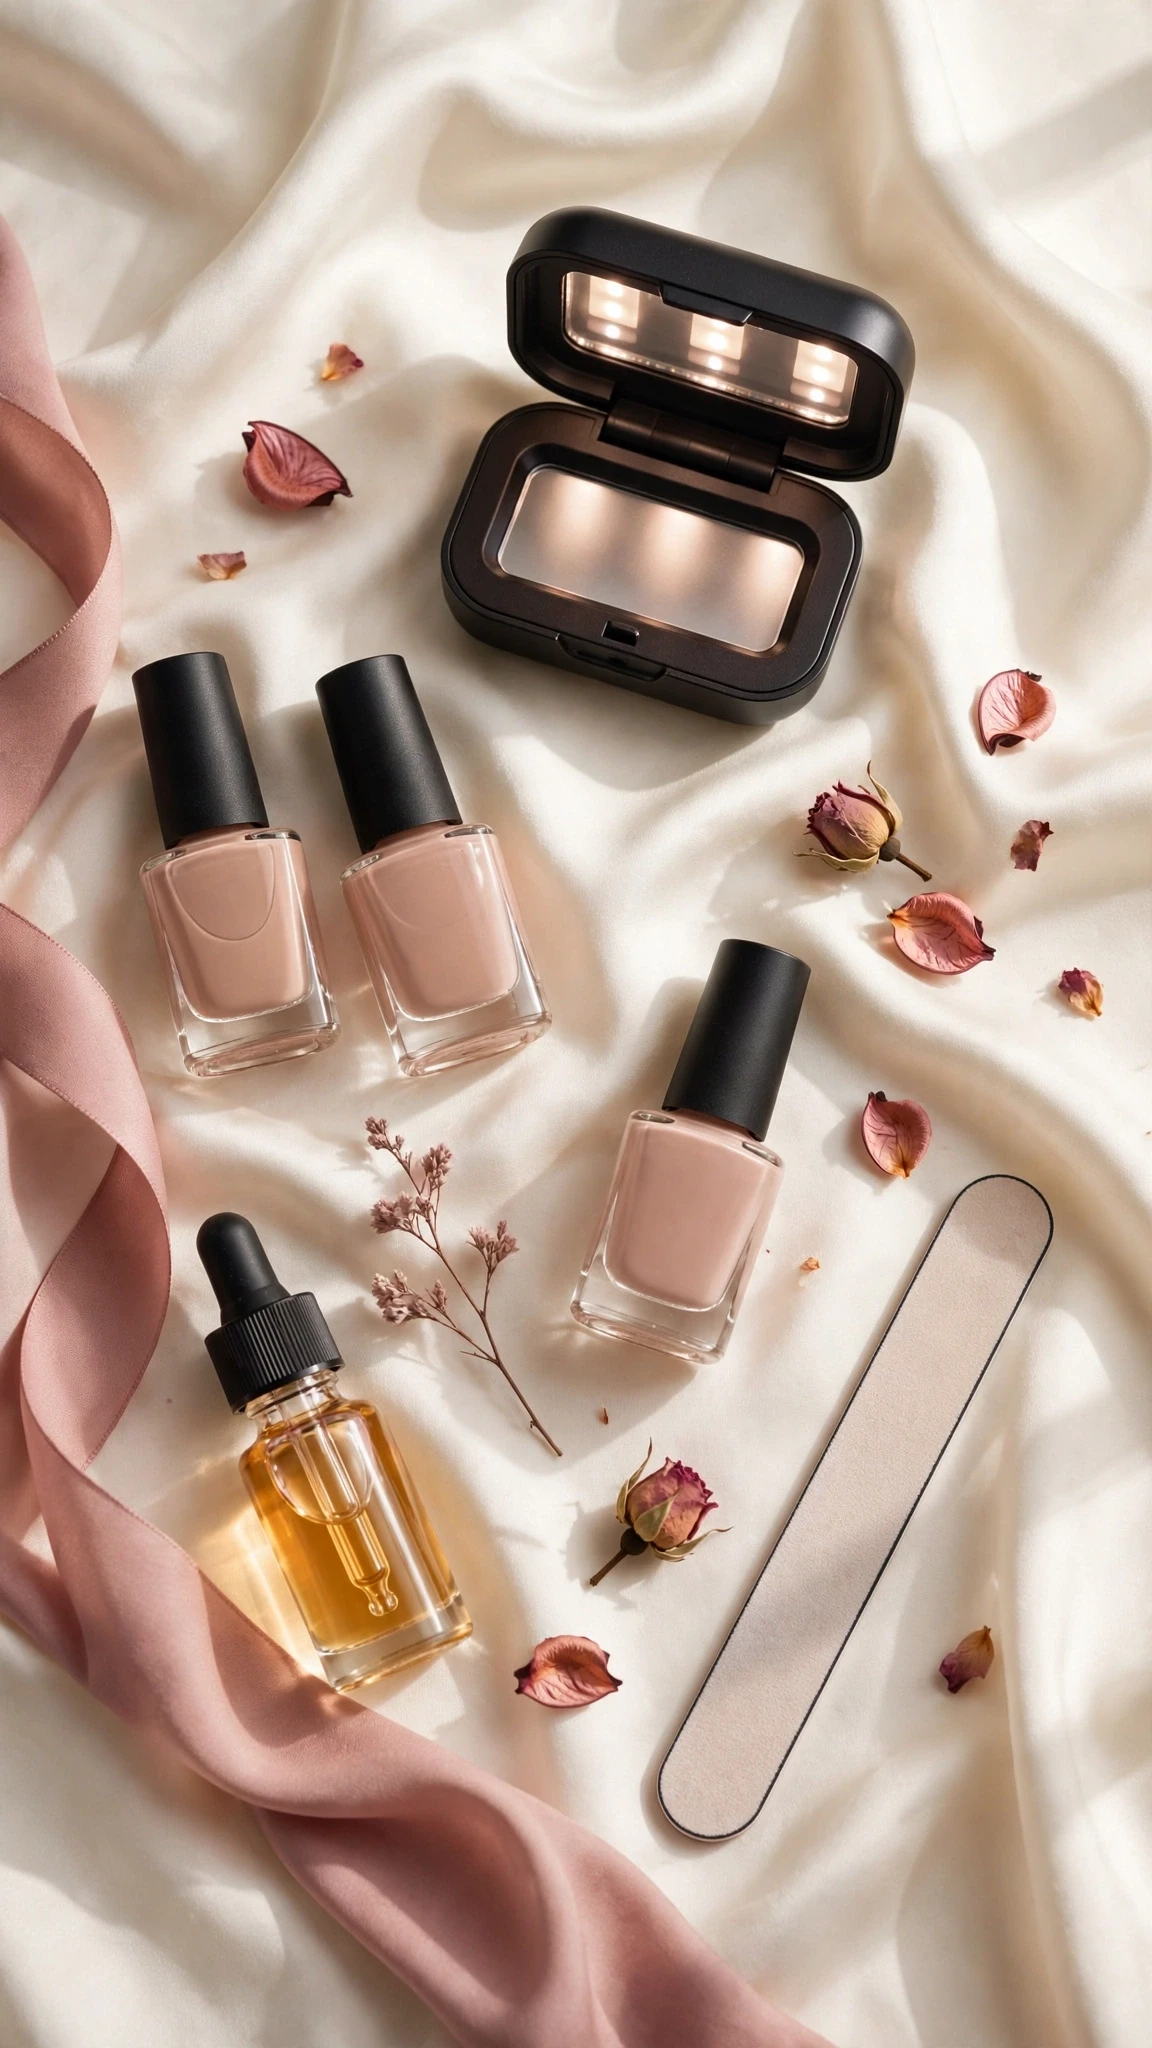
How to Do Gel Nails at Home: 7 Beginner Mistakes to Avoid
Every one of these mistakes is extremely common, and most beginners make at least three of them on their first attempt. The encouraging part: each one has a simple, concrete fix. Work through the list honestly — the mistake you are most tempted to skip over is usually the one costing you the most wear time, and fixing it will unlock the biggest improvement in how you do gel nails at home.
Mistake #1: Skipping Nail Prep
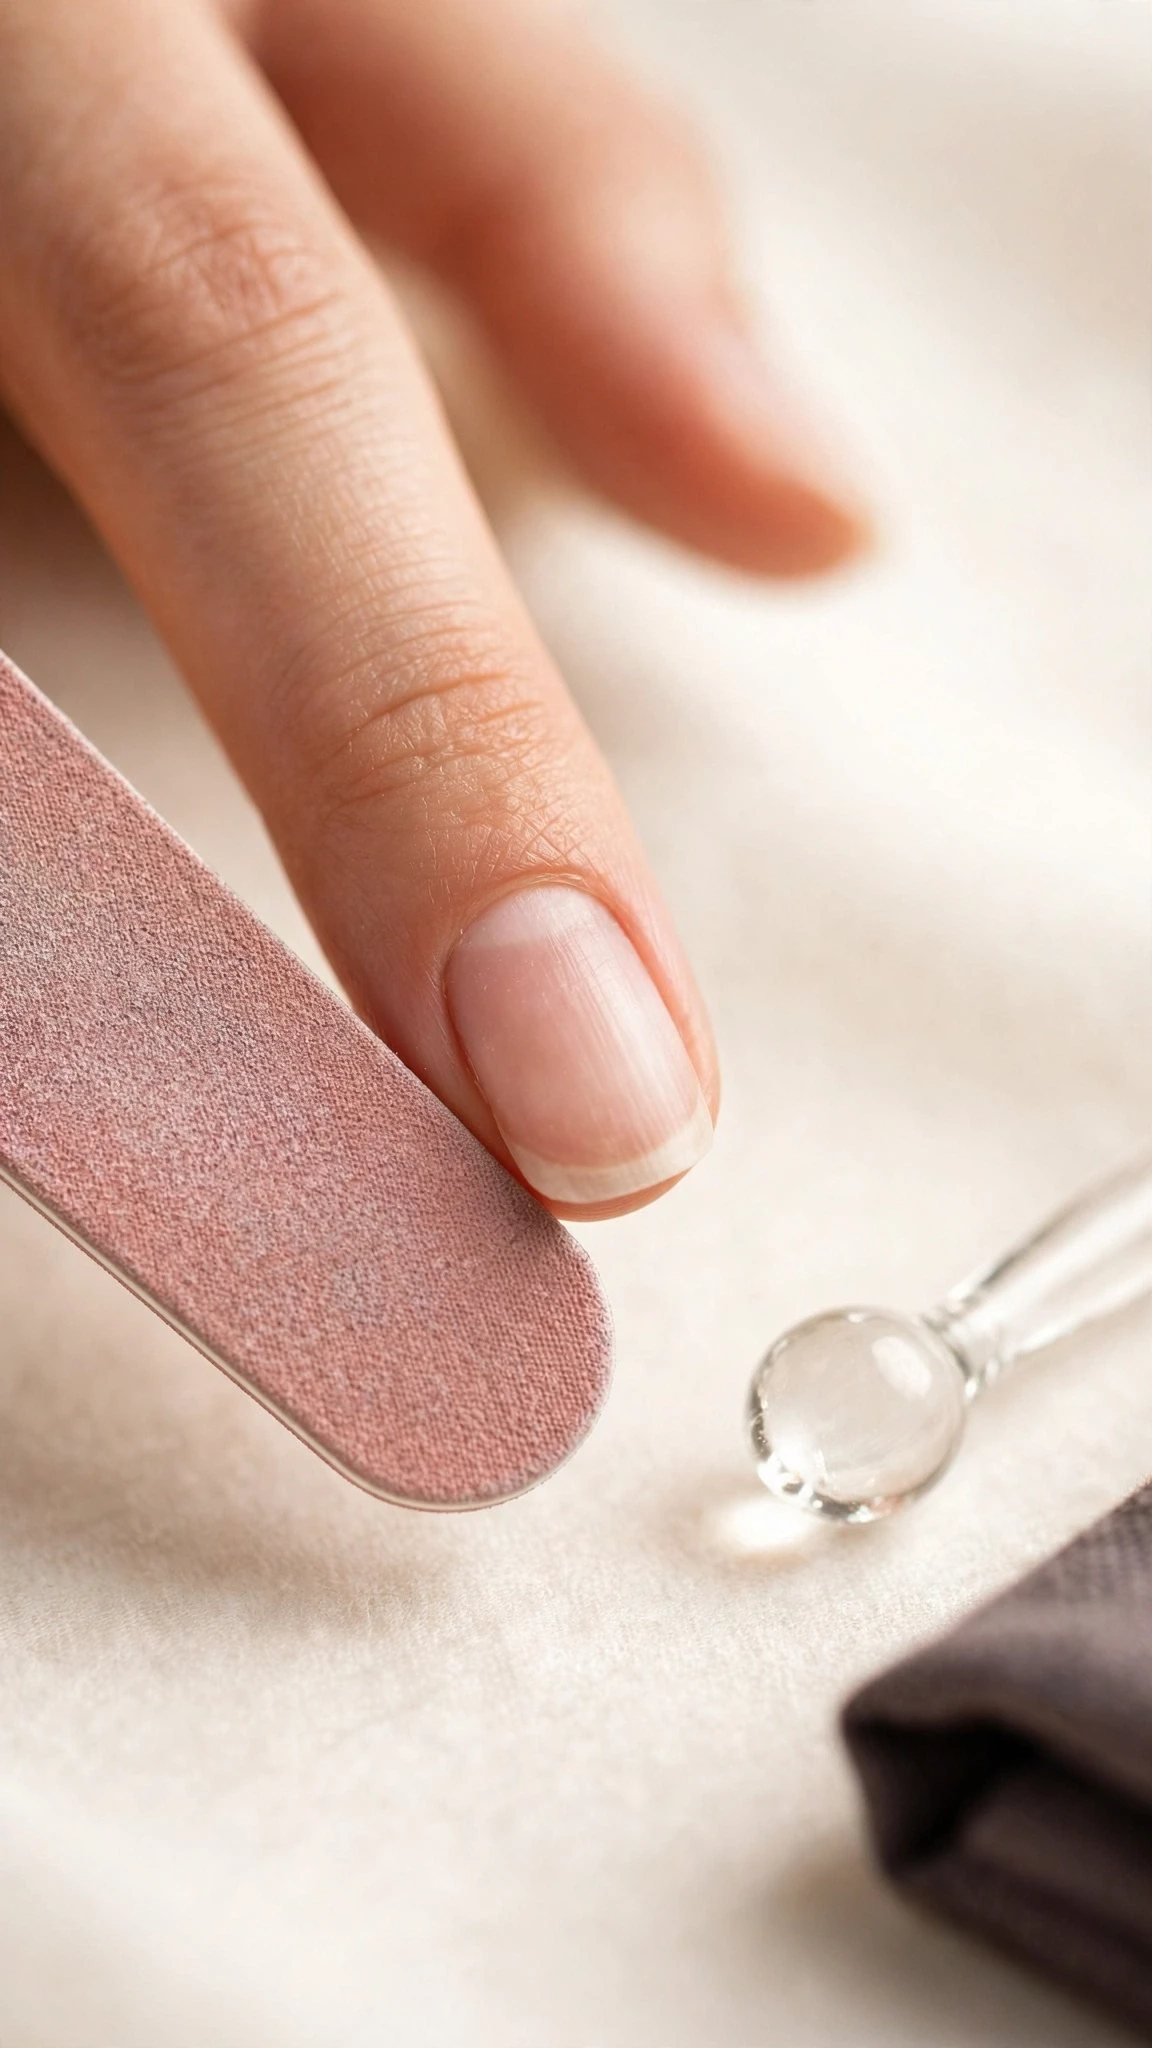
This is the number one reason beginners’ gel manicures fail, and it happens before a single drop of polish ever touches the nail. It is tempting to jump straight to the fun part — the color — especially when you are excited about your new kit. But your natural nails carry oils, moisture, and a thin layer of dead skin around the cuticle, and gel products simply will not bond properly to a surface that has not been cleaned and prepped. It is the least glamorous part of learning how to do gel nails at home, and the most important.
What goes wrong is unmistakable: the gel looks fine for a day or two, then starts lifting — usually at the cuticle edge or as a little bubble under the polish. Once lifting starts, water gets underneath and the whole thing peels away, sometimes taking a layer of your natural nail with it. If your manicures consistently fail within three to five days, skipped prep is almost certainly the culprit.
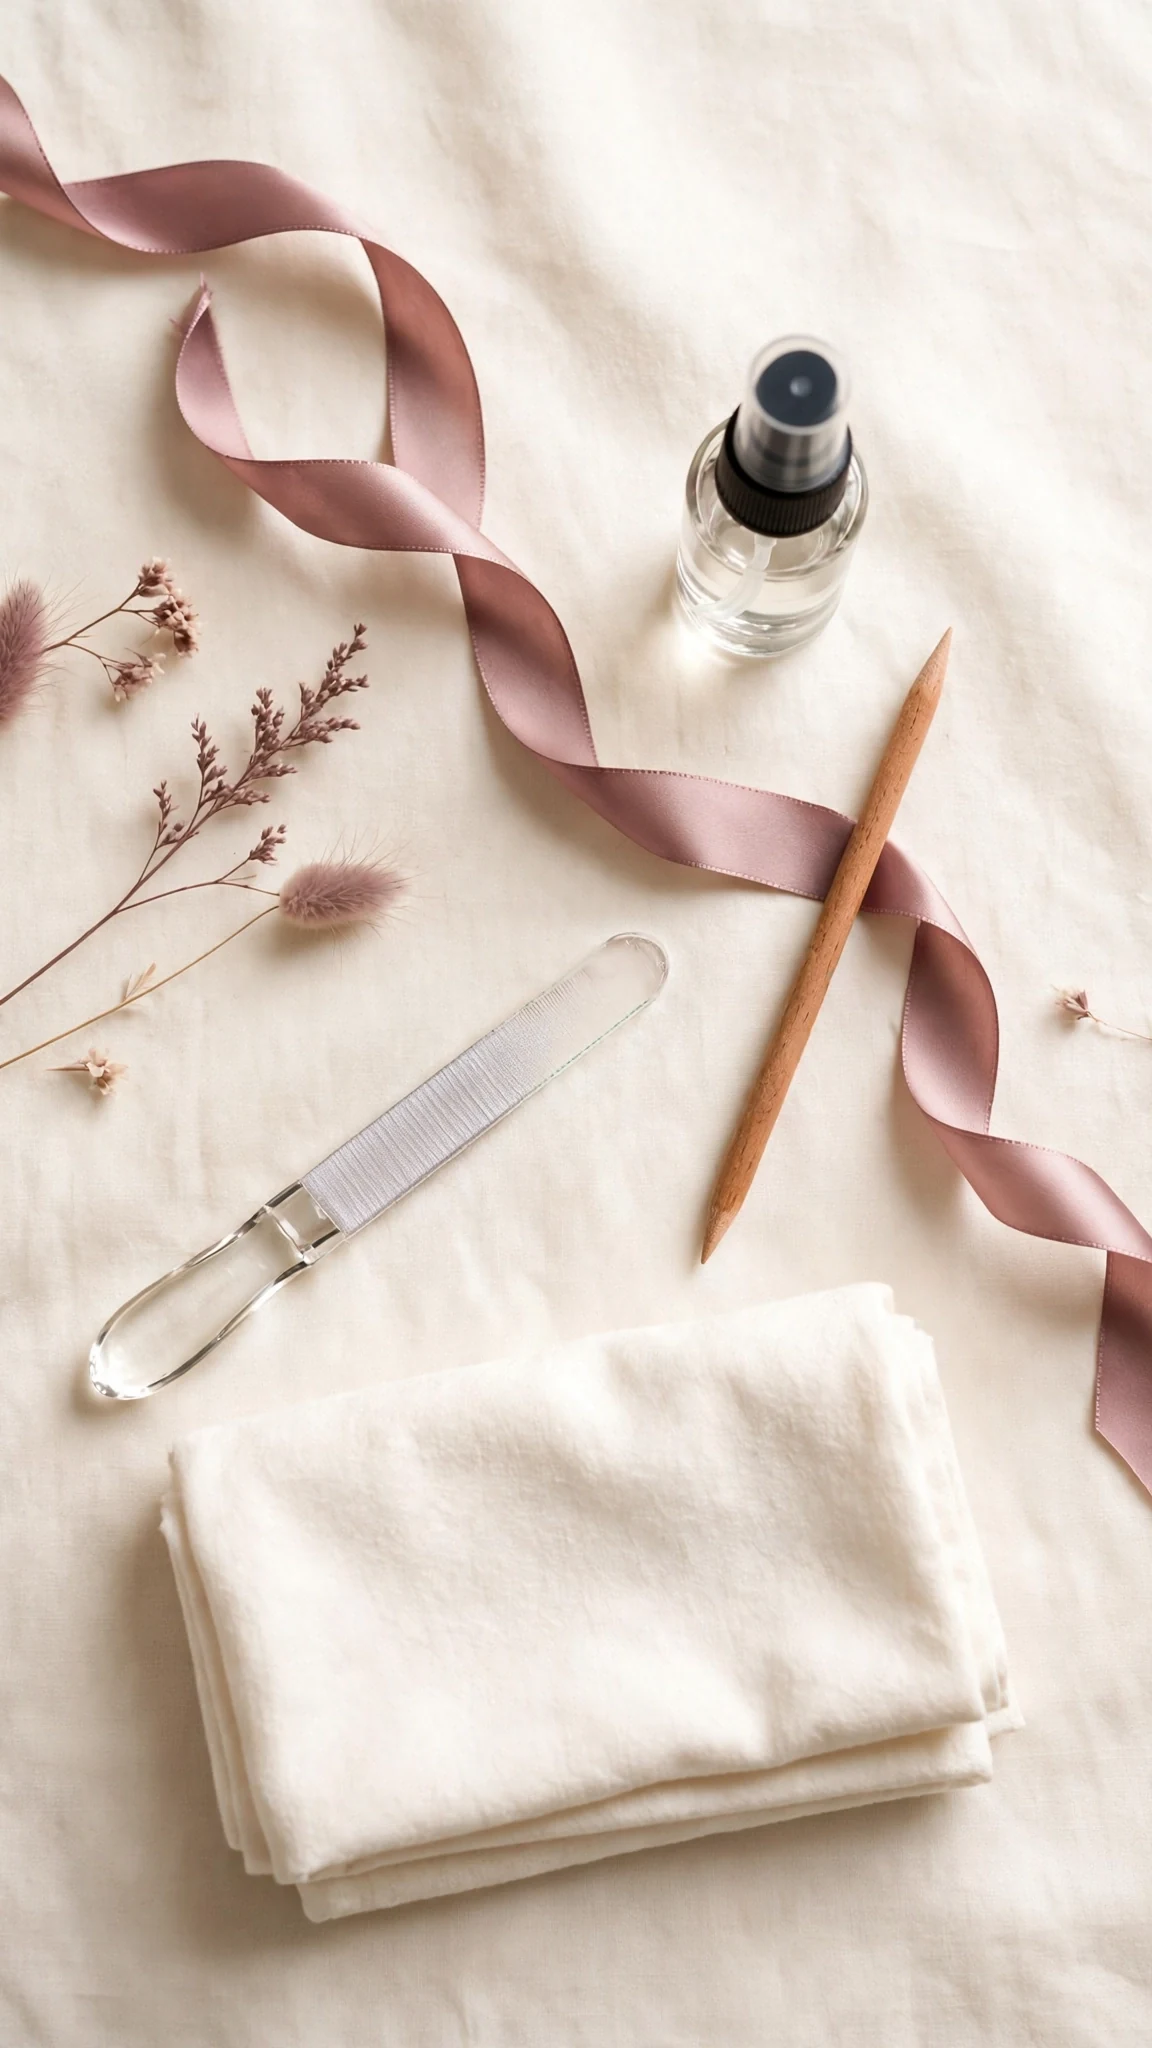
The fix: a short, repeatable prep routine — cleansing, a gentle cuticle push-back, light surface buffing, and dehydrating the nail plate — turns a three-day manicure into a two-week one. Precise, careful cuticle work makes all the difference here; if you want to see what truly meticulous cuticle technique looks like, read our breakdown of the Russian manicure. The guide includes the exact prep sequence in order, with nothing left to guess.
Mistake #2: Applying Coats Too Thick
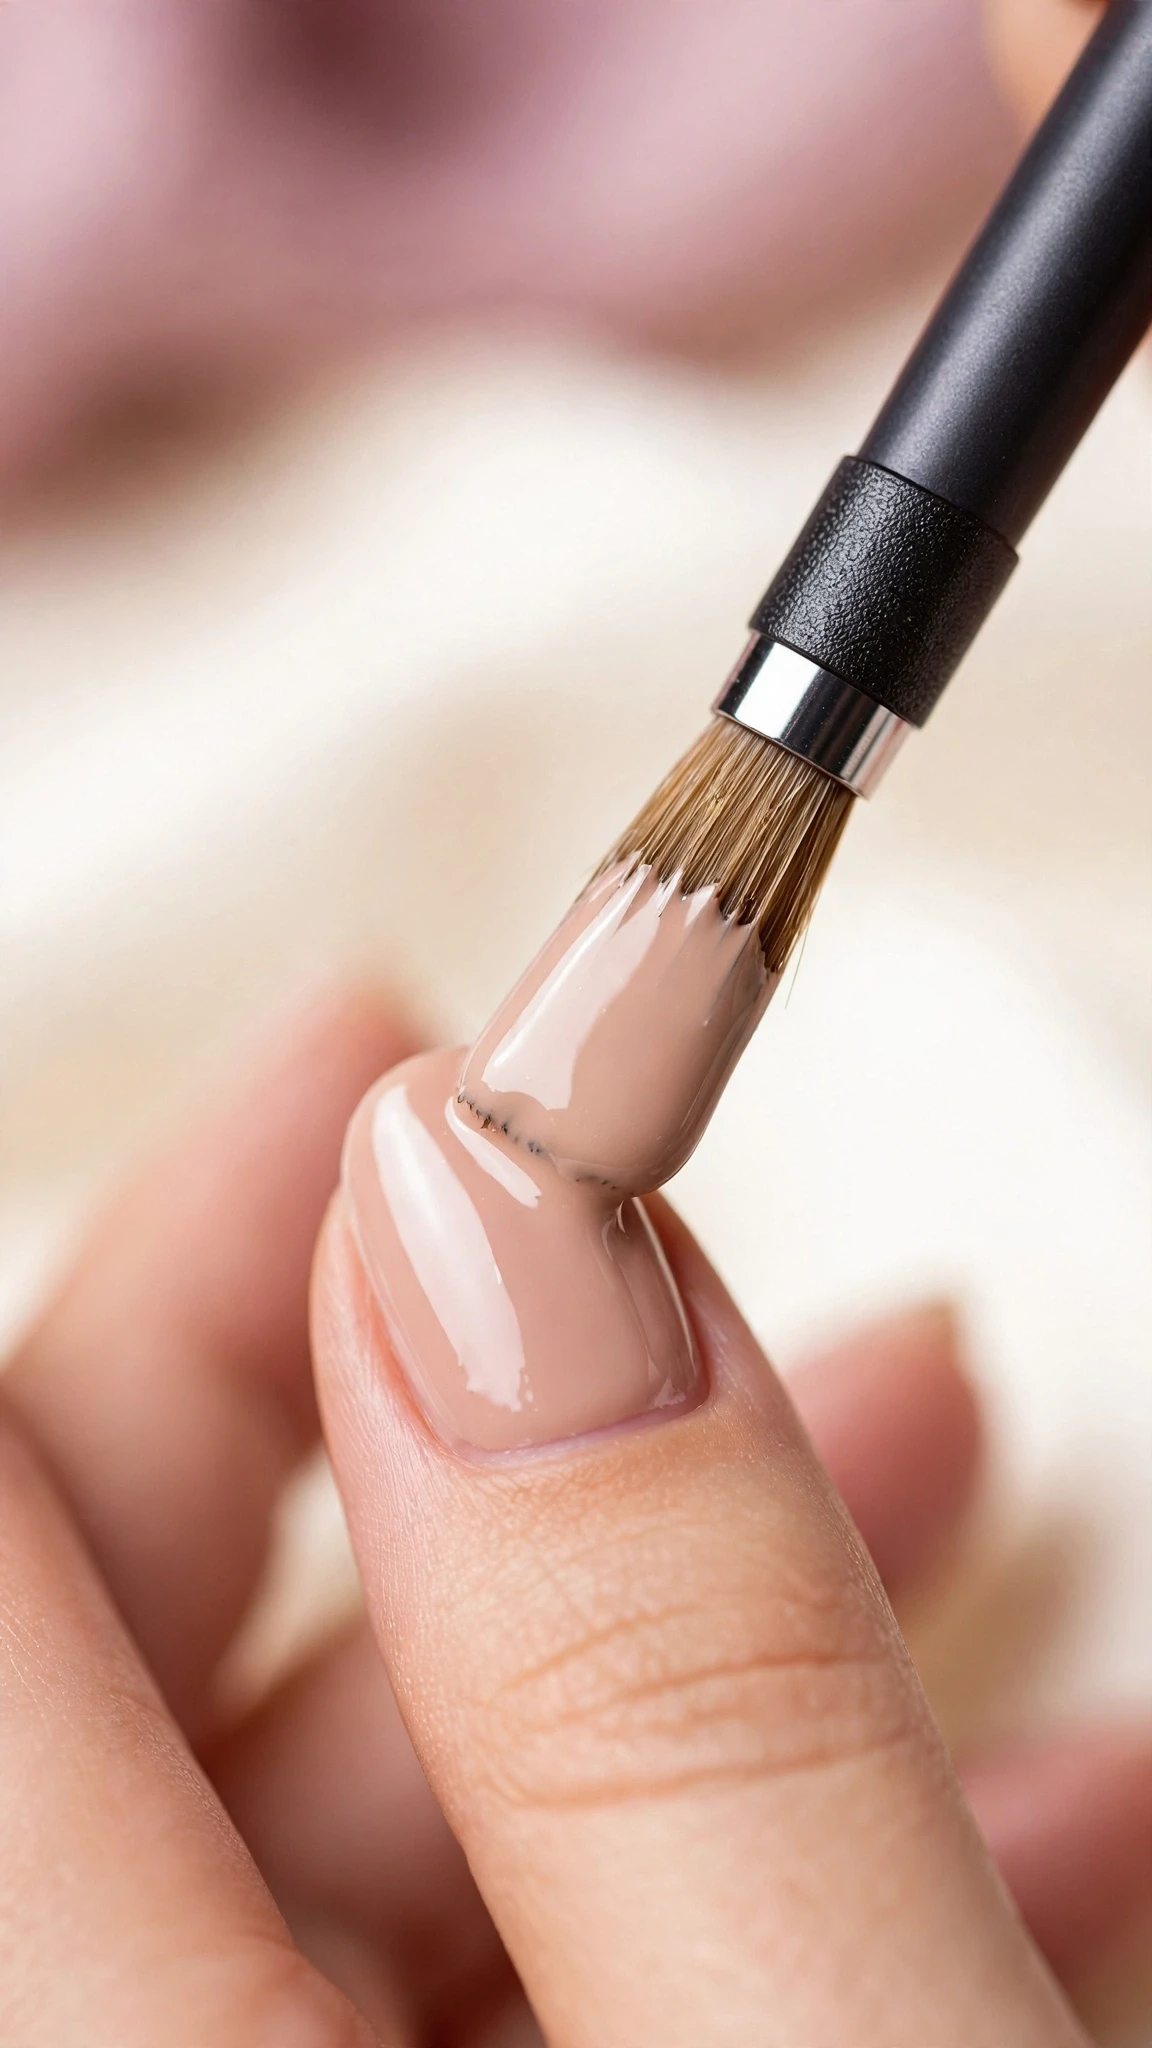
With regular nail polish, a generous coat feels efficient — more color, fewer strokes. Gel polish works the opposite way. Beginners who are used to regular polish almost always load the brush too heavily, because a thick coat looks like it is giving better coverage. Unlearning that instinct is one of the first real lessons in how to do gel nails at home. In reality, the lamp can only cure gel to a certain depth in the time it runs, so a thick layer sets on the outside while the center stays soft and uncured.
The result is a manicure that shrinks, wrinkles, or dents — sometimes you can see little ripples forming right under the lamp. Even if it looks okay at first, the under-cured layer underneath stays gummy, so the polish dulls quickly, feels slightly soft when you press it, and starts sliding off the nail within days. Search any DIY gel nails forum and you will find the “my gel wrinkled under the lamp” complaint on repeat.
The fix: thin, almost translucent coats, building color over two or three passes instead of one heavy one. The guide shows you exactly how much product should be on the brush and how each layer should look before it goes under the lamp.
Mistake #3: Flooding the Cuticles
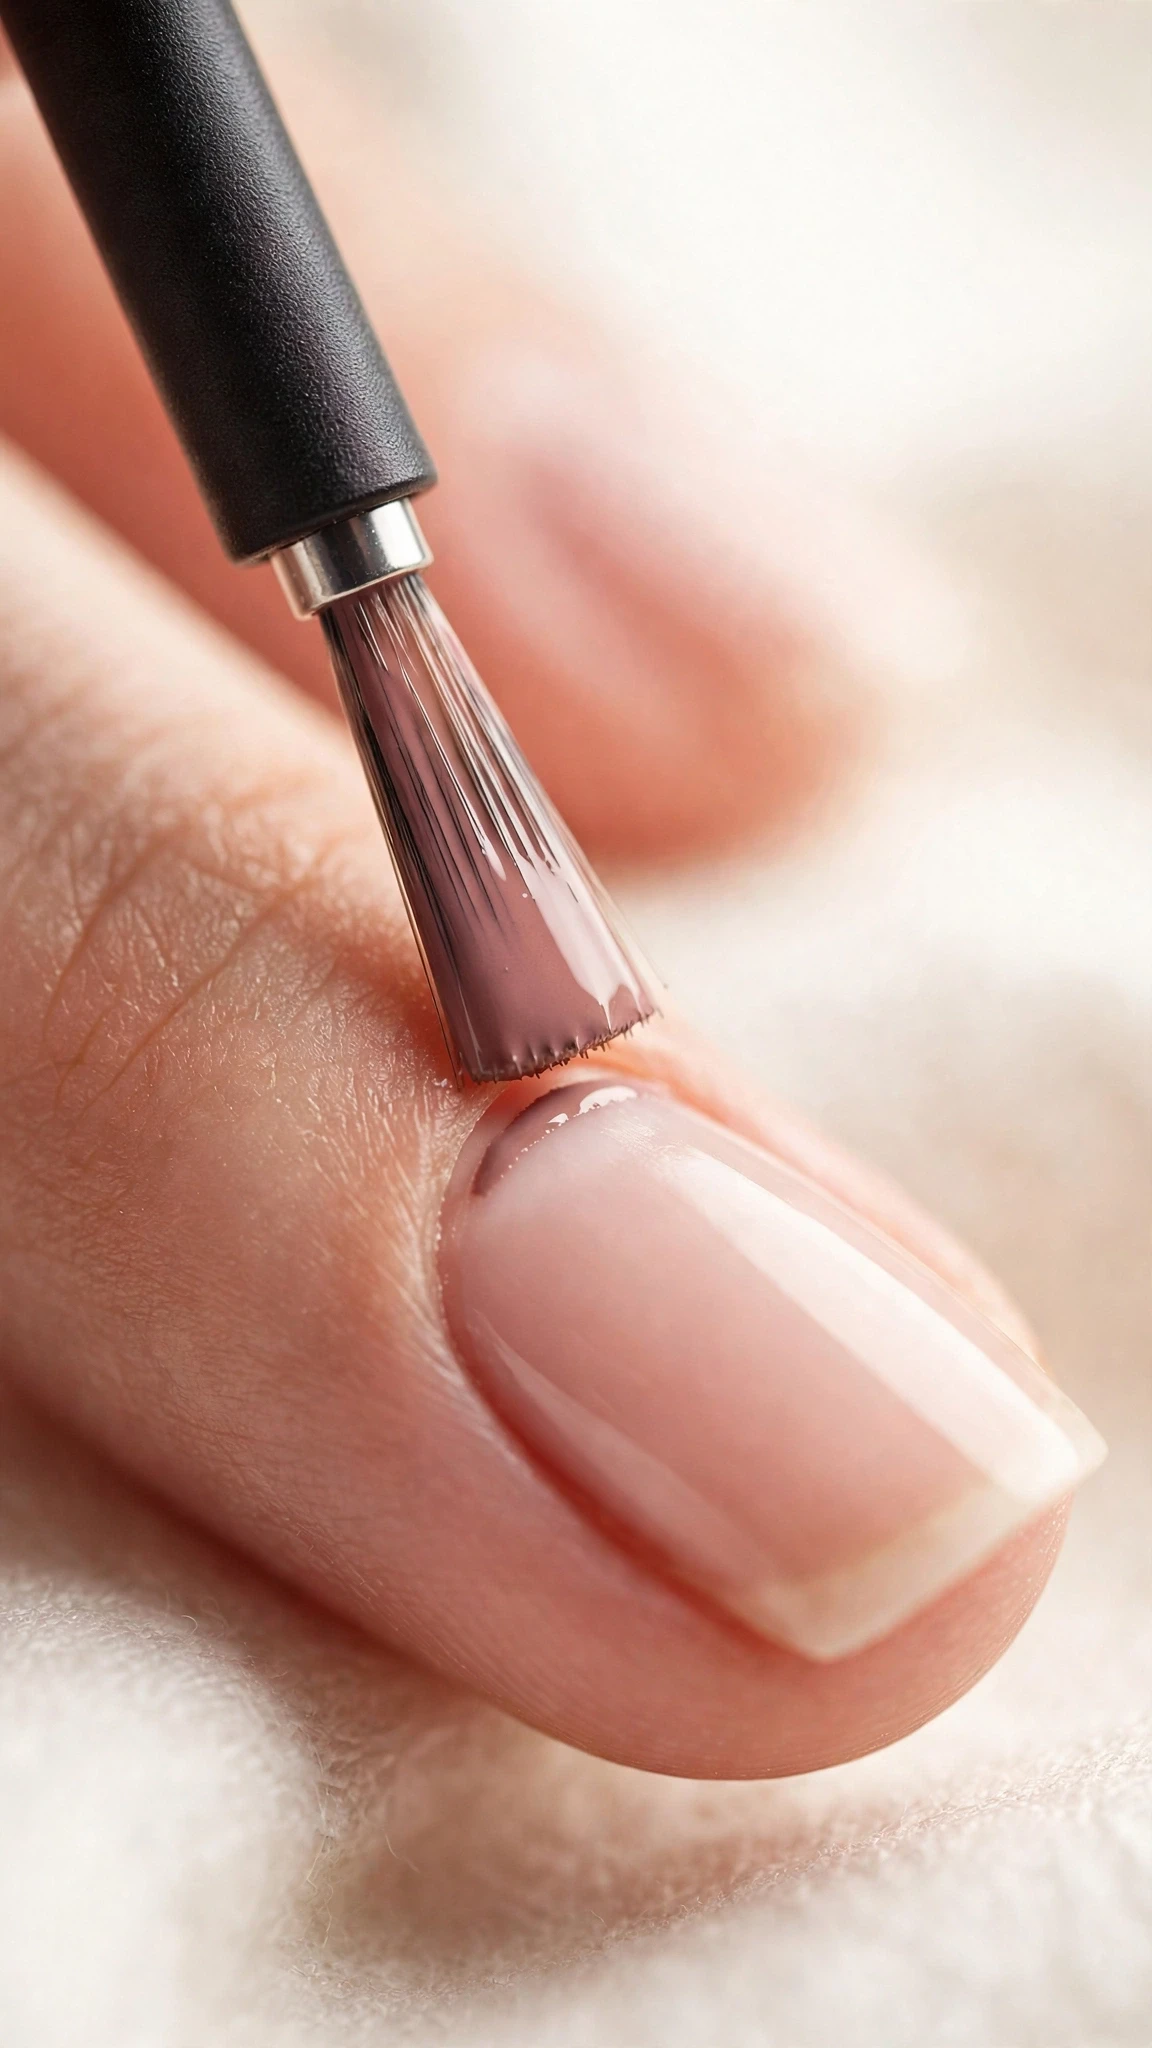
Beginners tend to paint gel the way they paint regular polish — pushing the brush right up against the cuticle and flooding the edges for “full coverage.” Gel does not behave like regular polish: it does not dry on its own, it migrates a little before curing, and anything that pools onto the skin hardens into a rigid ridge sitting on soft, moving skin.
Two problems follow. First, the gel lifts from the cuticle edge, because skin moves and flexes while cured gel does not — the bond breaks and peeling starts right at the base of the nail. Second, and more important, repeated skin contact with uncured gel products can irritate the skin around your nails. Keeping gel off the skin is one of the first habits to build when learning how to do gel nails at home.
The fix: leave a hairline gap around the cuticle and clean up any stray gel with a small brush before curing — never after. The guide walks through the brush angle and cleanup step that makes this easy even with a shaky hand.
Mistake #4: Forgetting to Cap the Free Edge
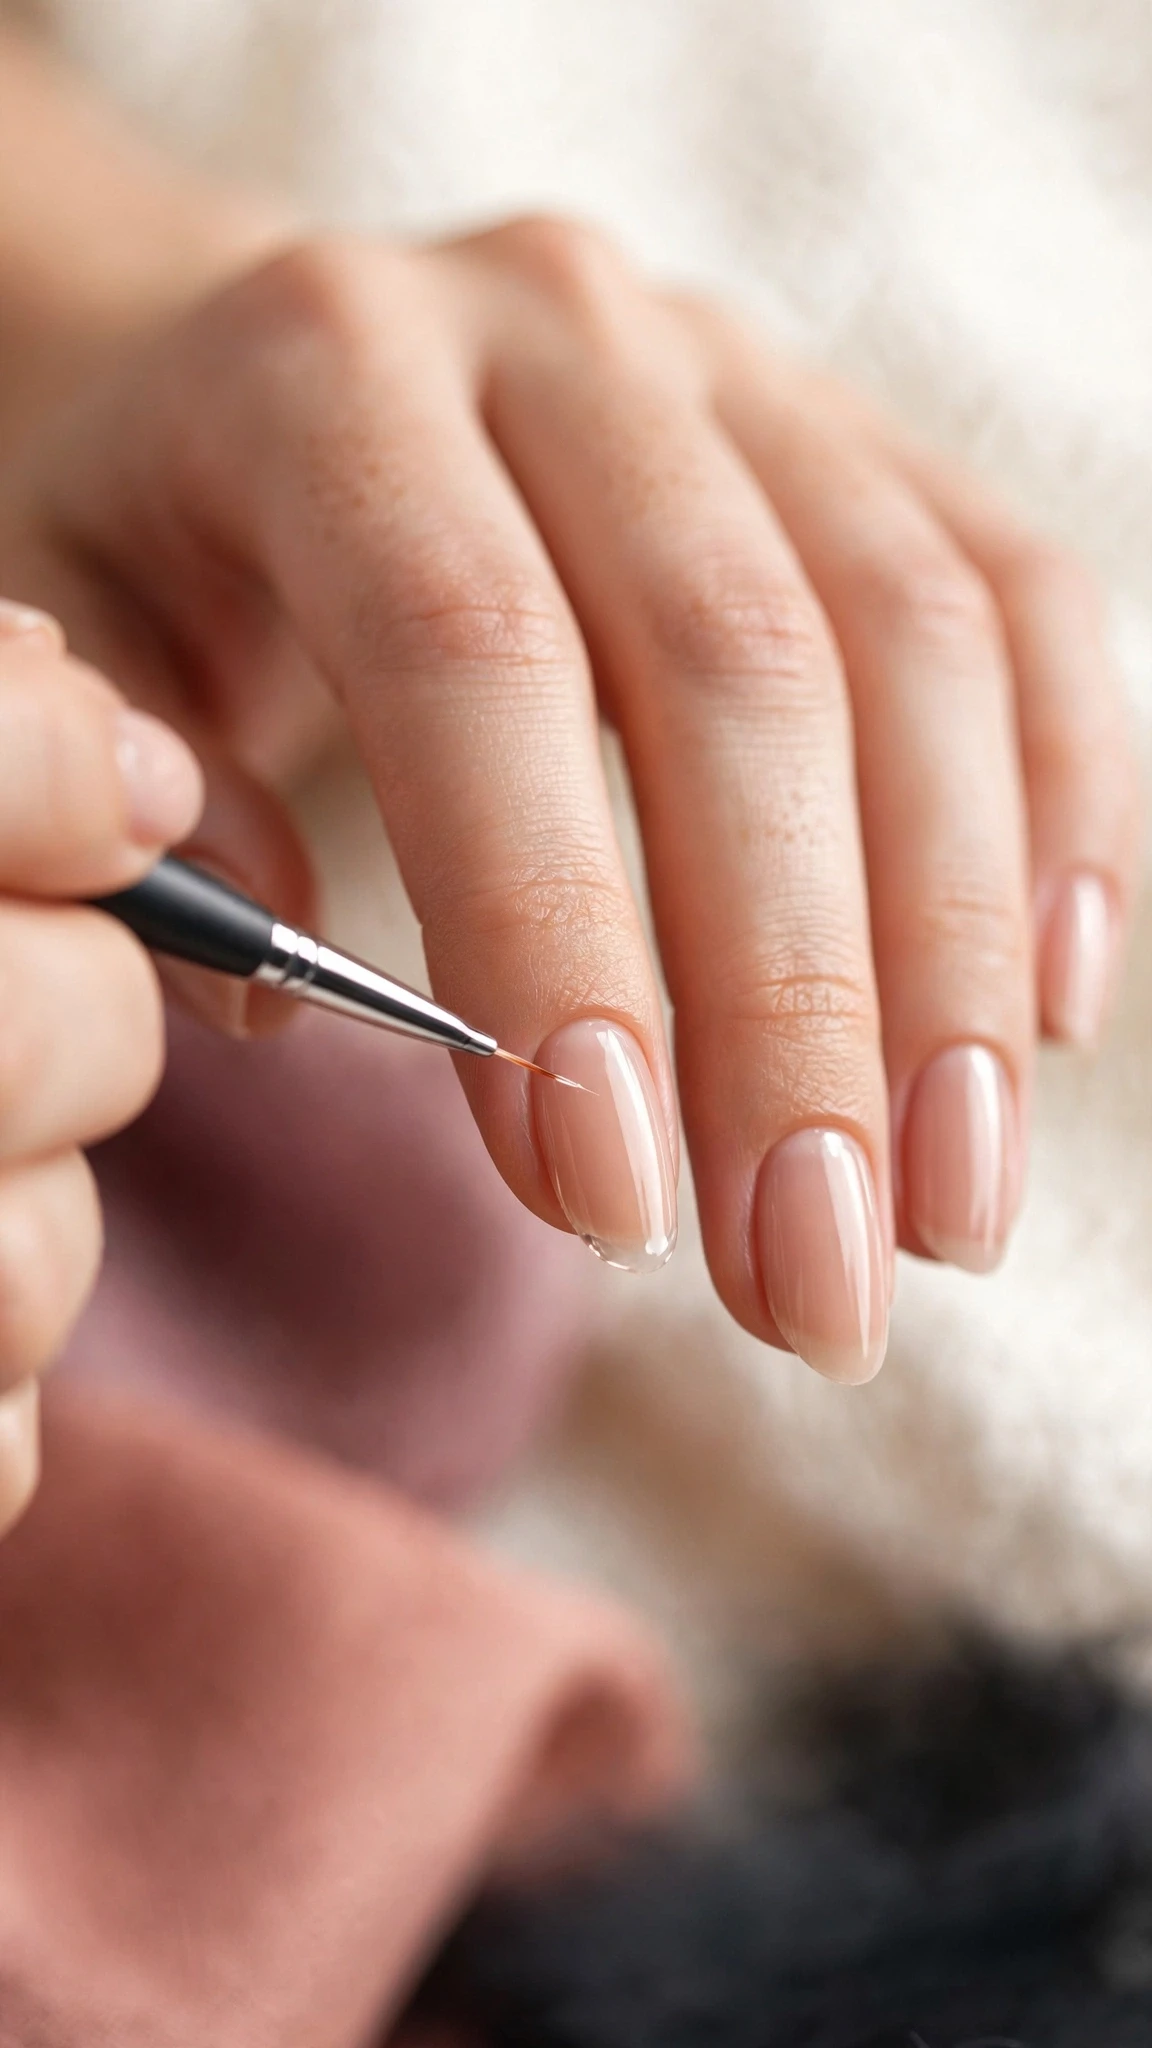
“Capping the free edge” is salon terminology most beginners have never heard — which is exactly why so many first attempts fail at the tips. It simply means brushing a thin layer of each coat across the very tip of the nail, sealing the edge where the polish meets the underside. If you are learning how to do gel nails at home, learn this term on day one — it will save you a dozen ruined tips. The free edge takes the most daily abuse of any part of your manicure: typing, opening cans, tapping, bumping. If the edge is left unsealed, every little knock works its way under the polish.
The classic symptom is a manicure that looks perfect everywhere except the tips, where tiny chips and peeling start within the first week and creep backward. Many beginners blame the polish or the lamp for this, but an uncapped edge will chip no matter how good the products are. It is a small habit that makes a surprisingly large difference in real-world wear.
The fix: run the brush lightly across the tip of the nail at the end of every coat — base, color, and top — before curing. The guide includes a close look at the exact brush motion so the edge gets sealed without globbing.
Mistake #5: Under-Curing Every Layer
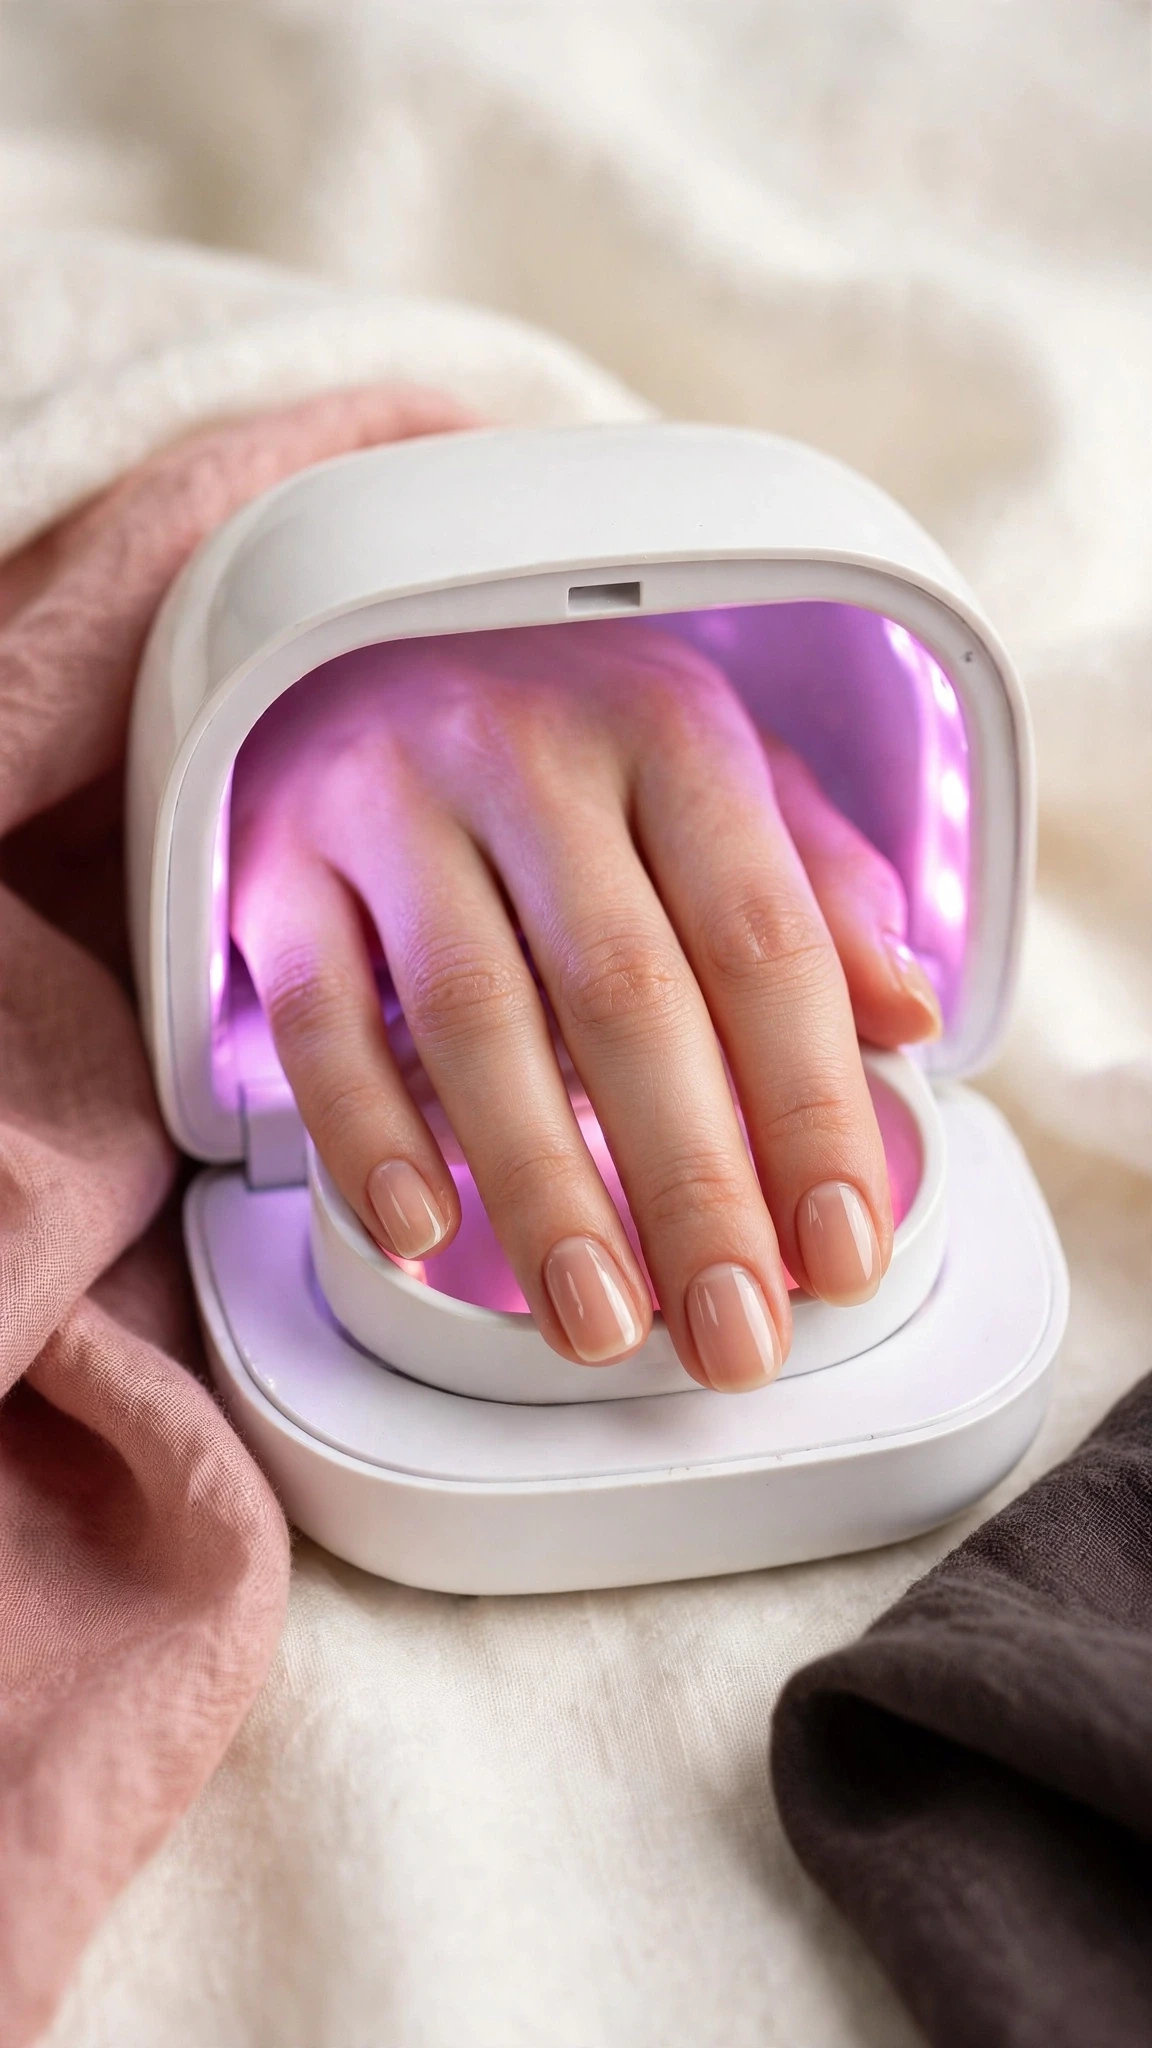
Curing is the step beginners trust the most and understand the least. Gel polish does not air-dry — it hardens only through a chemical reaction triggered by the right wavelength of light for the right amount of time. Beginners run into trouble in a few predictable ways: a low-wattage or aging lamp, guessing at cure times instead of following the gel brand’s recommendations, or pulling the hand out early because the lamp’s default timer felt “long enough.” Understanding what curing actually does is central to learning how to do gel nails at home properly.
Under-cured gel is soft, slightly tacky, and dull instead of glossy — and it peels off in flexible sheets rather than chipping. It is also worth taking seriously for safety reasons: fully curing every layer is part of using gel products responsibly at home. If your manicure feels bendy, looks matte when it should shine, or lifts off whole, under-curing (often combined with thick coats from Mistake #2) is the likely cause.
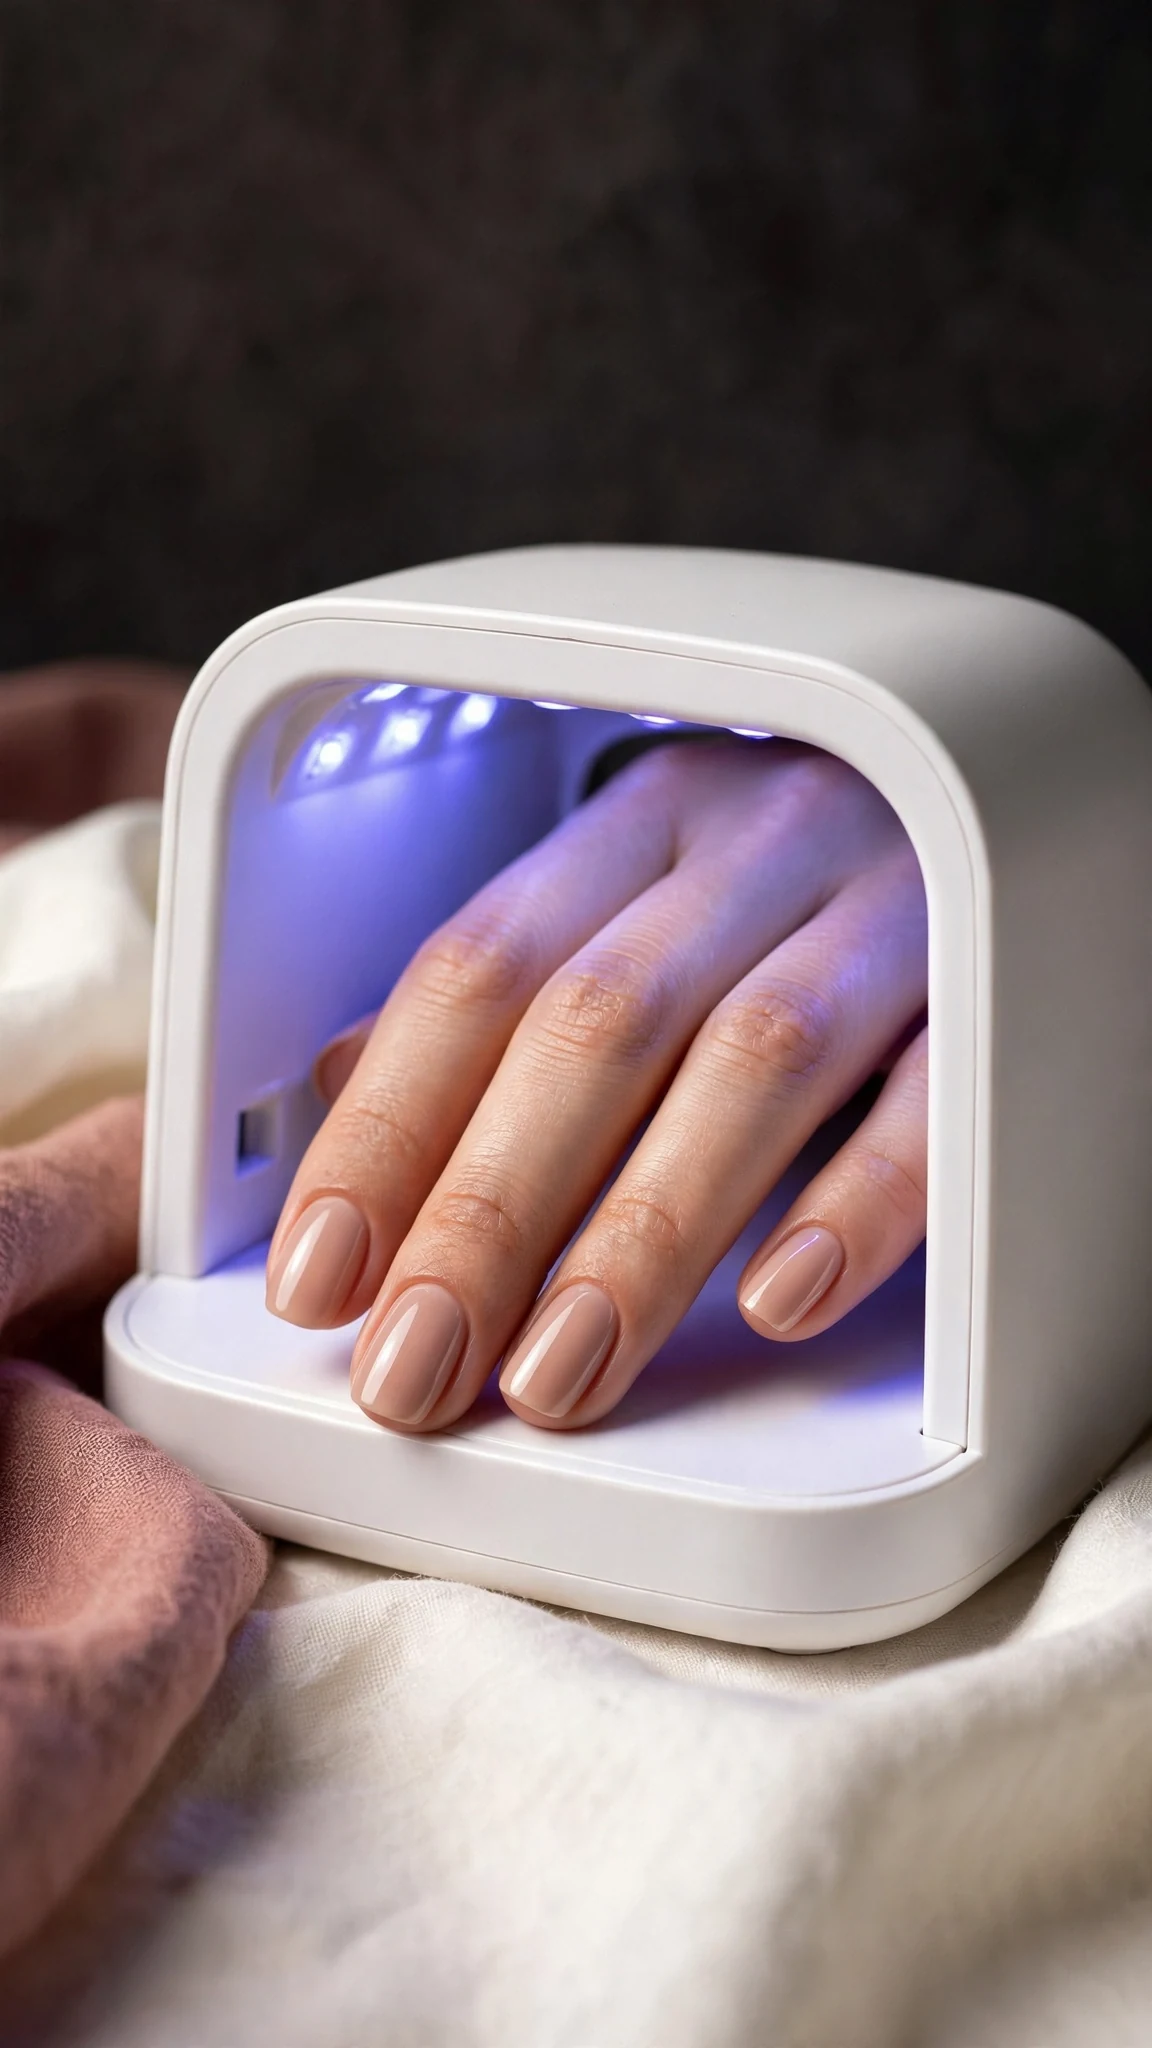
The fix: match your lamp to your gel brand’s recommended cure times and cure every single layer — base, each color coat, and top — for the full time, no shortcuts. The guide includes a simple curing chart and what to check if your lamp might be underpowered.
Mistake #6: Peeling Off Old Gel
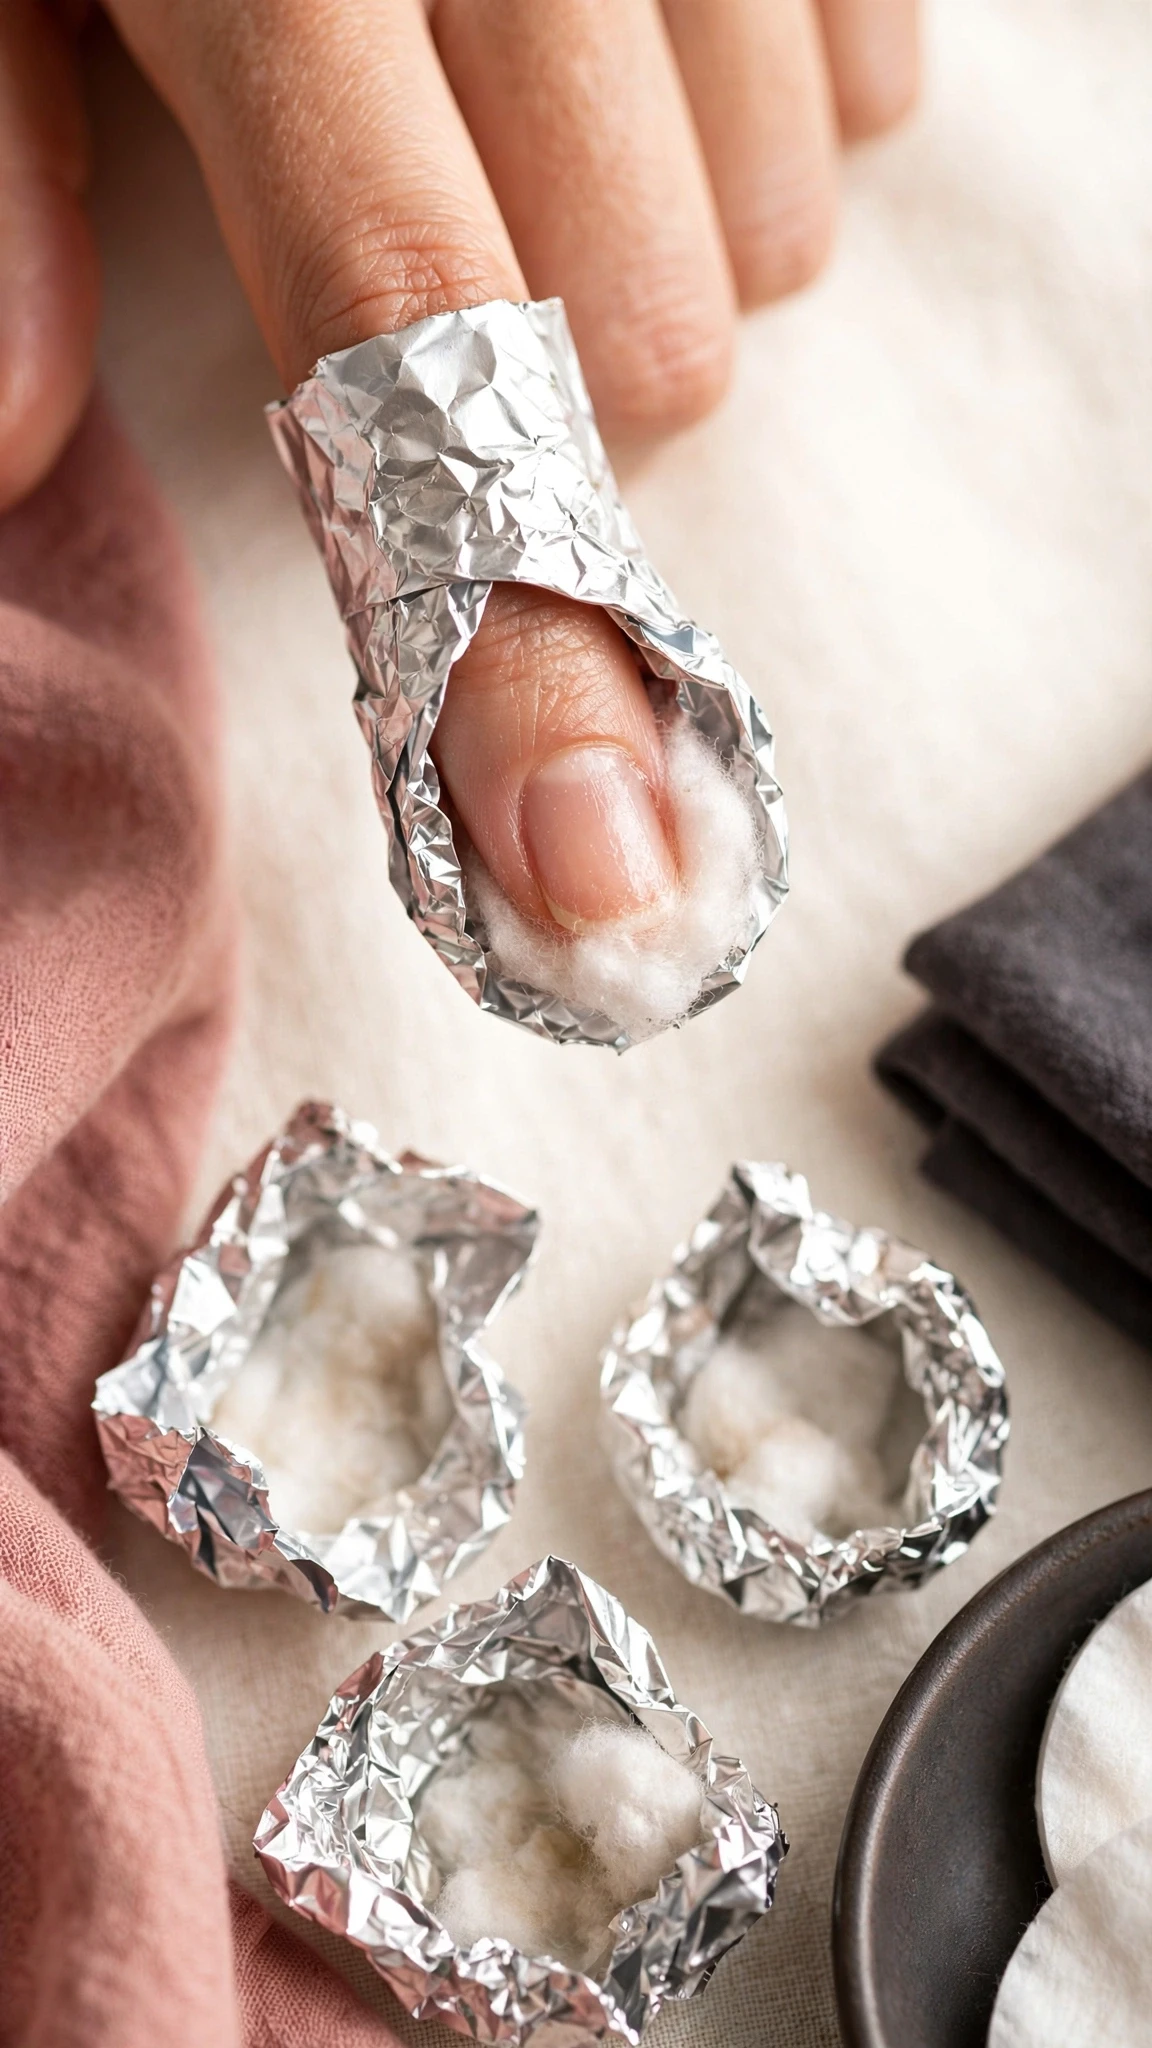
Sooner or later, every beginner faces the temptation: a corner of gel has lifted, it is catching on your hair, and peeling the rest off takes ten satisfying seconds. Do not do it. When you peel cured gel off the nail, it does not separate cleanly — it rips away the top layers of your natural nail plate along with it, leaving thin, weak, flaky nails with white patches that take weeks to grow out. It is the costliest habit you can bring into learning how to do gel nails at home.
This is the mistake that does the most lasting damage, and it is the reason some people conclude that “gel ruined my nails” when the gel was never the problem. According to the American Academy of Dermatology’s nail care tips, nails should be treated gently and kept from harsh mechanical stress — and peeling off a bonded coating is about as mechanically harsh as it gets. If you prefer a gentler overall philosophy for natural nails, you may also enjoy our piece on the Japanese manicure approach.
The fix: the safe removal route is a proper soak-off — gentle, patient, and kind to the nail underneath. The guide walks through the soak-off method that removes every trace of gel without a single peel.
Mistake #7: Skipping Aftercare
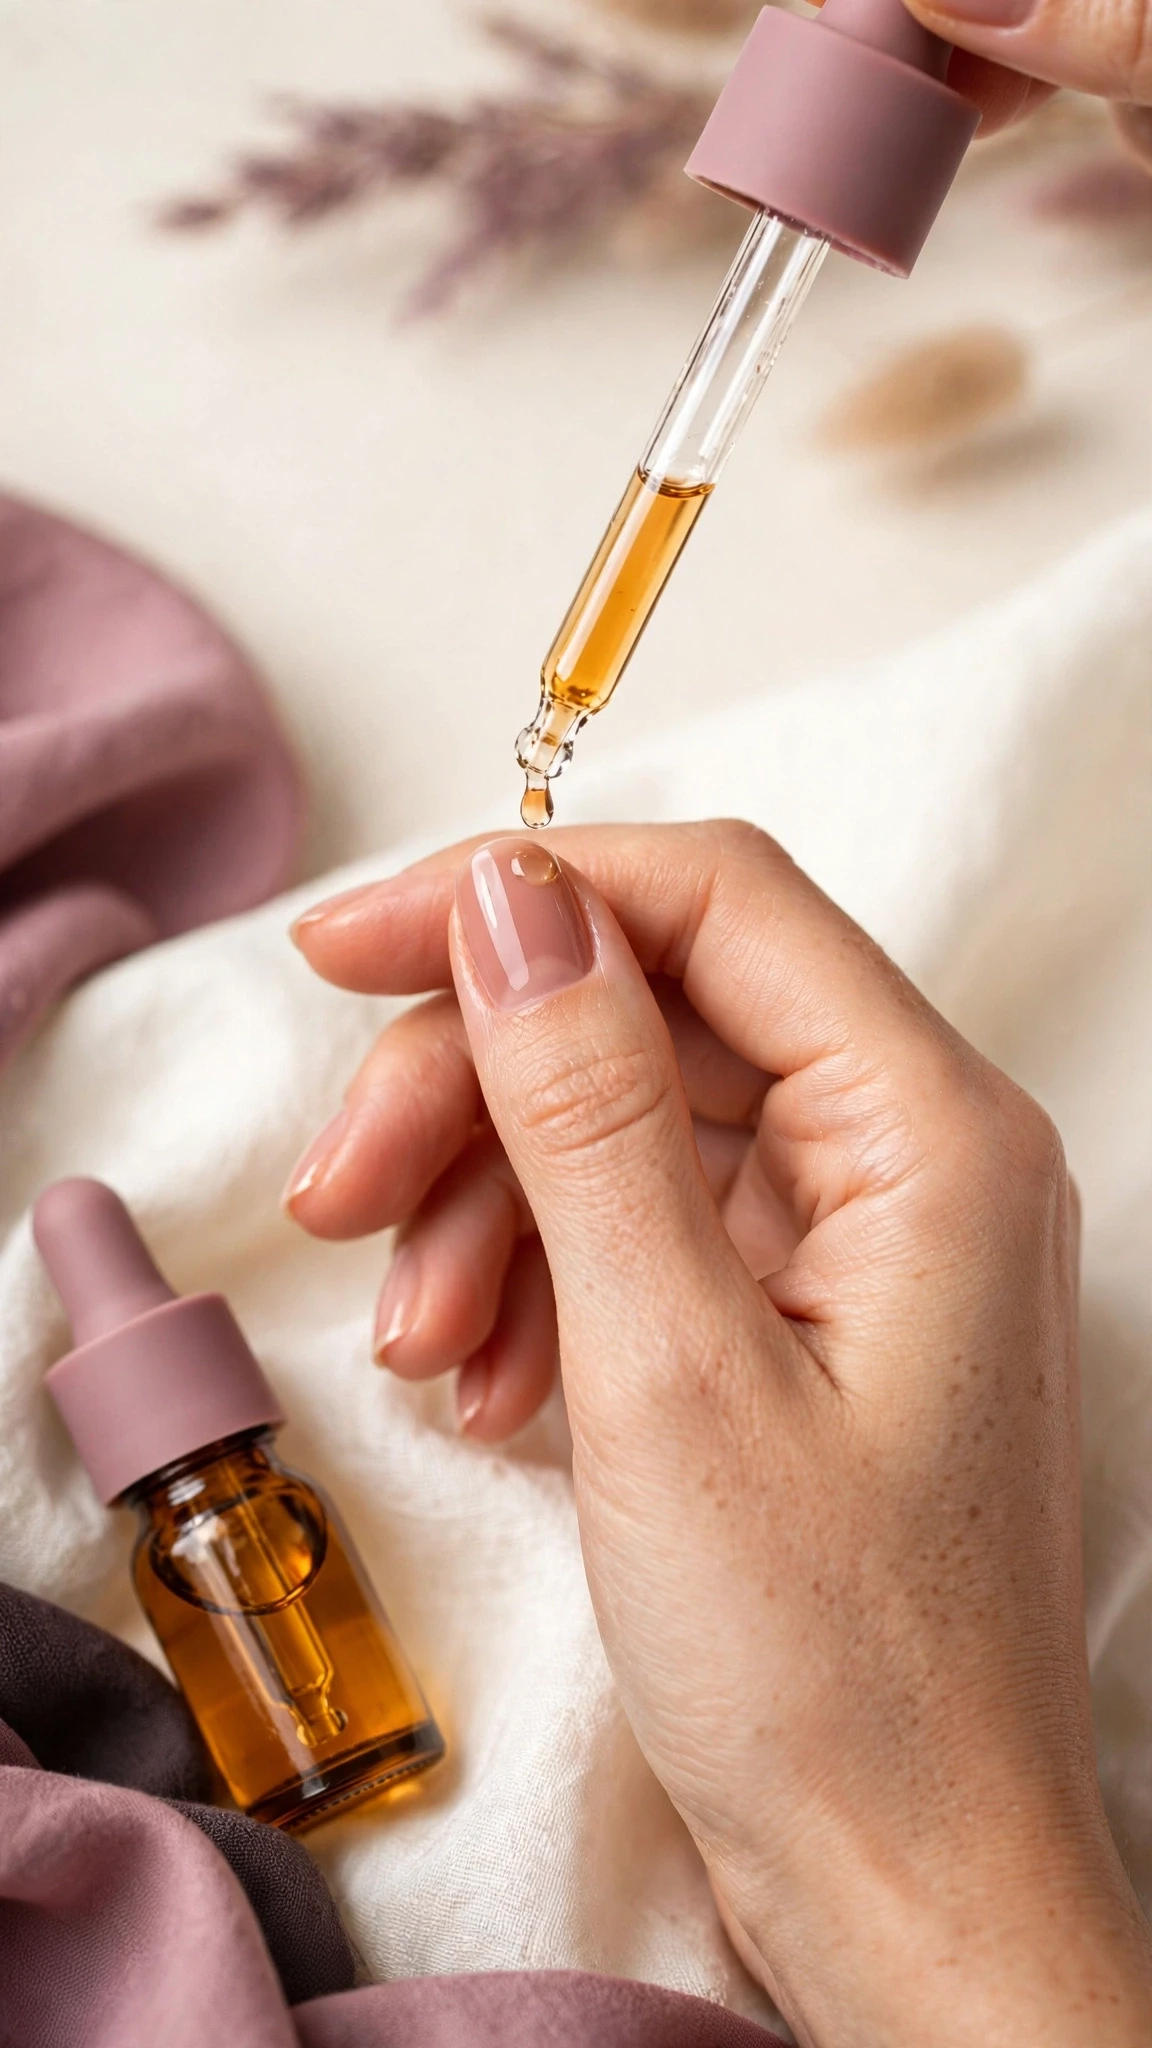
The manicure is cured, glossy, and gorgeous — so most beginners consider the job done and move on. But gel sits on top of living, breathing nails and skin, and the whole system stays healthier with a little ongoing care. Skipping aftercare does not ruin a manicure overnight, which is why it is the easiest mistake to ignore — and the one that quietly separates two-week manicures from three-week ones.
Without aftercare, cuticles dry out and crack, the skin around the nails looks ragged, and the nails themselves can become dry and brittle underneath the gel. Small daily habits like this are what separate people who have truly learned how to do gel nails at home from people who just own a lamp. A little daily cuticle oil, basic hand care, and keeping nails out of prolonged harsh soaking go a long way. It is the lowest-effort habit on this list and it protects both the manicure and the natural nail beneath it.
The fix: a two-minute daily aftercare routine — the guide lays out exactly which habits matter, which products are worth it, and which popular “tips” you can safely ignore.
Quick-Reference Checklist
Pin this list to your vanity — or just keep it open on your phone — the next time you sit down to learn how to do gel nails at home. A gel manicure at home follows the same principle as the salon version — a nail coating hardened under a lamp instead of air-dried (you can read the fuller background on the history and basics of the manicure), and every item below exists to make that hardening process work in your favor.
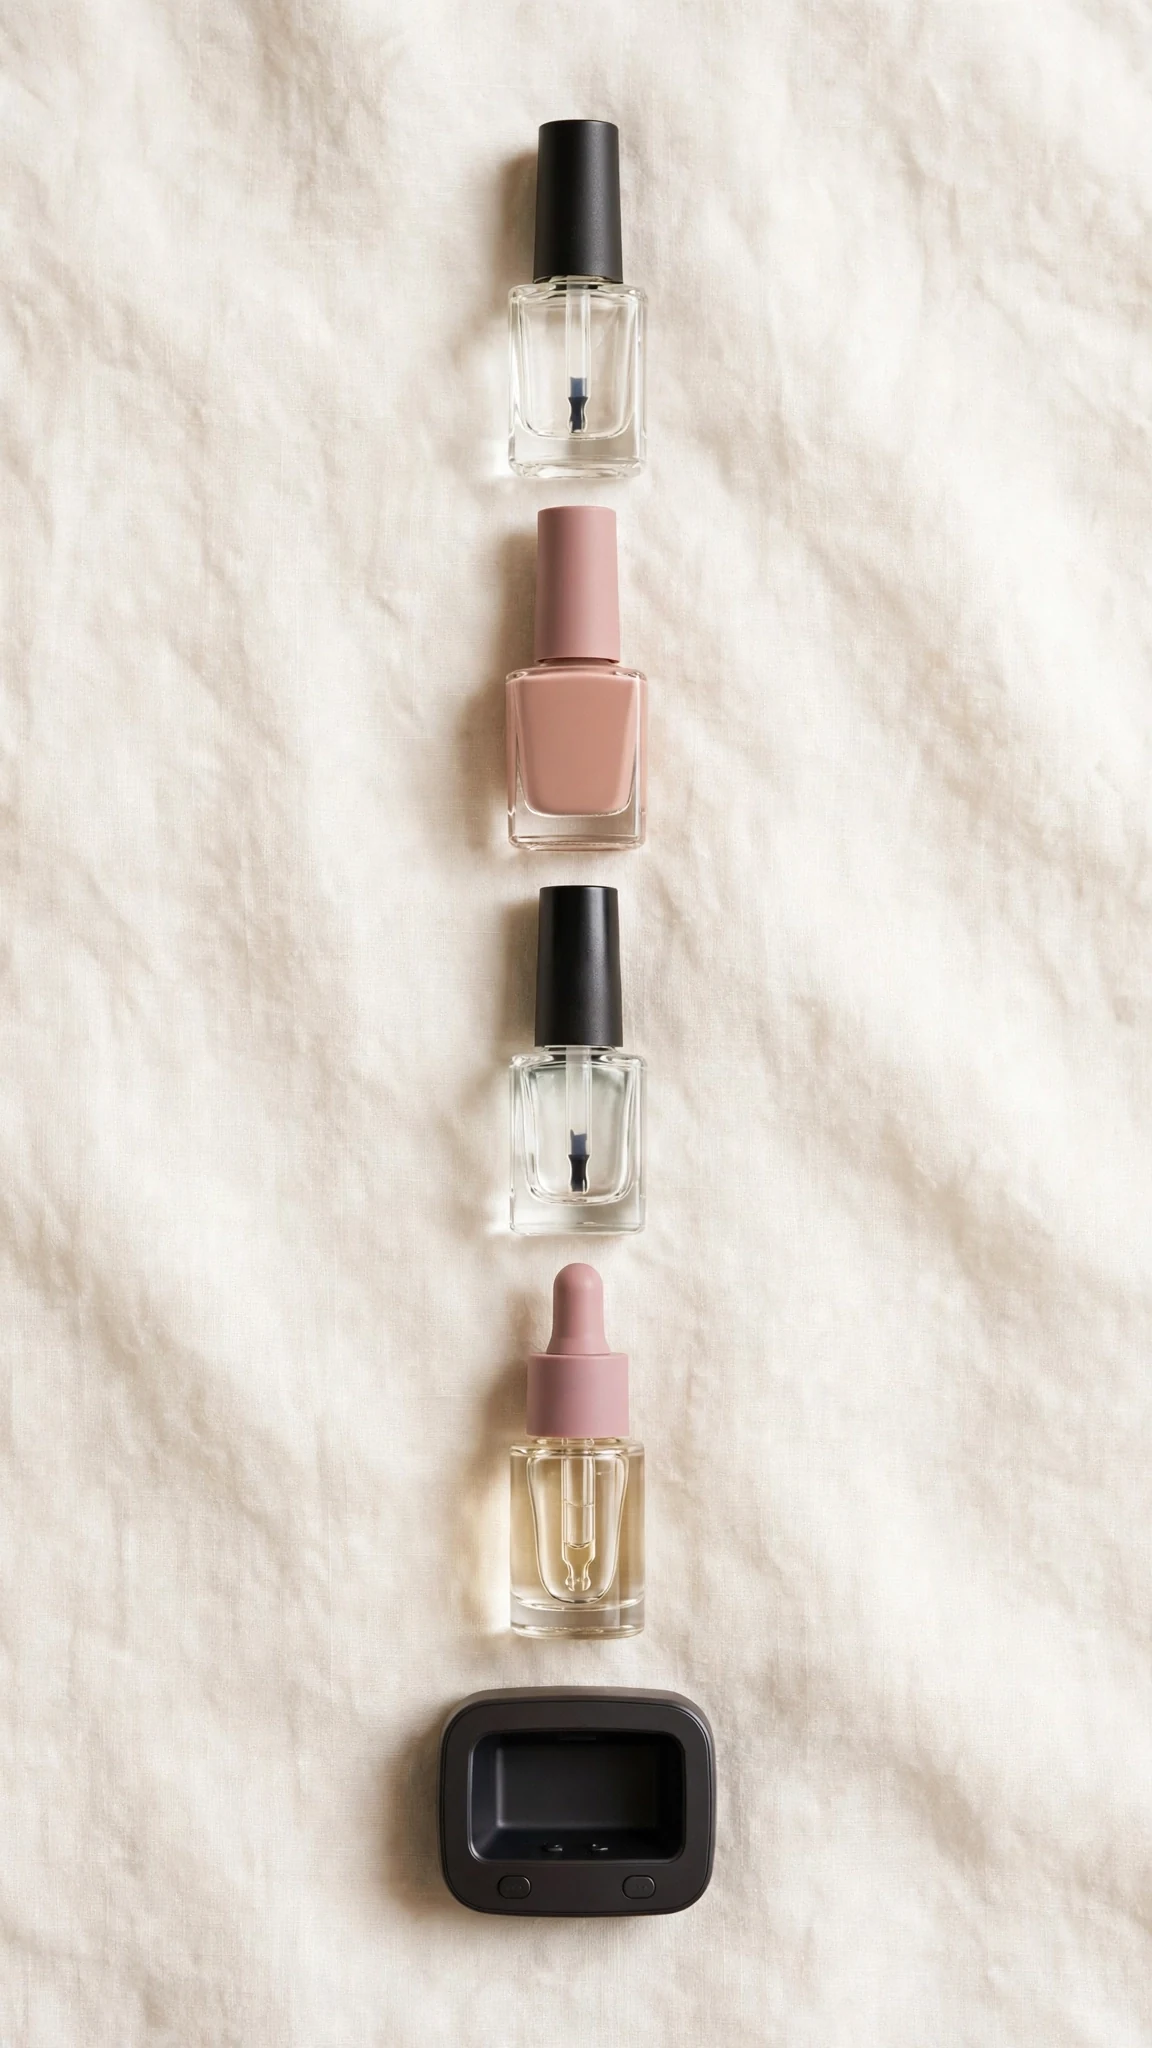
- Do: cleanse and dehydrate every nail before you start
- Do: gently push back cuticles instead of cutting them
- Do: apply thin coats — two or three thin layers beat one thick one
- Do: leave a hairline gap between gel and cuticle
- Do: cap the free edge with every single coat
- Do: cure each layer for the full time your gel brand recommends
- Do: remove old gel with a gentle soak-off
- Do: apply cuticle oil daily once the manicure is done
- Don’t: skip prep to “save time” — it costs you the whole manicure
- Don’t: flood the cuticles or let gel sit on your skin
- Don’t: pull your hand out of the lamp early
- Don’t: peel off old gel, no matter how tempting
- Don’t: ignore aftercare once the top coat is cured
Run through this checklist honestly before each manicure and you will avoid the vast majority of beginner failures. Most people who struggle with learning how to do gel nails at home are not missing talent or expensive gear — they are missing two or three items on this exact list. And if you love the idea of a polished, low-maintenance look but want something even more understated than gel, the subtle American manicure style is a beautiful alternative to explore. Either way, mastering how to do gel nails at home starts with avoiding the mistakes above, not buying more products.
Want the full step-by-step system?
This article covered what goes wrong — the Beginner’s At-Home Gel Manicure Guide ($7.99, instant download) shows you how to do gel nails at home the right way, walking you through the complete beginner-friendly process that avoids all 7 of these mistakes.
Frequently Asked Questions
How long do at-home gel nails last?
With proper prep, thin coats, and full curing, a beginner’s at-home gel manicure typically lasts one to two weeks. If yours are failing in under a week, the cause is almost always one of the seven mistakes above — most often skipped prep, coats applied too thick, or under-curing. Fixing those three things is the fastest win when learning how to do gel nails at home.
Why do my gel nails peel off after a few days?
Peeling within days — the most reported frustration among beginners learning how to do gel nails at home — usually means the gel never bonded properly or never fully hardened. The most common reasons are skipping nail prep (oils left on the nail plate), applying coats too thick (soft, uncured centers), under-curing (pulling the hand out too early), or flooding the cuticles (lifting from the edges). Work through the checklist above and the peeling almost always stops.
Can I learn how to do gel nails at home without a UV or LED lamp?
No — a lamp is not optional. True gel polish hardens only through a light-triggered chemical reaction, so without a UV or LED lamp it will stay wet and tacky indefinitely. If you want a lamp-free option, look for regular long-wear polish instead of gel products.
Is it safe to do gel nails at home?
Yes, when you follow basic precautions: keep uncured gel off your skin, cure every layer for the full recommended time, and never peel old gel off (use a soak-off instead). According to the American Academy of Dermatology’s nail care guidance, gentle handling and avoiding harsh mechanical stress are key to keeping nails healthy — the same principles apply to your at-home gel routine. These basics keep you safe while you learn how to do gel nails at home.
Do I need to file or buff my nails before applying gel?
You need light prep, not heavy filing. Gently pushing back the cuticles, lightly buffing the shine off the nail surface, and dehydrating the nail plate is enough — the goal is a clean, dry surface for the gel to grip, not a thinned or roughened nail. Aggressive filing does more harm than good.
How do I remove gel nails at home without damaging my nails?
Use a soak-off: gently file the shiny top layer to break the seal, then soak the nails in acetone with cotton and foil (or soak-off clips) until the gel softens and can be pushed away with a wooden stick. Never peel, pry, or force it — patience during removal is what keeps your natural nails healthy for the next manicure.
Compare Before You Choose
See the Closest Alternatives
Compare nearby shapes, colors and finishes before picking a final reference.
Recommended Next