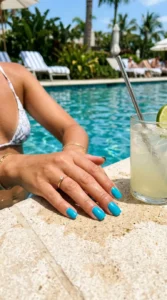
Ombre nails are one of the few manicure trends that never fully leaves Pinterest, but the current wave leans softer and more blended than the harsh two-tone gradients of a few years ago. Weekly search interest for ombre and gradient nail styles is climbing right now, and NailMoodBoard’s own gallery already has scattered ombre looks tucked inside other posts. This roundup pulls them into one place and adds the styles that are missing, from sea glass fades to chrome-tipped gradients.
What separates good ombre nails from a forgettable one usually comes down to color spacing, not technique. Most people assume the hard part is the blending itself, but the harder decision is picking two shades with enough contrast to read as a gradient from across a room, without clashing the moment they meet in the middle. That is the gap this list tries to close: twelve specific pairings, chosen because they photograph well, hold up past the first week, and actually differ from each other instead of repeating the same navy-to-white formula with a different name.
Pinterest search data for nail-related gradient terms has been climbing sharply through the middle of 2026, and the pairings gaining the fastest are not the boldest ones. Muted, tonal combinations, milky-to-clear, chartreuse-to-nude, lavender-to-pink, are pulling ahead of high-contrast pairings like black-to-silver, which suggests the audience searching for ombre nails right now wants something wearable for a daily routine rather than a statement look reserved for one night out. That shift is worth keeping in mind while you scroll through the twelve options below: the softer, tonal pairings toward the middle of this list are the ones most likely to still look fresh three weeks from now.
1. Sea Glass Ombre
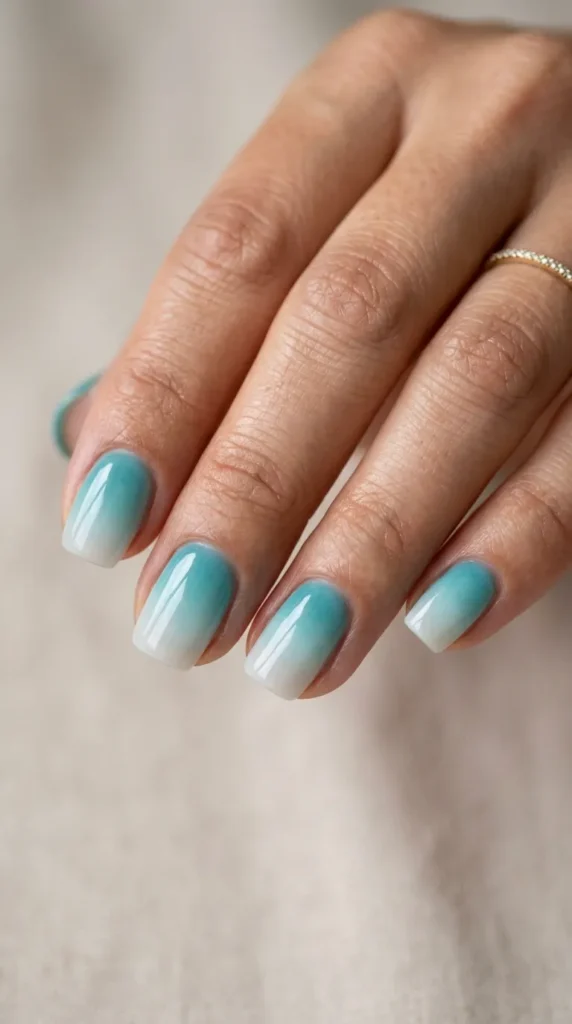
A soft blue-green fade that mimics smoothed beach glass, built by blending two or three translucent jelly polishes at the tip. It reads as coastal and low-maintenance rather than flashy, which is why it keeps surfacing in summer boards. Works best on medium almond or squoval shapes where the gradient has room to spread. A matte top coat instead of gloss pushes the coastal effect further, since it mutes the shine the same way real sea glass loses its polish after years in the water. This sea glass fade is one of the most coastal-feeling ombre nails looks on this list.
2. Ombre French Tips
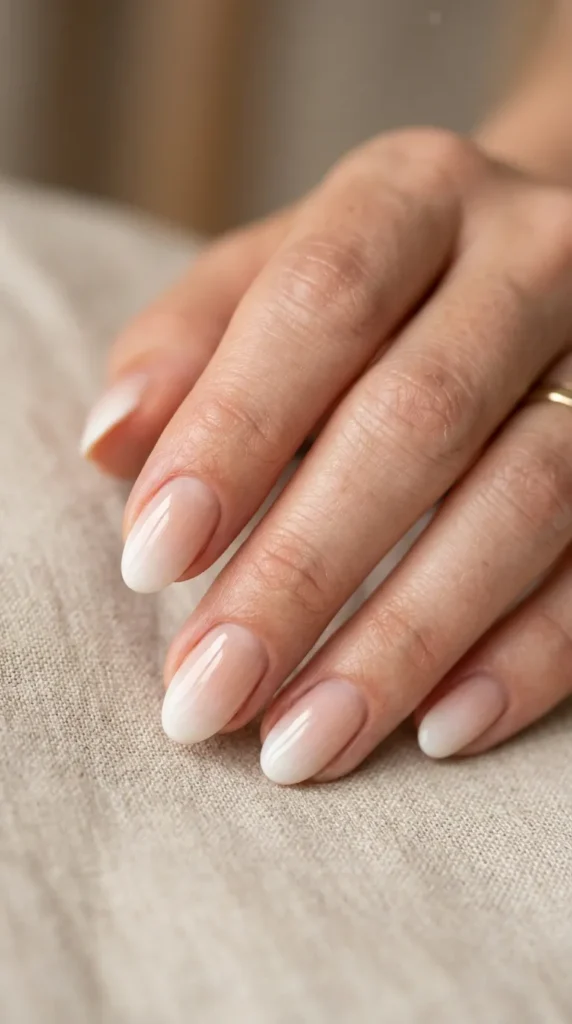
A blurred, gradient take on the classic French tip: instead of a hard white line, the tip color fades into the nude base. It keeps the polished, work-appropriate look of a French manicure while feeling less dated. Pairs naturally with the reverse-French and bow nail looks already covered on the site. It also holds up better through a job interview or a client meeting than a bolder gradient, since the transition reads as intentional rather than distracting from a distance. This ombre nails style photographs especially well for professional settings.
3. Chartreuse-to-Nude Gradient
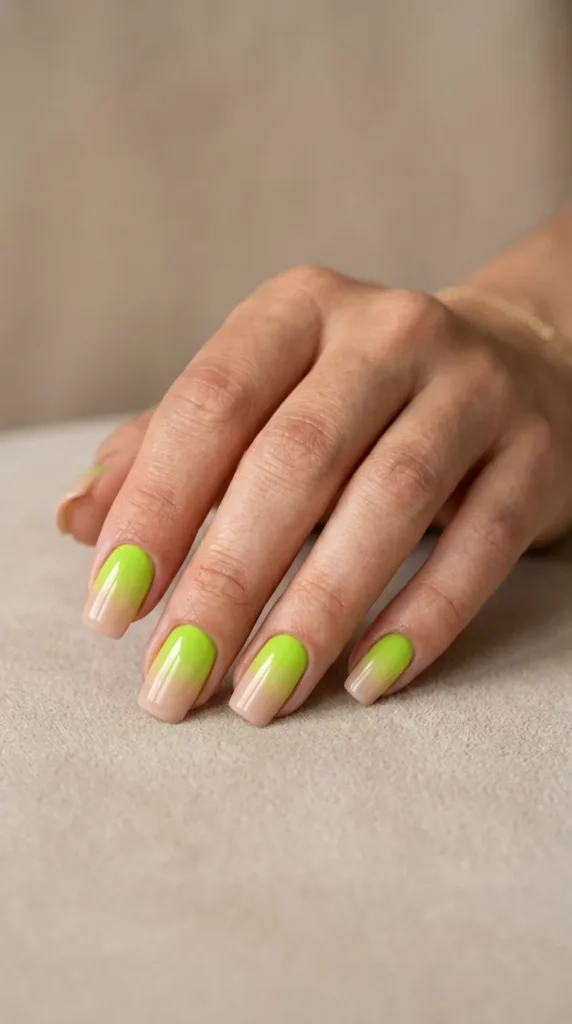
A bolder, color-forward gradient that fades a saturated chartreuse or lime tone down into a bare nude base. It is a good entry point for anyone who likes the current chartreuse nail trend but wants something wearable for daily life instead of full-coverage neon. This chartreuse ombre nails look stays bold without going full neon.
4. Ocean Blue Ombre on Almond Nails
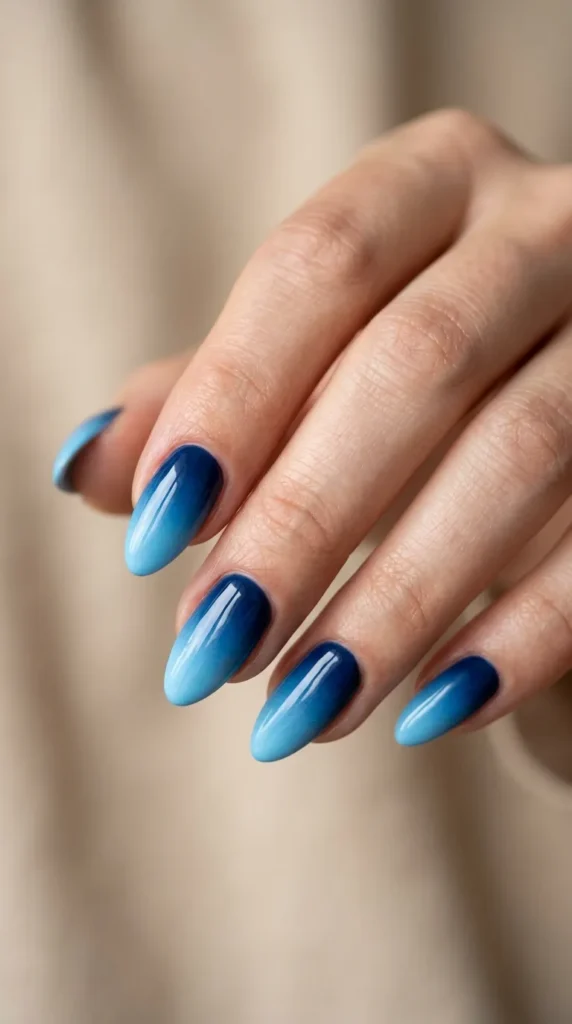
These ocean blue ombre nails blend deep navy into a lighter sky blue, shaped on an almond nail so the fade follows the curve of the nail rather than sitting in a straight band. This version photographs especially well and is one of the most-saved ombre variations on Pinterest boards this year. Ask for the fade to sit slightly off-center toward the sidewall rather than dead-straight down the middle, since the almond taper already curves the eye and a perfectly centered gradient can look flat by comparison.
5. Vertical Two-Tone Ombre
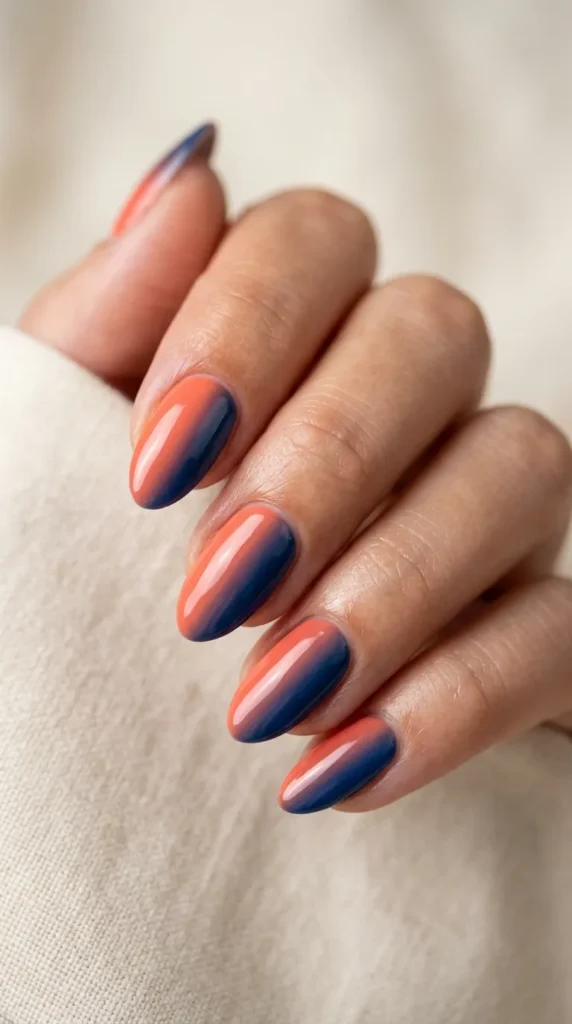
Instead of fading top to bottom, the gradient runs side to side across the nail. It is a more advanced technique that reads as editorial rather than casual, and works well as an accent nail paired with a solid color on the rest of the set. This vertical ombre nails technique reads as editorial rather than casual.
6. Chrome-Tipped Ombre
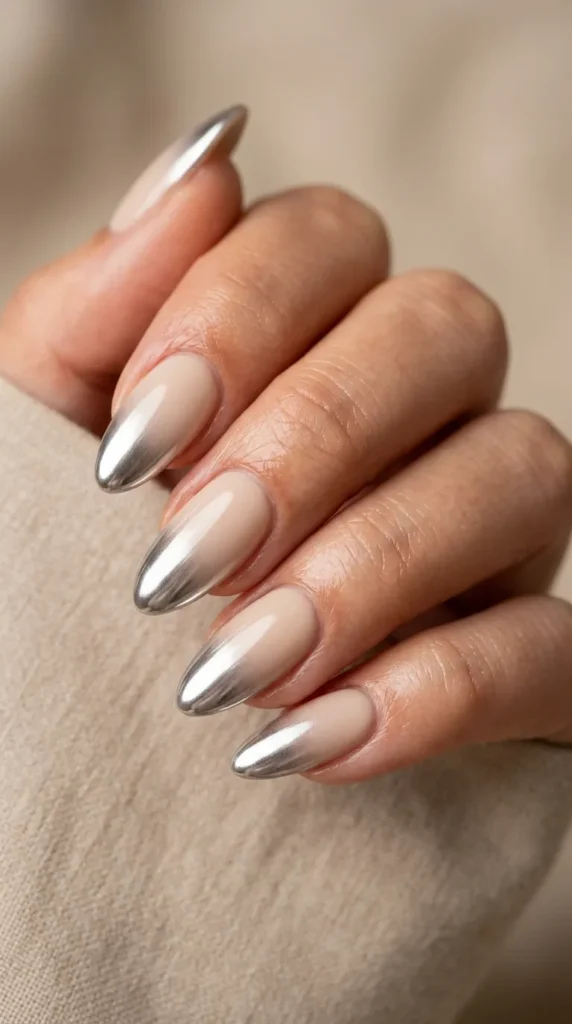
A cream or jelly base that fades into a mirror chrome tip. The metallic finish catches light differently than a matte fade, so the manicure ends up with two distinct textures instead of one. Think of it as the chrome mirror trend’s softer, more wearable cousin. This chrome-tipped ombre nails style pairs a cream base with a mirror finish.
7. Nude-to-Rose-Gold Ombre
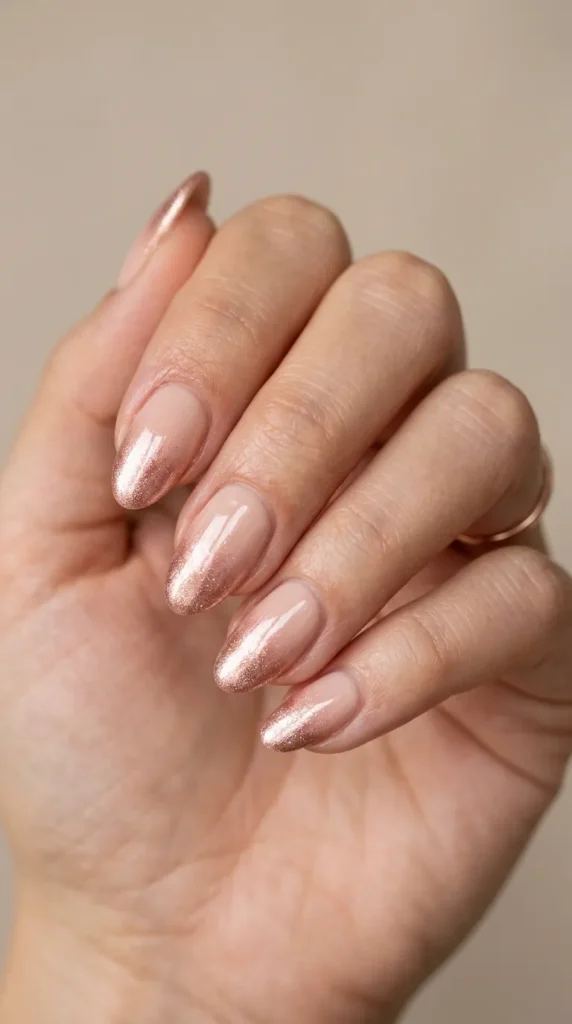
A warm, low-contrast ombre nails fade that starts at a bare nude near the cuticle and shifts into a shimmering rose gold at the tip. Because the two shades sit close together on the color wheel, the blend line is forgiving even for a first attempt, which makes this one of the better starting points if you have never tried ombre before. It reads as polished rather than trendy, so it works for office settings and weddings alike, and it pairs naturally with gold jewelry rather than fighting with it. Salons usually build the shimmer with a fine metallic powder pressed into the tacky top coat rather than a metallic polish, which gives a softer, more diffused sparkle than a straight chrome finish. If you are getting it done professionally, ask for the shimmer to be concentrated at the very tip only, since a fade that starts shimmering too early can look muddy instead of graduated.
8. Black-to-Silver Ombre
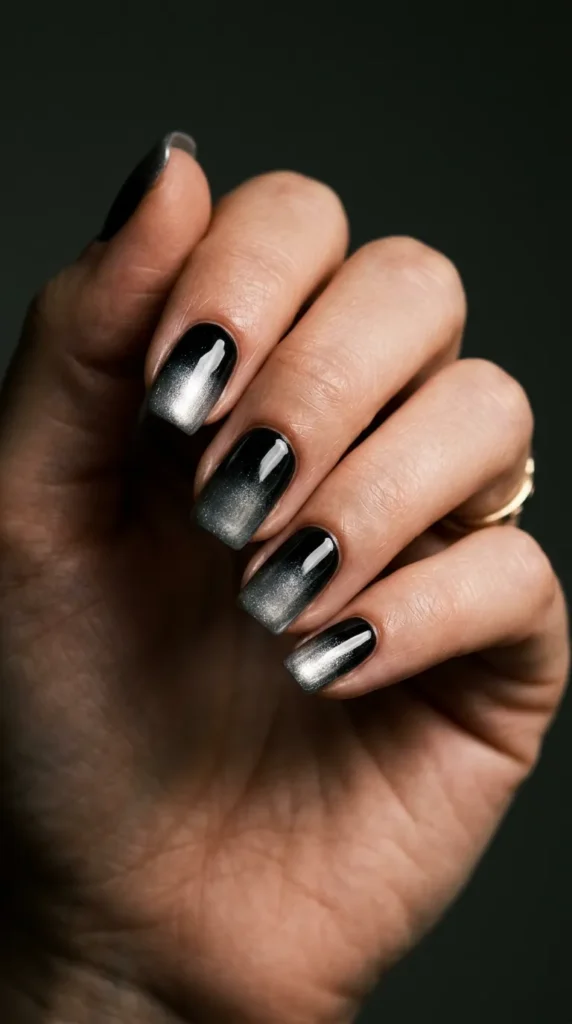
The moodier cousin of the chrome-tipped look above: deep black at the base fading into a cool, brushed silver near the tip. This is the version that shows up most in the darker, gothic-adjacent nail boards that have been picking up steam lately, and it photographs with a lot more contrast and edge than the pastel gradients on this list. This black-to-silver ombre nails combination suits almond and coffin shapes especially well, since the length gives the fade more room to transition smoothly instead of looking abrupt on a short square nail. One practical note: black polish stains the nail bed if worn for weeks without a base coat, so this is a look where skipping the base coat to save five minutes will cost you later. If black feels like too much commitment, a charcoal-to-silver version softens the look while keeping the same moody effect.
9. Coral-to-Peach Sunset Ombre
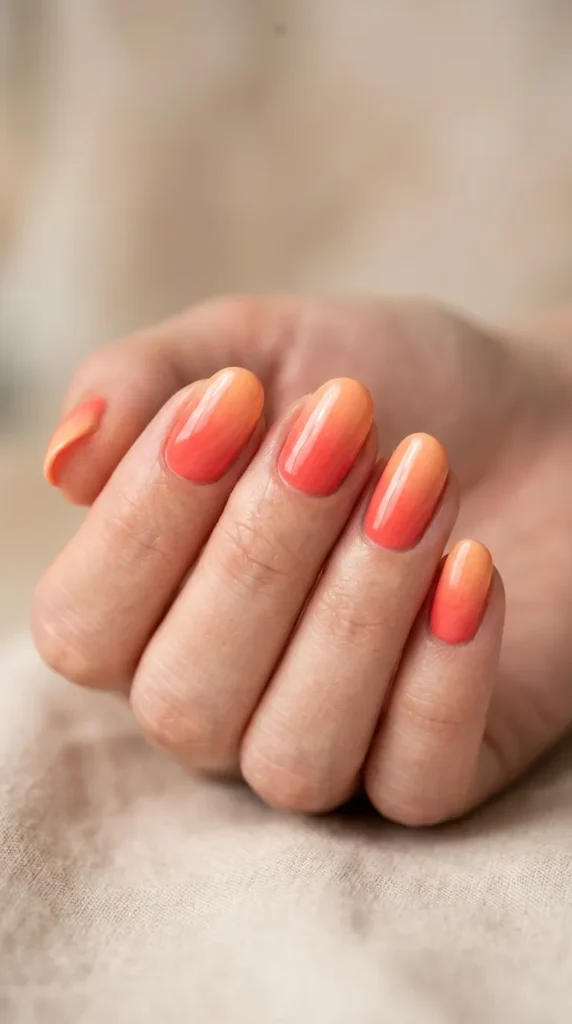
These coral-to-peach ombre nails blend two warm shades so closely that the transition looks more like a sunset than a hard color change: bright coral at the base easing into a soft peach at the tip. This is a summer-leaning look, but unlike a lot of seasonal nail trends it holds up into early fall too, since the palette reads more warm-neutral than overtly summery once the coral is muted down a shade. It is one of the more forgiving ombre styles for beginners because coral and peach are close enough in tone that a slightly uneven blend still looks intentional. Pair it with gold or rose gold hardware rather than silver, since cool-toned metals tend to fight with warm coral bases.
10. Milky-to-Clear Ombre
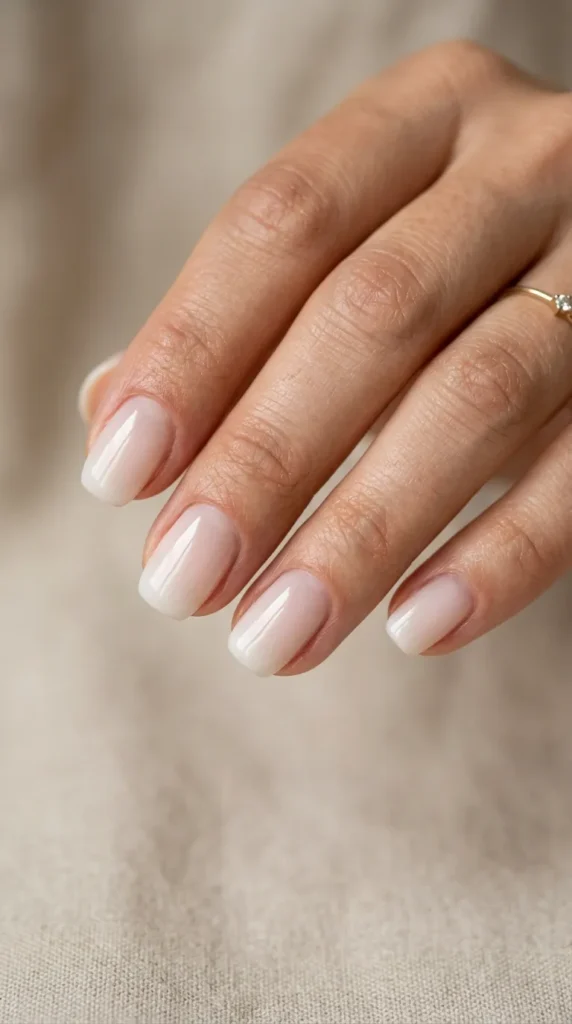
A quiet, barely-there gradient that fades a sheer milky white at the base into completely bare, glossy nail at the tip. It borrows directly from the milky nails trend already covered on the site, but stretches the effect into a visible fade instead of an even wash of color across the whole nail. This milky-to-clear style is the lowest-maintenance ombre nails option on this list: because there is no hard color line to grow out awkwardly, regrowth is far less noticeable than with any of the bolder gradients above, which makes it a good choice if you cannot get fills every two weeks. It also layers well under nail art, since the sheer base does not compete with anything painted on top.
11. Lavender-to-Pink Ombre
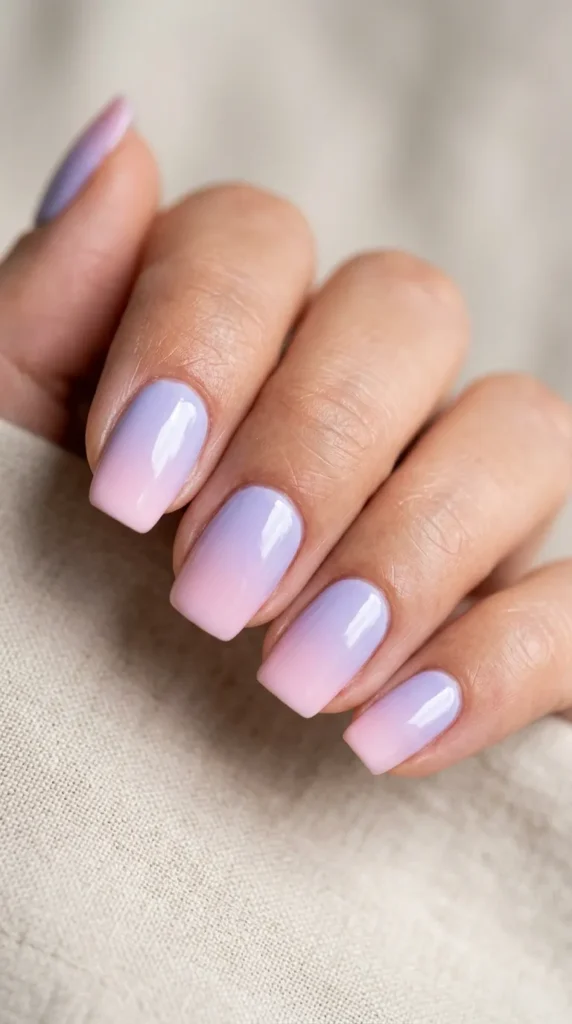
These lavender-to-pink ombre nails shift from a soft lavender base into a pale pink tip. It sits in the same visual territory as the whimsy and whimsical nail trends currently climbing on Pinterest, without leaning into full-on novelty nail art. The lavender-to-pink combination works on almost every skin tone because both shades are muted rather than saturated, so neither one clashes the way a bright purple next to a bright pink might. It is a strong choice for anyone who wants something soft and feminine without tipping into overtly girly territory, and it takes well to a matte top coat if you want to mute the shimmer down even further.
12. Reverse Ombre
Every other look on this list fades color in toward the tip. This reverse ombre nails technique flips the direction: solid color sits at the tip and fades out toward bare or sheer near the cuticle. It reads as more unexpected than a standard ombre precisely because most people have not seen it before, and it tends to draw more comments than the traditional direction. It works particularly well on nails still growing out from a previous full-color set, since the bare base near the cuticle hides regrowth almost completely instead of highlighting it. Any of the color pairs above can be flipped into a reverse ombre; it is a technique, not a separate palette, so pick whichever combination from this list appeals to you and ask your nail tech to apply it in reverse.
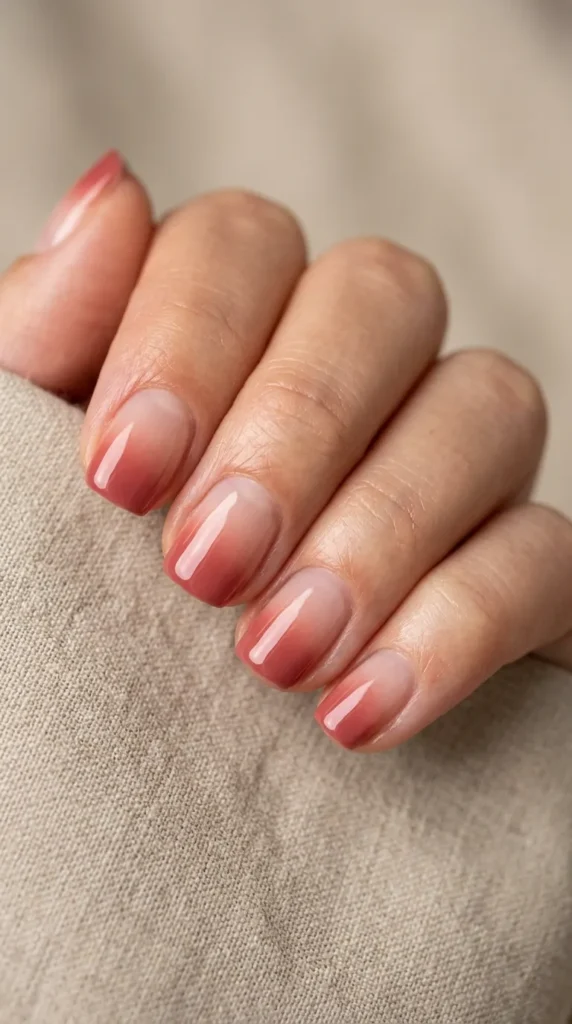
How to Choose the Right Ombre for Your Nail Shape
Not every ombre nails pairing works well with every nail shape, and the color transition can either work with your hands or against them. Almond and oval shapes tend to elongate the fingers, so a vertical or diagonal gradient reads as even longer, great if that is the effect you want, less great if your nails already run narrow. Square and squoval shapes have more flat surface area near the tip, which is exactly where a horizontal fade needs room to blend, so classic tip-to-cuticle ombre photographs cleanest on these shapes.
Short ombre nails are not off-limits, but the gradient has to be compressed into less real estate, so a two-tone fade with a hard visible line usually reads cleaner than squeezing three color stops onto a stubby nail bed. If your nails run short, ask for the transition to sit closer to the tip rather than centered, so a visible band of base color remains.
Skin tone matters more for undertone than for which specific color you choose. Warmer undertones tend to pull the best out of coral-to-peach, chartreuse, and rose-gold ombre nails combinations, since the gold or yellow base echoes the warmth already in the skin. Cooler undertones usually read better in lavender-to-pink, ocean blue, or sea glass pairings, where the blue-violet base contrasts against pink or olive undertones instead of fighting them.
Common Ombre Mistakes to Avoid
The most common ombre nails mistake is picking two colors that sit too close together in value. If the starting shade and ending shade are nearly the same lightness, the transition disappears into a muddy smear instead of a visible gradient, which is why the pairings on this list lean toward genuine contrast rather than two shades of the same beige.
Rushing the blend is the second issue, and it shows up mostly in DIY attempts. A sponge-applied gradient needs the base color to dry to at least a tacky stage before the second color goes on, or the two shades bleed into each other and lose their edge. If you are applying at home, budget more drying time between steps than feels necessary.
A third mistake is treating ombre as a set-it-and-forget-it style. Because the color sits in two distinct zones, regrowth is more visible on an ombre manicure than on a single-color set, particularly on vertical or reverse ombre where the line runs the length of the nail instead of hiding near the cuticle. Left too long between fills, the gradient starts to look uneven rather than intentional.
Finally, skipping a matching top coat finish undercuts a lot of otherwise well-done ombre nails work. Glitter or chrome ombre in particular needs a top coat built for that finish, not a generic gloss, or the shimmer gets sealed under a cloudy layer instead of catching light.
Ombre Nails Aftercare: Making the Fade Last
Ombre nails are more visually sensitive to wear than a single flat color manicure, so a few aftercare habits go further here than they would on a basic set. Cuticle oil applied daily keeps the polish edge flexible, which matters most at the transition zone, since dry cracking cuticle skin tends to lift polish from the edges inward, and on an ombre set that lifting disrupts the gradient line instead of just chipping a solid color.
Acetone-heavy removal is harder on gel ombre nails specifically, since soaking pulls unevenly across the two color zones and can leave one half looking duller than the other even after a fresh top coat. If you are removing at home, foil-wrap soaking with a shorter contact time tends to protect the finish better than a full acetone bath.
Water exposure in the first two hours after application is a common culprit behind early failure for ombre nails or any other manicure, but it is worth repeating here because gradient work usually involves more product layers than a single-color manicure, and every extra layer needs its own cure or dry time. Rushing into dishwashing or a shower right after your appointment is the single most avoidable reason an ombre set chips early. Gloss top coats reapplied every four to five days extend wear meaningfully and cost almost nothing in salon time.
FAQ: Ombre Nails
How long do ombre nails last? With gel polish, 2 to 3 weeks is typical, the same as any gel set. Regular polish ombre lasts 5 to 7 days before the blend starts to look patchy at the transition line.
Can you do ombre nails at home? Yes, using a makeup sponge to dab and blend two polish shades at the tip is the most common at-home method. The first attempt usually comes out a little streaky at the blend line, so budget time for a redo before you commit to it for an event.
Do ombre nails work on short nails? Yes, though the fade should be more compact. Shorter nails suit a two-color transition better than a three-color blend, which needs more surface area to look smooth.
Do ombre nails work with nail art on top? Yes, ombre is often used as a base rather than the final look. A gradient base with a few hand-painted dots, a single line of foil, or one accent nail in a different technique reads as more finished than a flat color base with the same nail art, because the gradient already gives the eye something to follow before the extra detail is added. Keep any additional art to one or two nails so it does not compete with the fade itself.
What is the difference between ombre and baby boomer nails? Baby boomer is technically a specific type of ombre, a soft white-to-sheer-pink fade that mimics a French manicure without a hard line. Every baby boomer set is an ombre, but not every ombre nails style is a baby boomer since the term only applies to that specific white-into-pink combination, not to gradients using other colors.
DIY vs. Salon Ombre: What to Expect
Salon ombre nails and at-home ombre nails are not attempting the same thing, and knowing which one you are signing up for changes how you should plan the appointment or the evening. In a salon, most techs use an airbrush gun or a specialized sponge kit designed specifically for gradient work, which produces a finer, more even blend than a household makeup sponge. Expect a salon ombre to take slightly longer than a single-color gel set, usually an extra fifteen to twenty minutes, since the technician has to blend at the tip on each nail individually rather than applying one uniform coat across all ten.
At home, the realistic expectation is a slightly rougher blend on the first attempt, and that is normal rather than a sign you did something wrong. A cosmetic sponge, two polishes, and a bit of patience get you most of the way there, but the transition line will likely be a touch more visible than salon work until you have practiced the technique a few times. Doing a test nail first, on an old polish swatch or a spare nail tip, saves product and lets you judge how much sponge pressure produces the blend you want before committing to all ten fingers.
Cost is the other practical difference. Ombre nails typically cost more than a standard gel manicure at most salons, often by ten to twenty dollars, because of the extra time and the two or more polish colors involved. If budget is a factor, doing the base color at home and having an accent nail or two done at the salon is a reasonable middle ground that still gets the gradient look without the full salon price on every nail.
Related Looks on NailMoodBoard
If any of these ombre nails looks caught your eye, related techniques are already covered in more depth in the French Tip Nails guide, the Chartreuse Nails post, the Chrome Mirror Nails post, and the Milky Nails post.
Ombré is one piece of a bigger technique toolkit — check out our complete guide to 2026 nail art techniques to see how gradient fades compare to chrome, cat-eye, and marble finishes.
Compare Before You Choose
See the Closest Alternatives
Compare nearby shapes, colors and finishes before picking a final reference.
Recommended Next
12 Stunning Nail Ideas 2026 — Trending Styles You Need to Try Right Now
Read the guide →
Black Cherry Jelly Nails 2026: The Translucent Manicure Taking Over
Read the guide →