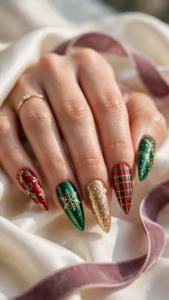
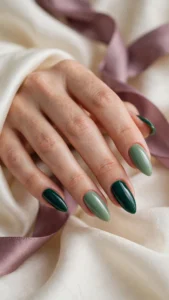
Christmas ombre nails are the softest way to wear the festive season. Instead of one flat colour, an ombre manicure fades gently from one shade into another — red melting into white, emerald into gold, icy blue into snow. The gradient catches the light as you move your hands, so the design looks different from every angle and never feels flat or heavy. This guide collects 25 christmas ombre nails designs in five colour families, from classic red and white to glittering metallics, so you can find a fade that suits your style, your skin tone, and your December plans.
Ombre suits everyone, and that is half its charm. A soft fade flatters short nails because it draws the eye along the nail, and it flatters long nails because it gives the gradient room to blend. The technique also forgives small mistakes — a slightly uneven fade still reads as intentional, which makes ombre one of the friendliest festive designs to try at home. Whether you like a whisper-soft blend or a bold two-tone contrast, the designs below note the base colour, the fade, and the accent, so you can show your nail tech exactly what you want or recreate it yourself.
If you want the whole festive season in one place, our Christmas nail designs collection covers every colour and style. This guide stays focused on ombre only. For the basics of a healthy manicure routine, see the manicure guide before you begin.
Why Christmas Ombre Nails?
Christmas ombre nails work because a gradient does what a single colour cannot: it holds two festive shades at once. Red and white sit together on one nail, or green and gold share the same fingertip, without any hard line between them. The soft blend also photographs beautifully in low winter light, and it suits every festive occasion, from the office party to Christmas dinner. A deep, rich fade reads as elegant and grown-up, while a pale, frosty fade feels fresh and playful.
Ombre is also practical. Christmas ombre nails hide chips and regrowth better than a solid colour, because there is no single edge to compare against. A gradient grown out by a millimetre or two still looks neat, which matters in a busy December. And ombre pairs with every accent — snowflakes, stars, glitter, foil, and tiny ornaments all sit happily on a faded base, so one manicure can carry you from a work lunch to a New Year party without a change.
If you love gradients beyond Christmas, our ombre nails guide covers the gradient trend for every season. For the coldest months, our winter nails collection has more frosty looks — here, christmas ombre nails are the star, and every design below is a Christmas fade.
Classic Red-to-White Ombre Designs
These five christmas ombre nails designs start with the most-loved Christmas pairing of all — red fading into white. Start here if you want a festive manicure that reads as Christmas at a glance, with a soft gradient instead of a hard stripe.
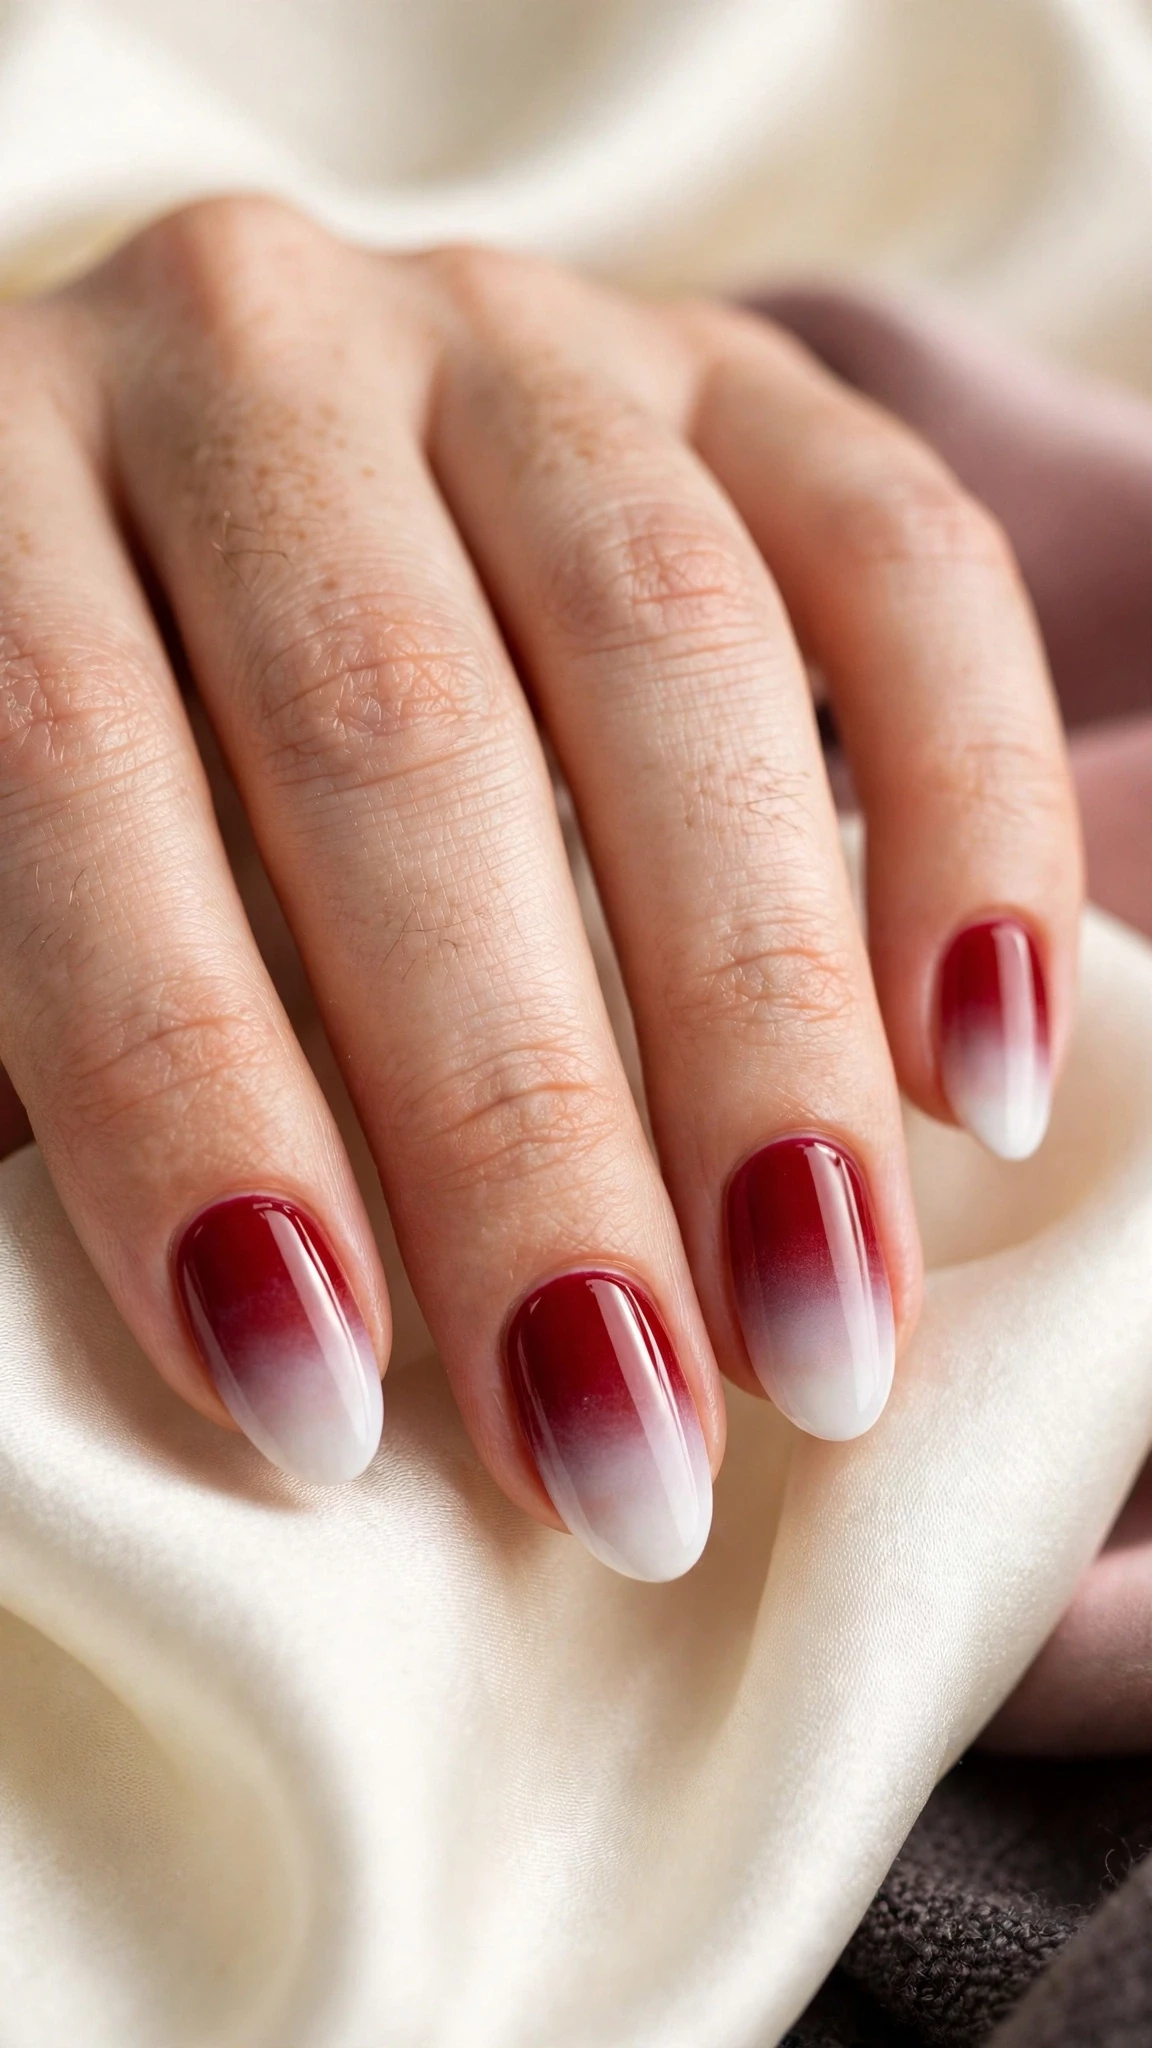
1. Classic Red-to-White Ombre
The original Christmas fade: a rich red at the cuticle melting into clean white at the tip. Keep the red deep rather than bright so the blend stays elegant, and finish with a glossy top coat so the gradient looks smooth and glassy. This classic christmas ombre nails design suits every nail length, and it pairs beautifully with a red lip or a cream knit.
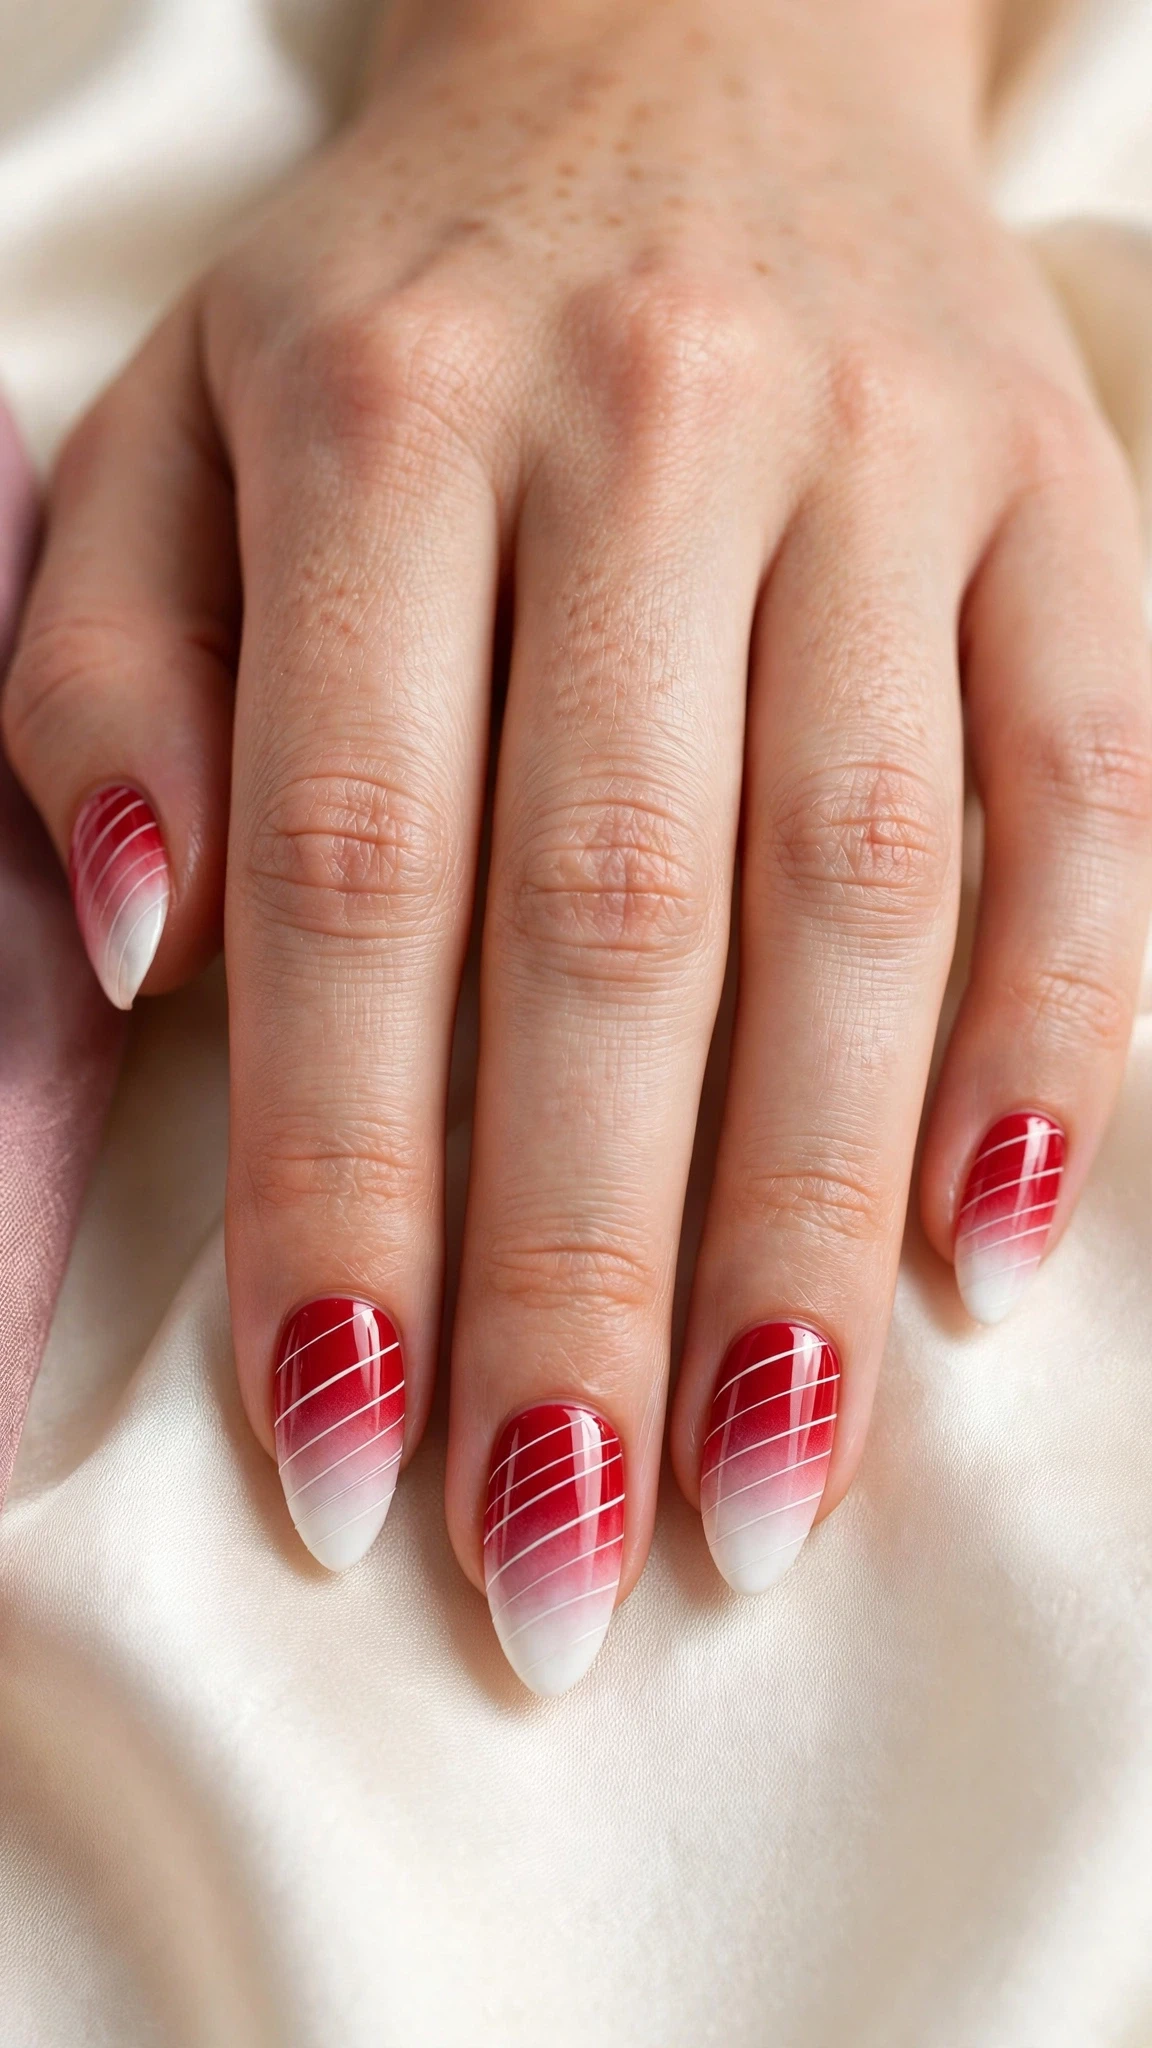
2. Candy Cane Stripe Ombre
A red-to-white fade with thin white diagonal stripes painted over the top, like a candy cane wrapped around the nail. The stripes sit best on the white half of the gradient, where they stay crisp and readable. Keep the lines fine and slightly uneven — perfectly straight stripes can look printed, while a hand-painted line feels festive and real.

3. Blush Pink Star Ombre
A gentle fade from blush pink to white, with a single small gold star on the ring finger. The pink keeps the look soft enough for daytime, while the star adds just enough Christmas sparkle. This is the quietest design in the group, and it suits anyone who wants festive nails without a loud colour.
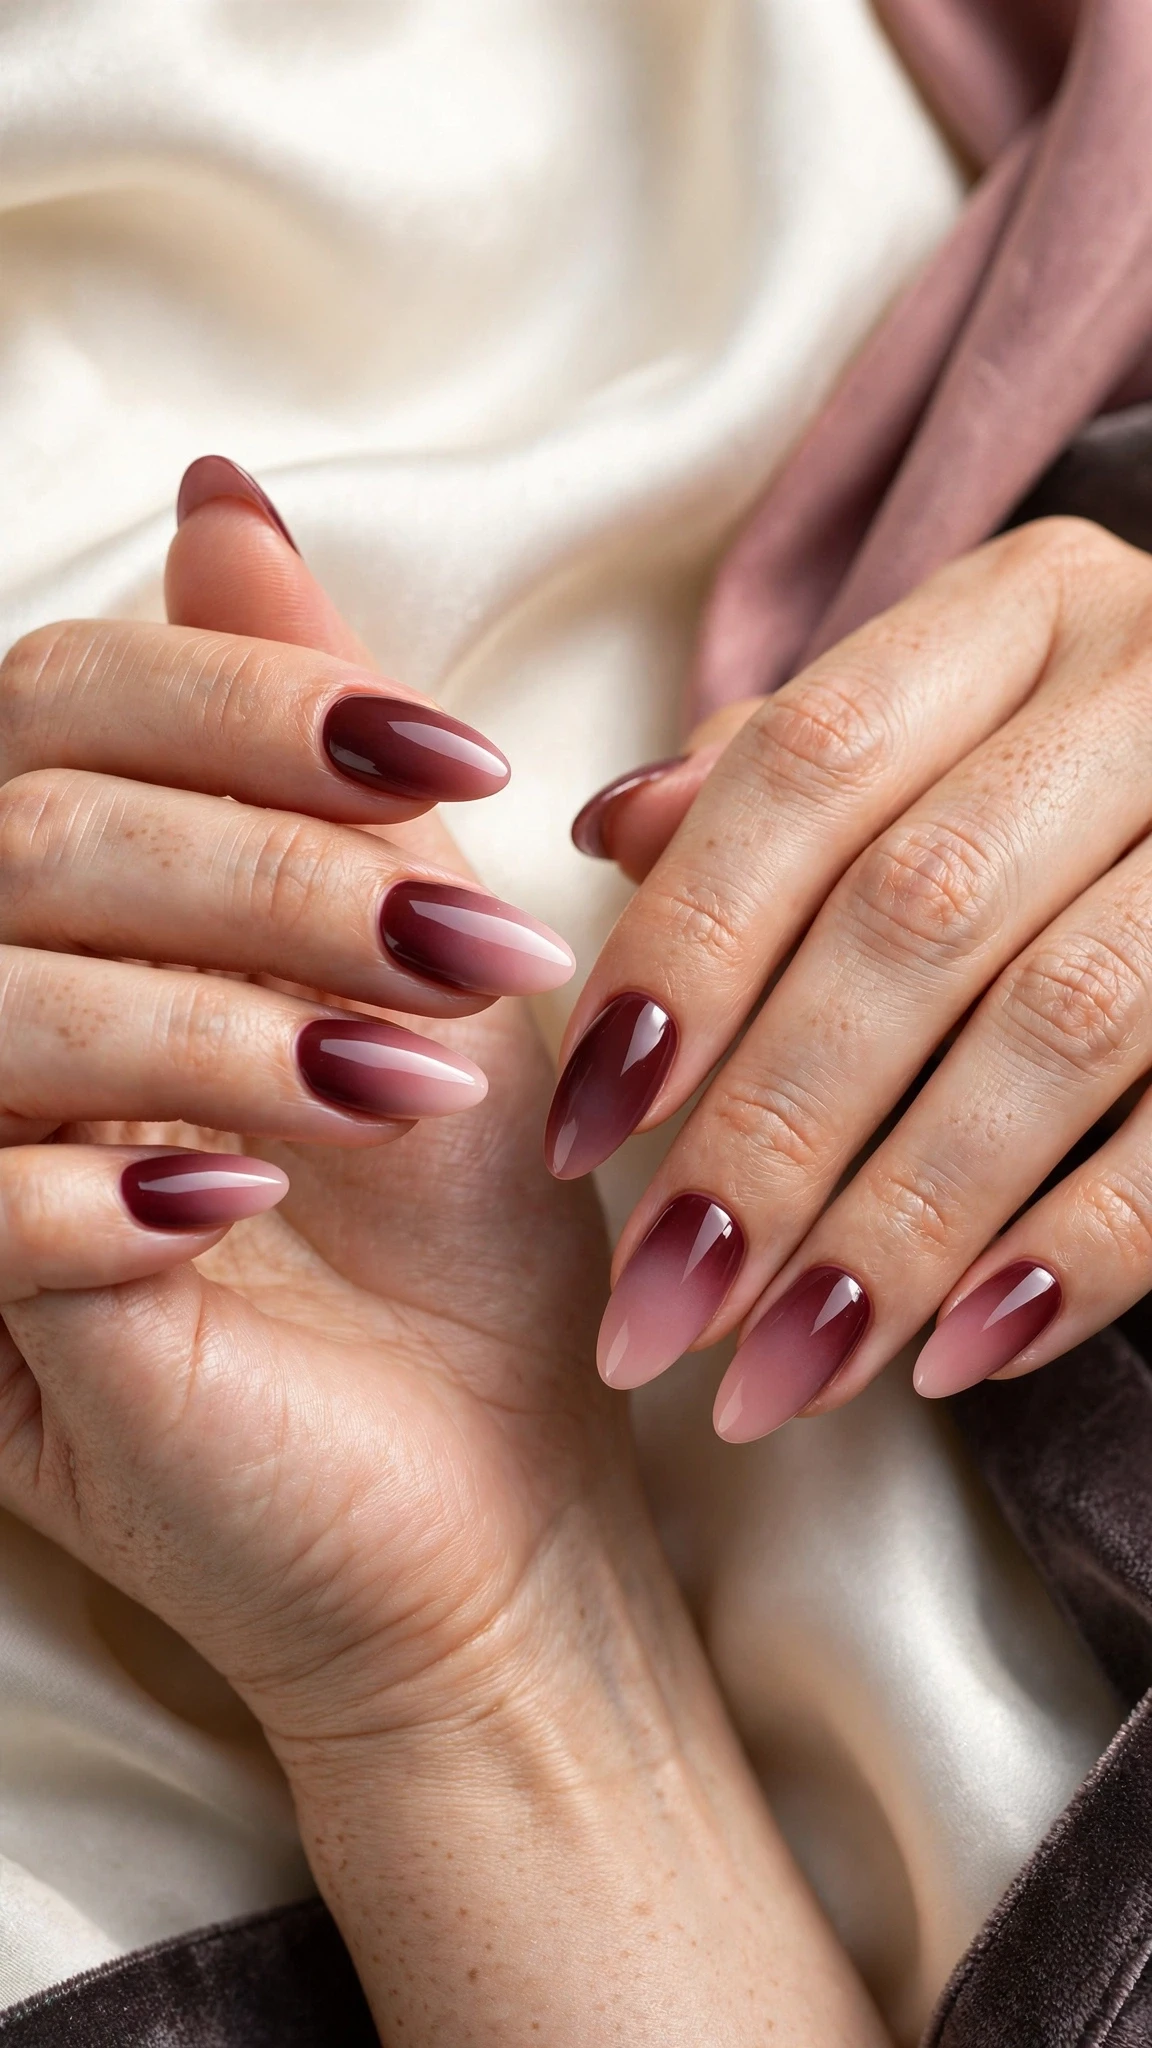
4. Burgundy-to-Blush Ombre
Deep burgundy at the base fading into soft blush pink at the tips — a wine-coloured gradient that feels grown-up and warm. The dark base makes the fade dramatic, while the pale tip keeps the nail looking light. Add a matte top coat for a velvet finish, or keep it glossy for a jewel-like shine.
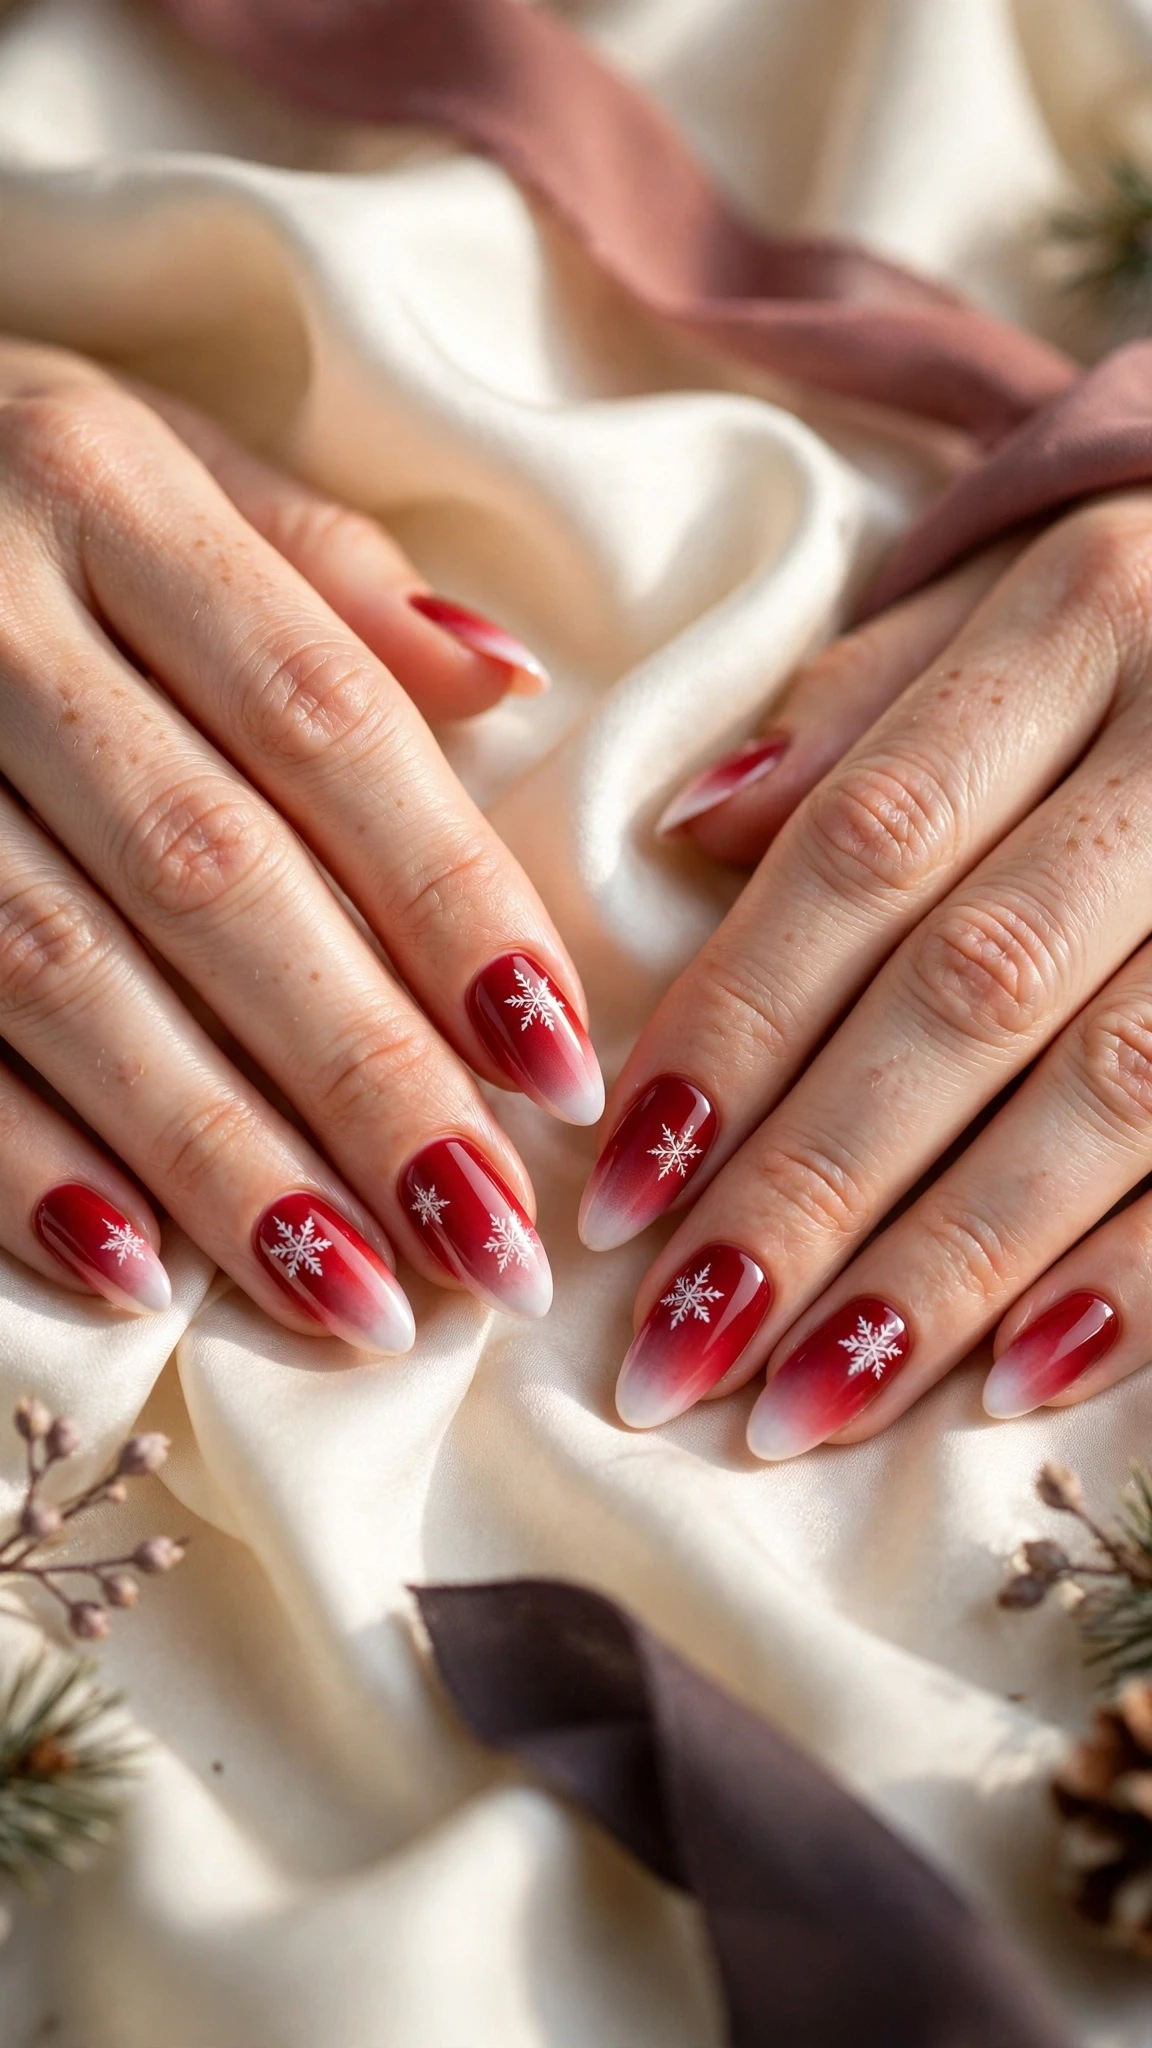
5. Snowflake Red Ombre
A red-to-white ombre with delicate white snowflakes scattered across the fade. Place one snowflake per nail and vary the sizes, so the design feels like falling snow rather than a pattern. The snowflakes show up best where the red is deepest, so keep the white tips clean and let the flakes sit on the red half.
Green & Gold Ombre Designs
Green and gold is the richest Christmas pairing, and an ombre fade makes it softer and more wearable than two solid blocks of colour. These five christmas ombre nails designs move from deep emerald to pale sage, always with gold or cream in the blend.
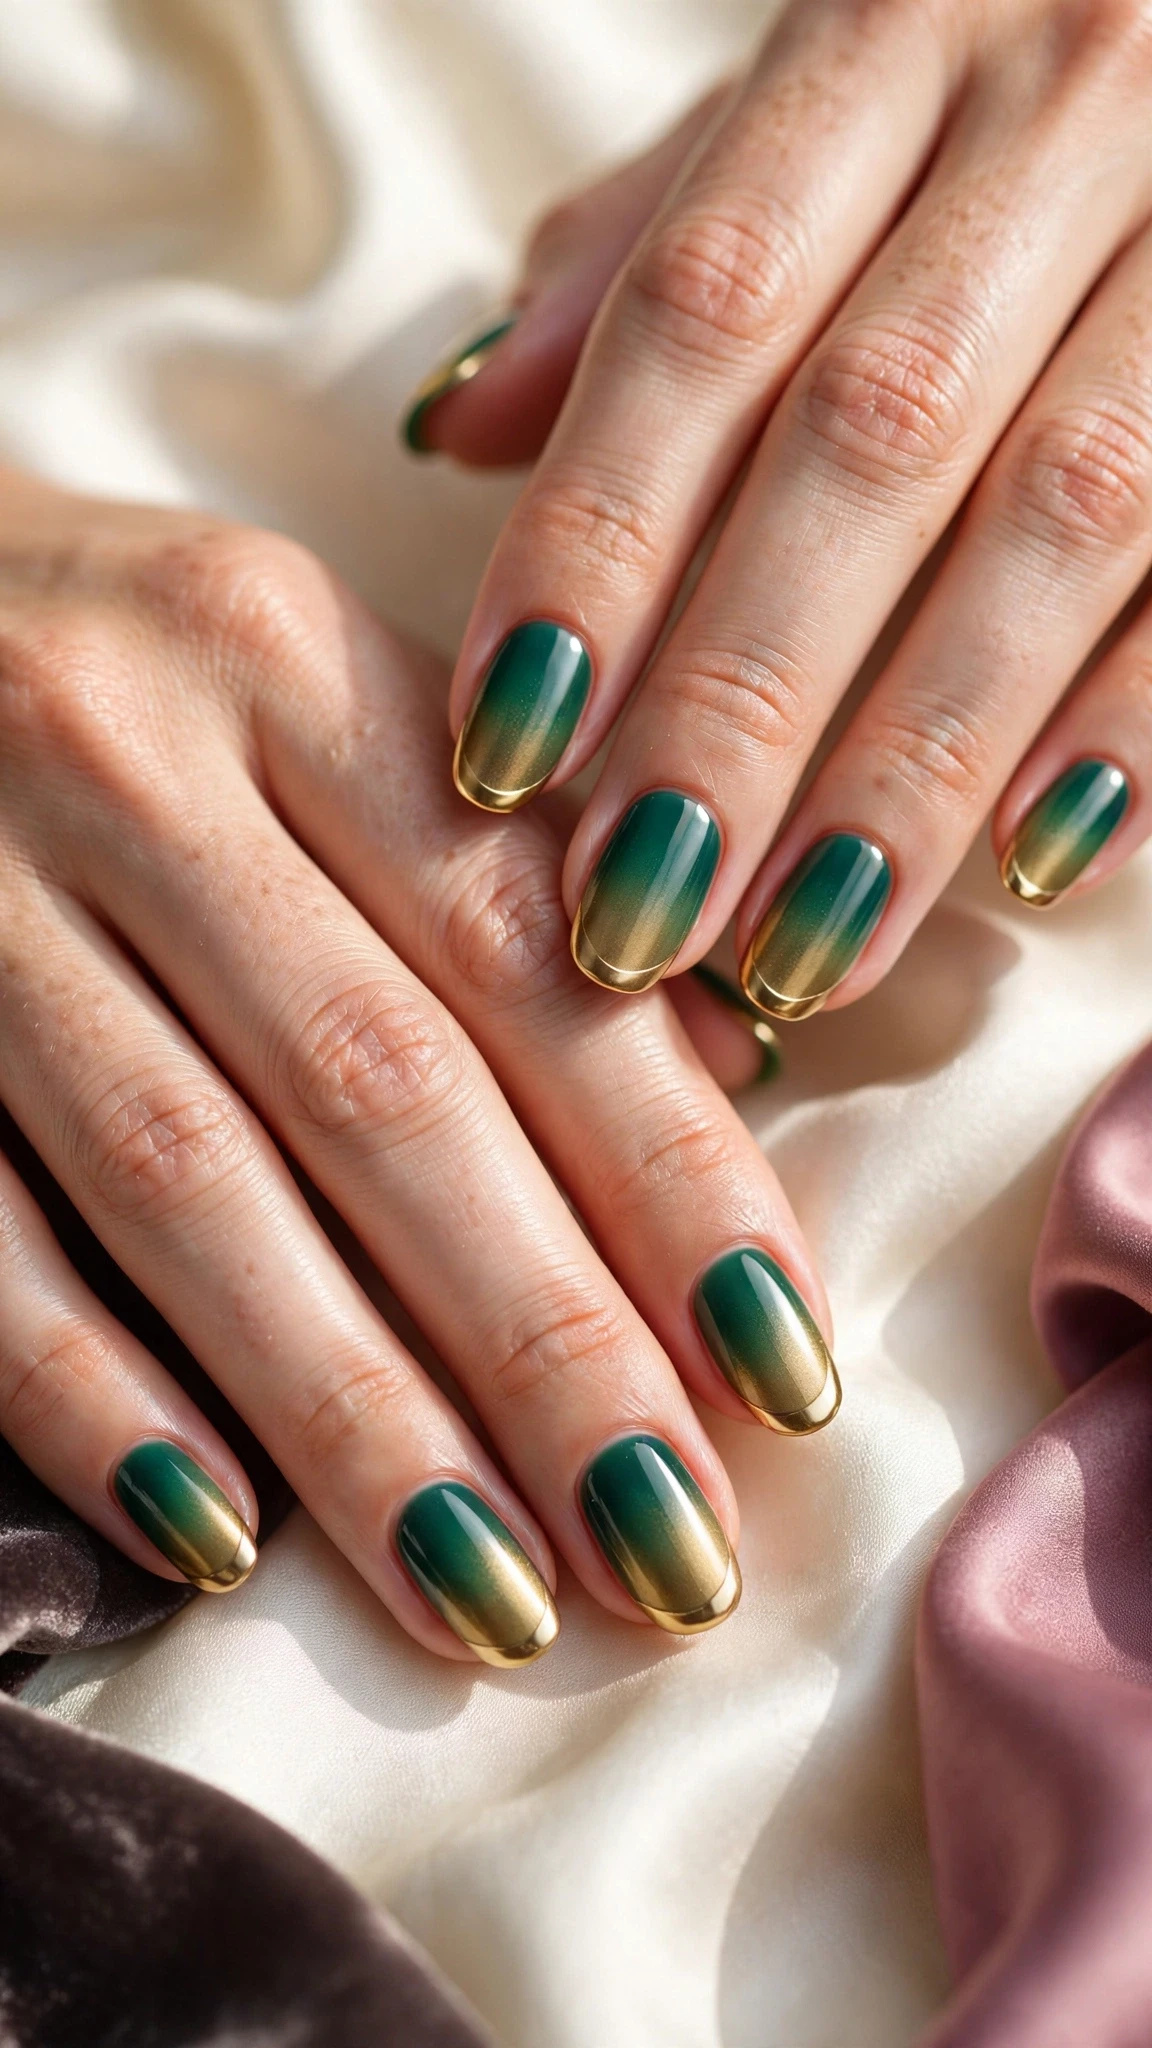
6. Emerald-to-Gold Ombre
Emerald green at the cuticle fading into warm gold at the tips — the most jewel-like fade in this guide. The green should be deep and cool, the gold warm and metallic, so the two shades meet in a soft olive shimmer in the middle. This emerald christmas ombre nails design looks best on medium to long nails, where the gradient has room to blend.

7. Forest-to-Cream Ombre
A quiet fade from forest green to soft cream, like pine trees against snow. The cream tip keeps the look light, so the dark green never feels heavy, and the blend suits short nails as well as long ones. Finish with a glossy top coat to make the cream glow against the green.
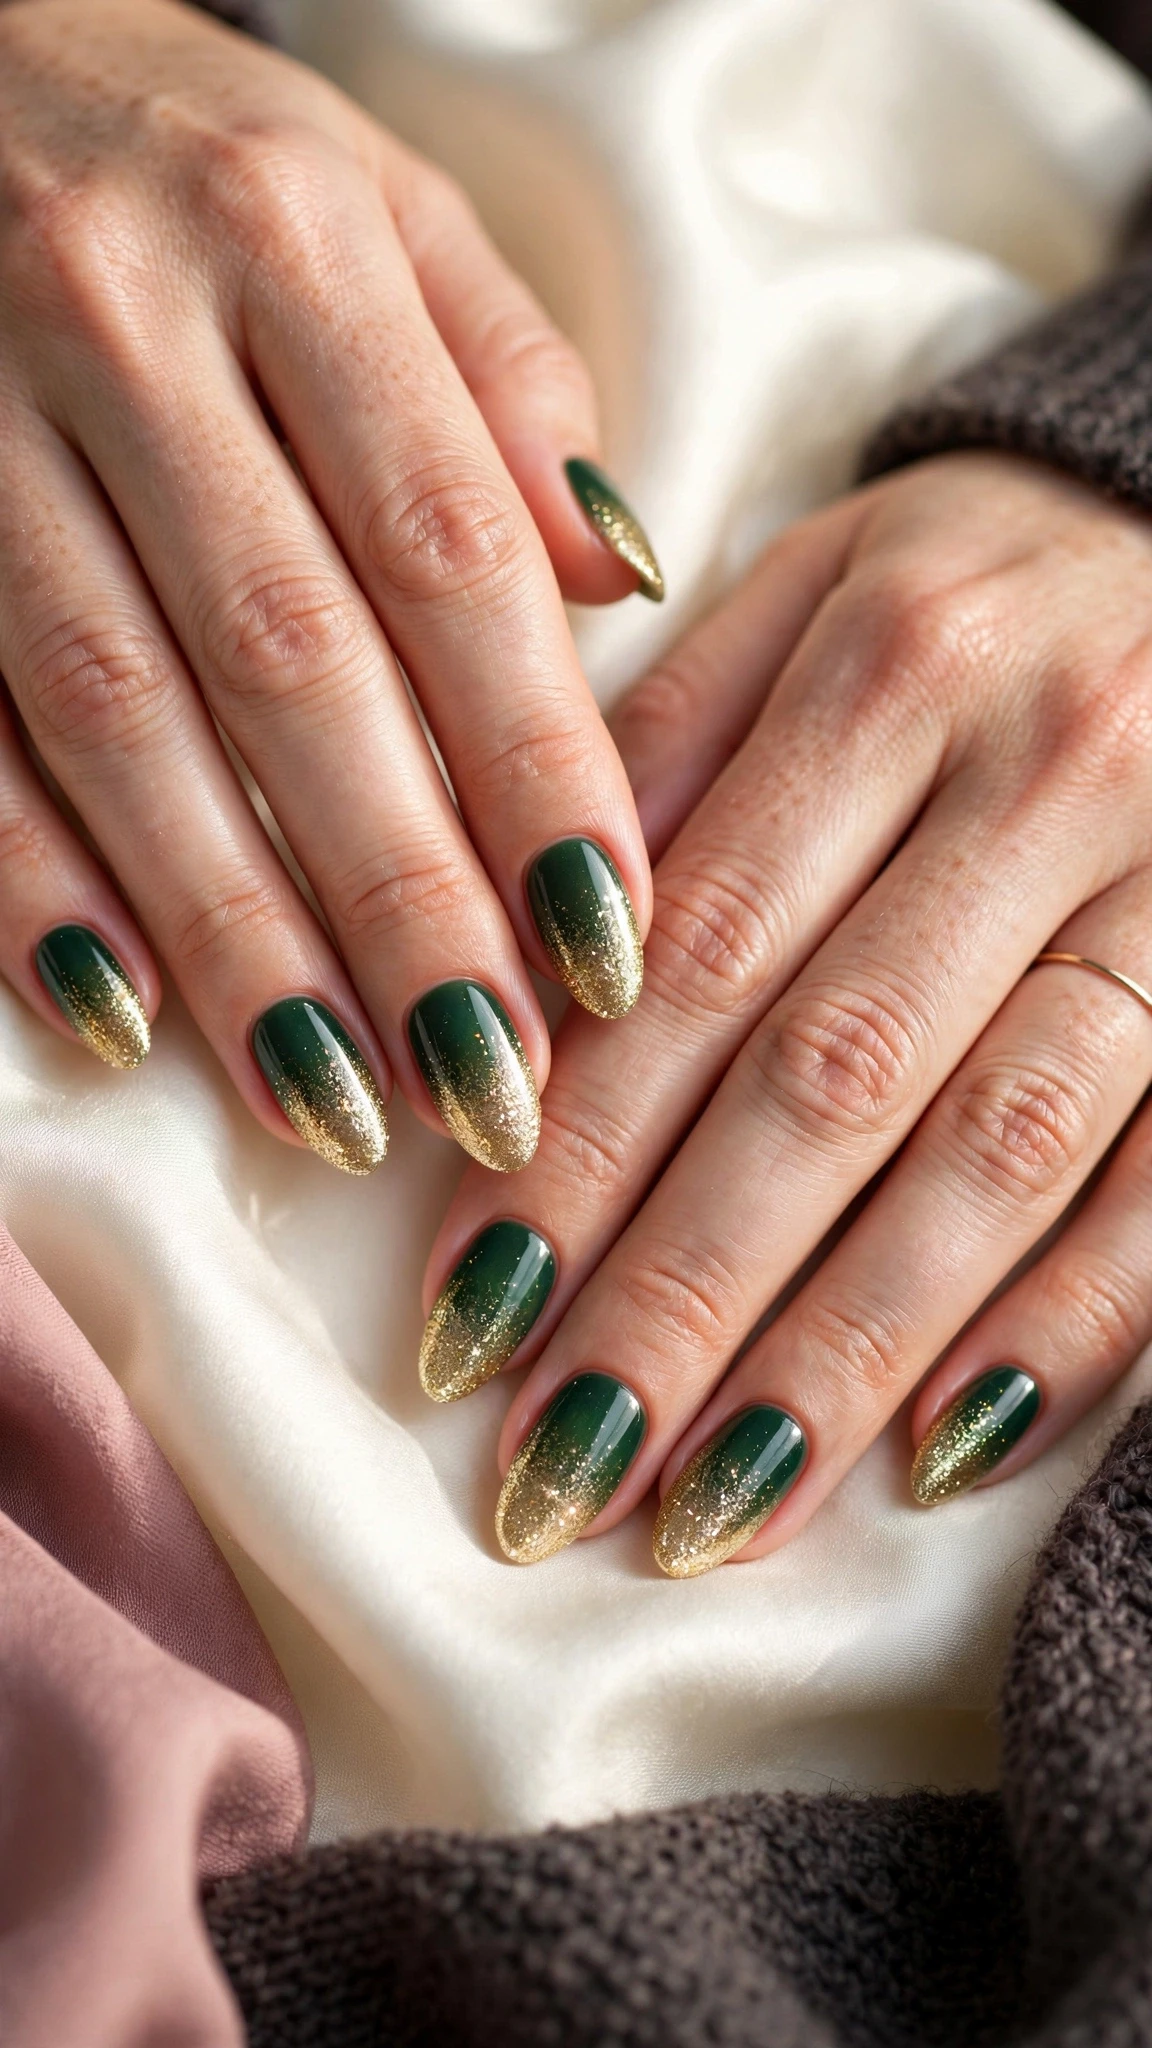
8. Green Gold Glitter Ombre
Forest green fading into a dense gold glitter at the tips. The glitter should be heaviest at the very tip and thin out as it moves down the nail, so the sparkle fades the same way the colour does. One coat of glitter over a green-to-gold base is enough — two coats can bury the gradient underneath.
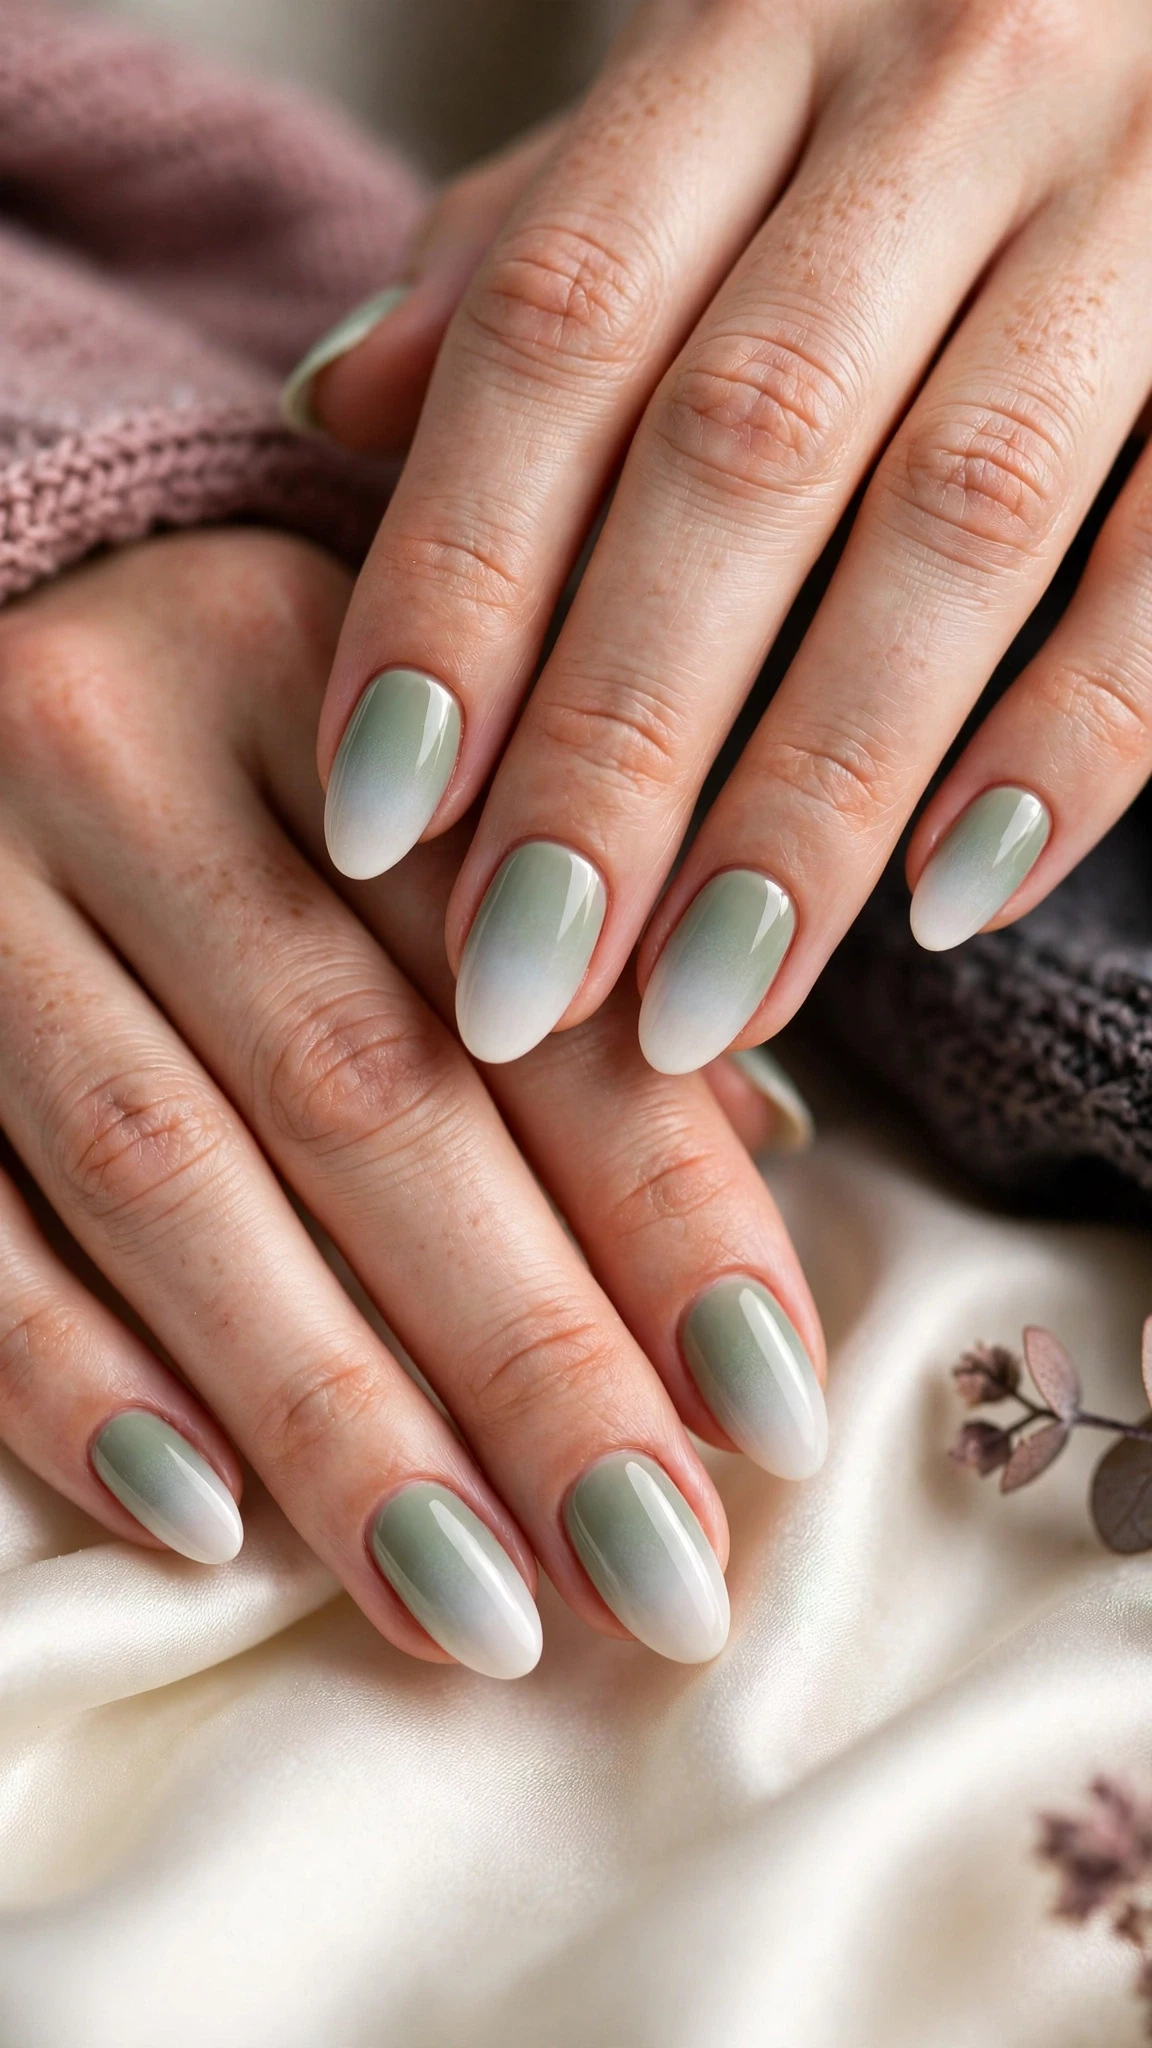
9. Sage-to-White Ombre
Muted sage green fading into clean white, a soft and modern take on Christmas green. Sage suits cool skin tones beautifully, and the pale fade keeps the manicure light enough for daytime wear. Add a single silver star on the ring finger if you want a little more festive detail.
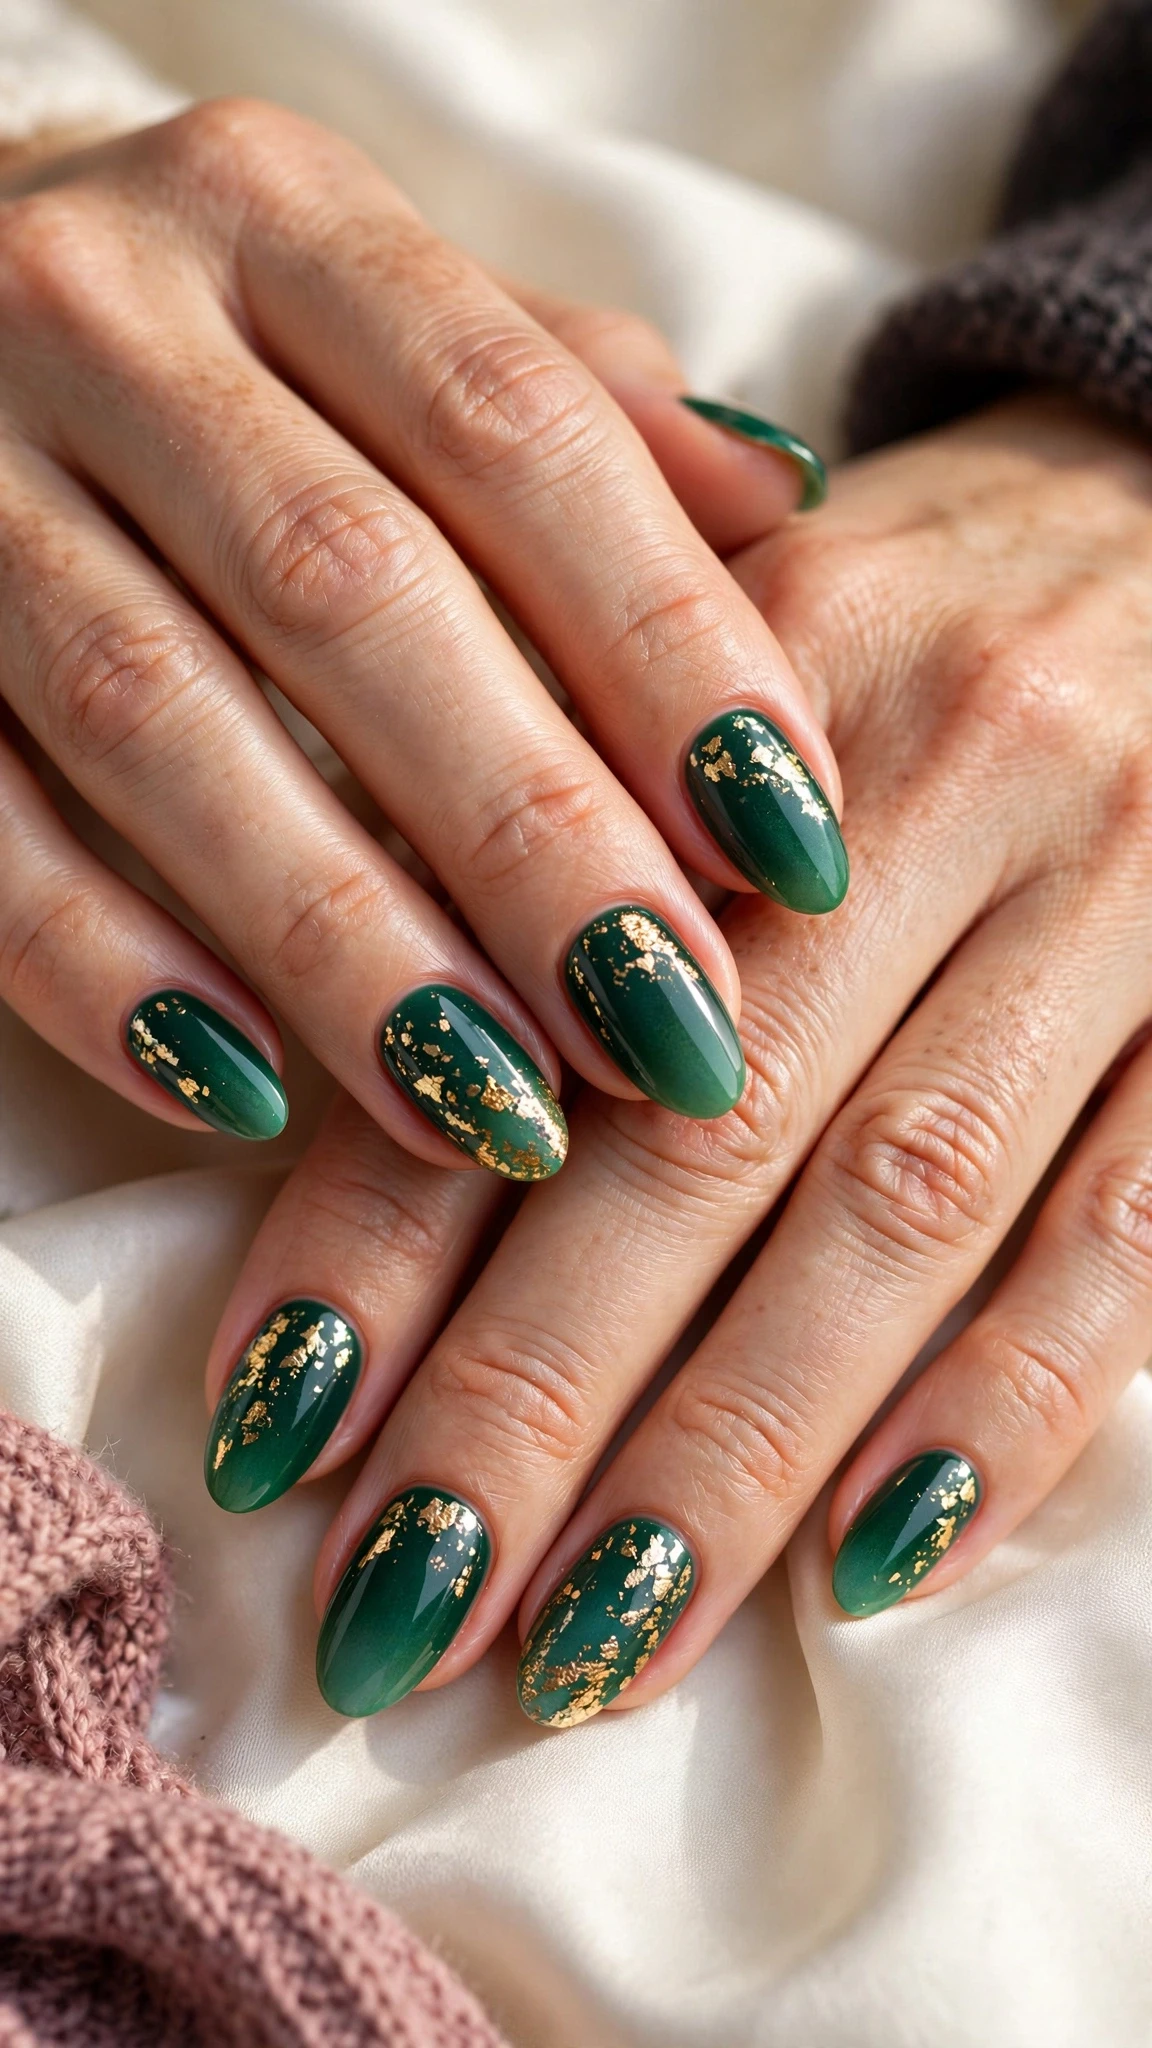
10. Emerald Gold Foil Ombre
An emerald-to-green ombre with irregular gold foil pressed onto the fade. The foil catches the light in small flashes, so the nail looks different every time you move your hand. Keep the foil pieces small and scattered — a few flakes per nail is plenty, and too much foil can hide the gradient.
Snowy & Icy Ombre Designs
These five christmas ombre nails designs are the coldest in the guide — pale blues, frosted whites, and silver, all fading like snow. Choose this group if you love winter more than traditional Christmas colours, or if you want a manicure that still works in January.
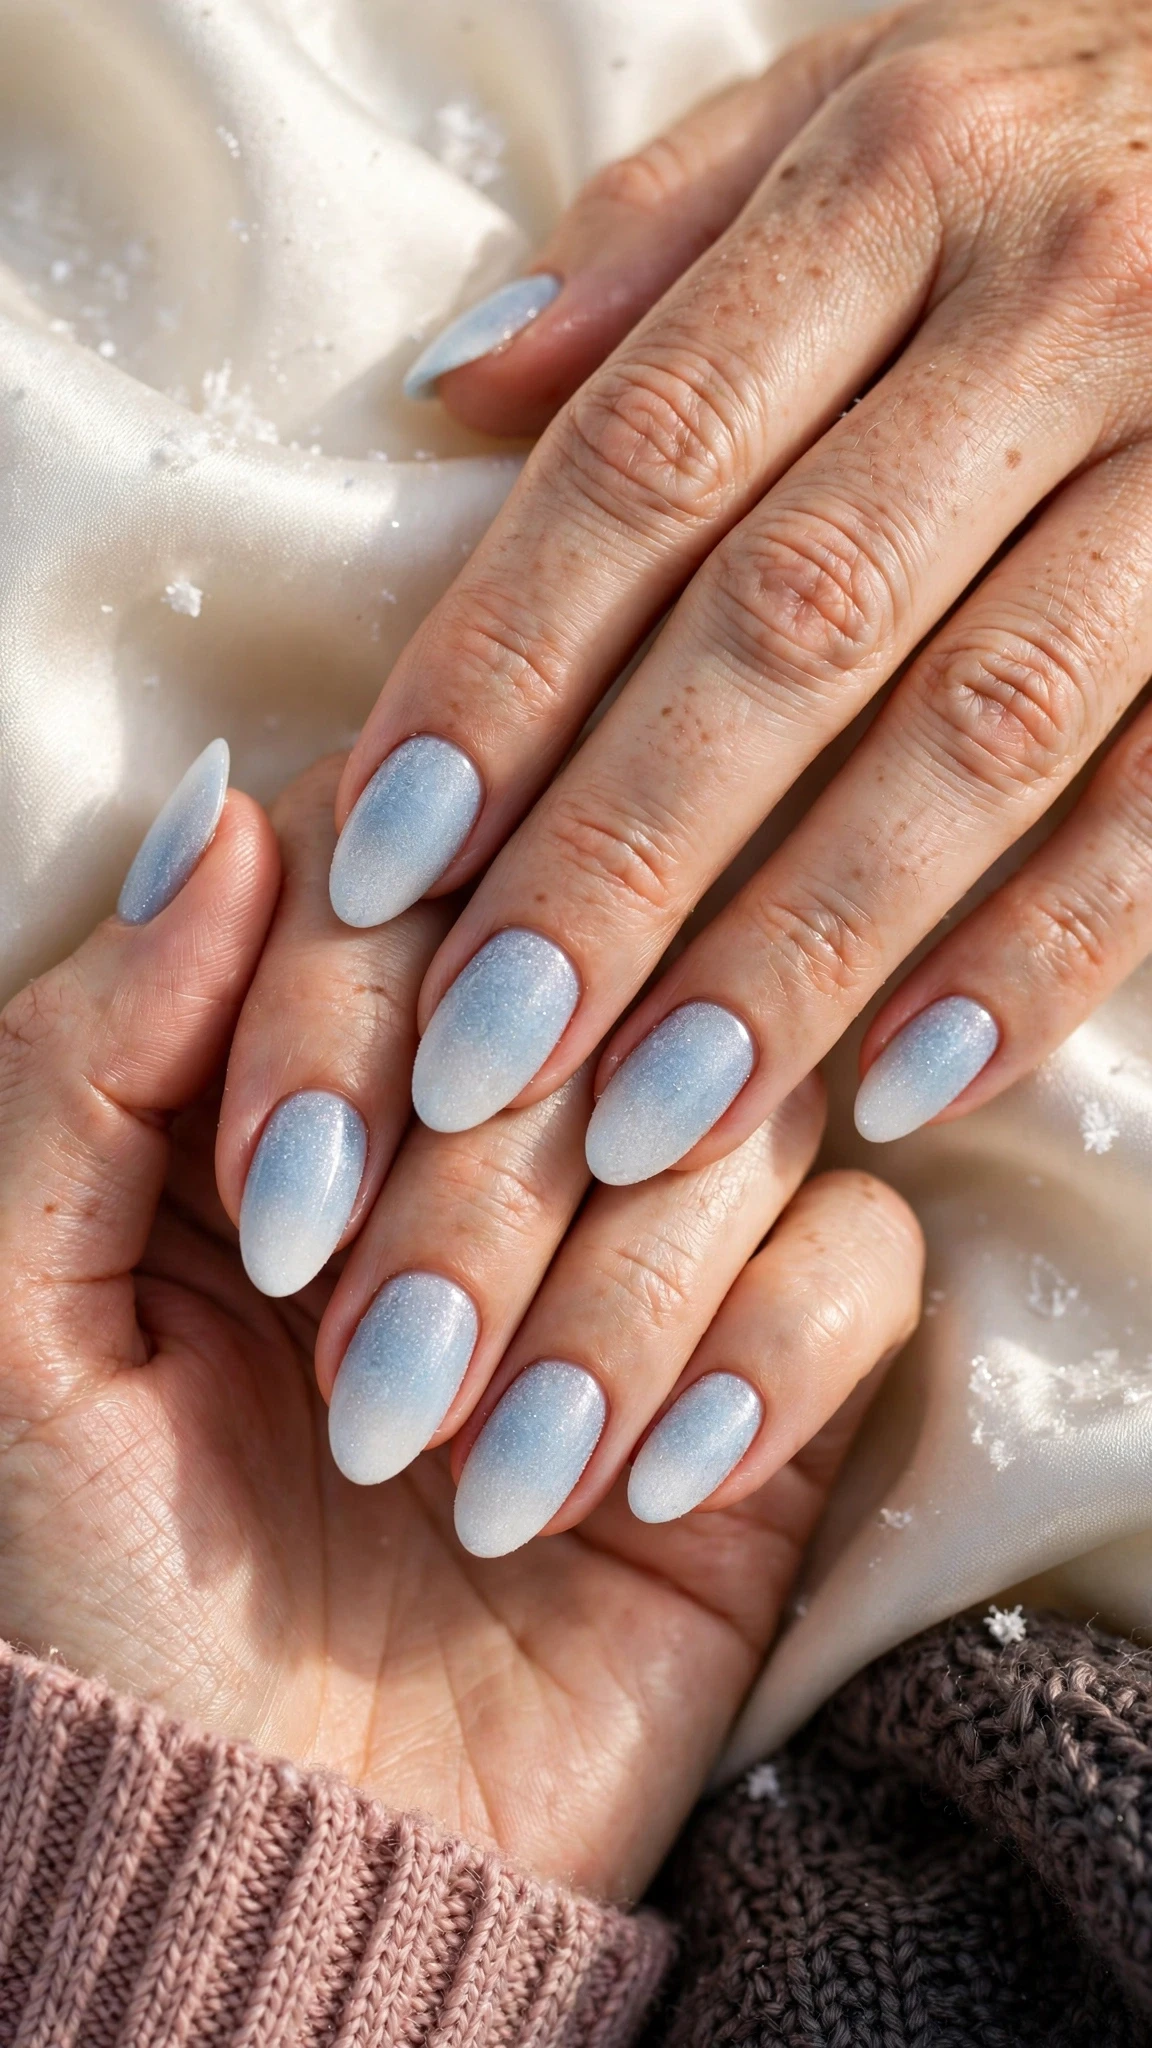
11. Icy Blue-to-White Ombre
Pale icy blue at the base fading into pure white at the tips, like frost spreading across a window. The blue should stay pale — a soft wash rather than a strong colour — so the fade looks like cold air rather than a painted line. This icy christmas ombre nails fade suits short nails as well as long ones, and a glossy top coat makes the white tips shine like fresh snow.
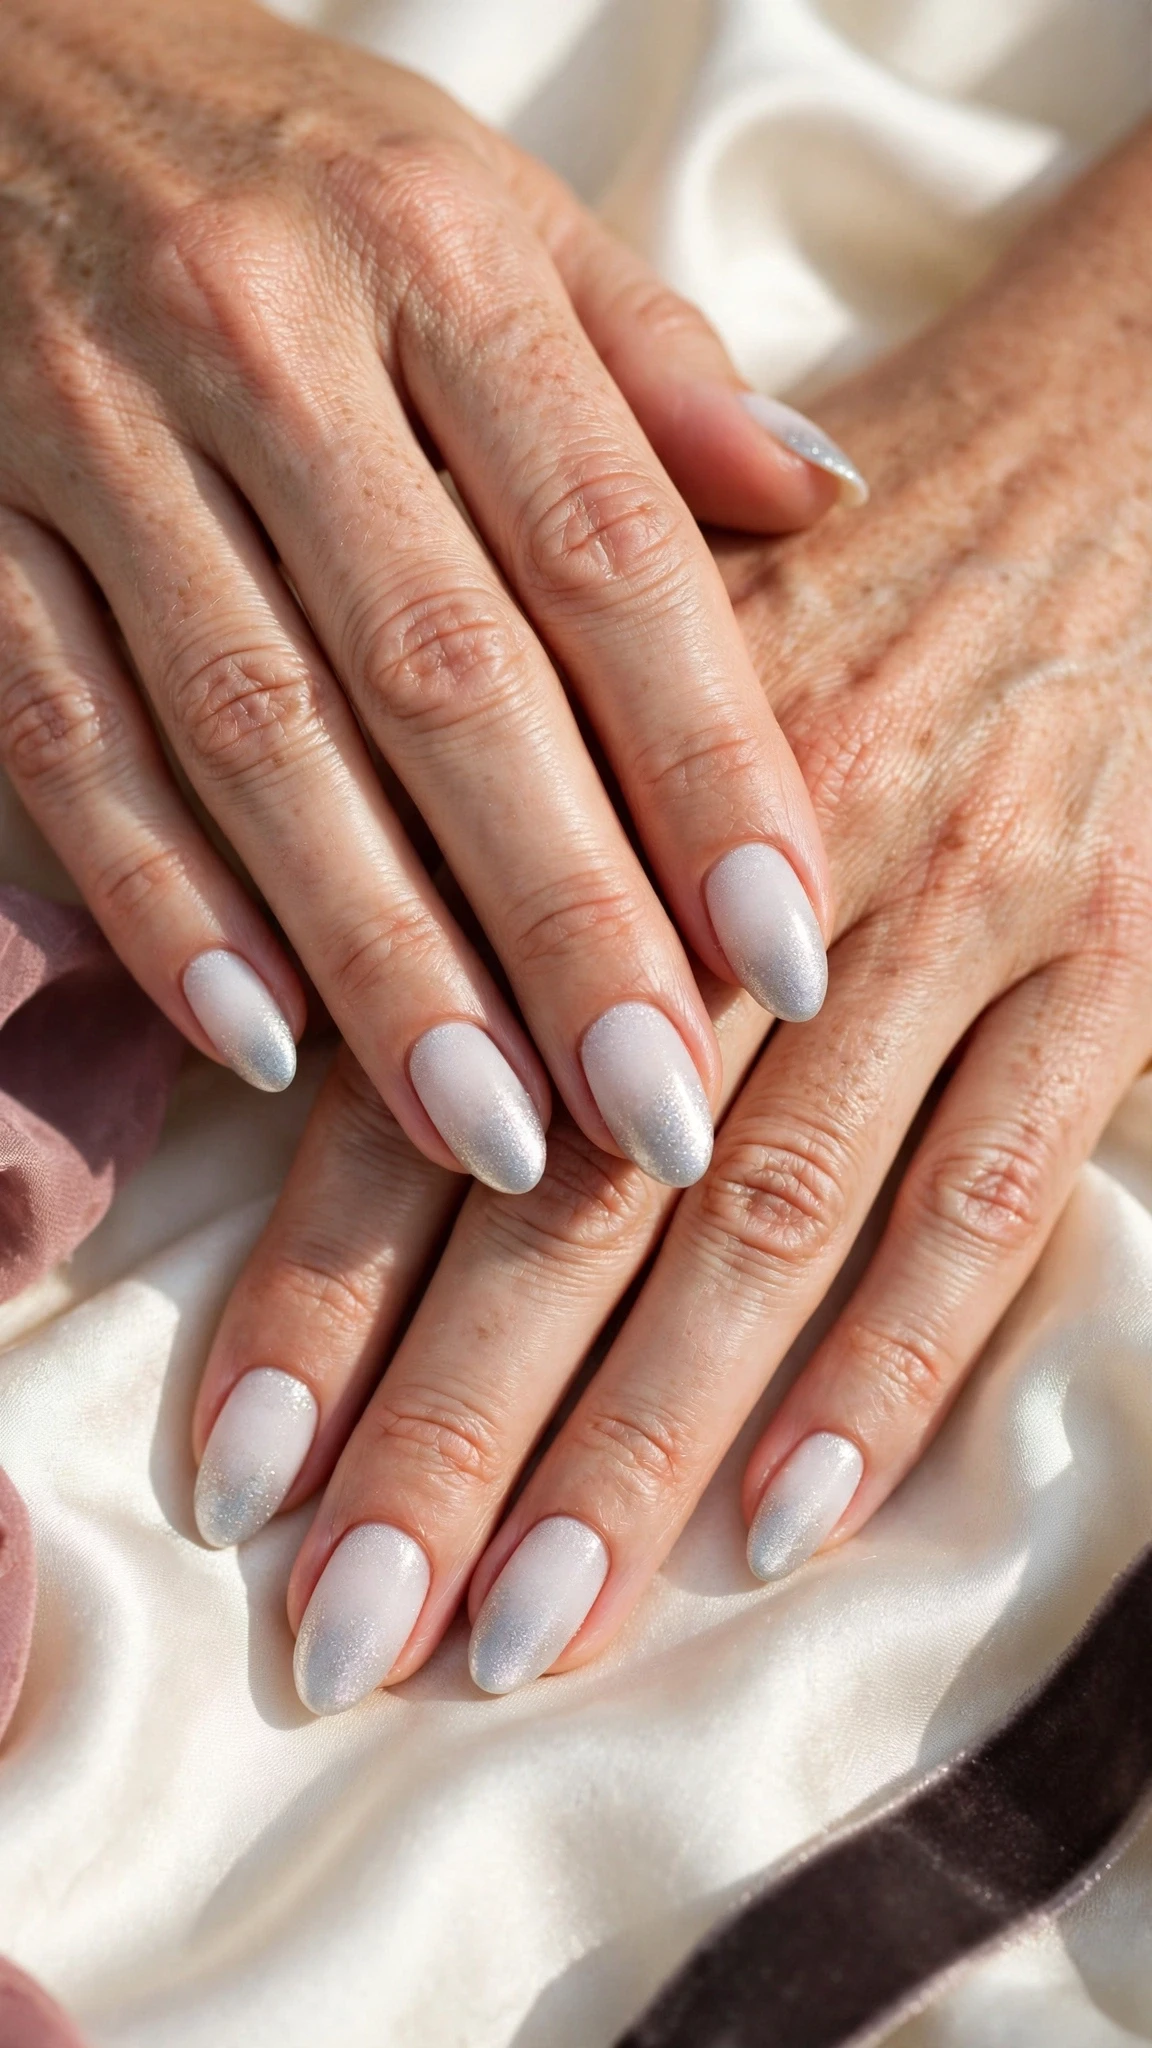
12. Frosted White-to-Silver Ombre
Frosted white fading into a soft silver shimmer, the most delicate fade in this guide. The silver should be a fine shimmer rather than chunky glitter, so the gradient stays smooth and frosty. This design suits short nails well, and it pairs beautifully with silver jewellery.

13. Snowy Blue Snowflake Ombre
A pale blue-to-white ombre with tiny white snowflakes dusted across the nails. The snowflakes look best on the blue half of the fade, where the white art stands out clearly. Keep the flakes small and varied in size, and leave one nail plain so the design has room to breathe.

14. Silver Glitter White Ombre
Clean white nails with silver glitter fading up from the tips, like frost creeping onto glass. The glitter should be densest at the tip and fade to nothing by the middle of the nail. This is one of the easiest ombre designs to do at home, because the white base hides any unevenness in the glitter.

15. White-to-Ice-Blue Crystal Ombre
White at the cuticle fading into ice blue at the tips, with a few tiny crystal accents near the cuticle. The crystals should be small and sparse — three or four per hand at most — so they read as frost rather than decoration. This design suits almond nails especially well, where the pointed tip shows off the blue fade.
Glitter & Metallic Ombre Designs
Glitter and metallic shades were made for ombre — the sparkle naturally thins out as the colour fades, so the gradient almost builds itself. These five christmas ombre nails designs use gold, silver, rose gold, and copper, and all of them suit evening parties.
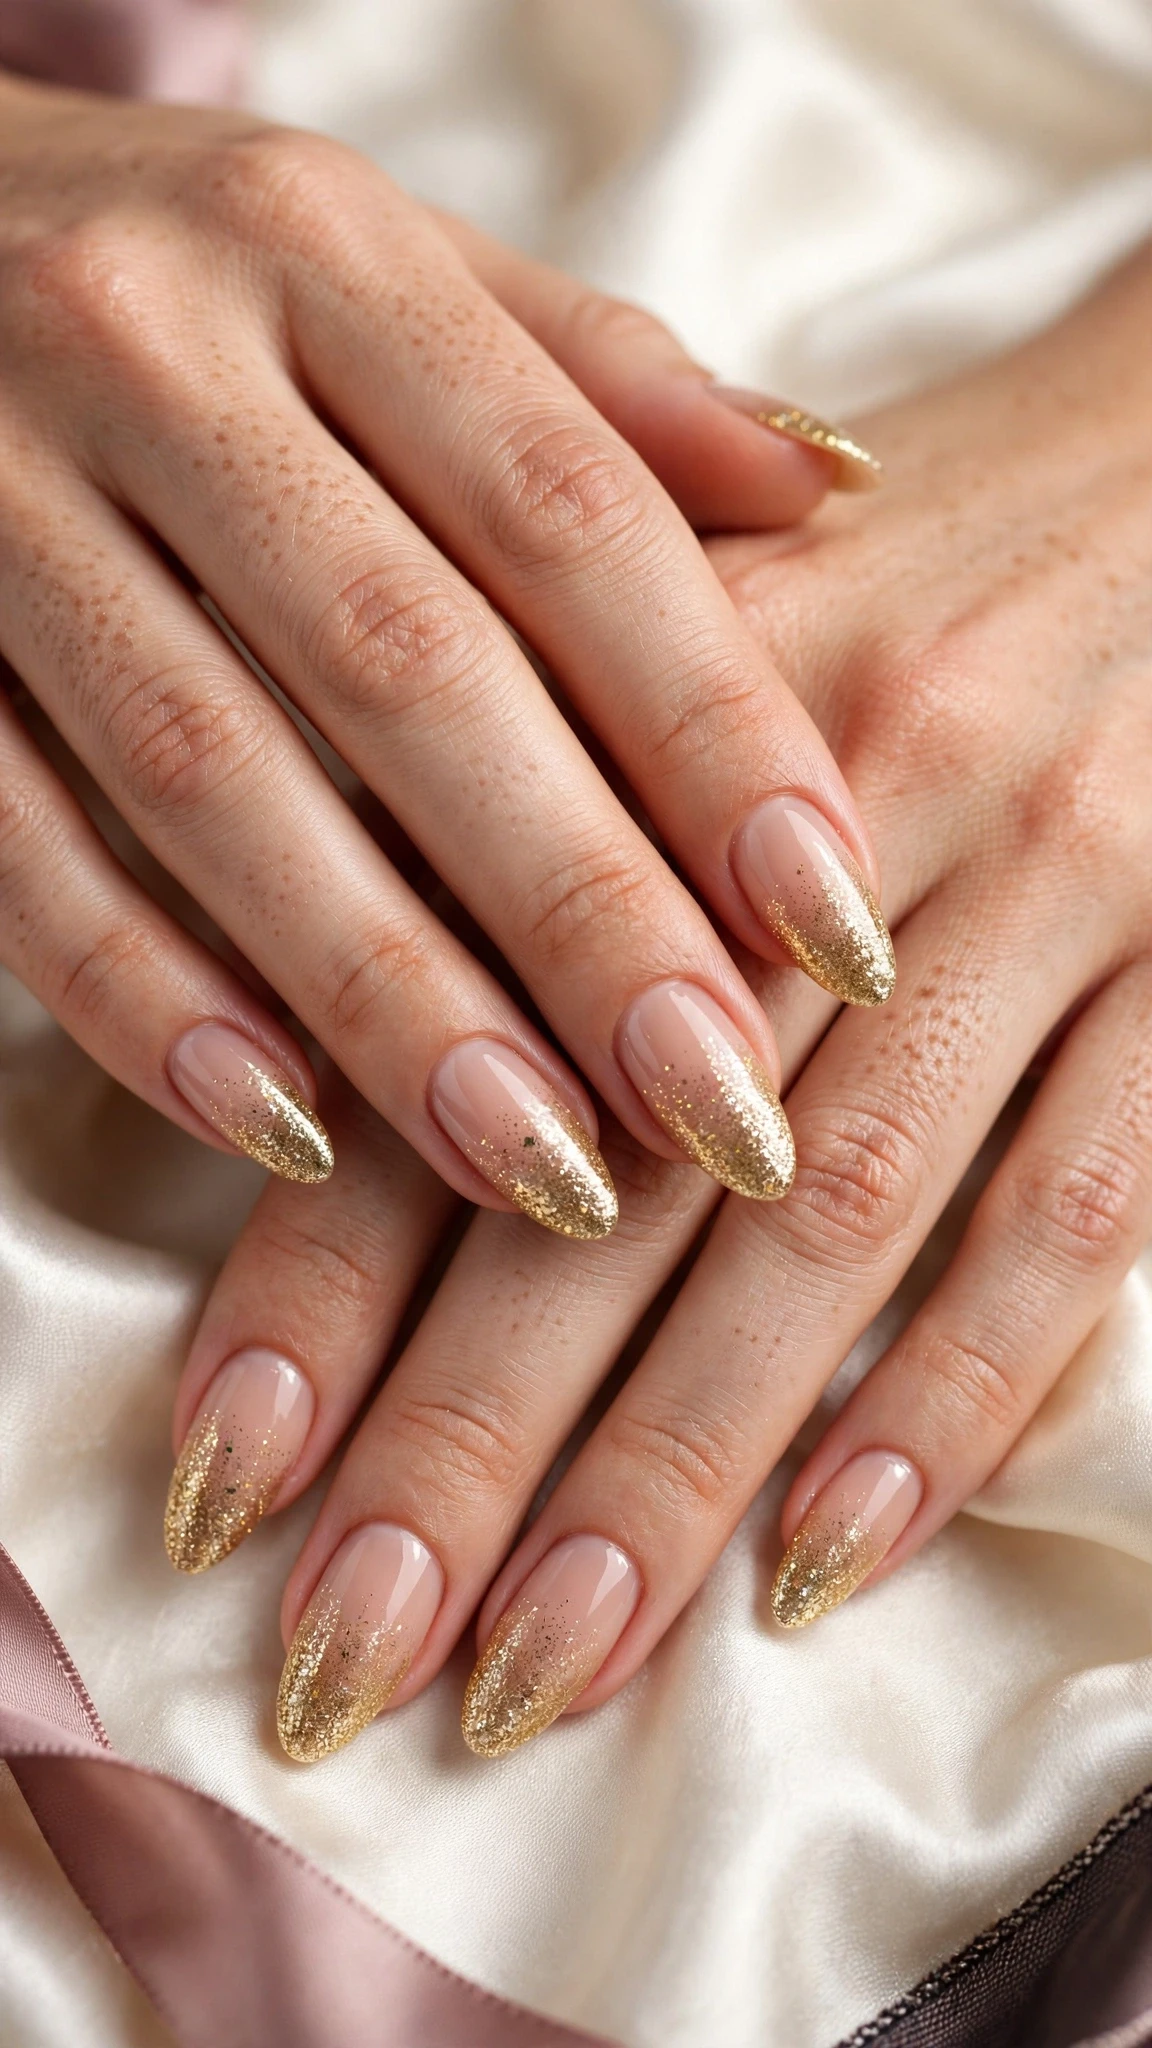
16. Gold Glitter Nude Ombre
A nude base with gold glitter fading up from the tips, dense at the edge and thinning toward the cuticle. The nude keeps the look wearable for daytime, while the gold tips add enough sparkle for a party. Two thin layers of glitter give this christmas ombre nails design a smoother fade than one thick layer.

17. Silver-to-Black Glitter Ombre
Silver glitter at the base fading into deep black at the tips — the most dramatic fade in this guide. The black should be glossy and rich, so the silver sparkles against it like stars against a night sky. This design suits short nails well, where the dark tips look neat and bold.
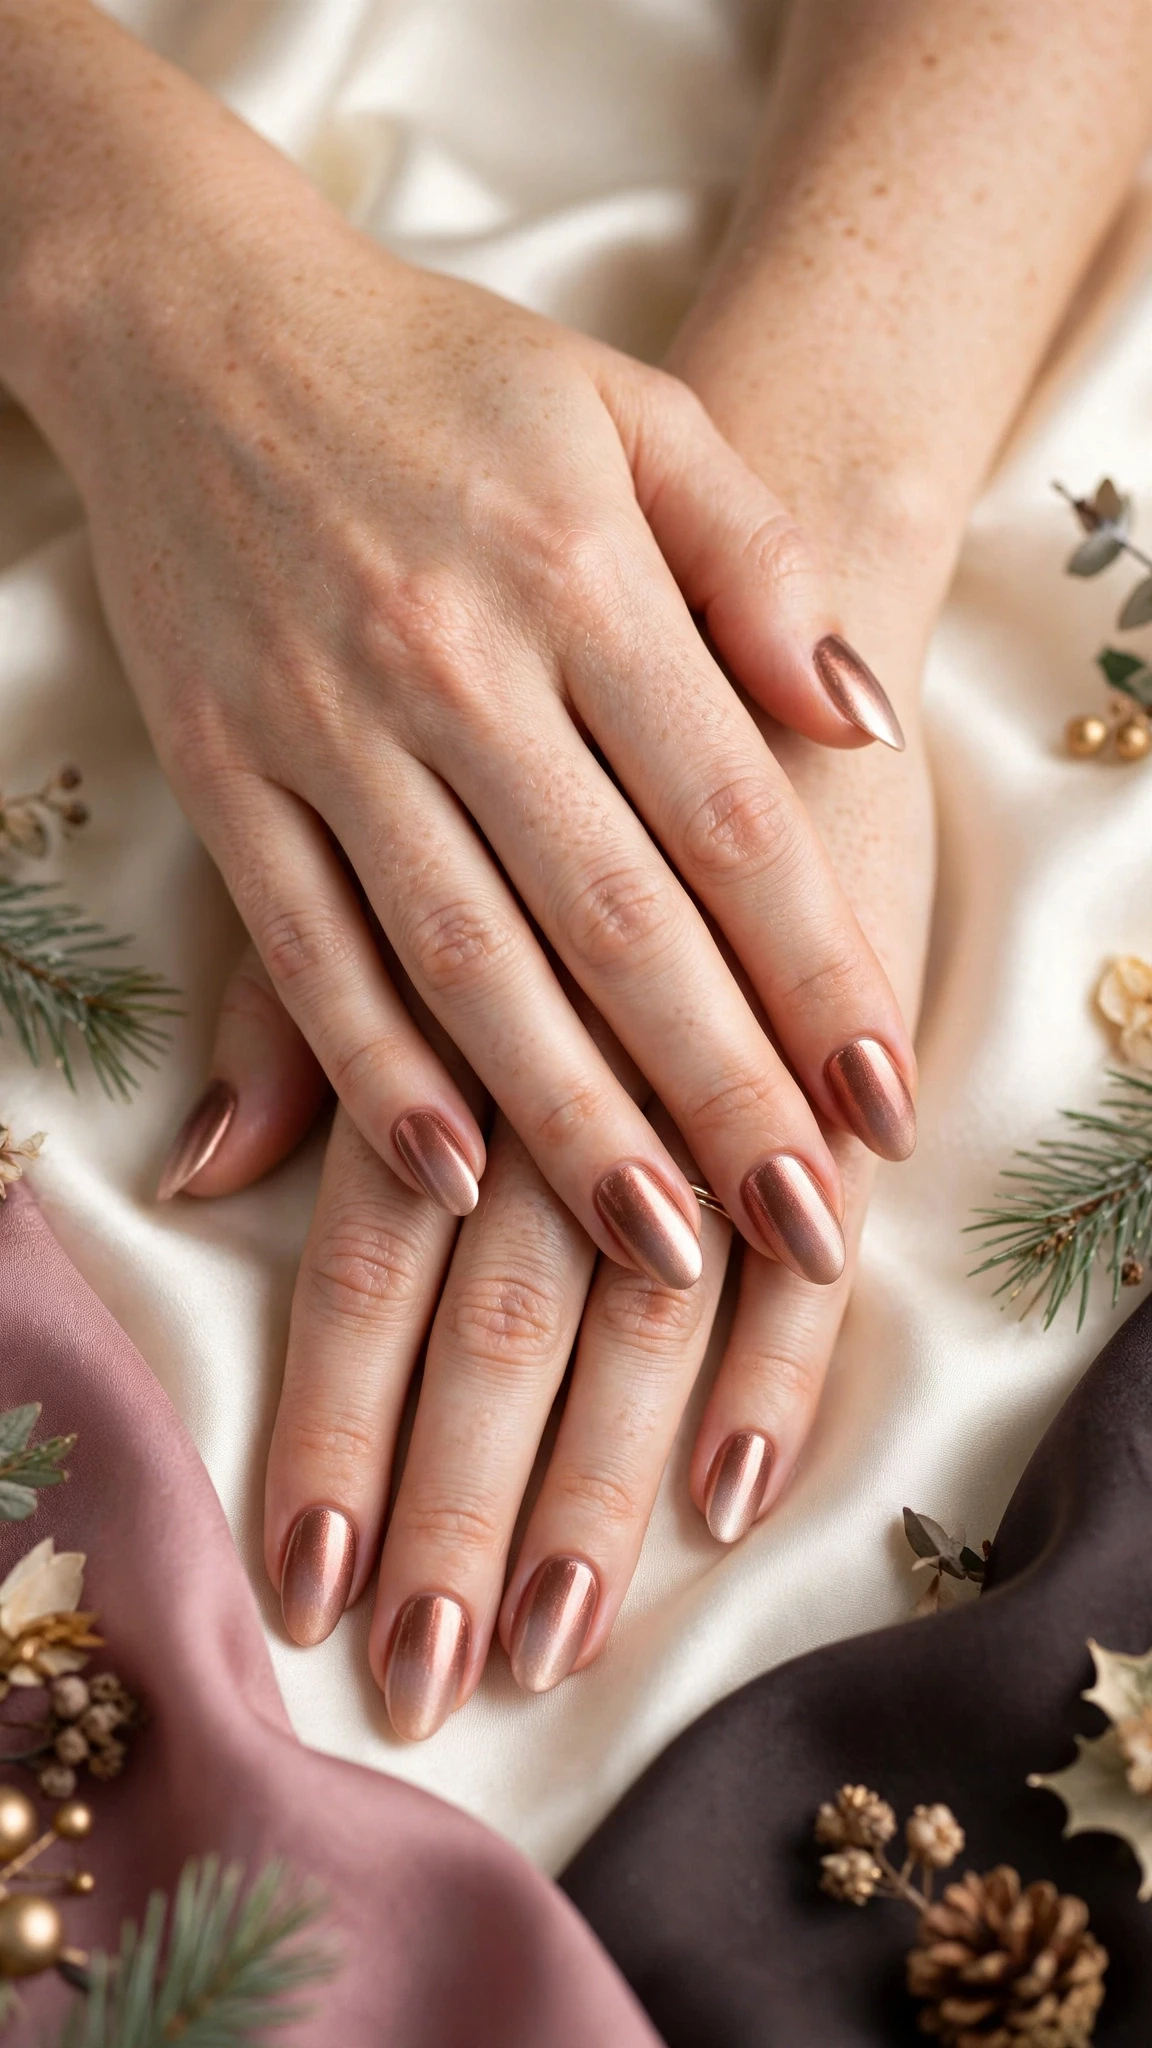
18. Rose Gold Ombre
A soft rose gold metallic fading from a deeper copper-rose at the cuticle to a pale champagne-rose at the tips. Rose gold flatters warm skin tones and sits beautifully next to both silver and gold jewellery. Keep the finish metallic rather than glittery, so the gradient stays smooth and mirror-like.
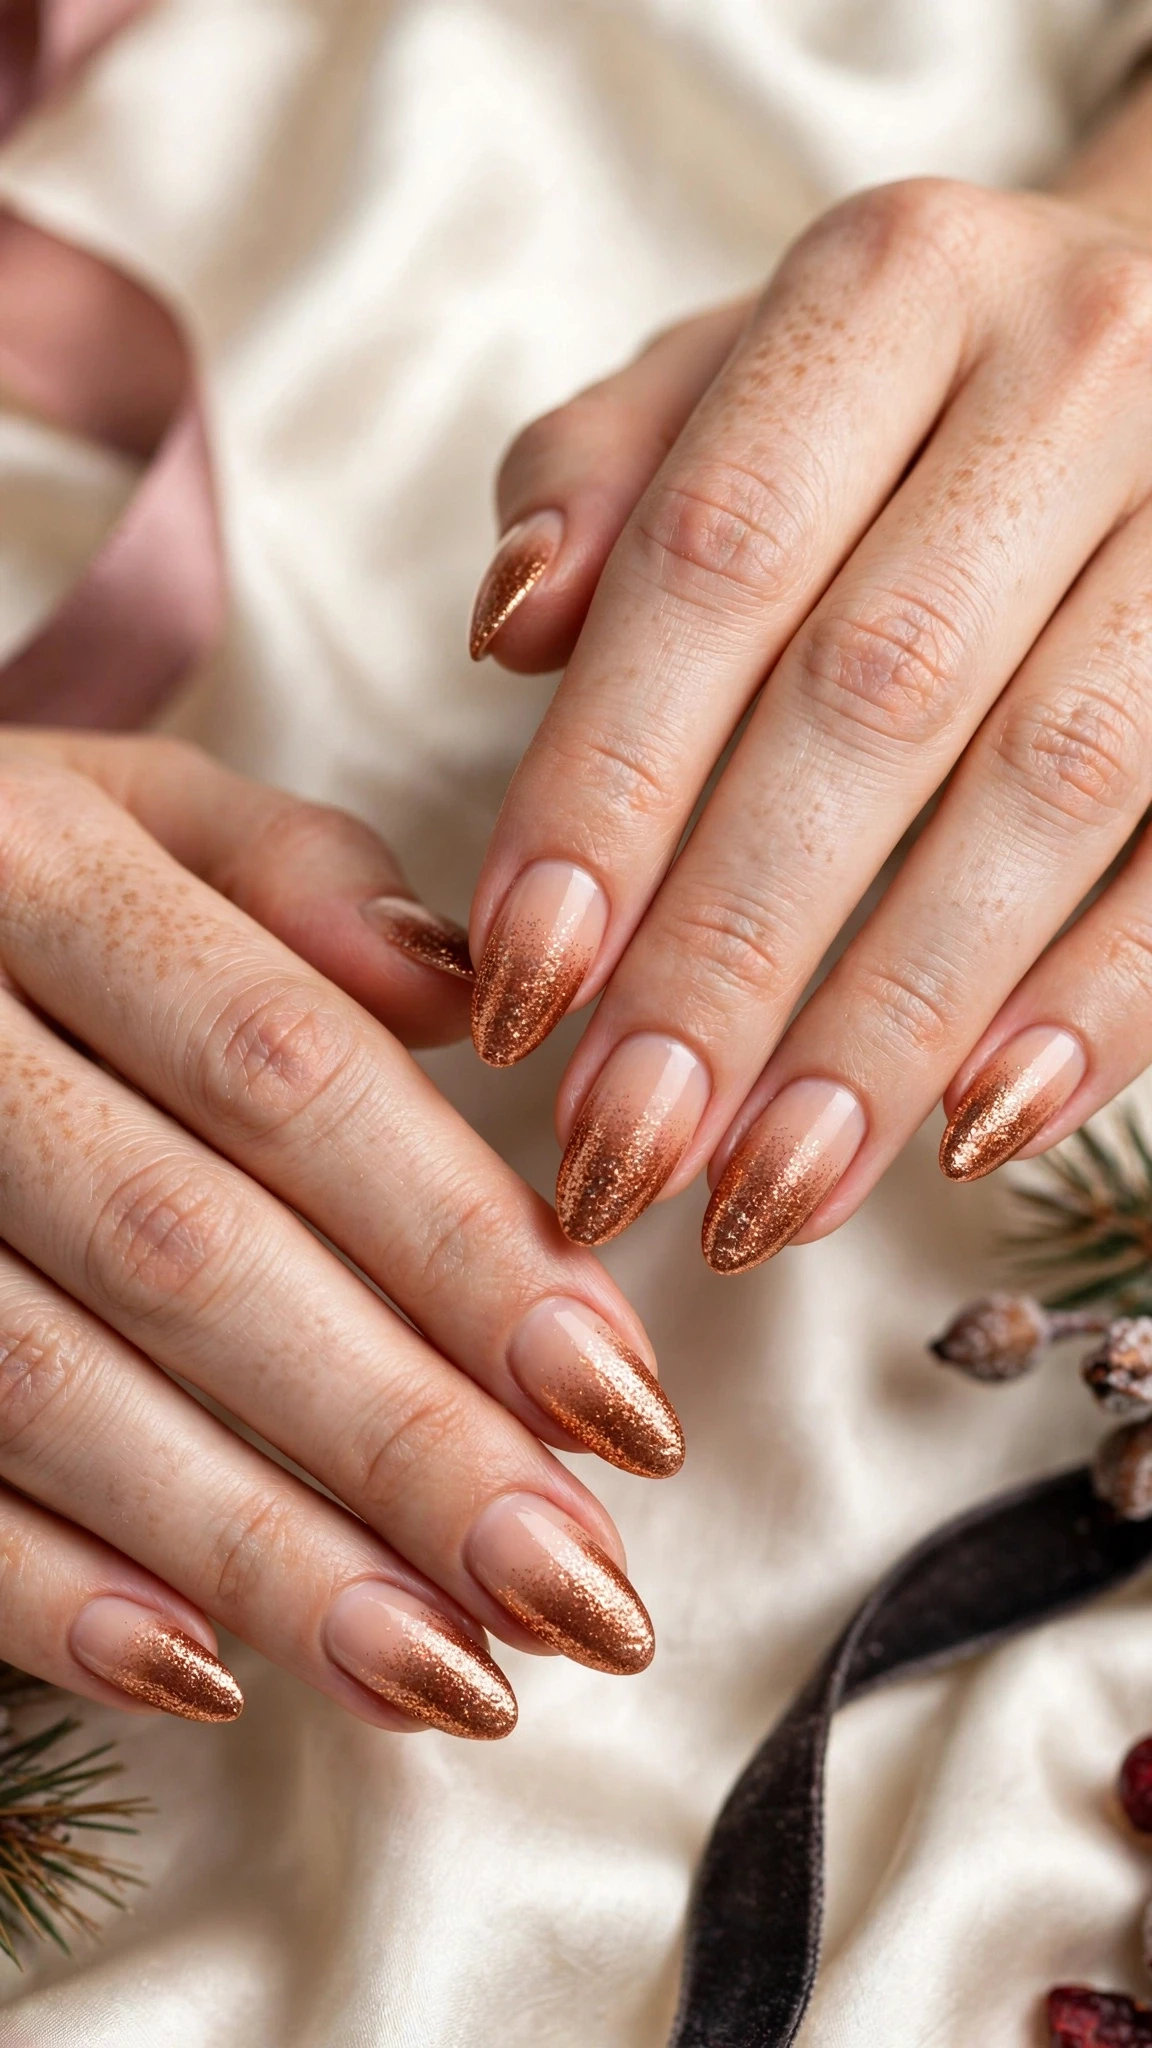
19. Copper Glitter Ombre
Warm copper glitter fading from a dense metallic tip into a soft nude base. Copper is less common than gold or silver, so this design stands out at a party without being loud. The warm metal pairs well with burgundy and forest green outfits, and it suits every skin tone.

20. Champagne-to-White Ombre
Champagne gold fading into clean white, the most elegant metallic fade in the guide. The gold should be pale and soft, almost like candlelight, so the blend feels gentle rather than flashy. This design suits weddings, Christmas dinners, and any occasion where you want festive nails that still look refined.
Festive Party Ombre Designs
The last five christmas ombre nails designs turn the colour up for Christmas parties — bold pairings, rich jewel tones, and one playful multicolour fade. These are the loudest gradients in the guide, and they all photograph beautifully in party light.
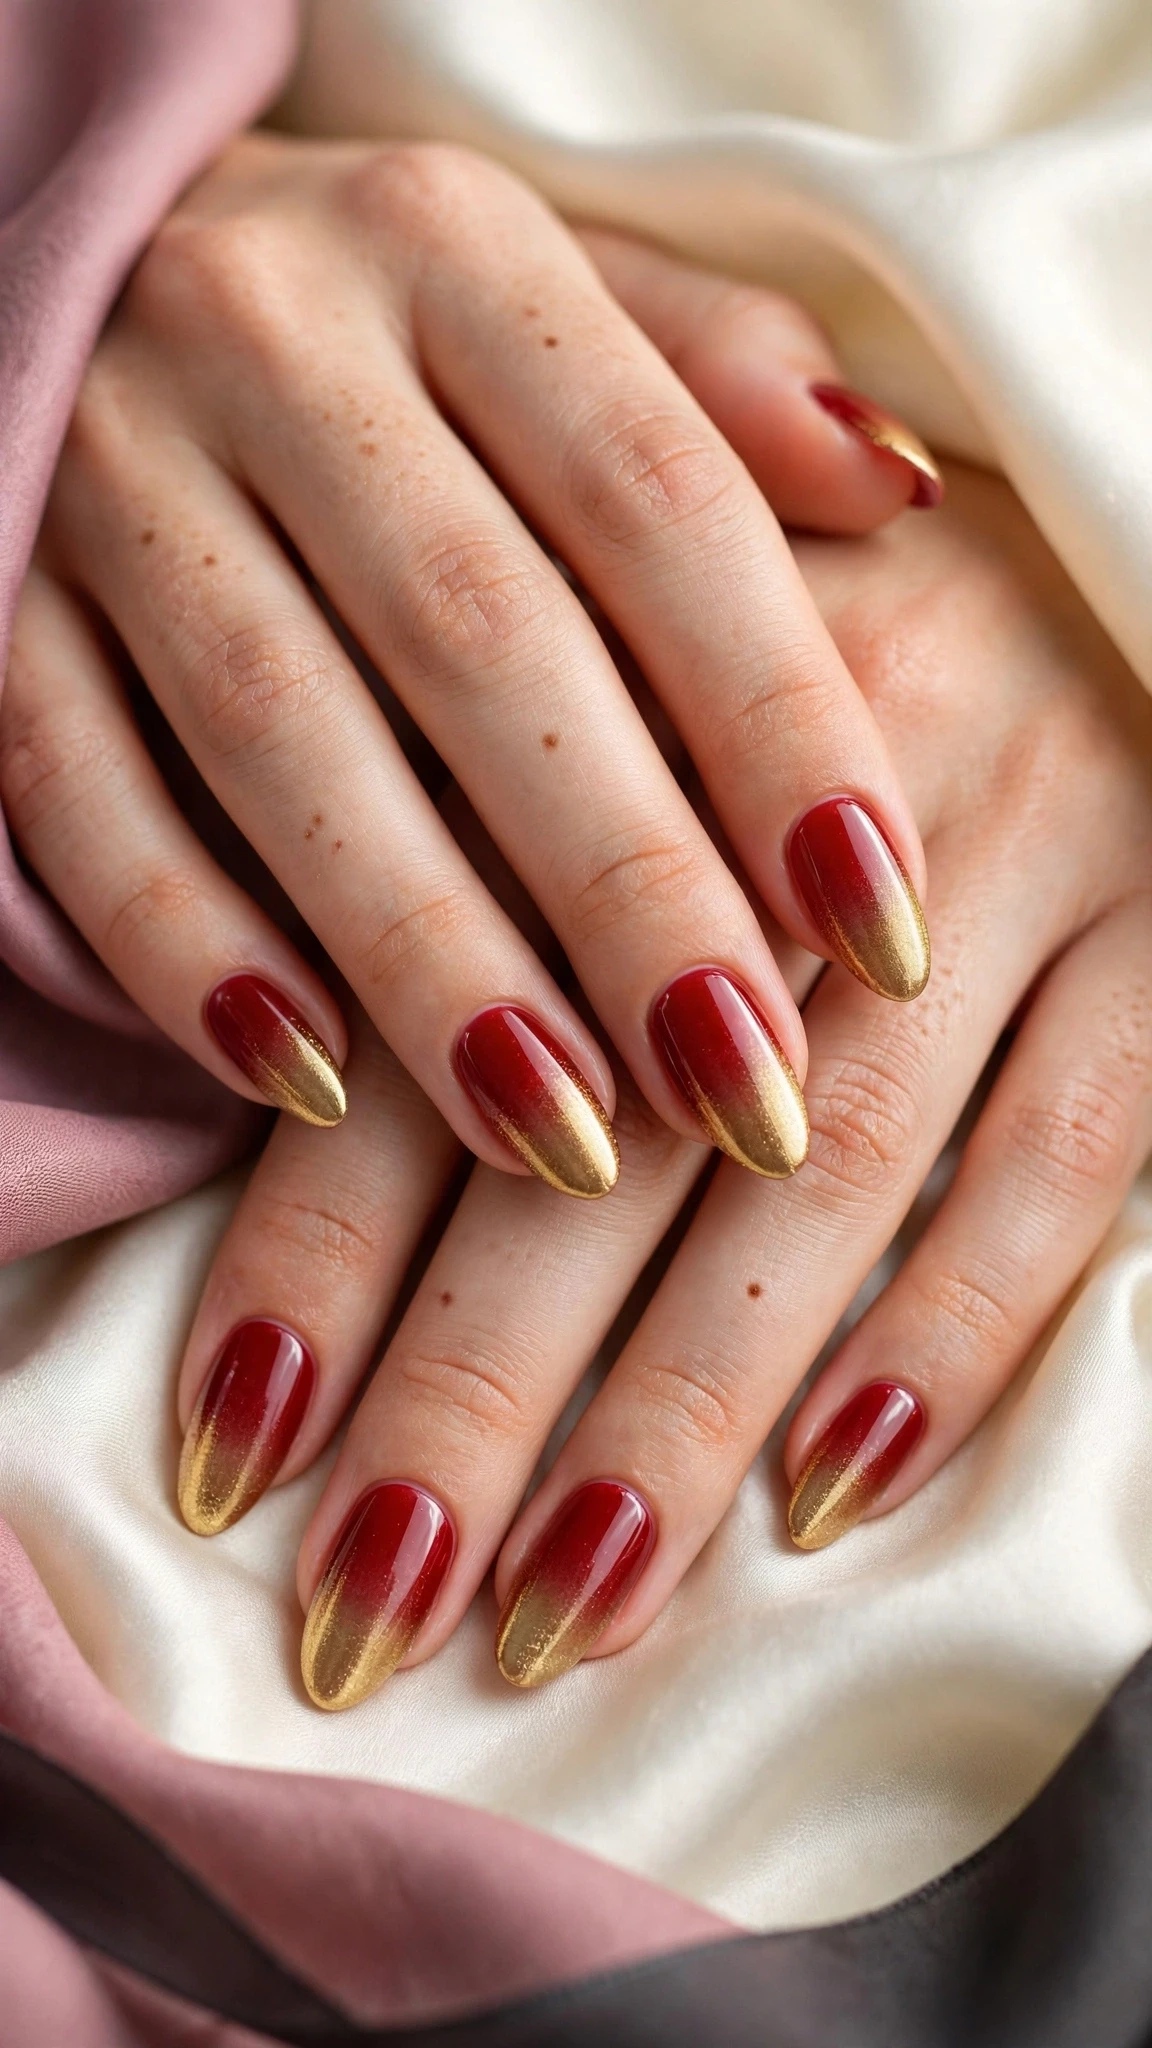
21. Red-to-Gold Party Ombre
Rich red at the base fading into molten gold at the tips — the most festive fade in this guide. The red should be deep and warm, the gold bright and metallic, so the middle of the nail glows like embers. This red-to-gold christmas ombre nails design suits long nails best, where the two strong colours have room to blend.
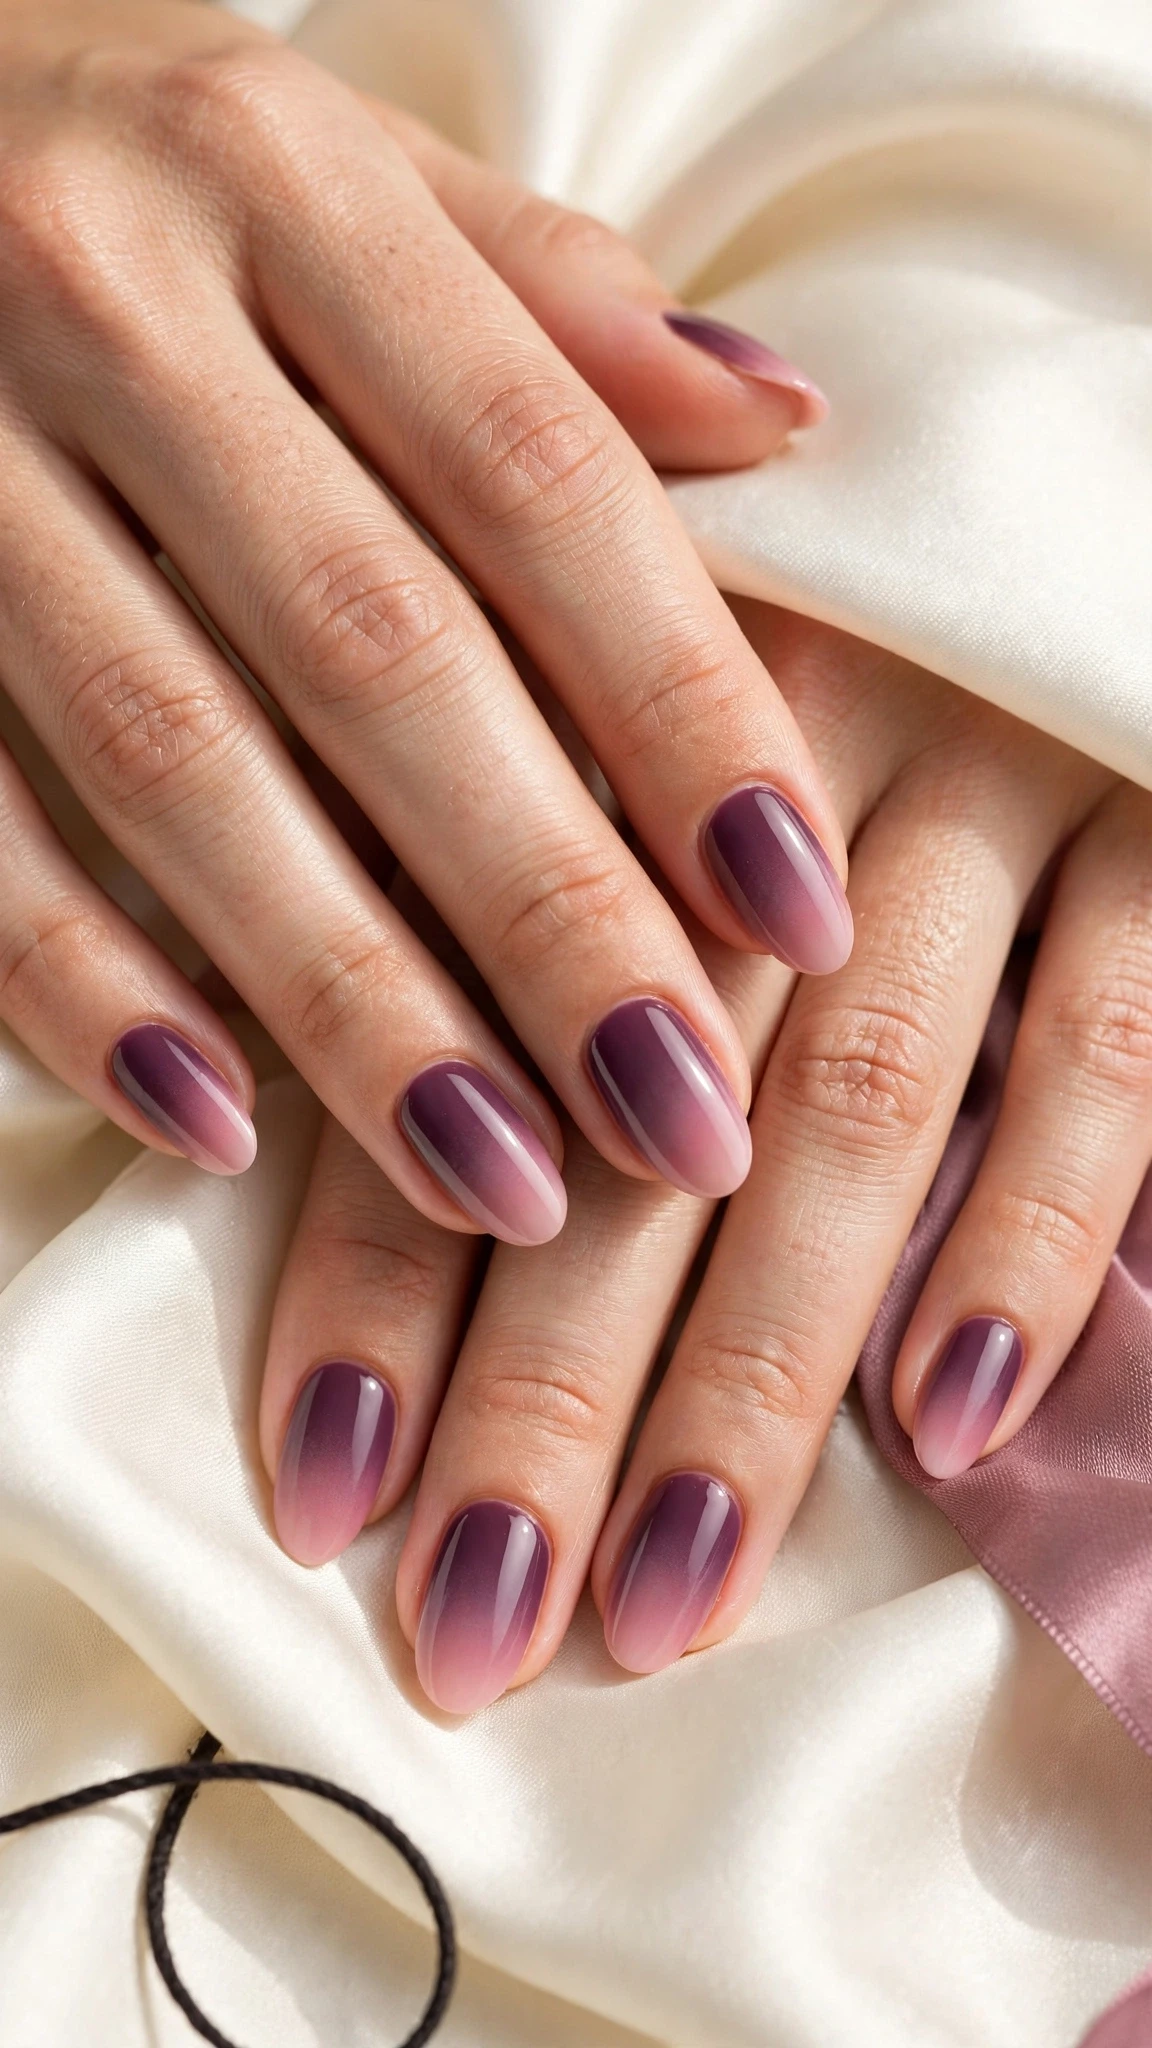
22. Plum-to-Pink Ombre
Deep plum fading into soft pink, a jewel-toned gradient that feels festive without using red or green at all. The plum base keeps the look rich and evening-ready, while the pink tips keep it light. Add a single gold dot on the ring finger for a small festive accent.
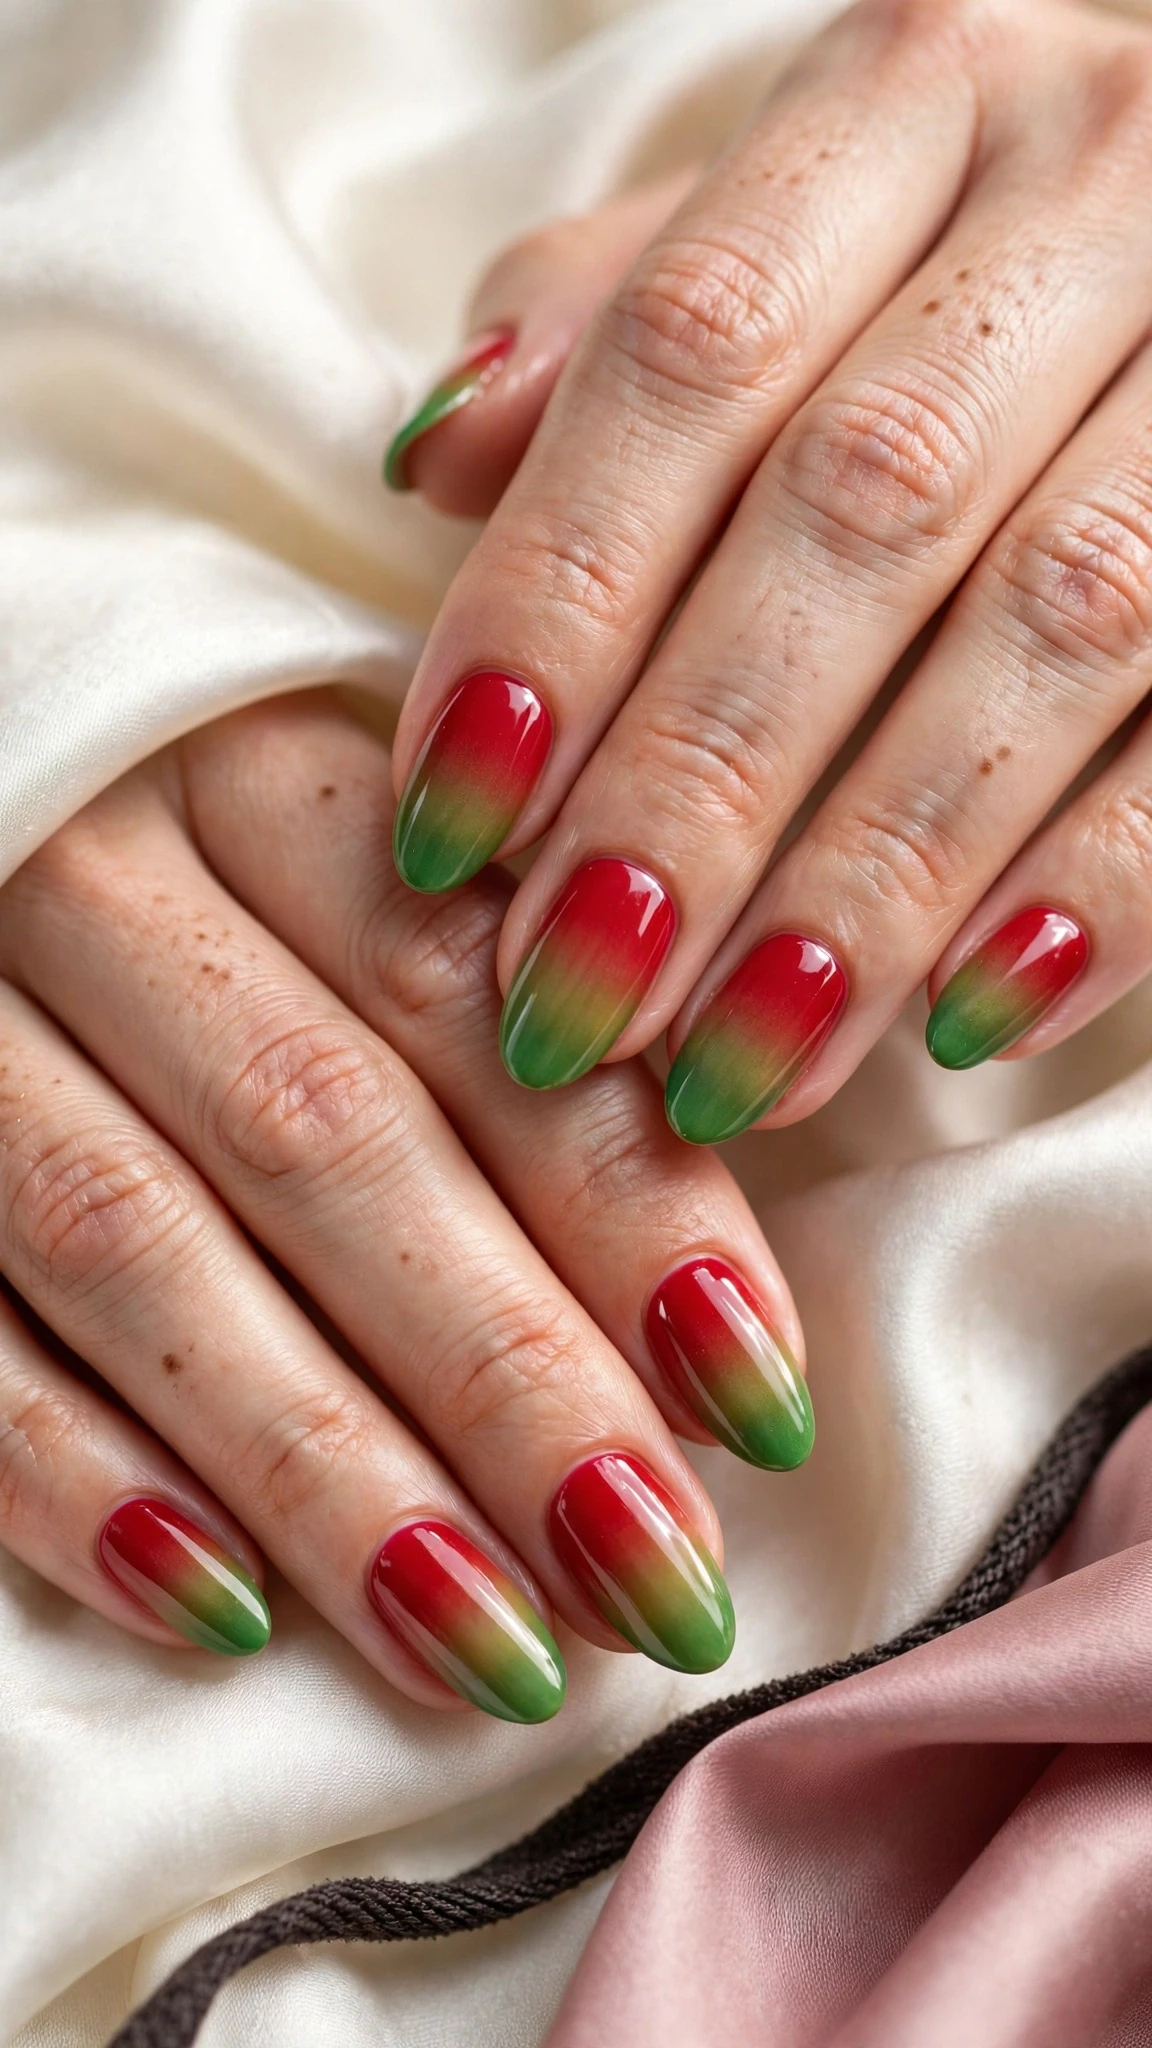
23. Candy Green-Red Ombre
Green and red fading into each other across the nail, like striped candy softened into a gradient. The trick is a narrow blend zone in the middle — keep the green on one half and the red on the other, and let them meet in a soft brown-red shimmer. This is the most playful design in the guide, and it suits short nails well.
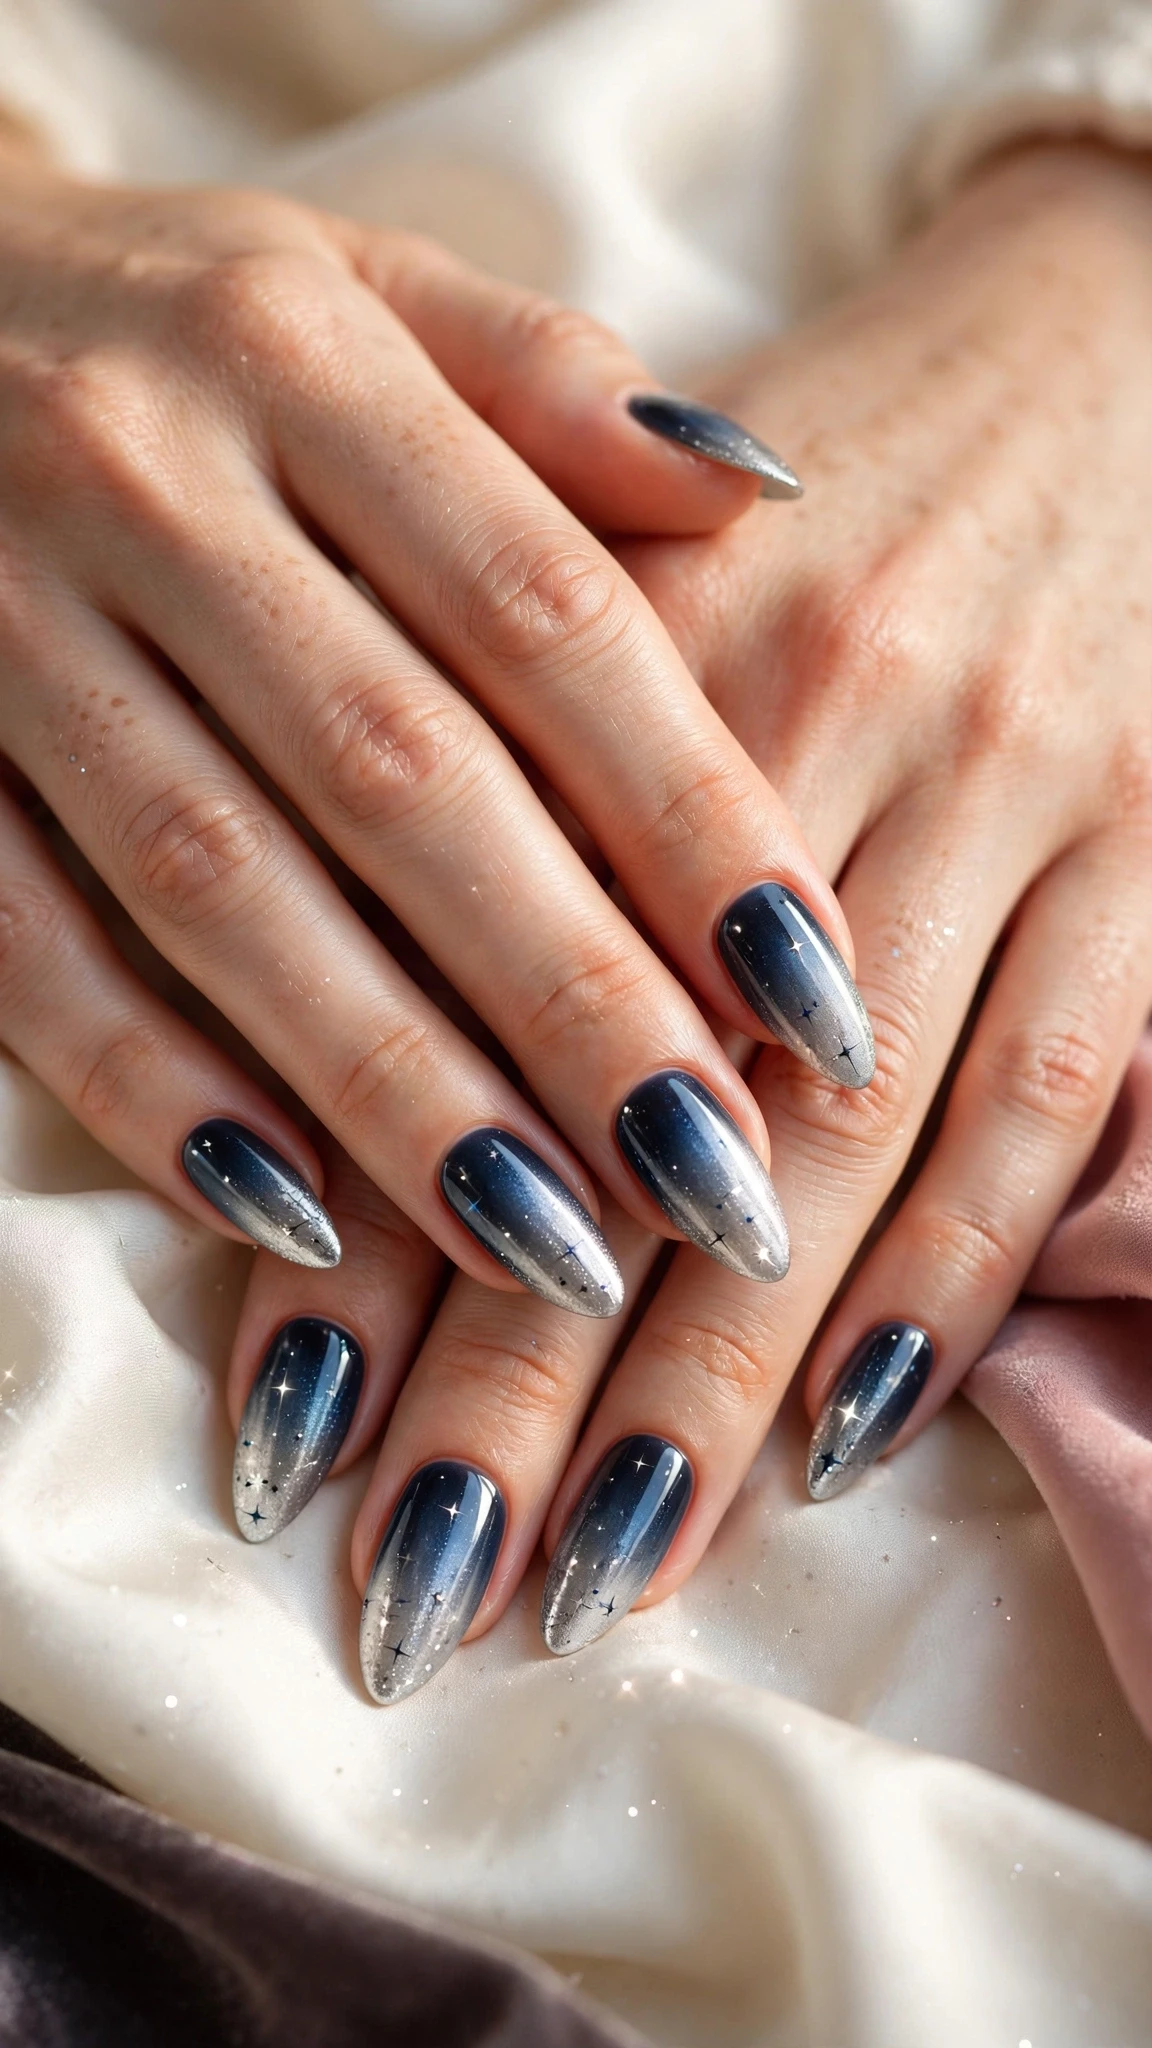
24. Midnight Blue-to-Silver Ombre
Midnight blue at the cuticle fading into bright silver at the tips, like a starry winter night. The blue should be deep and inky, the silver fine and glittery, so the contrast feels like moonlight on snow. This design suits evening parties and looks striking next to silver jewellery.
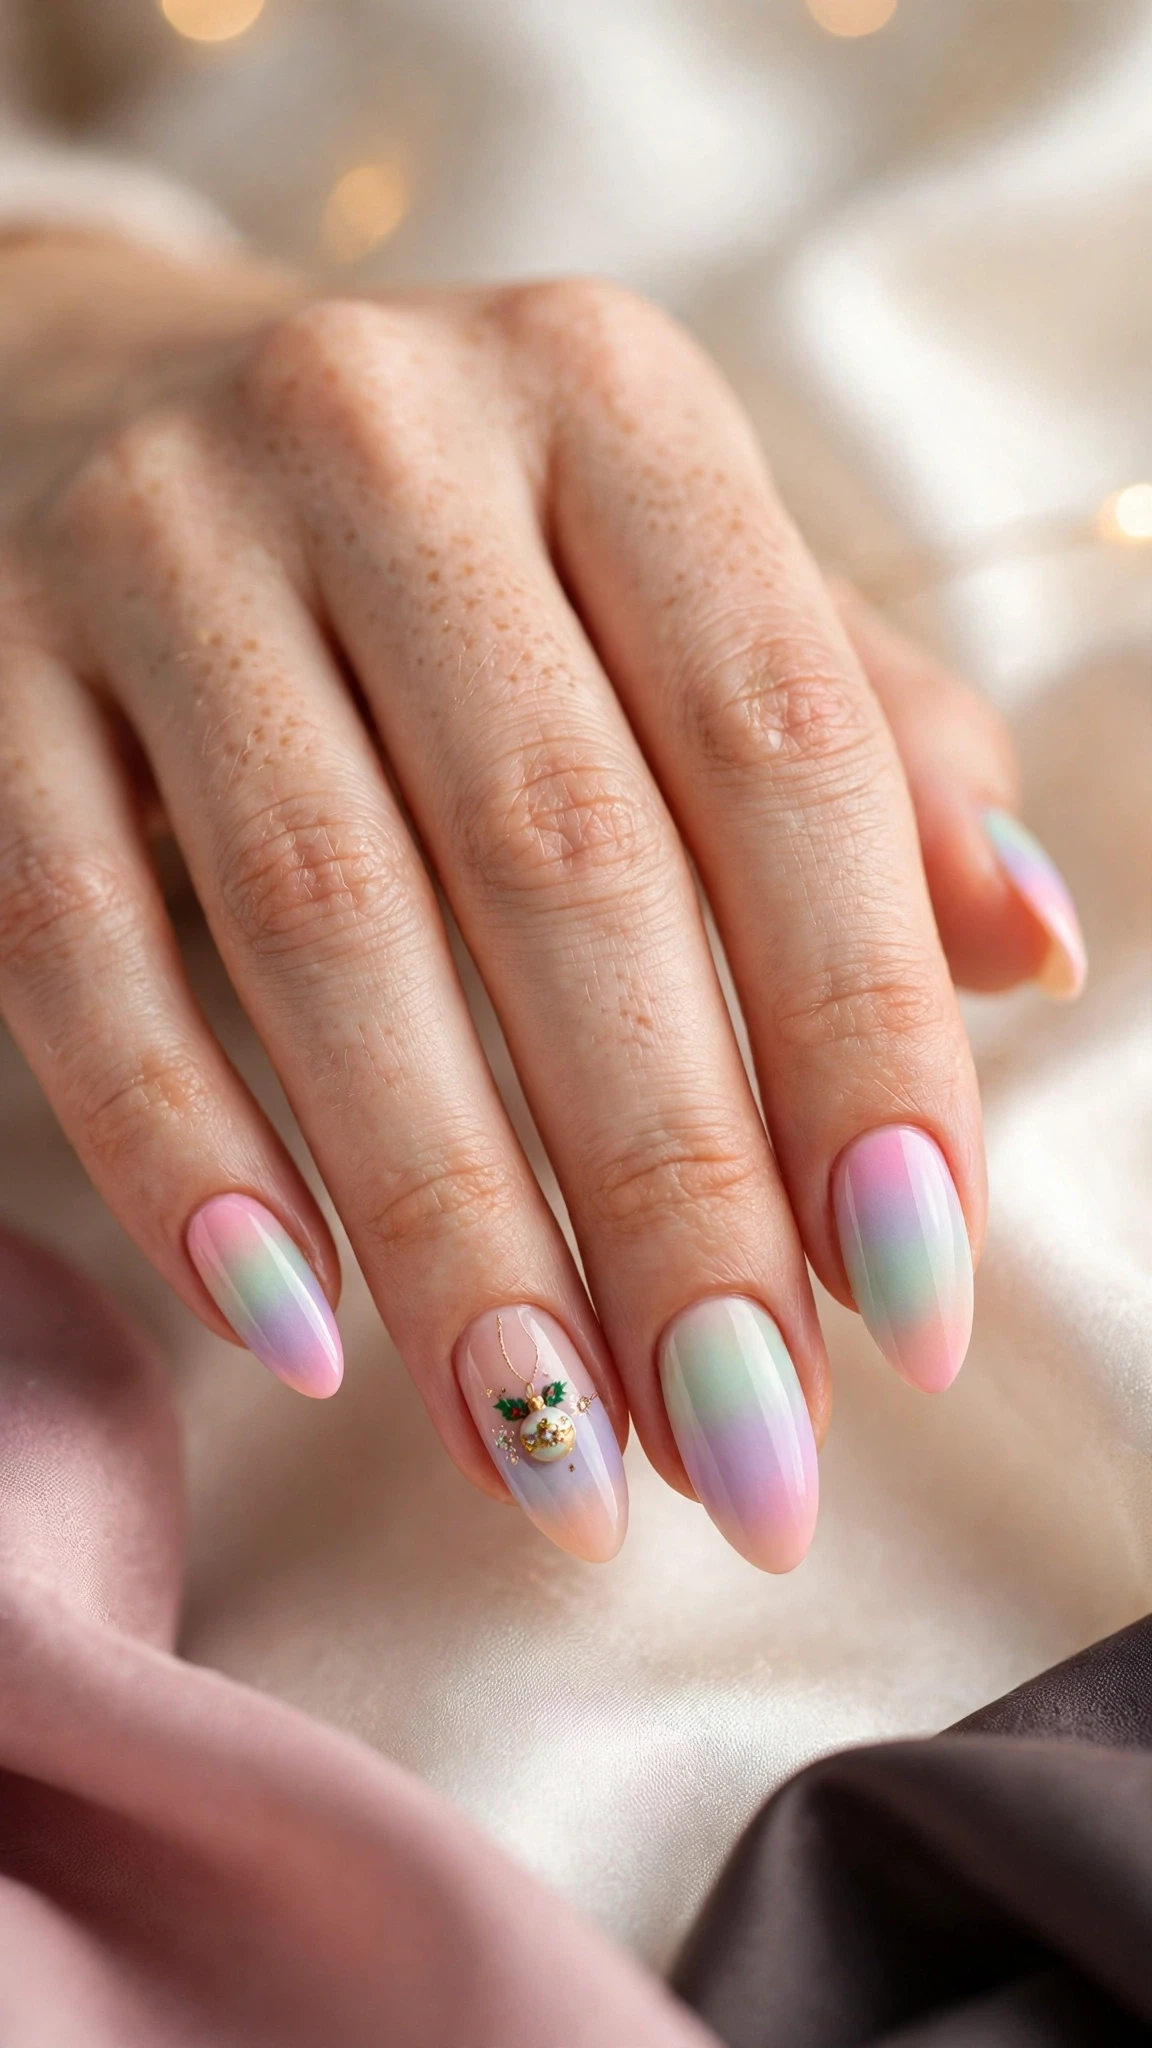
25. Pastel Ornament Ombre
A soft multicolour pastel ombre — pink, mint, and pale blue fading across the nails — with a tiny hand-painted ornament on the ring finger. The pastels keep the look gentle, while the single ornament ties it firmly to Christmas. Keep the ornament small and simple: a gold circle with a tiny bow is enough.
How to Care for Christmas Ombre Nails
Christmas ombre nails last longest when the nail underneath is healthy. According to the American Academy of Dermatology, keeping nails clean and dry, moisturising the cuticles, and avoiding harsh chemicals all help a manicure last. Always use a base coat before an ombre — dark shades like burgundy, emerald, and navy can stain the nail plate, and a base coat is the simplest protection. Two thin coats of each shade blend more smoothly than one thick coat, and a fresh top coat every two or three days keeps the gradient glossy and chip-free.
When you remove an ombre manicure, soak a cotton pad in remover, press it onto the nail for a few seconds, and wipe gently toward the tip — scrubbing can scratch the nail surface. Glitter ombre needs a little more patience: wrap each nail in a soaked pad and foil for five minutes, then slide the glitter off. Moisturise your hands and cuticles after removal, and give your nails a day or two bare before the next festive design.
Final Thoughts
Christmas ombre nails prove that a festive manicure does not need a hard line or a loud colour to make an impression. A soft fade holds two Christmas shades on one nail, suits every length and skin tone, and forgives the small mistakes that make home manicures stressful. Pick the colour family that matches your December — red and white for tradition, green and gold for richness, icy blue for winter, glitter for parties — and let the gradient do the work. However you wear it, a Christmas fade is one of the easiest festive looks to love.
Frequently Asked Questions
What colours work best for christmas ombre nails?
Red and white, green and gold, icy blue and white, silver, and rose gold all work beautifully for christmas ombre nails. Red to white is the classic Christmas pairing, green to gold feels rich and festive, and icy blue to white suits snowy winter days. Pick two shades from the same colour family for the smoothest fade.
Do ombre nails suit short nails?
Yes. Ombre suits short nails very well because the gradient draws the eye along the nail and makes it look longer. Keep the fade gentle rather than high-contrast, use two close shades instead of two opposites, and add the accent — a star, a snowflake, or a touch of glitter — on one or two nails only.
Can I do christmas ombre nails at home?
Yes. The sponge method works well at home: paint two or three polish shades side by side on a makeup sponge, dab it onto the nail in thin layers, and let each layer dry before the next. Clean the edges with a small brush dipped in remover, then seal the gradient with a glossy top coat.
How long do christmas ombre nails last?
A gel ombre manicure usually lasts two to three weeks, while regular polish lasts about five to seven days with a good top coat. Reapply top coat every two or three days to protect the gradient, and wear gloves for washing up so water and detergents do not lift the edges.
What nail shape suits ombre designs best?
Almond and soft square shapes show off an ombre gradient best because their longer surface gives the fade room to blend. Round and short square shapes also work well, especially for subtle two-tone fades. Very short nails suit a gentle fade from a nude base to a coloured tip.
Can I wear ombre nails after Christmas?
Yes. Ombre is a finish, not a Christmas-only look. Icy blue to white, silver glitter, nude to gold, and soft pink fades all carry into January and February, especially with snowflakes or plain metallic accents. Just swap the red and green shades for cooler winter tones.
Compare Before You Choose
See the Closest Alternatives
Compare nearby shapes, colors and finishes before picking a final reference.
Recommended Next