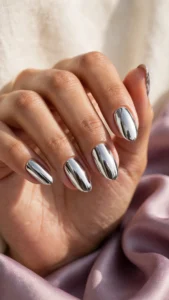
Mirror chrome nails look like liquid metal poured over your fingertips, and they photograph beautifully in any light. The good news is that learning how to do chrome nails at home is far easier than the salon-perfect finish suggests. With a gel base, a no-wipe topcoat, and a small pot of chrome powder, you can get that reflective shine yourself in under an hour.
The trick is not expensive equipment. Chrome powder only bonds properly to a cured gel surface, which is why the order of the layers matters more than the brand of powder you buy. Get the layers right and the powder buffs into a smooth mirror; get them wrong and it turns patchy or dull. This guide takes you through the whole process step by step, so you can learn how to do chrome nails at home with confidence, even if you have never used gel polish before.
Below you will find the full supply list, ten clear steps with photos, tips for a flawless finish, the mistakes that ruin chrome nails, and how to look after them once they are done. If you can paint your own nails and follow a curing time, you can do this — here is exactly how to do chrome nails at home.
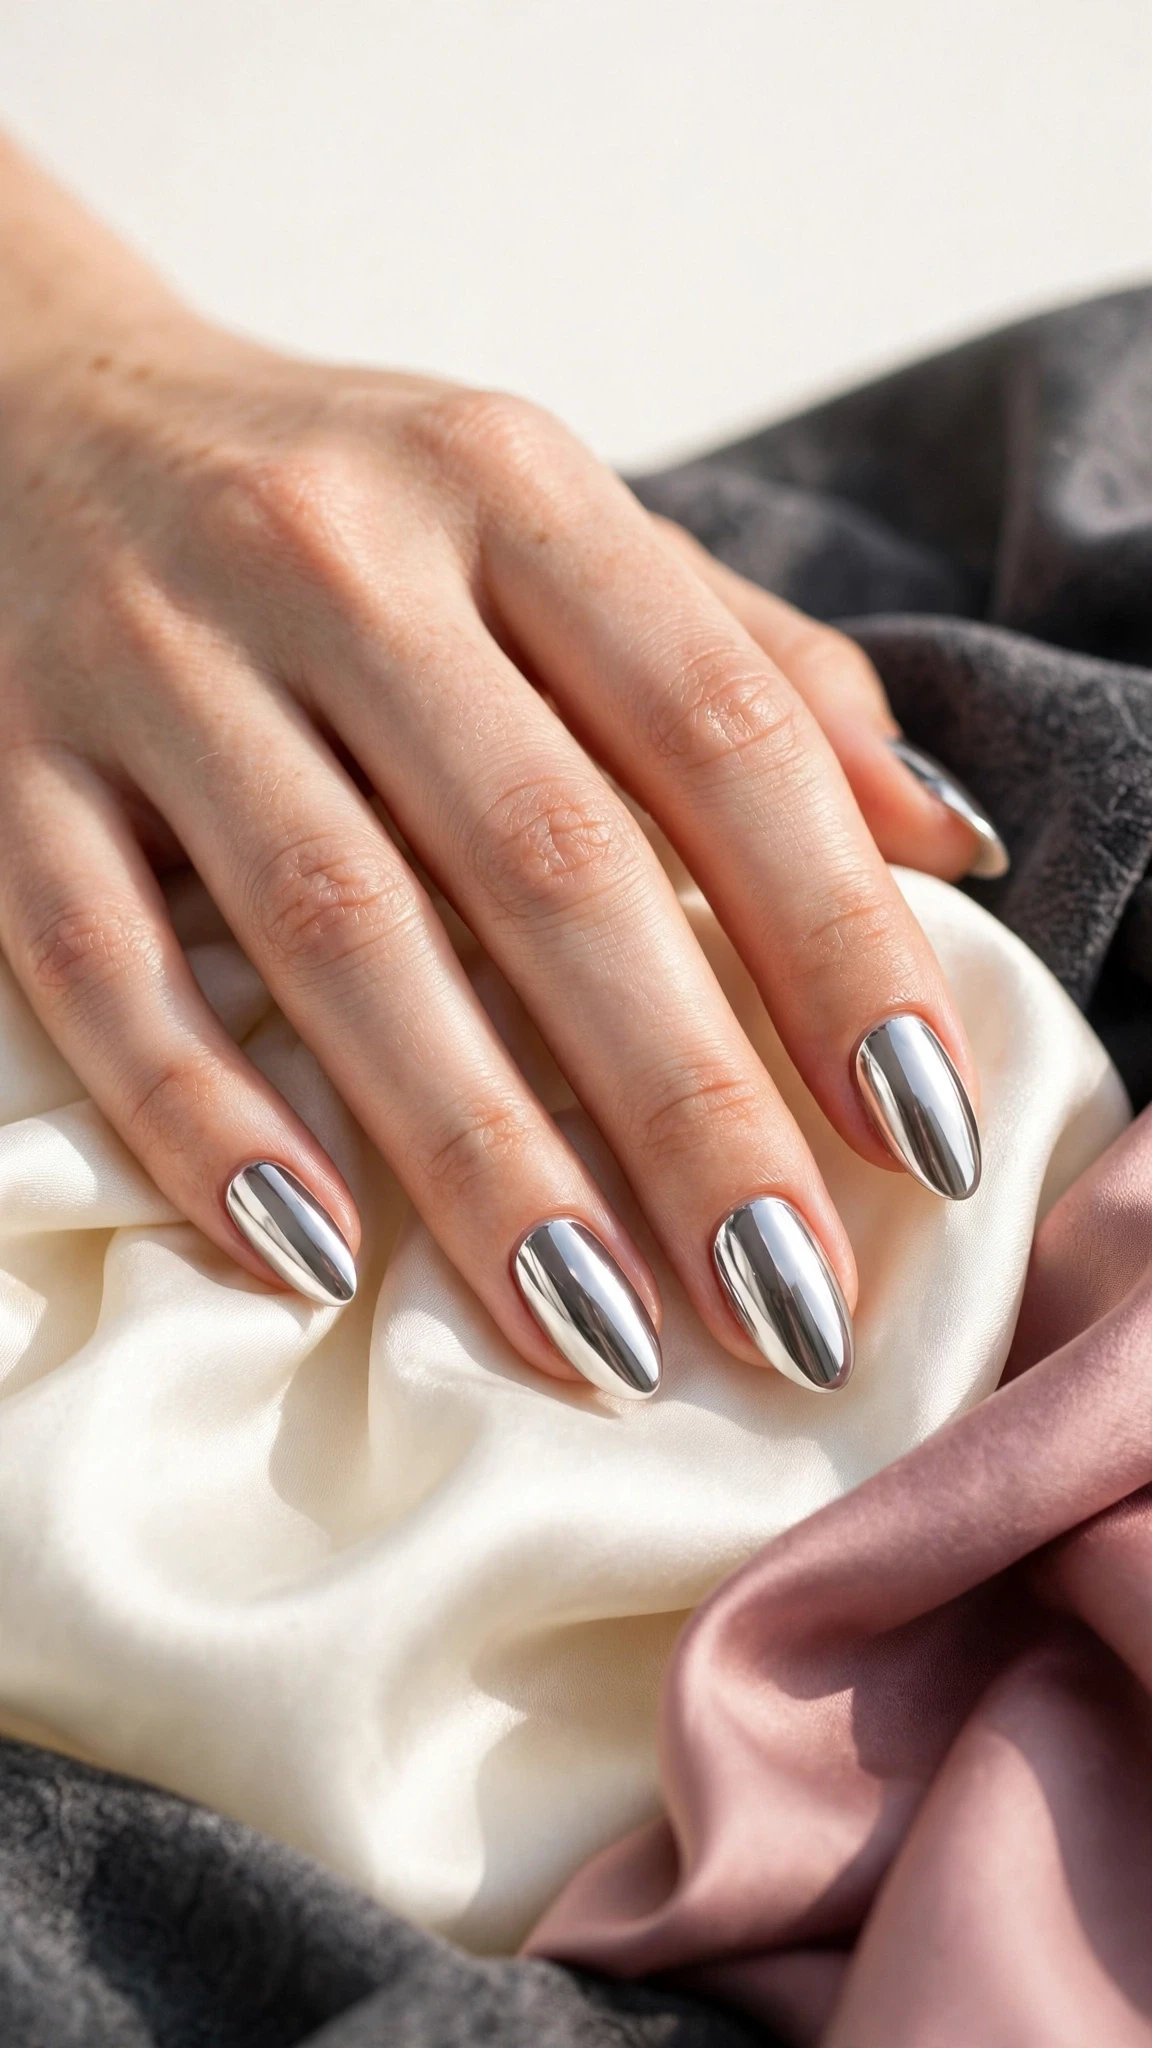
What You Will Need
Gather everything before you start learning how to do chrome nails at home. Once gel is curing under the lamp, you do not want to be hunting for a missing tool.
- A UV or LED lamp (any lamp that cures gel polish will do)
- Gel base coat
- A dark gel colour — black for a classic silver mirror, or another shade for a coloured chrome effect
- No-wipe gel topcoat (this is essential — a regular topcoat will not work the same way)
- Chrome powder in your chosen shade (silver is the best starter shade)
- A silicone applicator or a small eyeshadow sponge
- A soft, fluffy dusting brush
- A nail file and a gentle buffer
- A cuticle pusher and cuticle oil
- Lint-free wipes and nail dehydrator, or plain rubbing alcohol
- Pure acetone and cotton pads, for cleanup and later removal
According to the American Academy of Dermatology, keeping nails clean and moisturised helps prevent breakage, so the cuticle oil at the end of this routine is not optional — it is part of the manicure. Keep it within reach before you switch the lamp on.
Step 1: Shape Your Nails
Start with clean, dry, polish-free nails. File each nail into your chosen shape — almond and oval shapes show off chrome beautifully, but short squares work just as well. File in one direction rather than sawing back and forth, which can split the nail edge and leave a rough line that shows through a mirror finish.
Shaping matters more than people expect when learning how to do chrome nails at home, because chrome reflects everything, including an uneven edge. Take an extra minute here: hold your hand up and check that both hands match in length and shape before you move on.
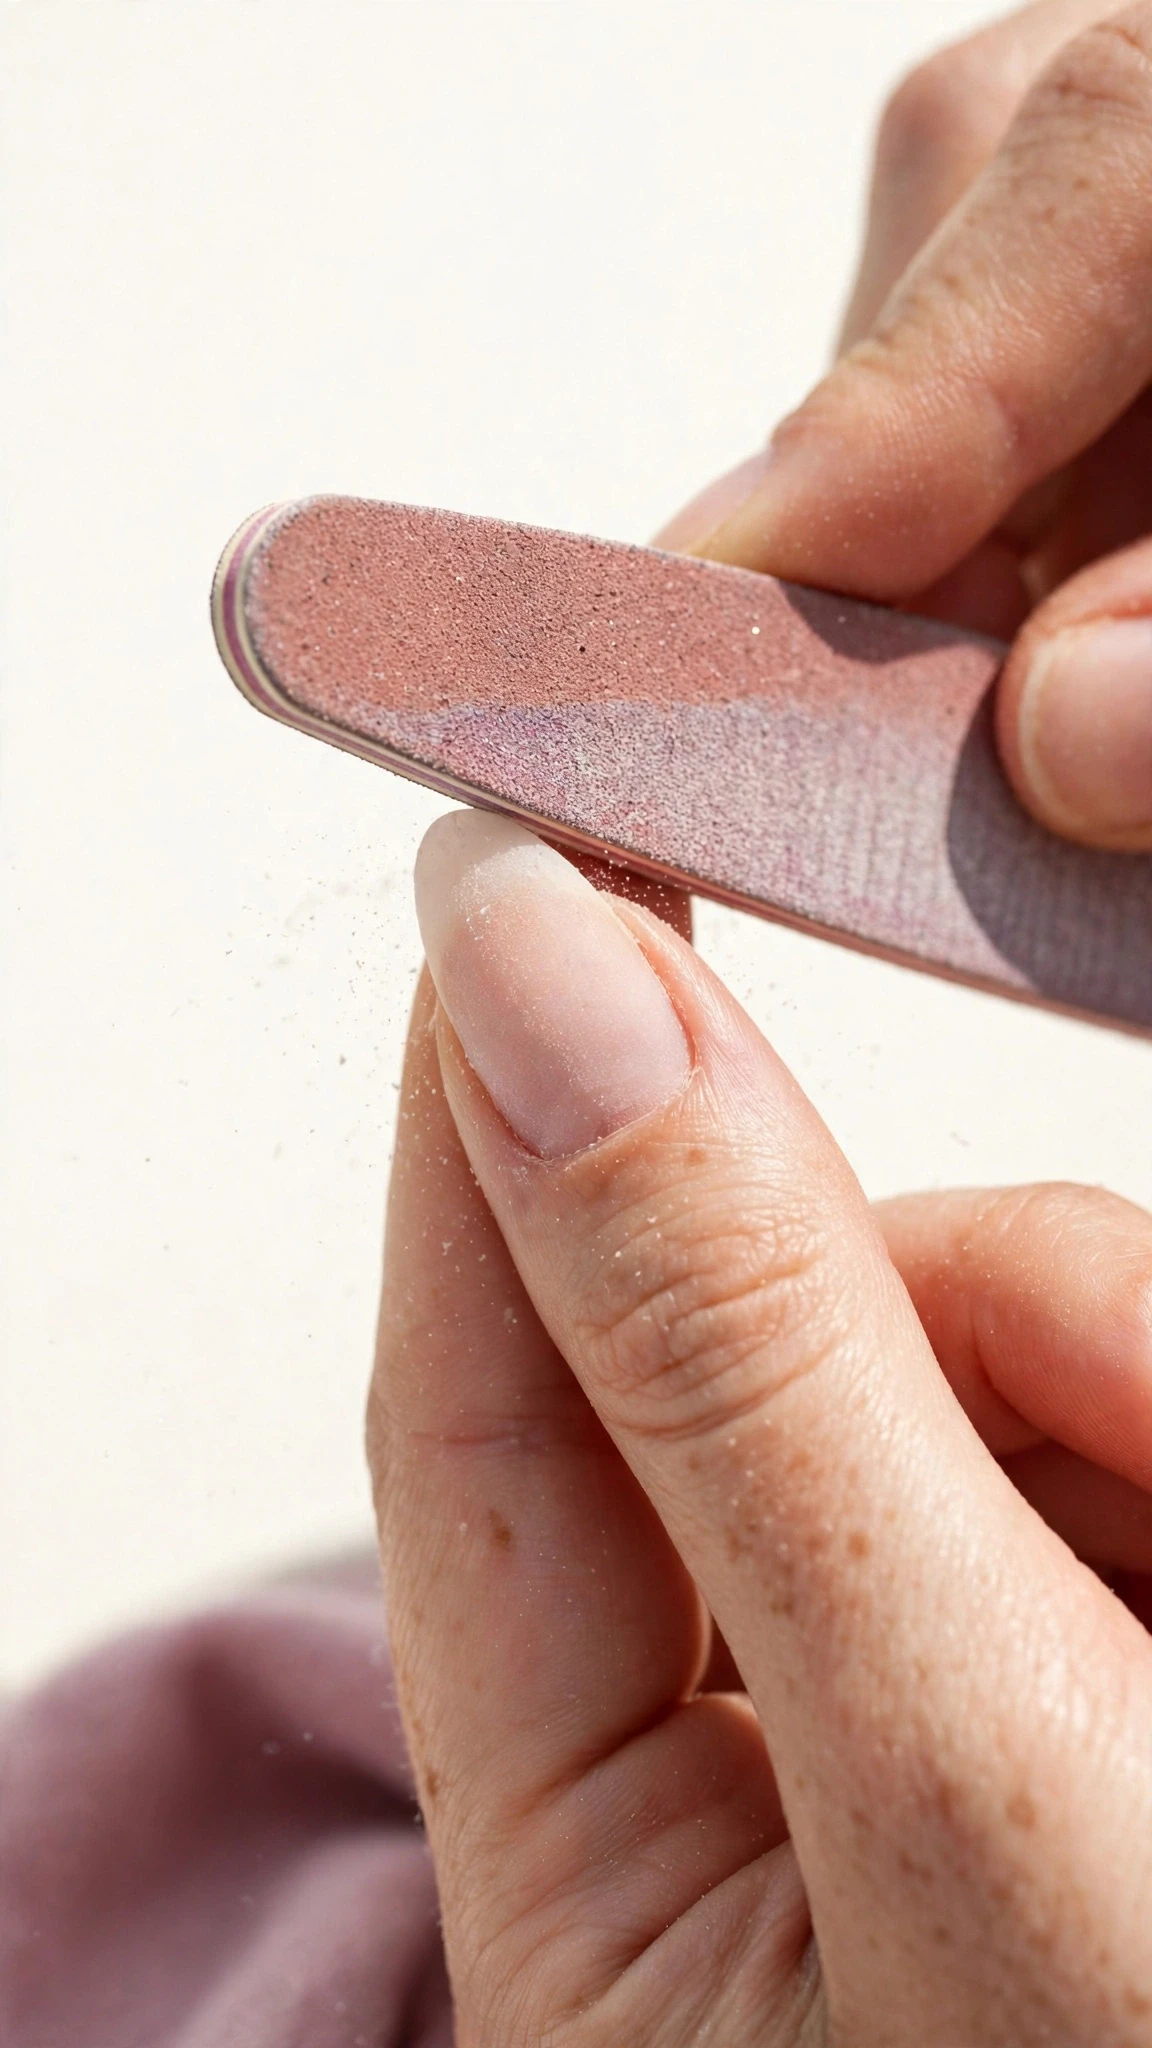
Step 2: Prep the Nail Surface
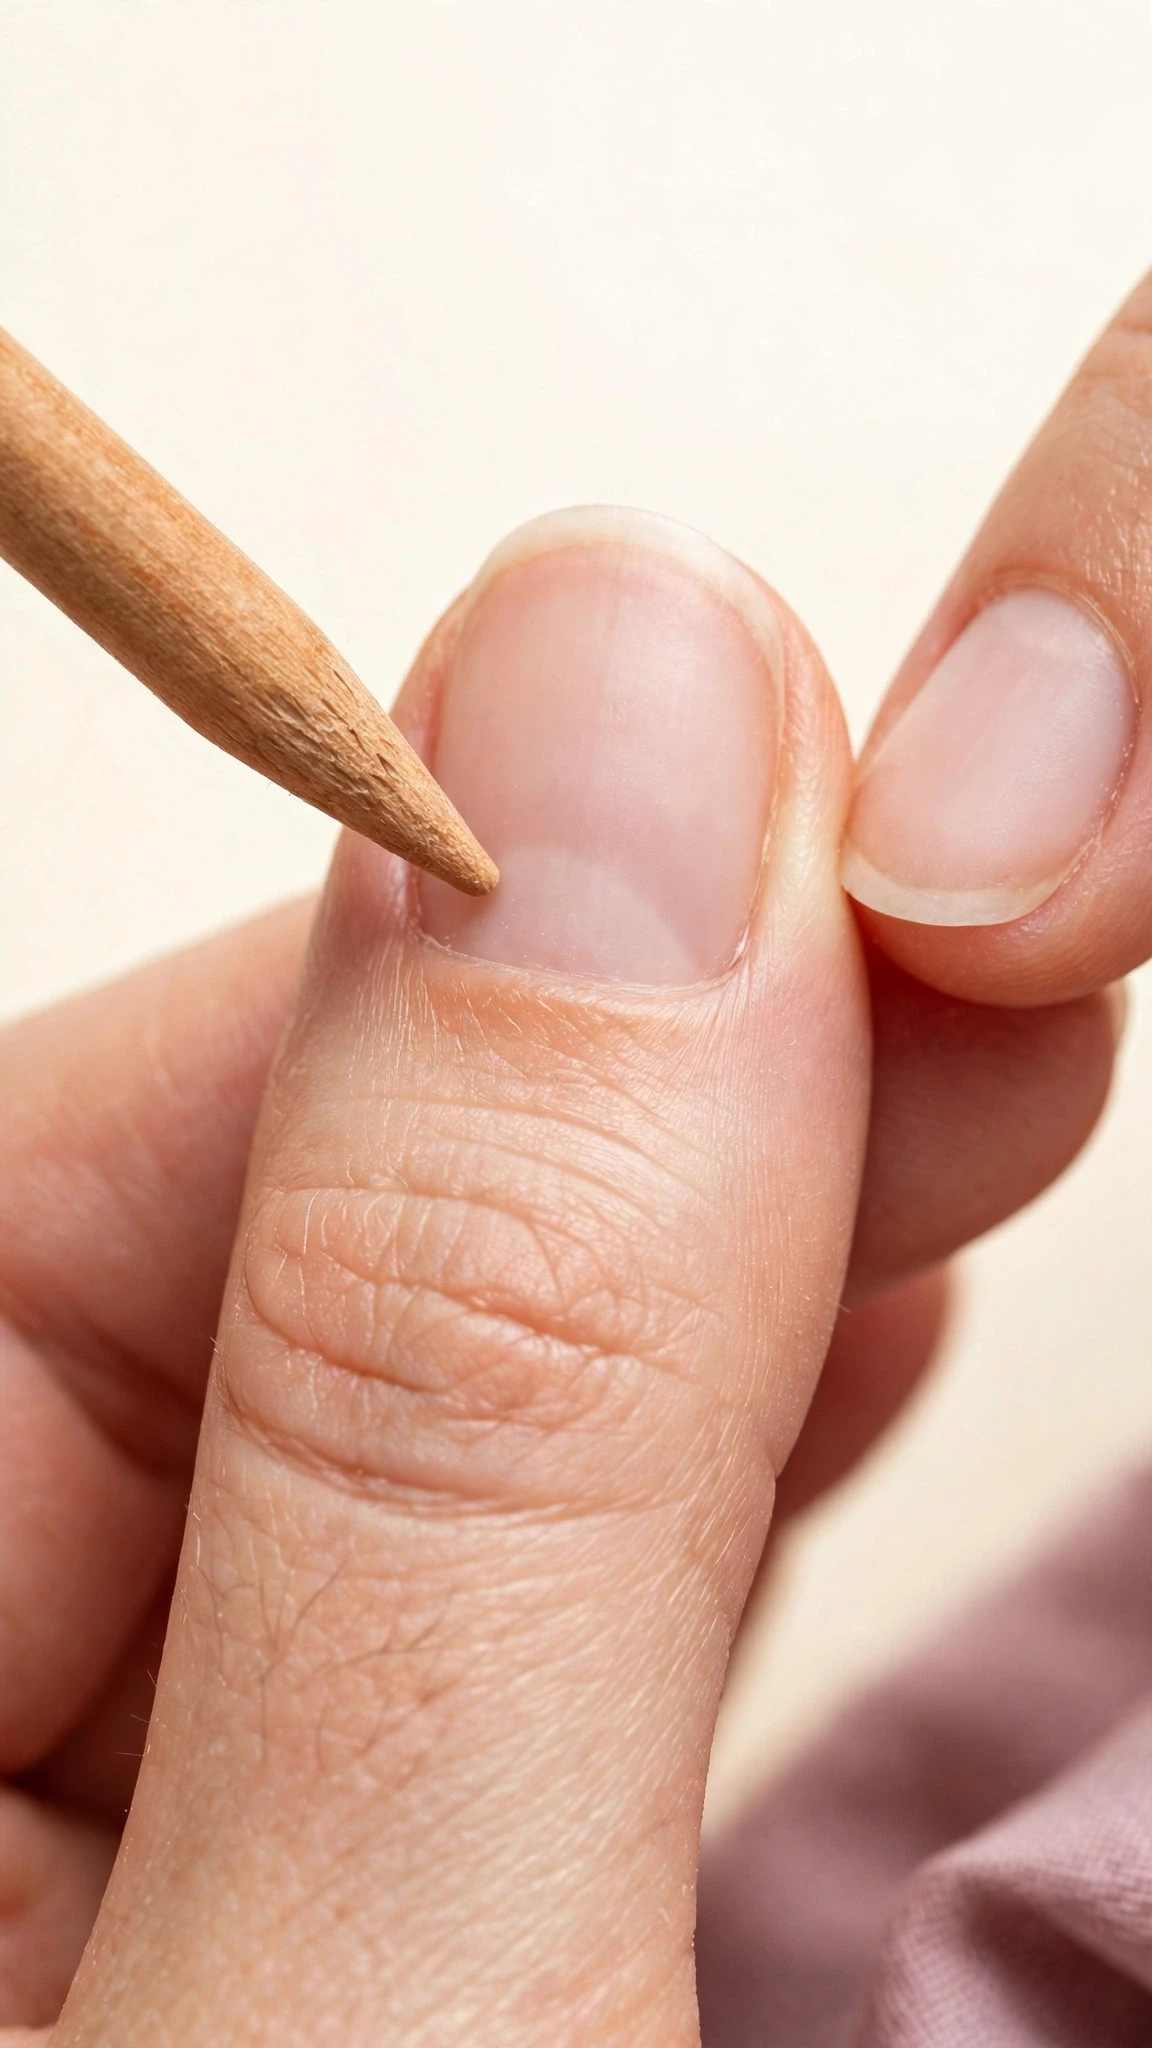
Gently push back your cuticles with a cuticle pusher — never cut them, as that invites infection and leaves the nail bed sore. Then lightly buff the surface of each nail to remove shine. You are not trying to thin the nail, just giving the base coat something to grip.
Next, wipe each nail with a lint-free pad soaked in nail dehydrator or rubbing alcohol. This removes oils and dust that stop gel from bonding. Good prep is quiet work, but it is the reason one person’s chrome lasts three weeks while another’s peels in three days — and it is a step you should never skip when you learn how to do chrome nails at home.
Step 3: Apply a Gel Base Coat and Cure
Paint a thin, even layer of gel base coat over each nail, keeping it off the skin and cuticles. Gel that cures on skin lifts and peels, so wipe away any slip with a clean brush or an orange stick before curing. Cure under your lamp for the time your base coat recommends — usually 30 to 60 seconds under LED, or two minutes under UV.
A smooth base is the foundation of the whole method. It is what lets you learn how to do chrome nails at home and actually keep the mirror finish for weeks instead of days, because every layer after this one sits on it. If the base is thick or lumpy, the chrome will show every bump.
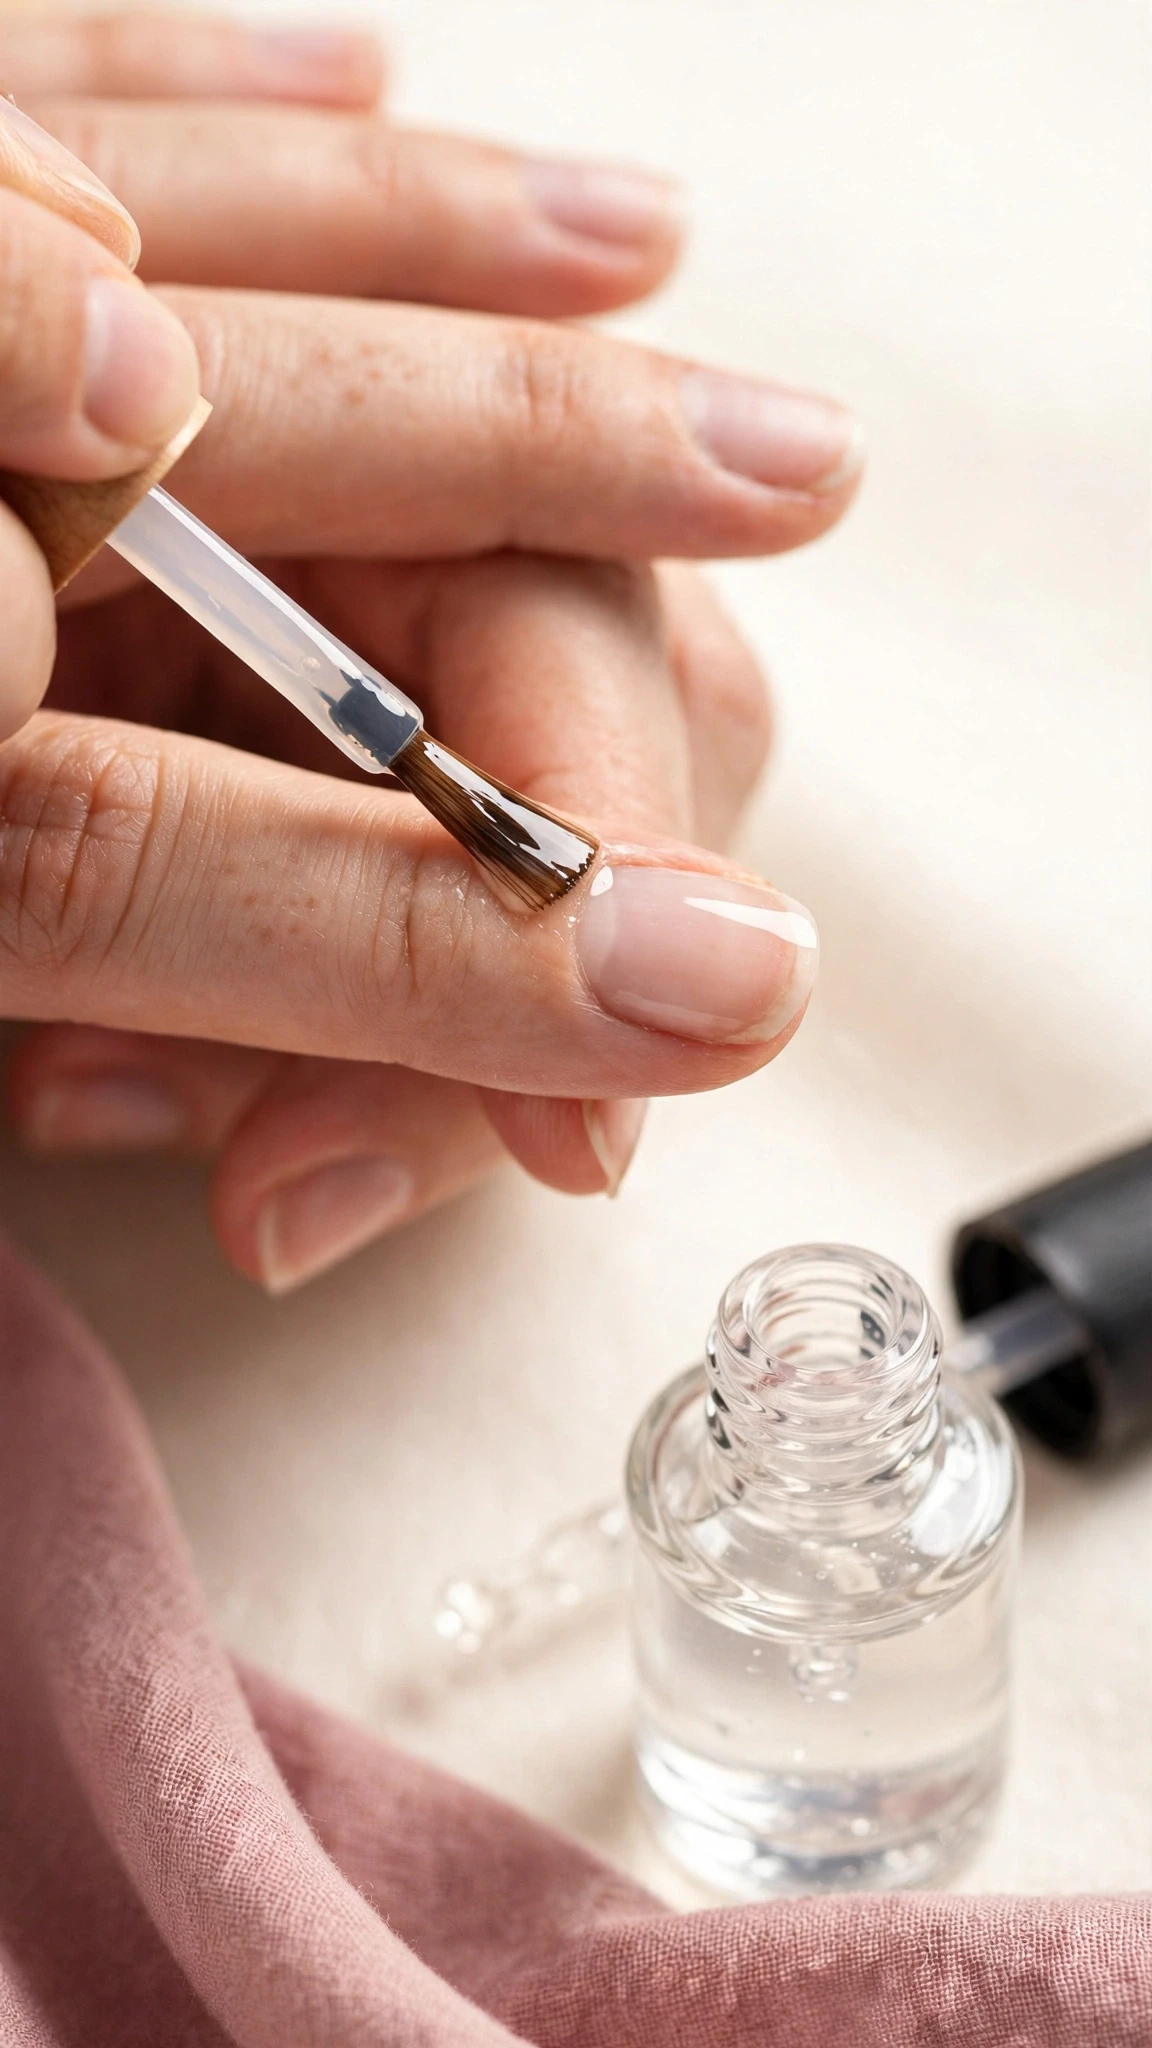
Step 4: Apply Your Gel Colour and Cure
Now paint on your gel colour in a thin coat and cure it fully. For a true silver mirror, black is the classic choice: the dark base makes the chrome powder look deeper and more reflective. If you want a different effect, try white for a soft pearl chrome, or a deep red for a rose-gold glow.
Two thin coats beat one thick coat every time. Thick gel can cure unevenly and wrinkle, which ruins the smooth surface the powder needs. Cure each coat fully before the next, and keep the layers thin — patience here is what separates a mirror from a smudge when you learn how to do chrome nails at home.
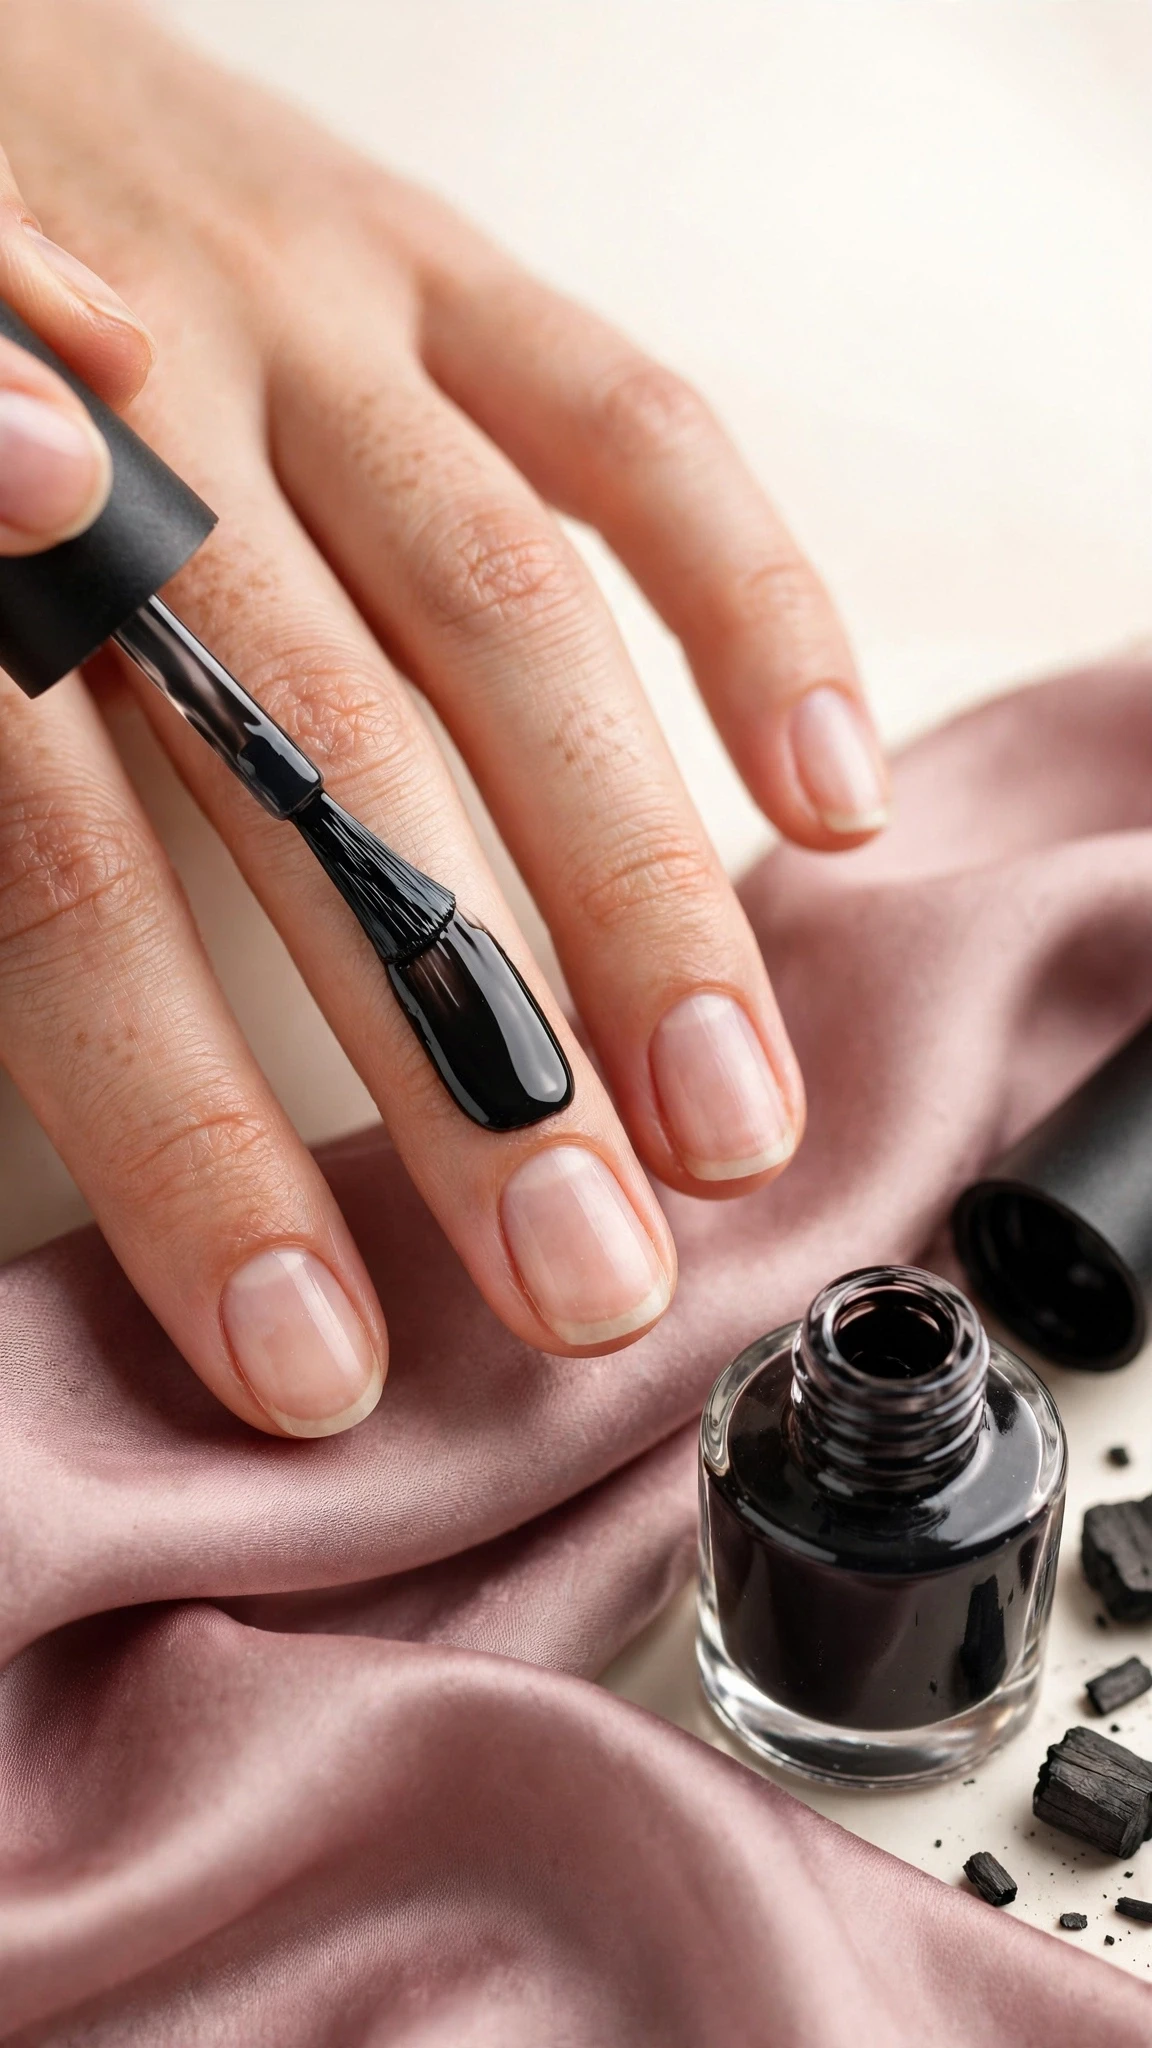
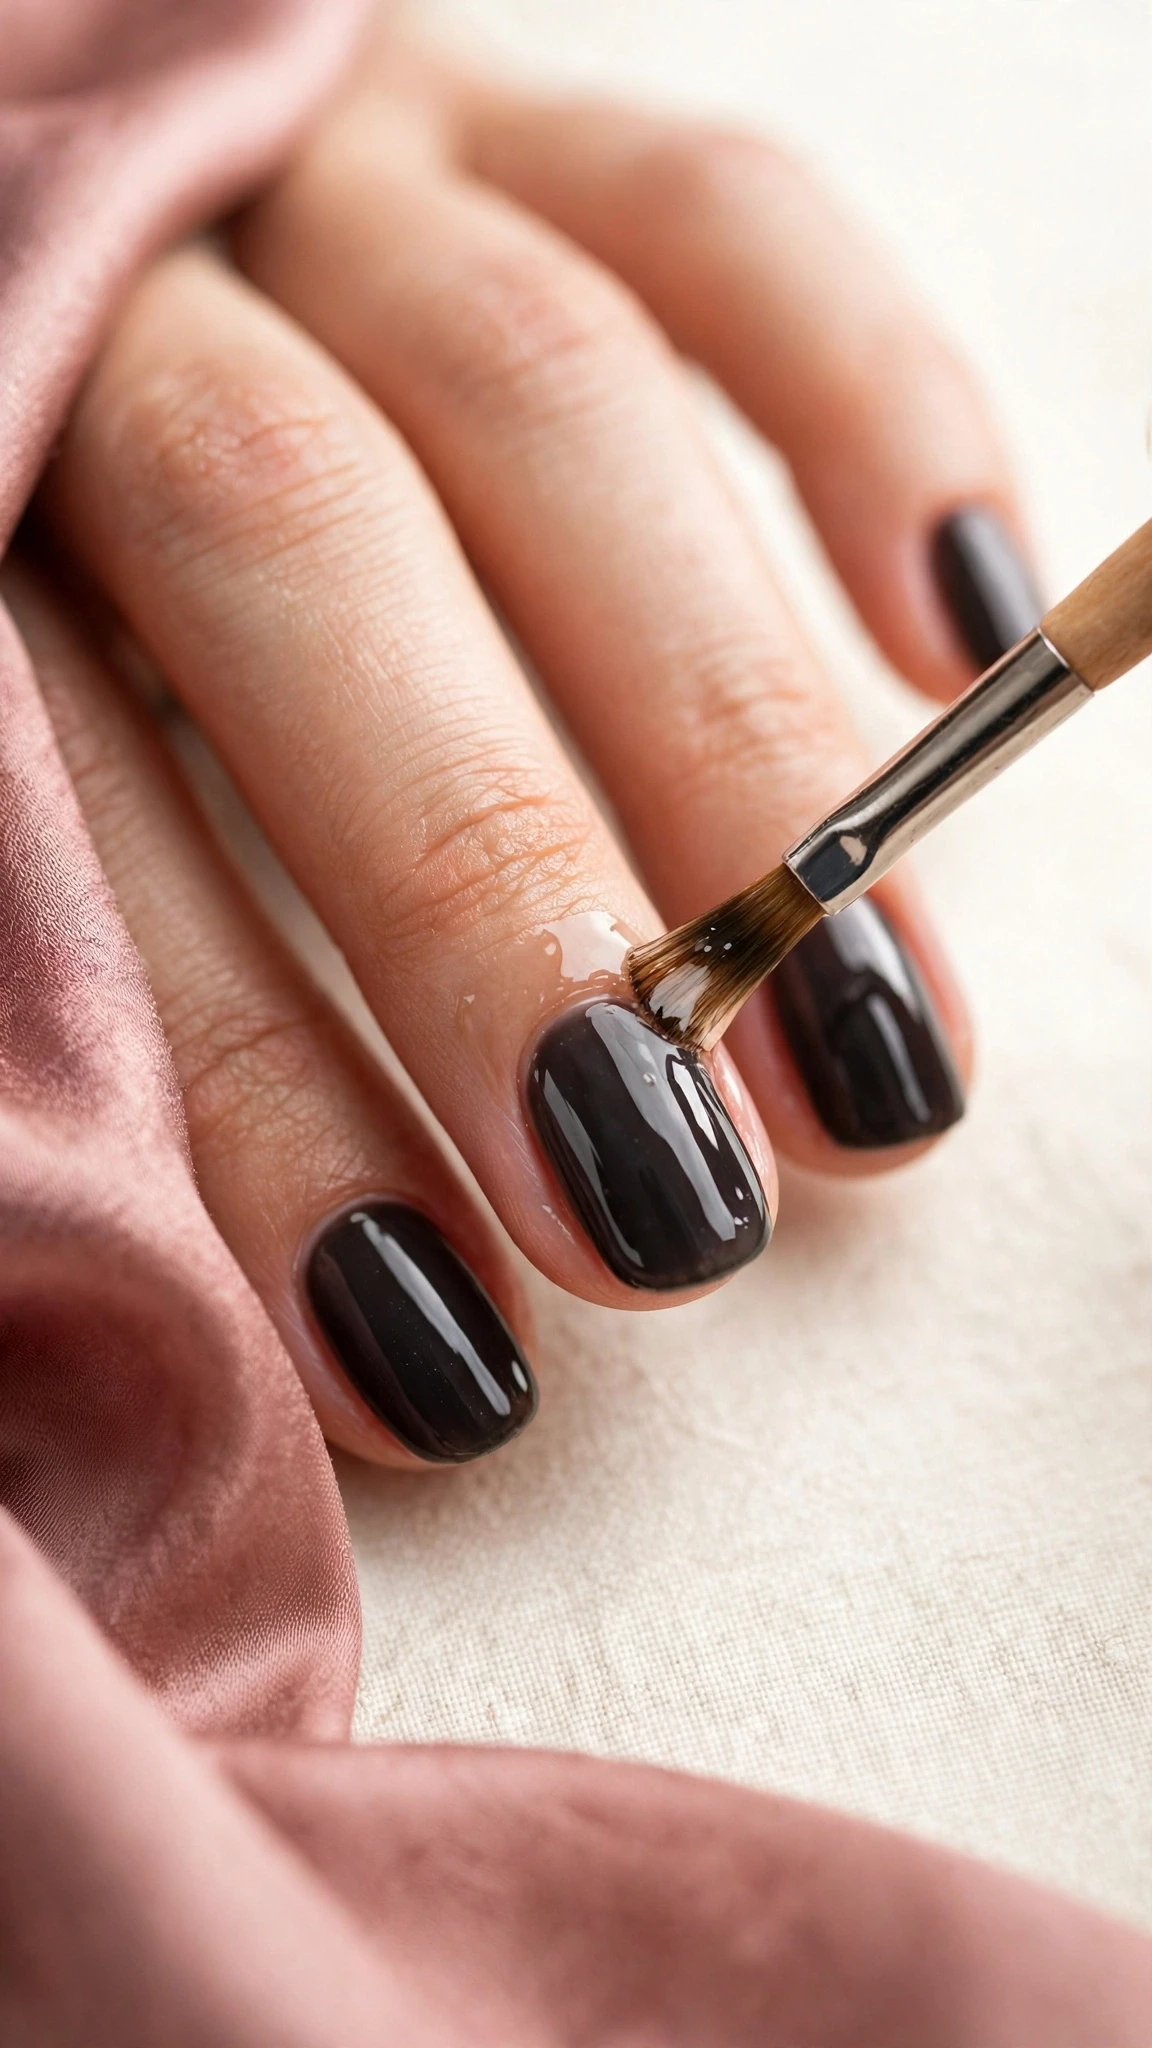
Step 5: Apply a No-Wipe Topcoat and Cure
This is the step most people get wrong when they first learn how to do chrome nails at home. Paint a thin layer of no-wipe topcoat over the cured colour and cure it for the exact time the bottle recommends — not longer. The powder needs the topcoat to be fully cured but still in its ideal window: under-cured topcoat grabs powder in clumps, while an over-cured surface can reject it and leave bald patches.
Do not wipe the nail after curing. Unlike a regular topcoat, a no-wipe topcoat leaves no sticky layer to remove, and the cured surface is exactly what the powder grips. If you wipe it with alcohol now, you will wipe away your chance at a mirror finish.
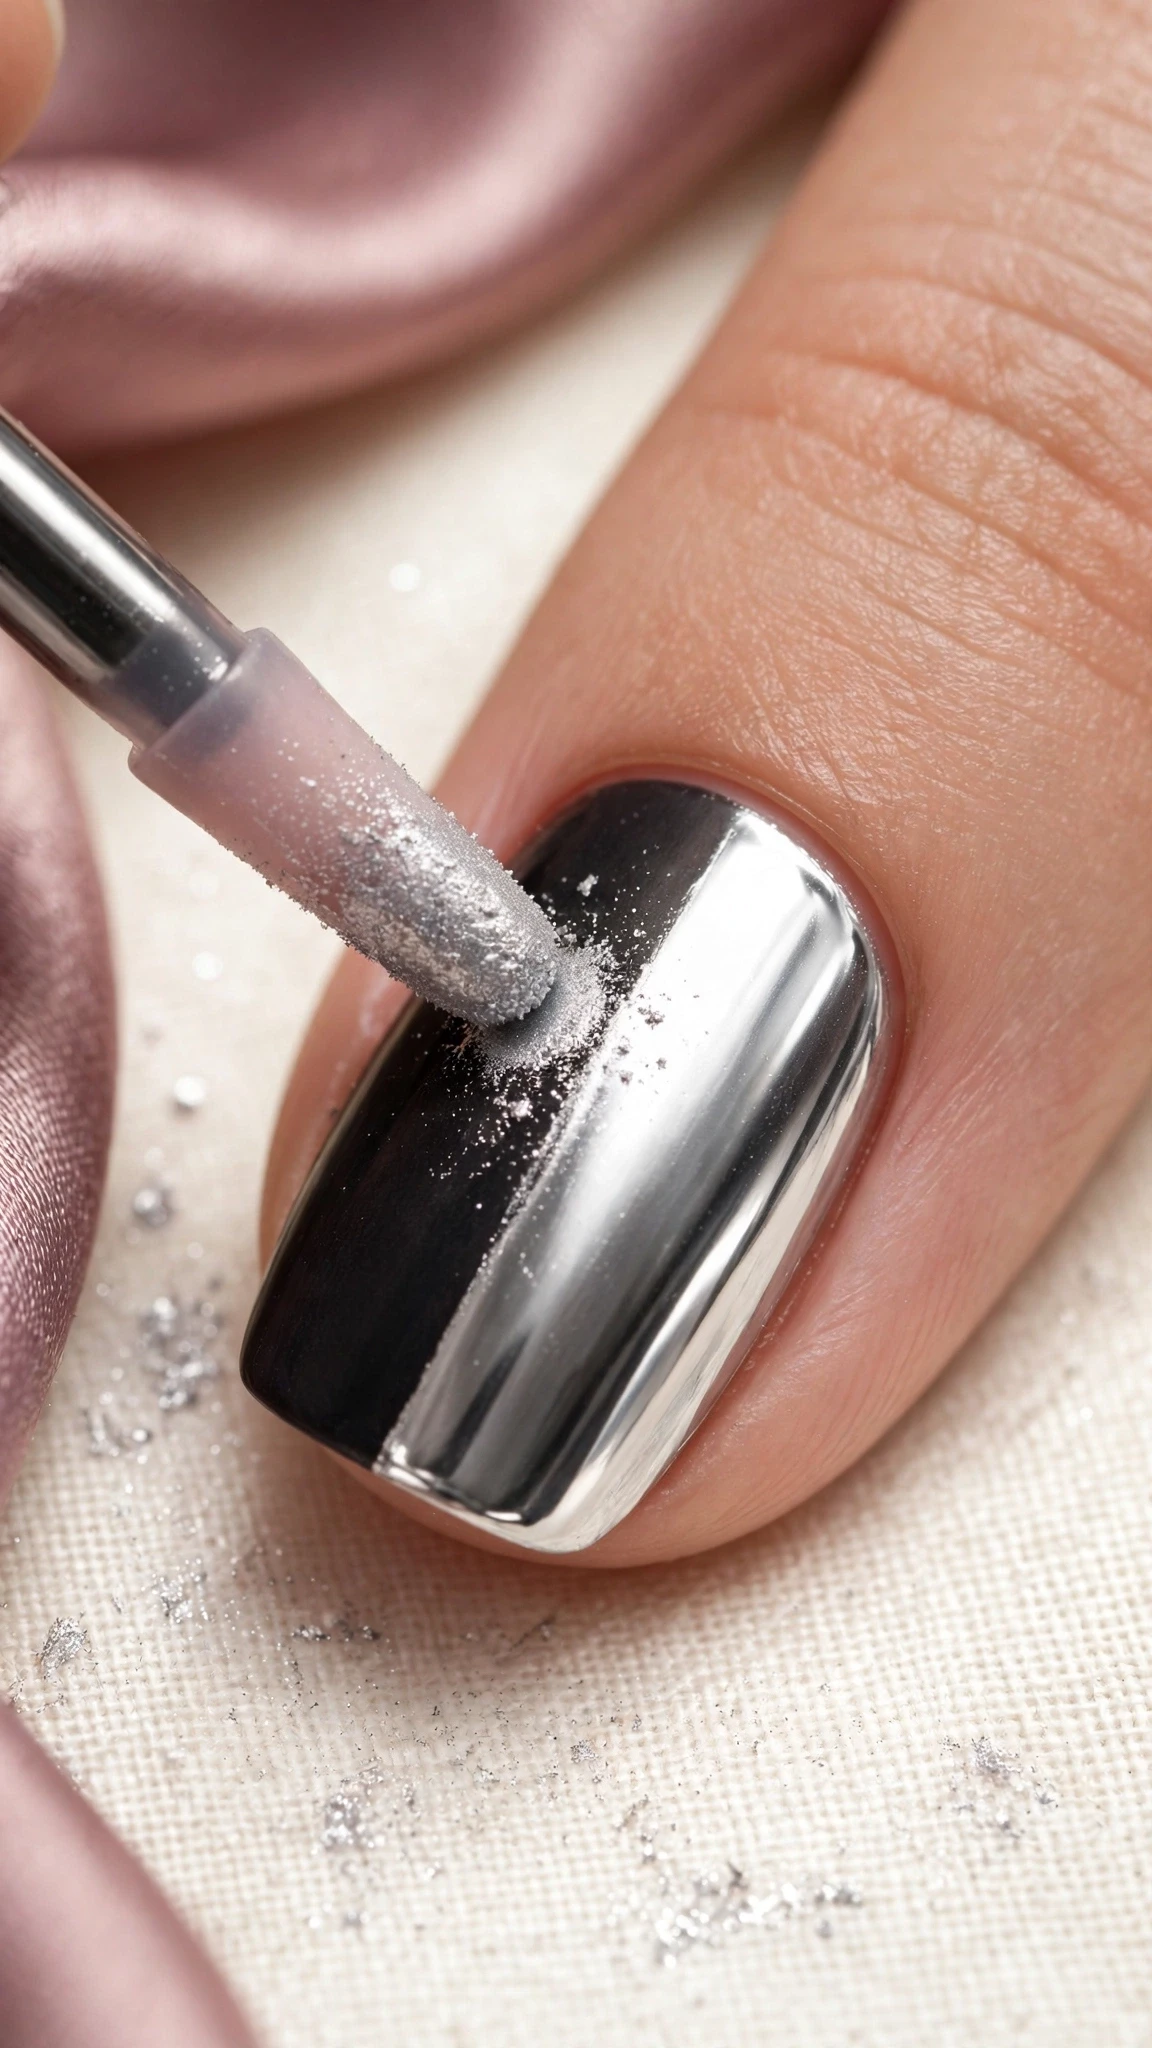
Step 6: Buff in the Chrome Powder
Here is the satisfying part of learning how to do chrome nails at home. Dip the silicone applicator into the chrome powder — a tiny amount is plenty — and rub it onto the nail in small, firm circles. Within seconds the dull topcoat turns into a reflective mirror. Keep buffing until the whole nail is evenly shiny, then reload the applicator with a little more powder and go over any dull spots.
Work one nail at a time rather than powdering all ten at once. The topcoat surface is at its best for a short window after curing, and working nail by nail keeps every nail in that window. Less powder is more: a heavy hand leaves a gritty, uneven coat that no amount of sealing will fix.
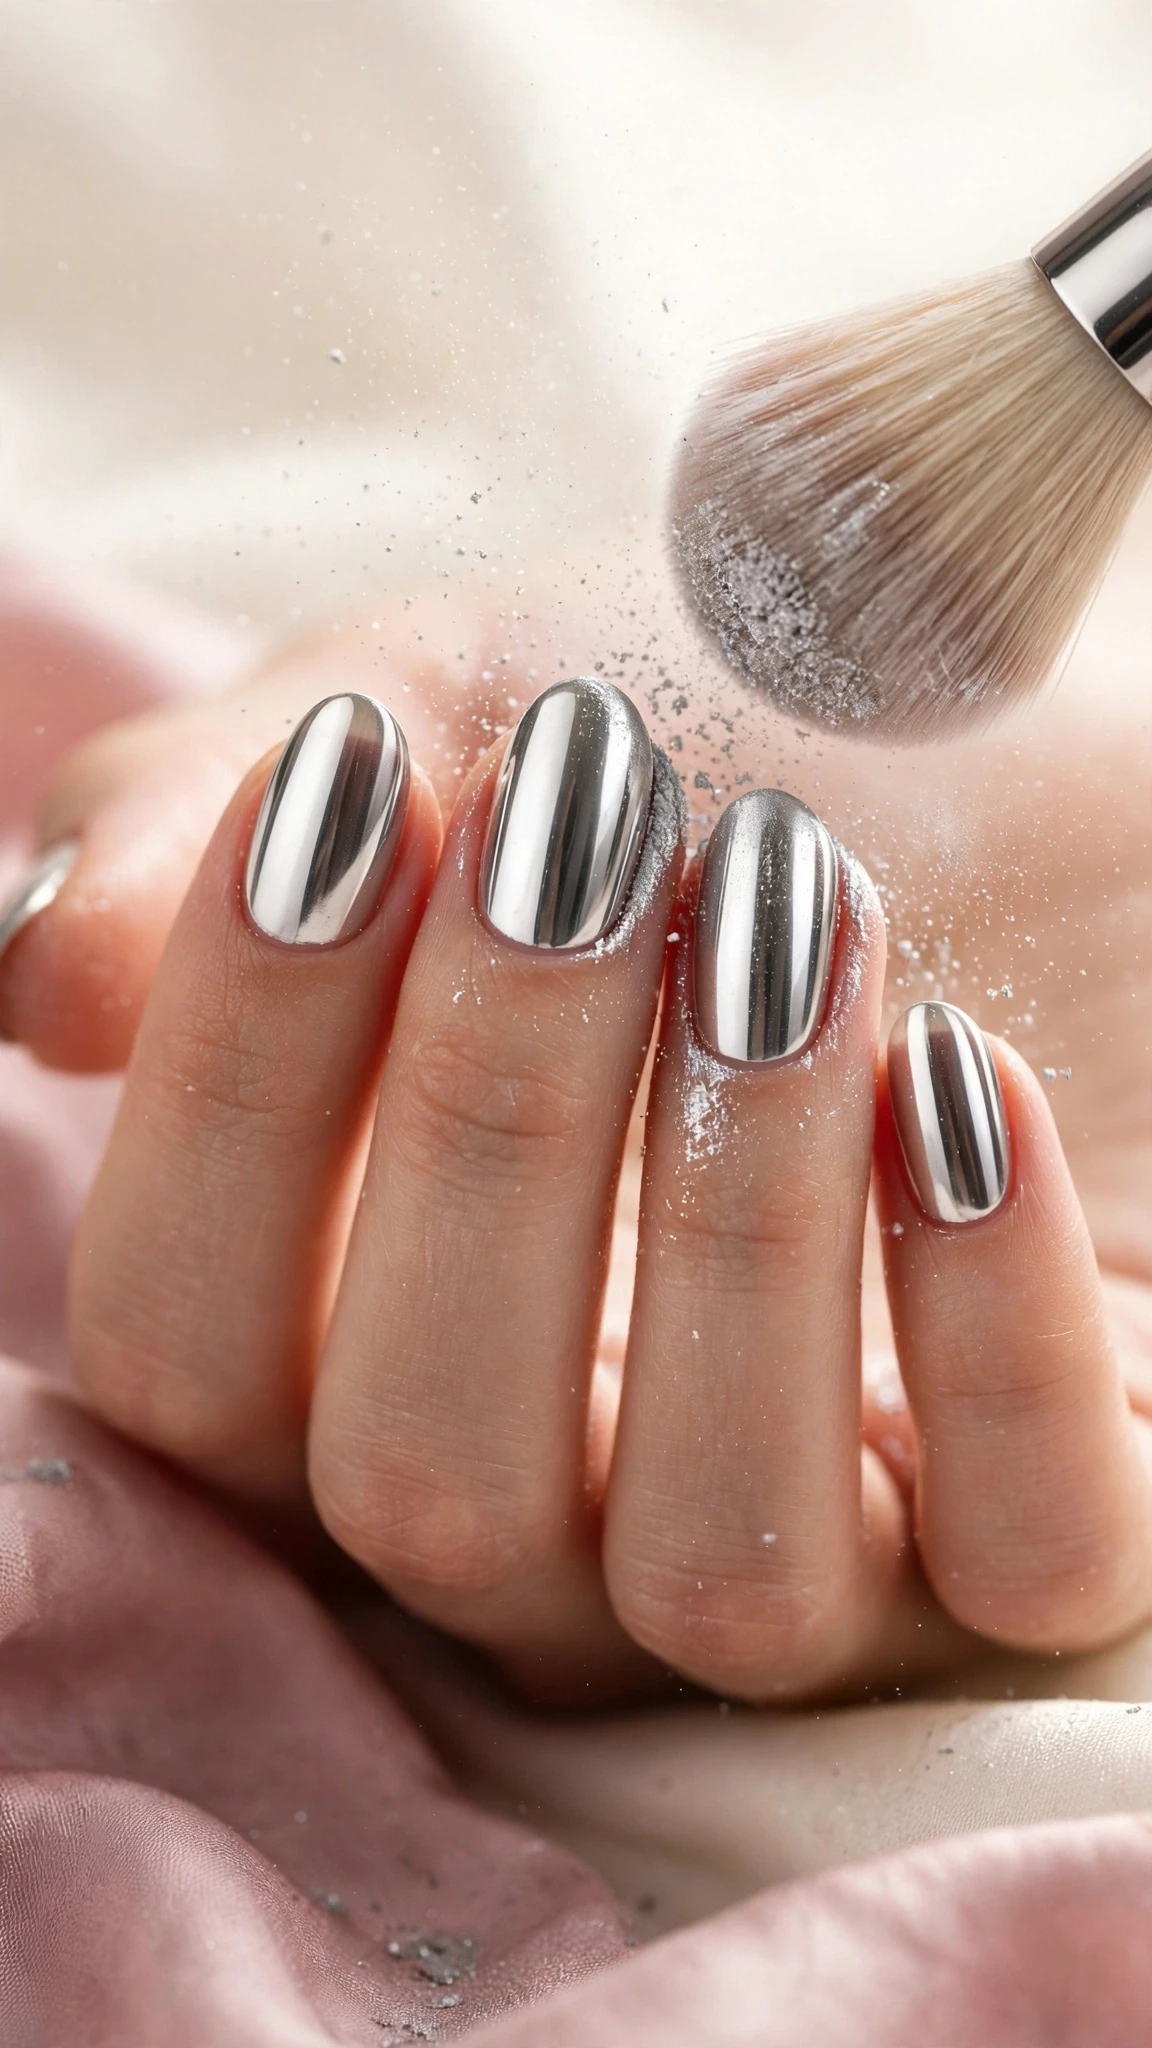
Step 7: Brush Away the Excess Powder
Once every nail is mirrored, take the soft dusting brush and sweep away all the loose powder — from the nail surface, around the cuticles, and from the skin. Loose powder left on the nail gets sealed under the topcoat and looks dusty instead of glassy, so be thorough but gentle.
Check each nail in good light before you move on, because this is your last chance to fix a dull patch. If a spot looks thin, you can buff a touch more powder onto that nail and dust again — as long as you do it before the sealing step, the finish will still blend perfectly when you learn how to do chrome nails at home this way.
Step 8: Seal with Topcoat and Cure Again
Paint a thin layer of no-wipe topcoat over each mirrored nail, taking care to cap the free edge — that means brushing a little topcoat over the very tip of the nail, which stops the chrome from peeling back from the edge. Cure fully, then apply a second thin topcoat and cure again for extra durability.
Sealing is what turns a pretty experiment into a manicure that lasts. Skip it and the chrome rubs off within a day; seal it well and the mirror survives typing, washing, and daily life. When you learn how to do chrome nails at home properly, the seal coat is non-negotiable, and two thin seals beat one thick one.
Step 9: Clean Up the Edges
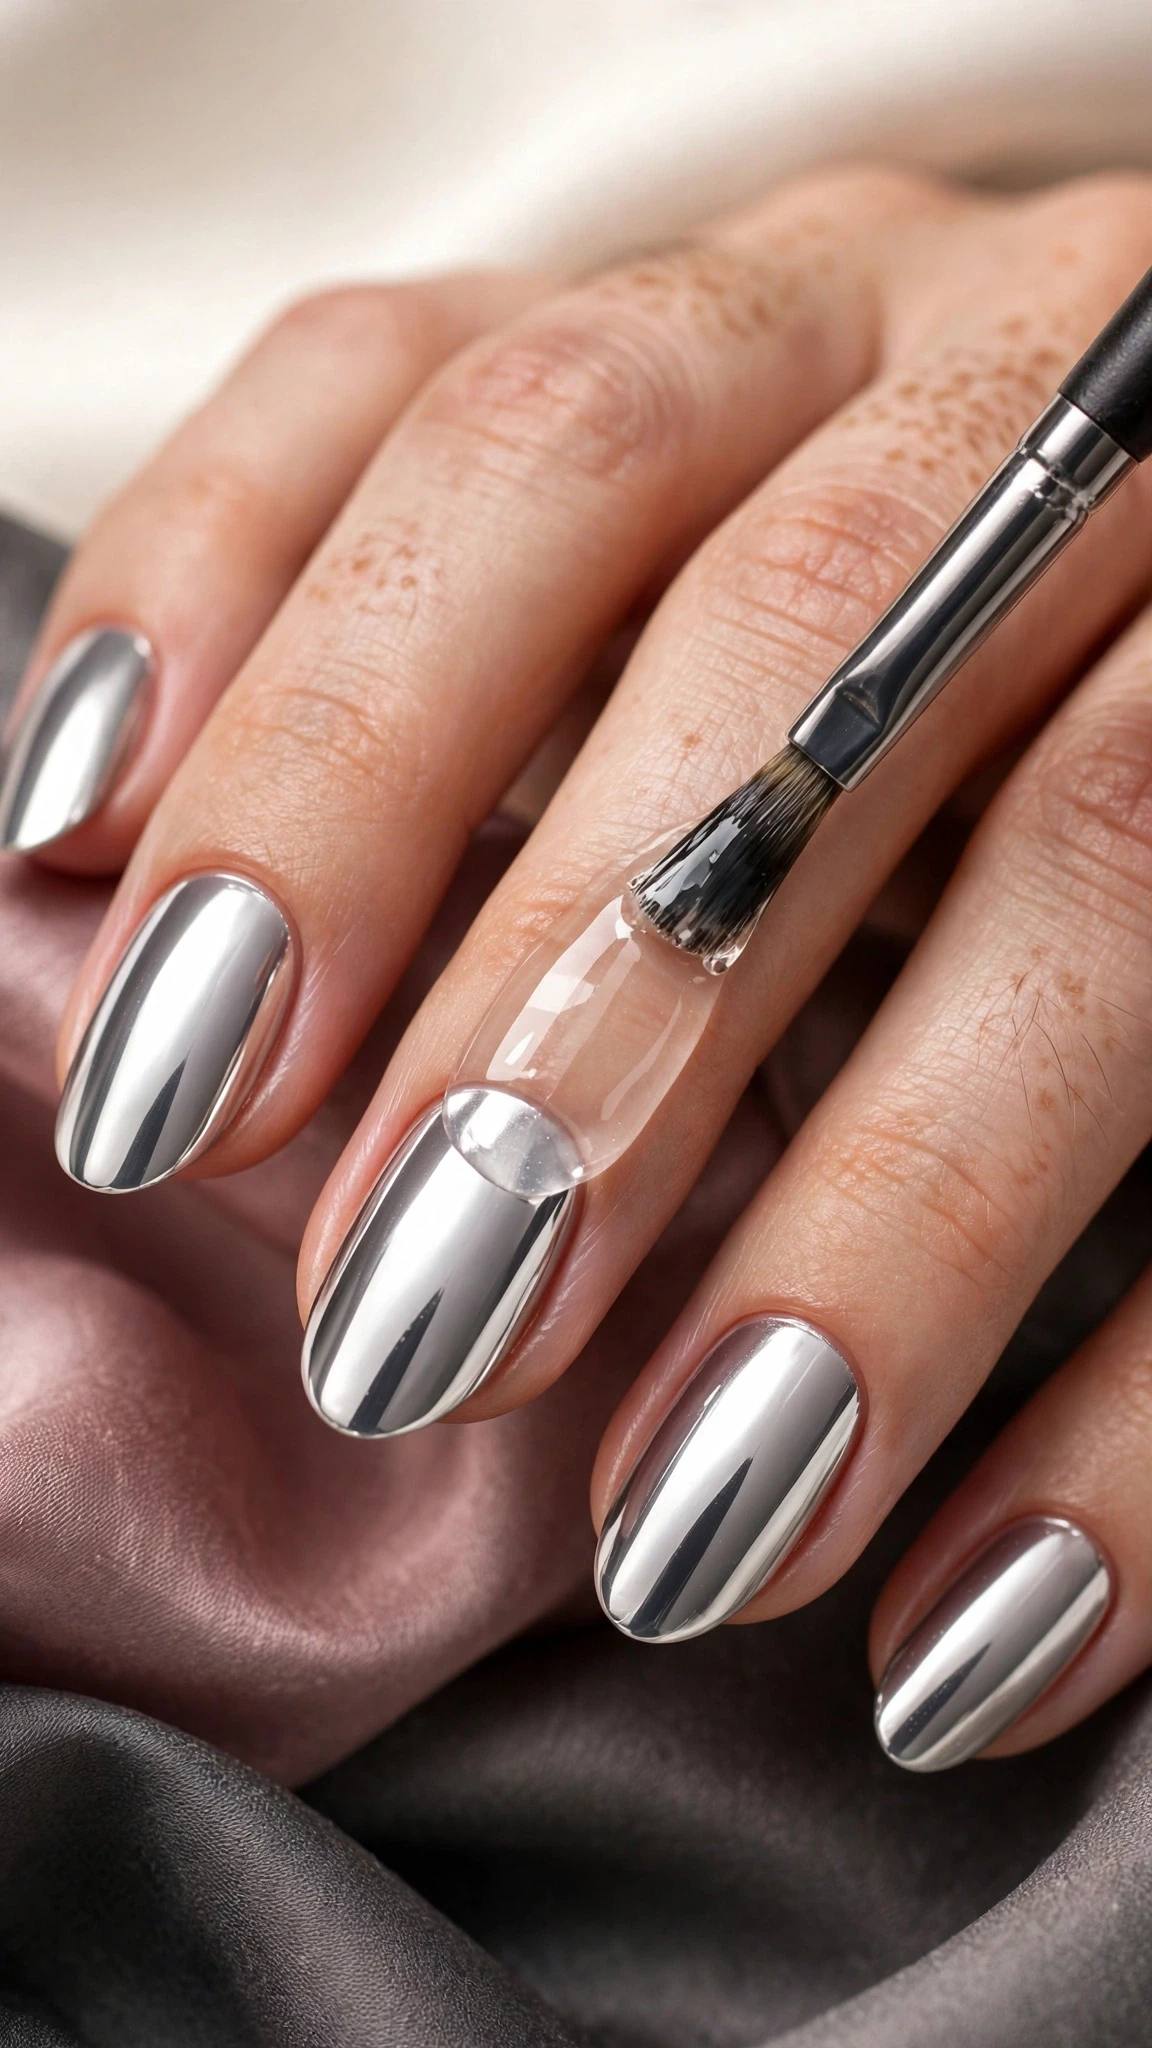
Dip a small flat brush or an orange stick wrapped in a lint-free pad into pure acetone and tidy up any gel or powder that cured onto the skin around your nails. Work slowly — the sealed chrome is tough, but scrubbing hard at the edges can still lift the seal.
Neat edges are the difference between a manicure that looks salon-made and one that looks home-made. Check the sidewalls and the cuticle line on every nail, and clean up any smudge now rather than noticing it in daylight tomorrow. This is also the moment to check that you capped every free edge when you sealed the nails in the previous step of learning how to do chrome nails at home.
Step 10: Finish with Cuticle Oil
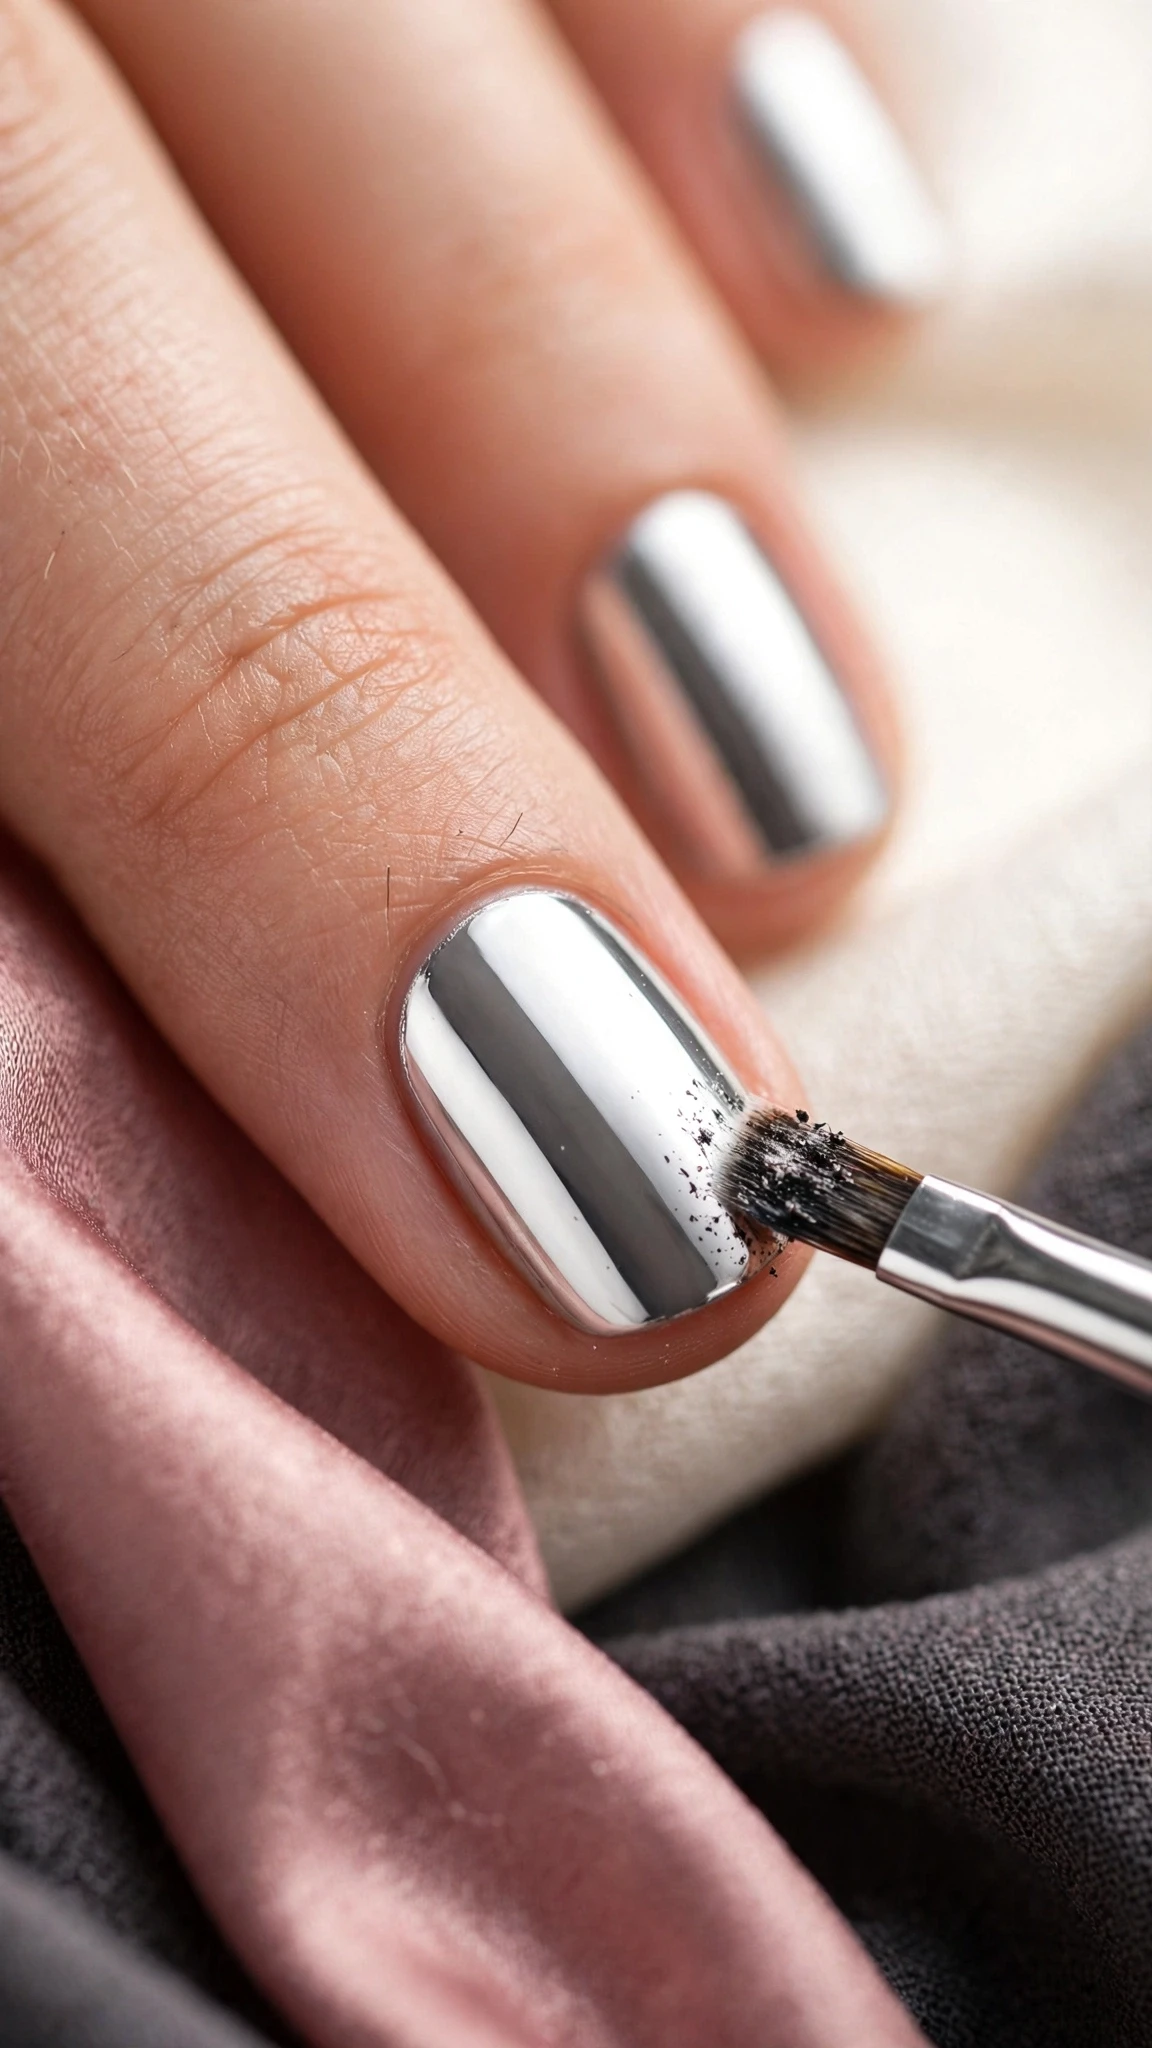
Massage a drop of cuticle oil into each cuticle and the skin around the nail. The oil restores moisture after all the filing, dehydrating, and acetone, and it makes the whole manicure look finished. It also keeps the skin flexible, which helps the gel stay put instead of lifting at the edges.
Step back and look at your hands in natural light — that liquid-metal shine is the whole point, and you made it yourself. From here, daily cuticle oil and gloves for cleaning are all the maintenance chrome nails need. You now know how to do chrome nails at home from prep to finish, and the next set will be faster than this one.
Tips for a Flawless Mirror Finish
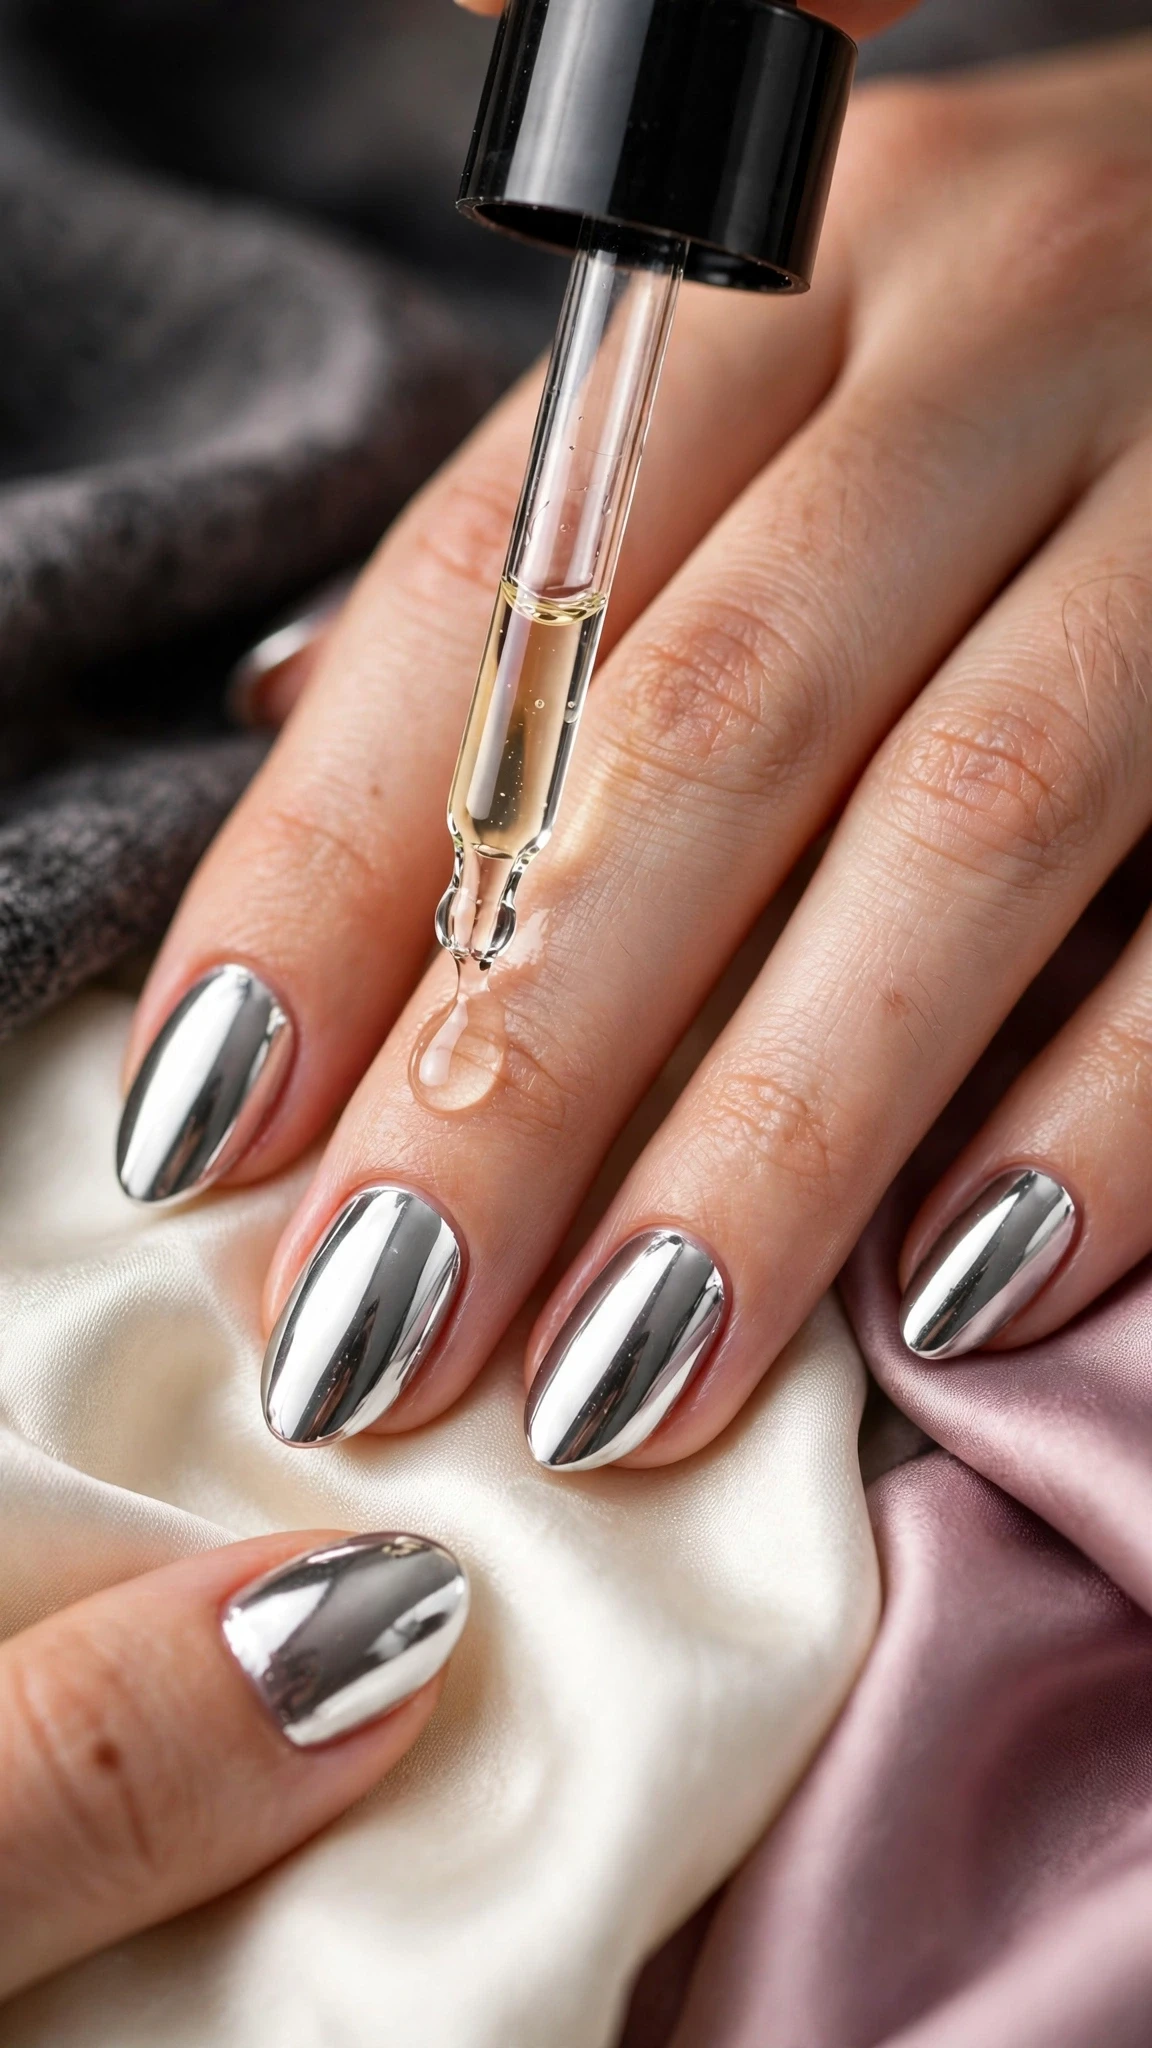
These five tips are the difference between good chrome nails and great ones when you learn how to do chrome nails at home. They all come down to timing, thin layers, and patience.
- Cure times matter. Under-cured topcoat grabs powder unevenly, and over-cured topcoat will not grab it at all. Follow your lamp’s recommended time exactly.
- Use a tiny amount of powder. Less is more — you can always add more powder, but you cannot easily remove a gritty, over-powdered coat.
- Work one nail at a time for the powder step. The topcoat surface is at its best for a short window after curing, so keep every nail in that window.
- Try different base colours. Black gives a true silver mirror, white gives a soft pearl, and deep red gives a rose-gold glow — the same powder looks different over each one.
- Seal twice. A second thin topcoat after the first cure adds real durability, especially at the free edge where peeling starts.
Common Mistakes to Avoid
If your first attempt at learning how to do chrome nails at home goes patchy, one of these four mistakes is almost always the cause. The good news is that all four are easy to fix on your next try.
- Using a regular topcoat instead of no-wipe. A wipe-off topcoat leaves a tacky layer that must be removed, and removing it destroys the surface the powder needs.
- Skipping the base colour. Powder buffed over a clear base looks washed out and grey instead of mirror-bright.
- Buffing too hard. Heavy pressure pushes powder into ridges and leaves streaks. Small, firm circles with a light touch give the smoothest mirror.
- Forgetting to seal the free edge. Chrome peels from the tips first, so always cap the free edge with topcoat when you seal.
Aftercare and Removal Pointers
Look after your chrome nails the way you would any gel manicure. Wear gloves for cleaning and washing up, reapply cuticle oil daily, and avoid using your nails as tools to open cans or scrape labels — the mirror finish is tough, but it is not armour. With that care, chrome nails usually last two to three weeks, just like a regular gel manicure, and you can read more about keeping nails strong in our guide on how to strengthen nails.
When it is time to take them off, chrome nails come off the same way gel polish does, because the chrome sits on top of gel layers. That means a gentle soak-off, never peeling or prying — our guide on how to remove gel nails at home walks through the safe method step by step. According to the American Academy of Dermatology, soaking off gel properly protects the natural nail from the peeling and thinning that forced removal causes.
Final Thoughts
Chrome nails look like a salon-only technique, but they are really just gel polish plus one extra powder step. Once you have learned how to do chrome nails at home, the mirror finish is repeatable every time. Start with silver over black, get comfortable with the timing, and then play with base colours and powder shades.
You now know how to do chrome nails at home from the first file stroke to the last drop of cuticle oil. Your first set may take a little longer than an hour, and that is completely normal — the second set will be faster, smoother, and even shinier.
More Nail Ideas You Will Love
- How to Remove Gel Nails at Home (Without Damage)
- How to Strengthen Nails: A Complete Guide
- Silver Nails: 25+ Shiny Metallic Designs (2026)
- American Academy of Dermatology: Nail Care Secrets
- Wikipedia: Manicure
Frequently Asked Questions
Do I need a UV or LED lamp to do chrome nails at home?
Yes. Chrome powder bonds to cured gel, and gel only hardens under a UV or LED lamp — air drying will not work. That curing step is non-negotiable when you learn how to do chrome nails at home, so a basic lamp is the one piece of equipment worth owning before you start. Most home lamps cure gel in 30 to 60 seconds.
Can I use chrome powder with regular nail polish?
No, not with a true mirror result. Regular polish stays slightly soft and does not give the powder the hard, smooth surface it needs to buff into a mirror. You can get a shimmery effect by dusting powder over tacky regular polish, but it will look like glitter, not chrome, and it will not last.
What base colour should I use under chrome powder?
Black is the classic choice for silver chrome because the dark base makes the mirror look deeper and brighter. White gives a soft pearl effect, deep red gives a rose-gold glow, and navy gives a cooler steel tone. Try one base colour per set until you find the combination you like best.
Why is my chrome powder patchy?
Patchiness almost always comes from the topcoat step. If the no-wipe topcoat is under-cured, the powder clumps; if it is over-cured, the powder will not grip and leaves bald spots. Cure for exactly the recommended time, use a small amount of powder, and buff in light circles rather than pressing hard.
How long do chrome nails last?
With proper sealing, chrome nails last two to three weeks, about the same as a regular gel manicure. The seal coat and the capped free edge do most of the work — wear gloves for cleaning, reapply cuticle oil daily, and avoid using your nails as tools to get the full wear out of them.
How do I remove chrome nails?
Soak them off exactly like gel polish, because the chrome sits on top of gel layers. Never peel or pry the mirror coat off, as that pulls up layers of your natural nail with it. Our gel removal guide covers the safe soak-off method step by step, and once you learn how to do chrome nails at home properly, gentle removal is simply the last step of the routine.
Compare Before You Choose
See the Closest Alternatives
Compare nearby shapes, colors and finishes before picking a final reference.
Recommended Next

Pingback: Brown Chrome Nails: 25+ Rich Cocoa Designs (2026)