Gel manicures look flawless for weeks, but when grow-out sets in or a nail starts lifting, the removal matters just as much as the application. Learning how to remove gel nails at home the right way protects your natural nails from peeling, thinning, and breakage — and it costs a fraction of a salon removal visit.
If you have ever been tempted to pick at a lifting edge, you are not alone. It feels quick and satisfying in the moment, but peeling gel polish pulls off layers of your natural nail with it. This guide walks you through two safe, proven ways to learn how to remove gel nails at home — the soak-off foil method and the warm soak method — plus exactly what to do afterwards so your nails recover strong. By the end, you will know exactly how to remove gel nails at home with either method, how long each step takes, and what to do if the gel will not budge. For the application side of the story, see our guide on how to do gel nails at home, and if you are wondering whether it is even time yet, read how long gel nails last first.
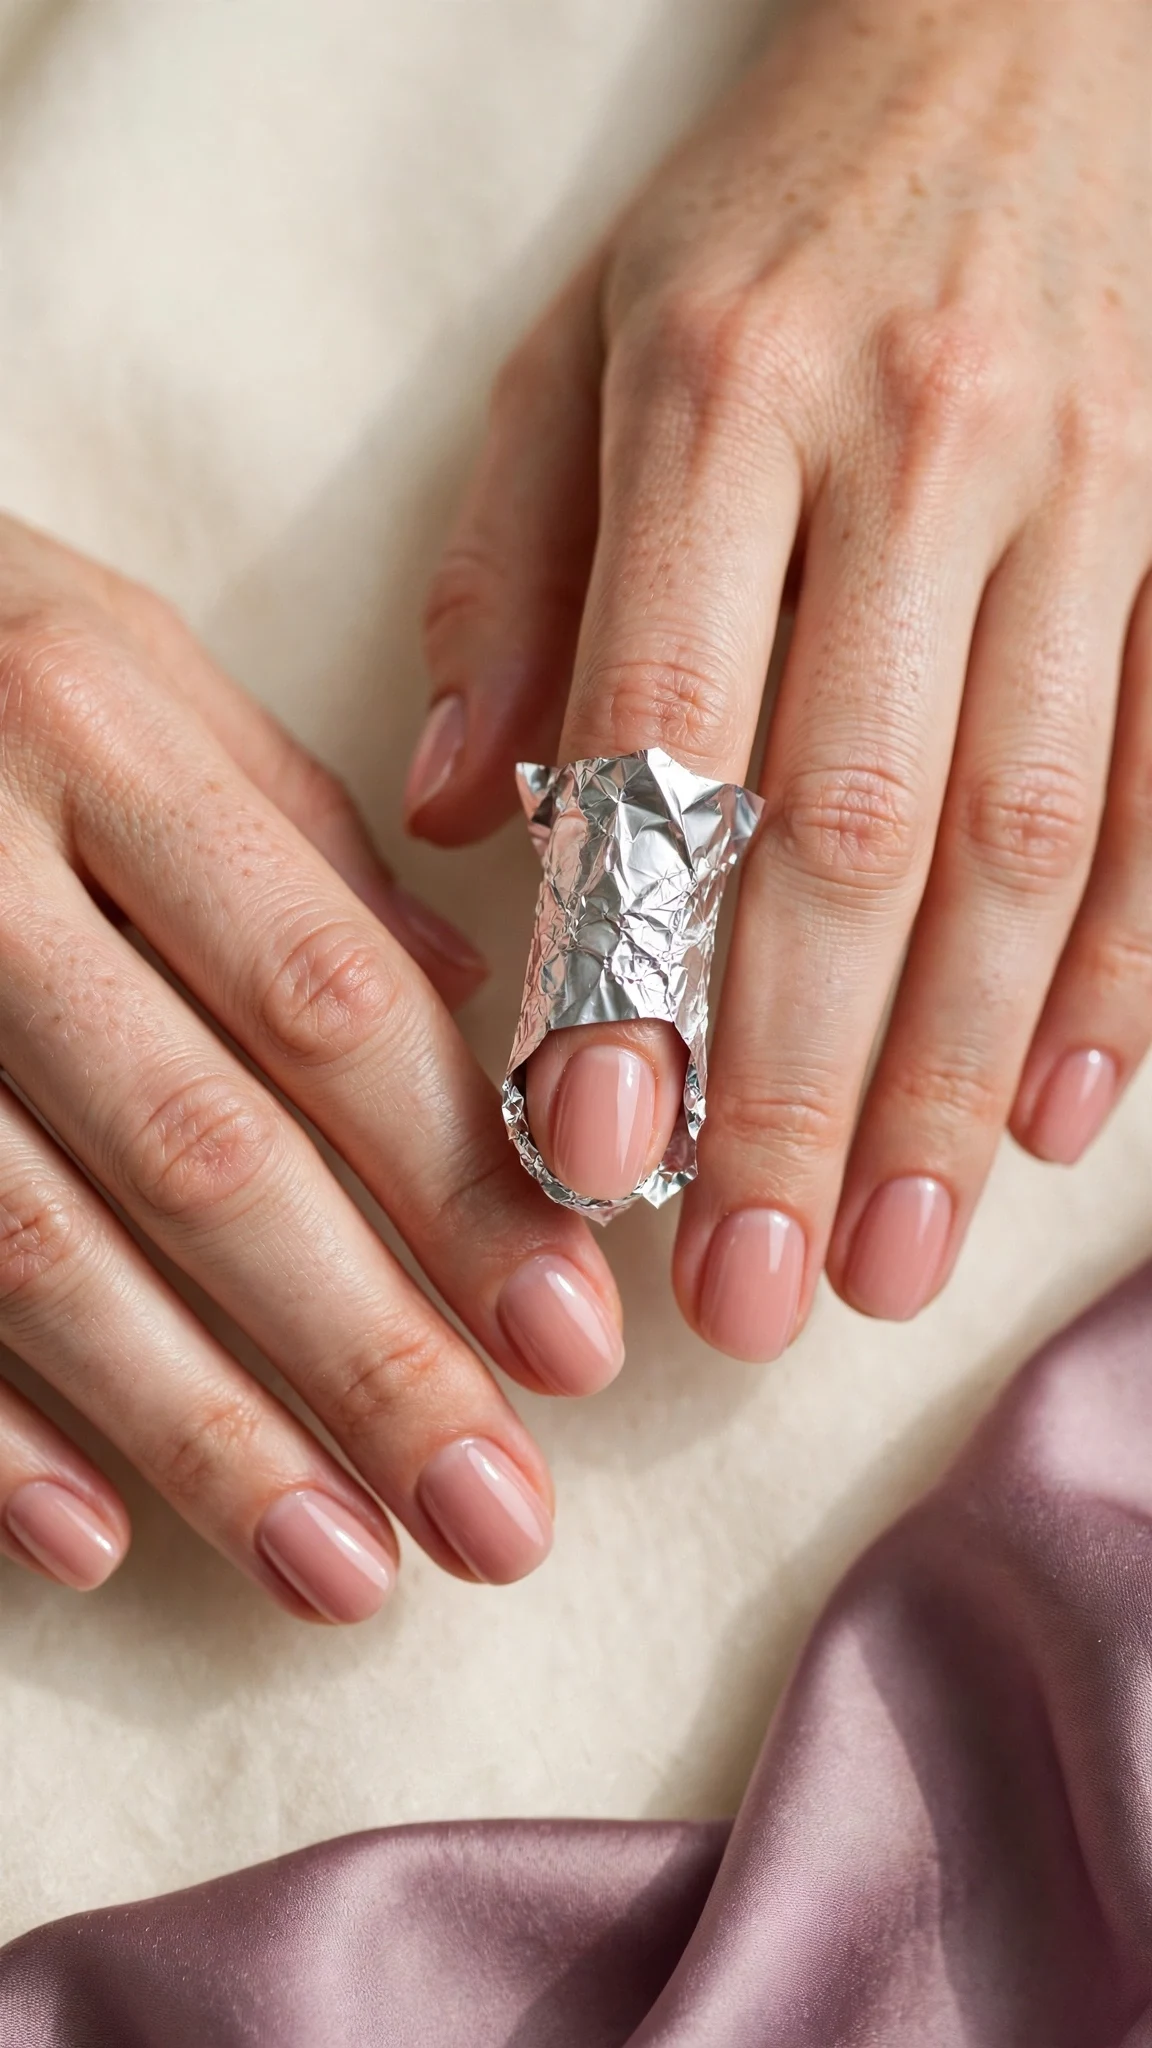
What NOT to Do Before You Start
Before you touch a single supply, here are the three mistakes that cause almost all at-home gel removal damage. Avoiding them is more important than any single step that follows.
Never peel, pick, or pry gel polish off. Gel bonds tightly to the nail plate. When you peel it, you rip away thin layers of keratin with the polish, leaving nails weak, flaky, and sore. If a nail is already lifting, trim the loose edge short and soak it off instead.
Never use metal tools to scrape aggressively. A wooden orange stick or a soft pusher, used gently on softened gel only, is all you need. Scraping hard gel with force gouges the nail surface and creates ridges that take months to grow out.
Never rush the soak. Gel needs time to break down. If it is not sliding off easily after the recommended soak time, re-wrap and wait another 5 to 10 minutes rather than forcing it. Patience is the whole technique.
One safety note before we begin: acetone is flammable and its fumes need ventilation. Work in a well-ventilated room, keep acetone away from open flames, and never heat acetone directly or microwave it. The warm-water bath described below warms the bowl from the outside only — the acetone itself is never heated.
If you remember one thing from this guide on how to remove gel nails at home, make it this: the soak does the work, not your tools. Every horror story about ruined nails after gel removal traces back to impatience — peeling a lifting nail in the car, scraping at a stubborn set, or skipping the soak because the timer felt too long. Give the acetone its full time and your nails will come out of the process looking almost untouched.
What You Will Need
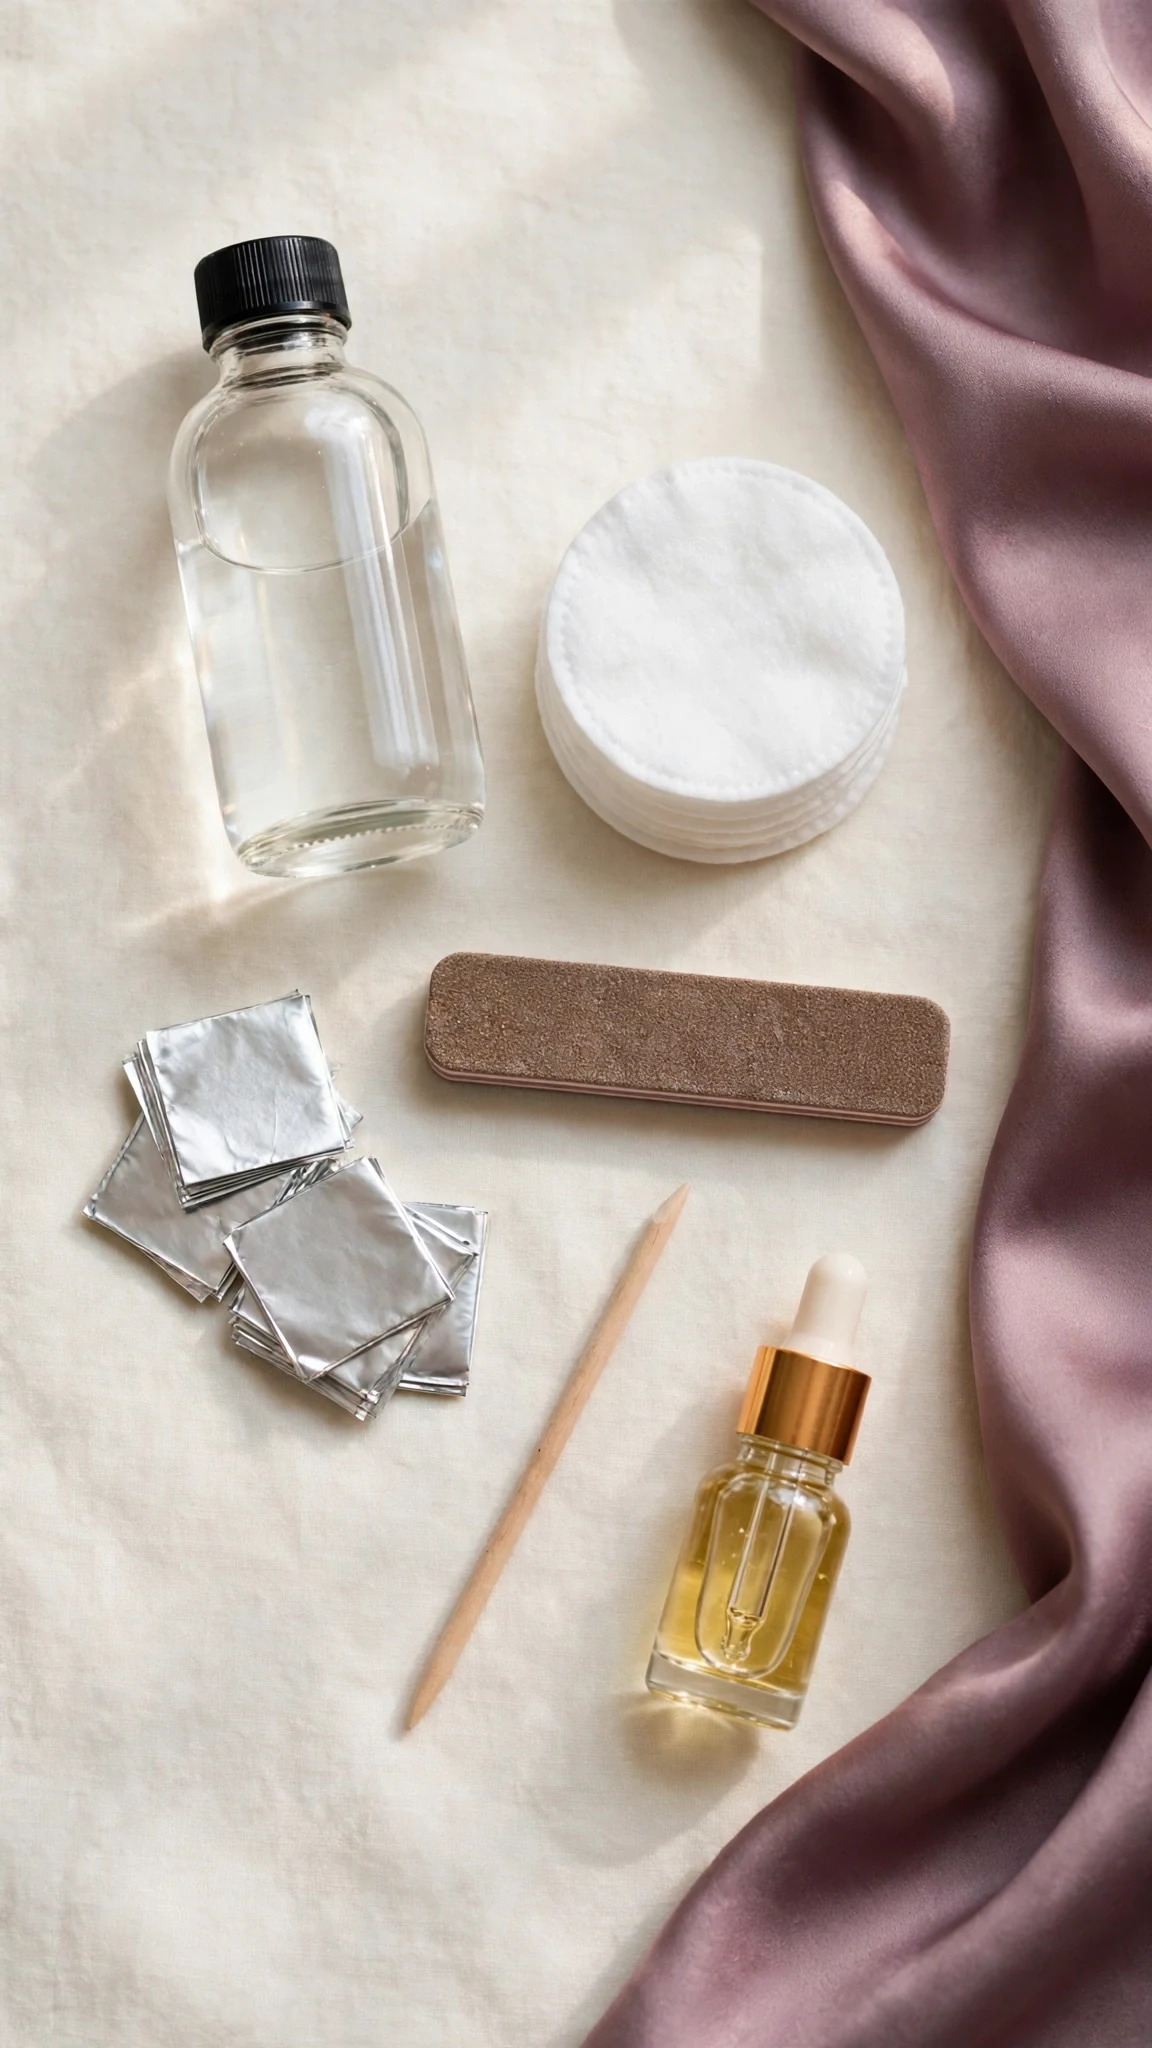
Gather everything before you start so you are not hunting for supplies mid-soak with foils on your fingers. You probably own most of this already:
100% pure acetone (not regular nail polish remover — it is too weak for gel), cotton balls or pads, aluminium foil cut into 10 squares, a coarse nail file (100/180 grit), a wooden orange stick or cuticle pusher, cuticle oil or a rich hand cream, a soft nail buffer, a small bowl, warm water, and an old towel to protect your surface.
If your nails are very long, nail clippers help too — trimming length first makes the whole process faster, because there is less gel to dissolve. Keep a timer nearby; guessing soak times is how people give up early and start picking.
Method 1: The Soak-Off Foil Method
The foil method is the salon-standard way to learn how to remove gel nails at home, and it is the method most nail technicians use themselves. It is precise, it keeps acetone exactly where it needs to be, and it works on nearly every gel polish. Set aside 30 to 45 minutes and do one hand at a time if this is your first attempt. Follow the steps below in order, and treat this as your first lesson in how to remove gel nails at home without damage.
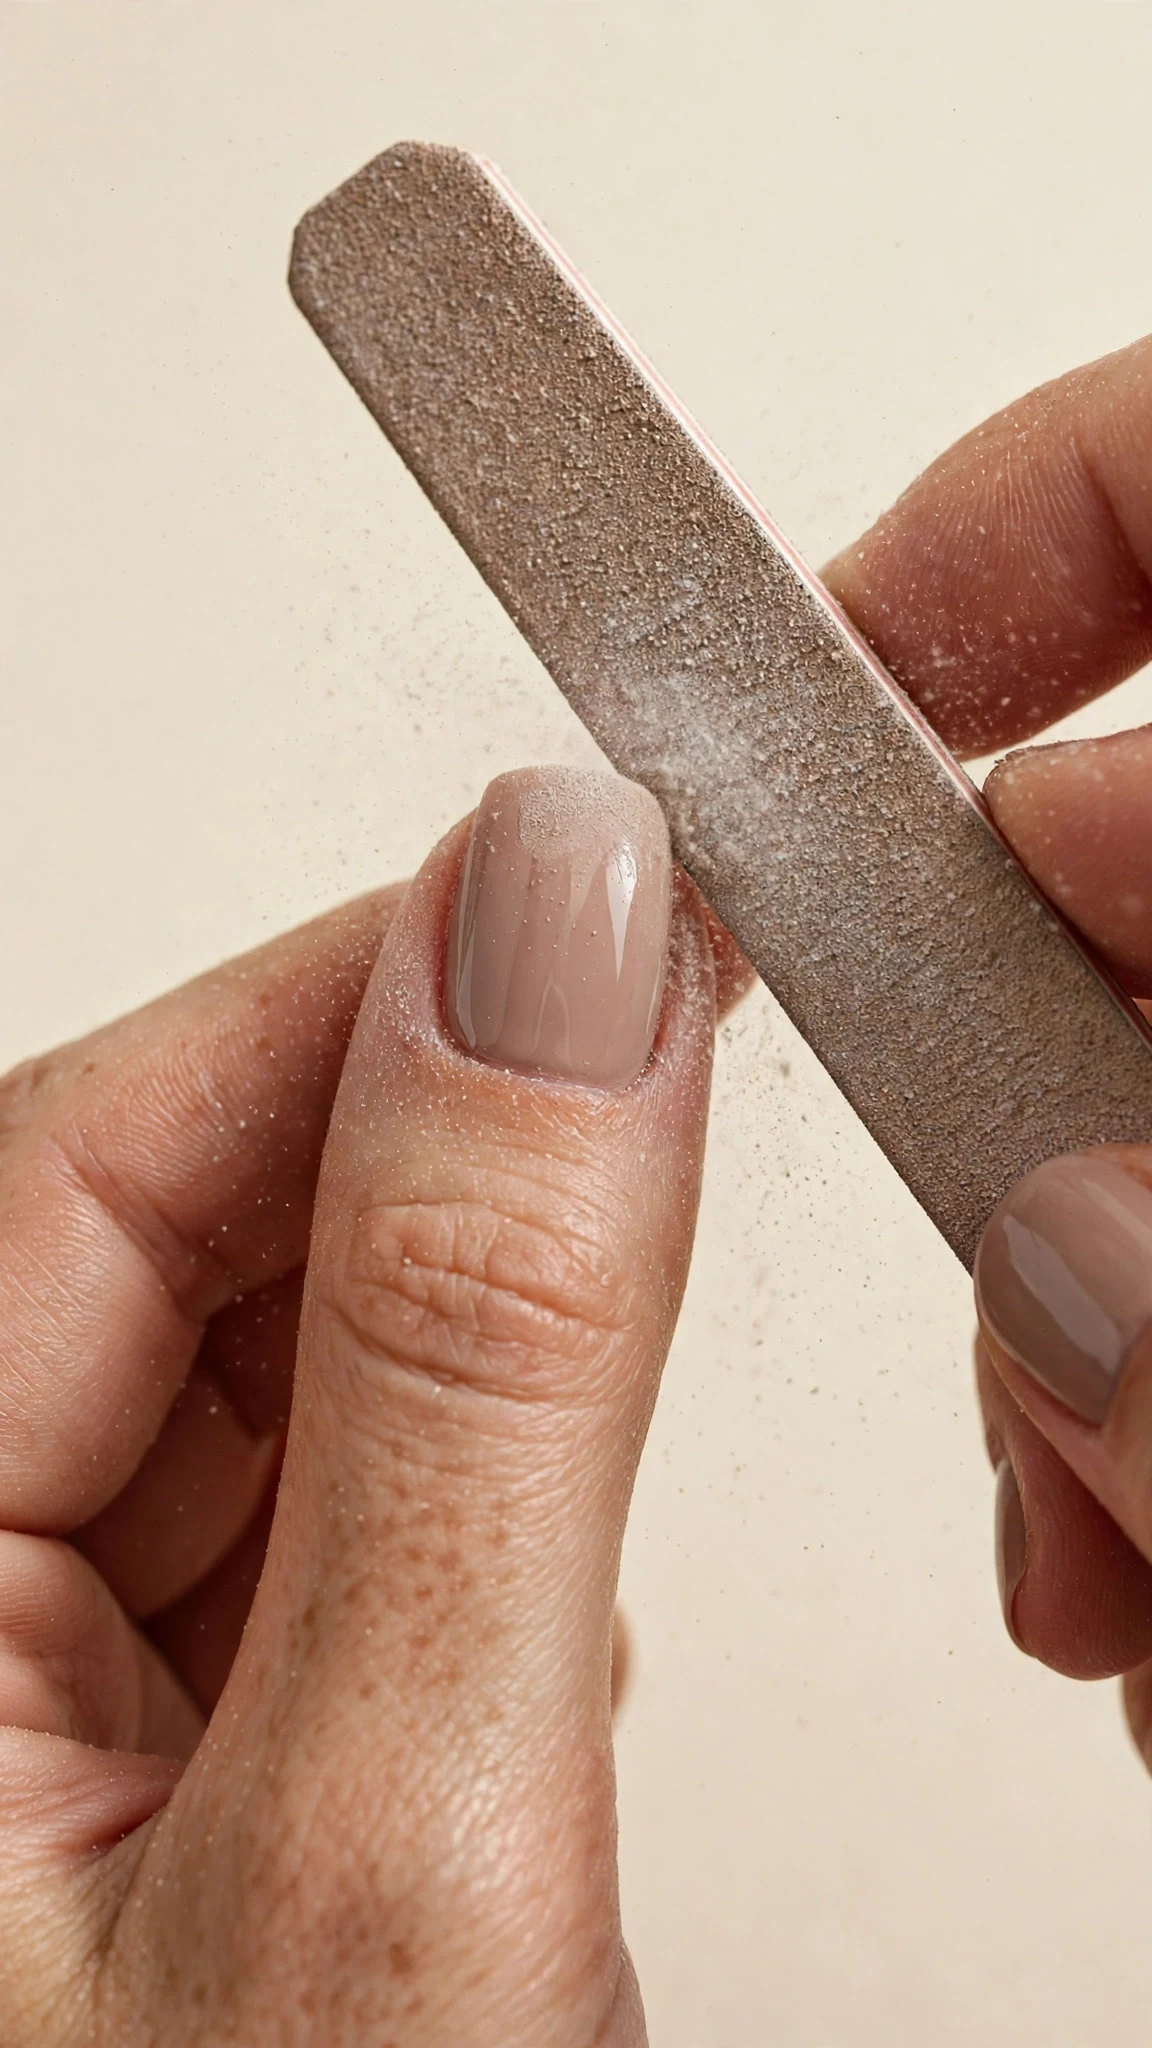
Step 1: Trim and File the Top Coat
Clip your nails to a comfortable short length, then take the coarse side of your file and gently buff just the shiny top coat of each nail. You are not trying to file the color off — you only need to break the glossy seal so acetone can reach the gel underneath. Five to ten light strokes per nail is plenty, and stop as soon as the shine is gone.
Step 2: Soak Cotton and Wrap in Foil
Soak a cotton ball or pad in pure acetone, place it directly on the nail, and wrap the fingertip snugly in a foil square, shiny side in. Press the foil firmly around the nail so the cotton stays in contact and the acetone cannot evaporate. Repeat for all five nails on one hand, then start your timer. Getting this wrap right is half of learning how to remove gel nails at home — a loose wrap lets acetone evaporate and doubles your soak time.

Step 3: Wait 15 to 20 Minutes
Leave the wraps on for 15 to 20 minutes. The gel will soften, wrinkle, and lift at the edges — that is exactly what you want to see. Resist the urge to peek every few minutes; each time you open a wrap, acetone escapes and the clock effectively restarts. Use the wait to set up your aftercare: cuticle oil, buffer, and hand cream within reach.
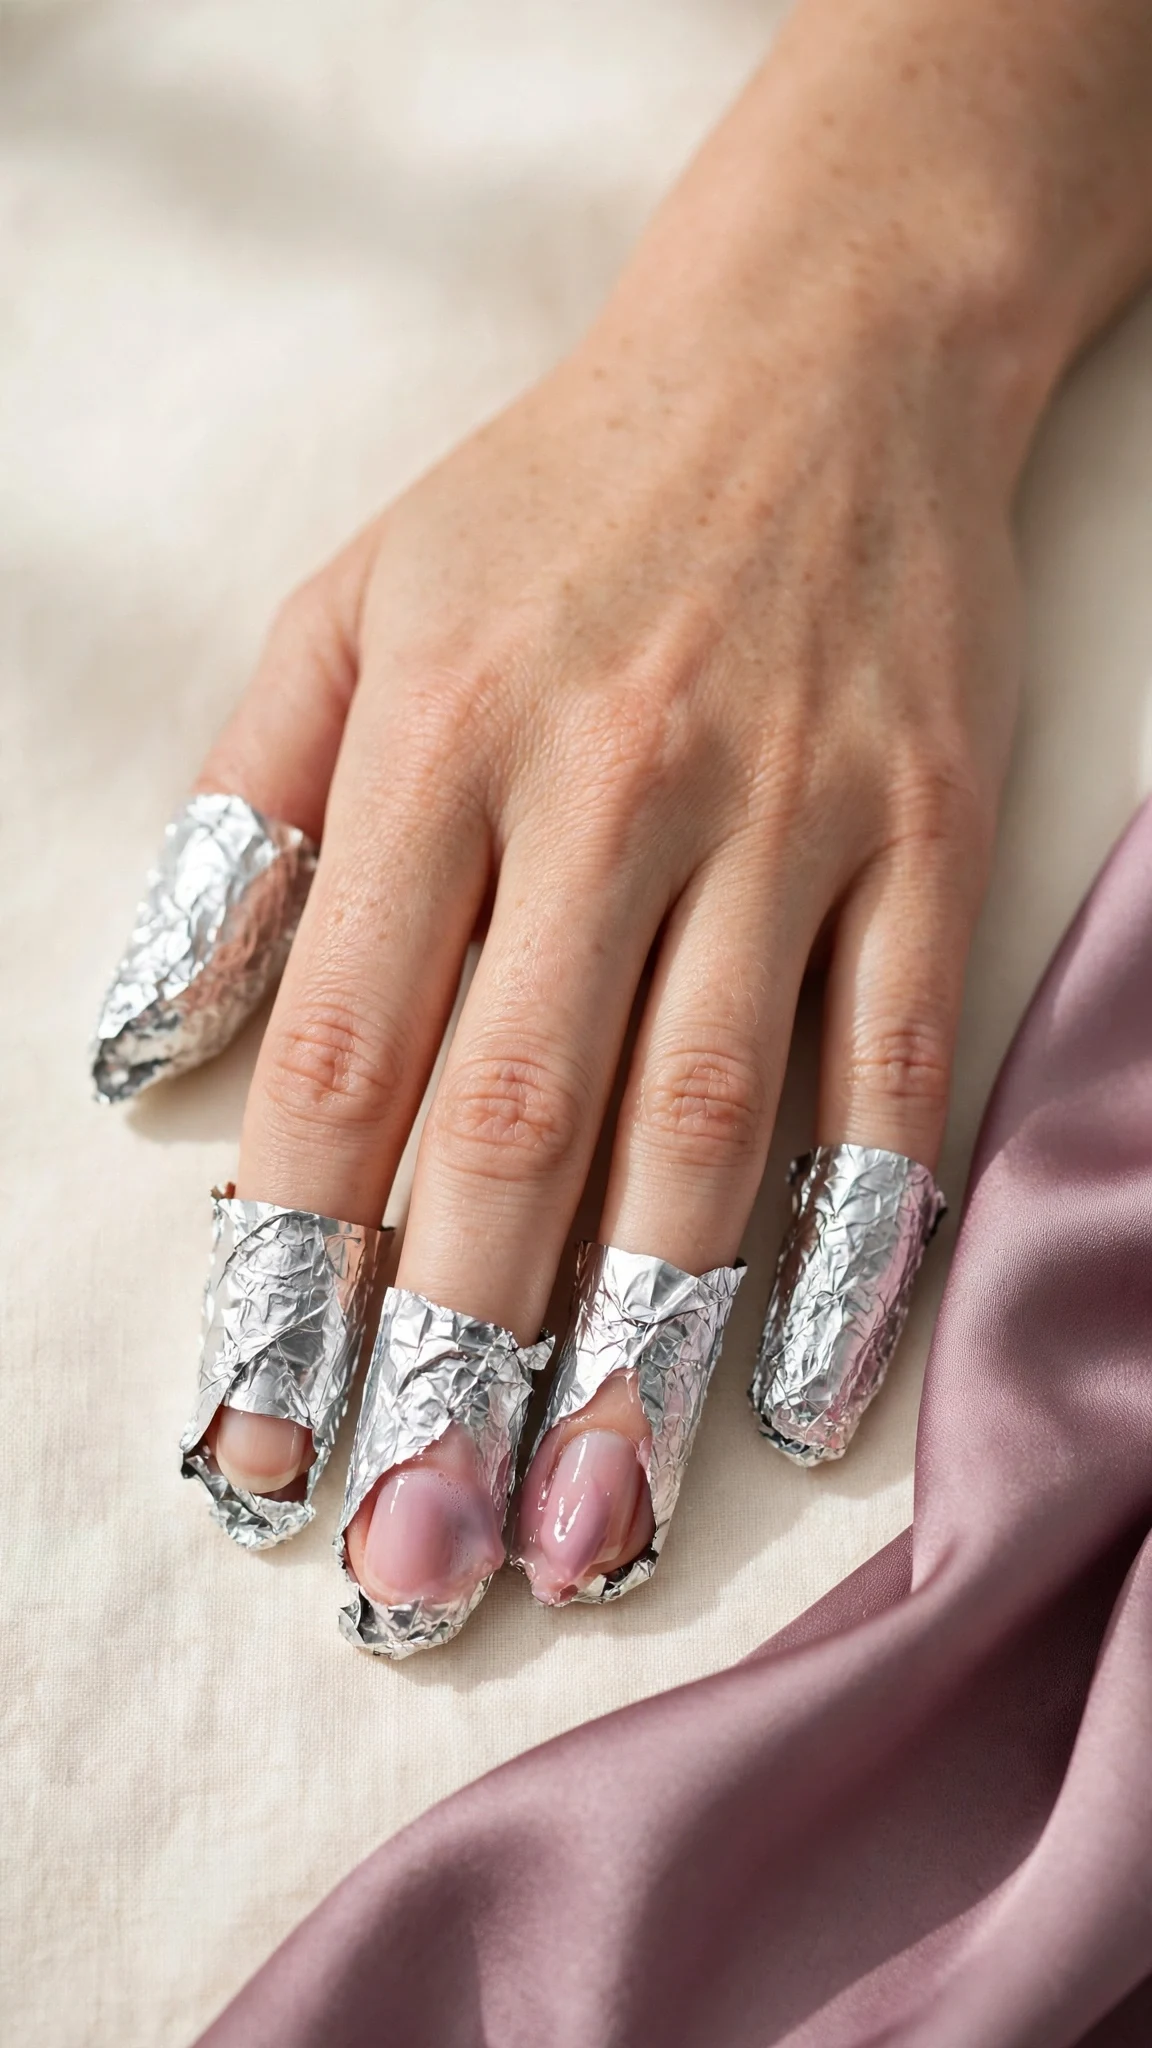
Step 4: Remove Foils One Nail at a Time
Starting with the first nail you wrapped, twist the foil gently as you slide it off. Much of the gel should come away with the cotton. For any remaining soft patches, use the orange stick to push them gently toward the tip — never back toward the cuticle, and never with force. If a patch resists, re-wrap that nail for another 5 to 10 minutes instead of scraping. This gentle approach is the heart of how to remove gel nails at home safely: if the gel resists, it simply is not ready yet.

Step 5: Repeat on the Other Hand
Repeat the same process on your second hand. By now you know how your polish responds, so the second hand usually goes faster. Once both hands are free of gel, wash your hands with warm water and mild soap to remove all acetone residue before moving on to recovery.
Step 6: Buff Lightly and Moisturise
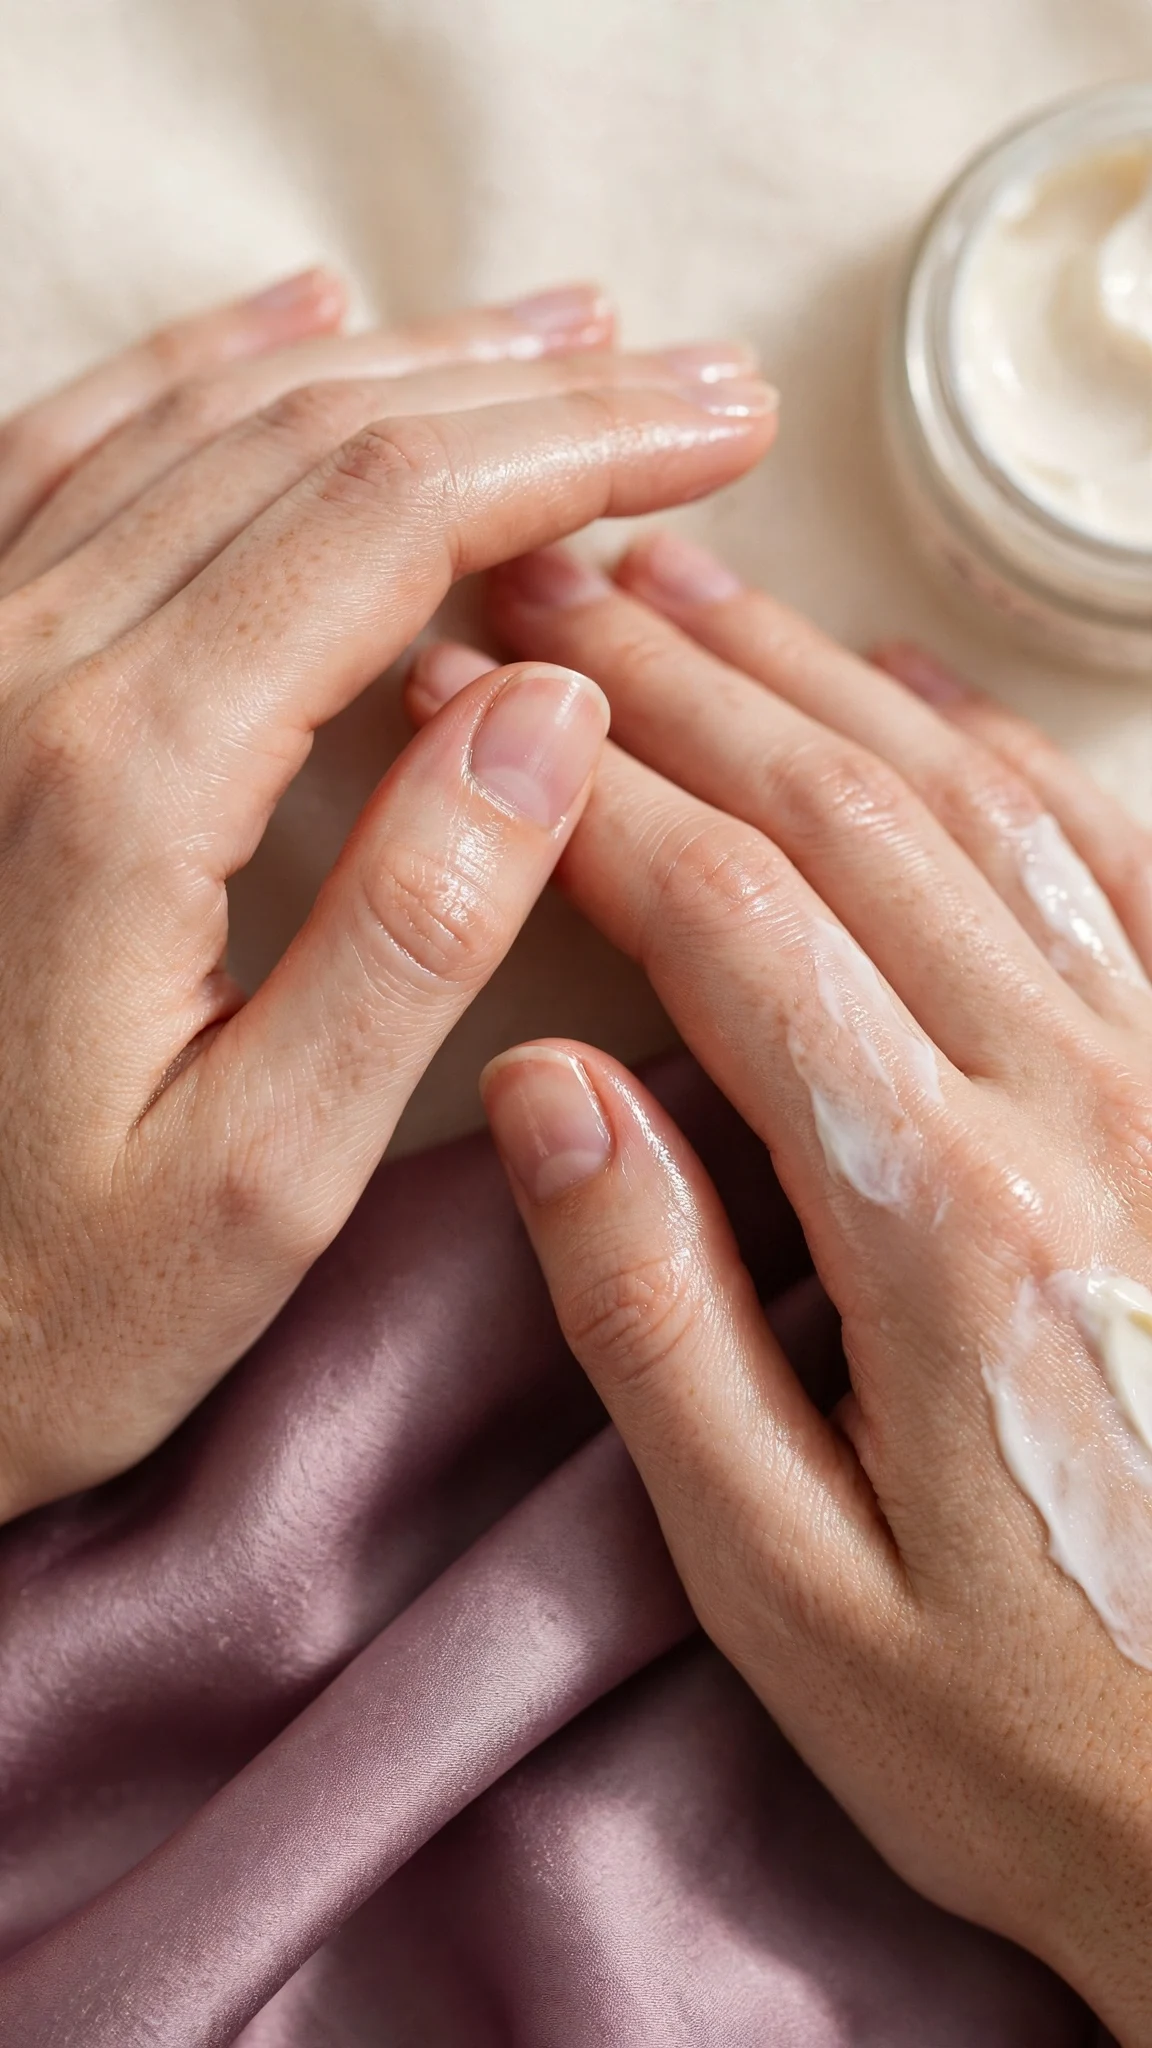
Run the soft buffer over each nail once or twice, just enough to smooth any dull patches — do not buff aggressively or try to thin the nail. Then massage cuticle oil into every nail and fingertip, and follow with hand cream. Your nails will feel dry after acetone; this step restores moisture immediately and is not optional. Many people learning how to remove gel nails at home skip this step and wonder why their nails feel like paper afterwards — do not skip it.
Method 2: The Warm Soak Method
If you are out of foil or you find wraps fiddly, the warm soak method is the simplest way to learn how to remove gel nails at home. It takes a little longer and uses more acetone, but the steps could not be easier, and it is a good option for first-timers. If foils feel fiddly, this is the friendlier way to learn how to remove gel nails at home, especially on your first try.

Step 1: File the Top Coat and Trim
Just as with the foil method, clip nails short and file away the shiny top coat with a coarse file. This step is non-negotiable for either method — without it, acetone cannot penetrate the gel and you will be soaking far longer than necessary.
Step 2: Prepare the Warm Water Bath
Pour pure acetone into a small bowl, then set that bowl inside a larger bowl of warm (not hot) water. The warm water gently warms the acetone from the outside, which helps it work faster. Never heat acetone directly, never microwave it, and never place the acetone bowl over direct heat.
Step 3: Soak for 15 to 20 Minutes
Submerge your fingertips in the acetone and soak for 15 to 20 minutes, checking one nail at around the 15-minute mark. The gel should look wrinkled and soft. If it is still firm, give it another 5 minutes. Soaking both hands at once is fine here, which is the main advantage of this method over foils. If you are learning how to remove gel nails at home for the first time, set a timer rather than guessing — most failures come from pulling nails out too early.
Step 4: Push Off, Wash, and Moisturise
Use an orange stick to push the softened gel gently toward the tips, working one nail at a time. Wash your hands thoroughly with warm water and soap, buff lightly if needed, and finish with cuticle oil and hand cream. If any gel remains stubbornly attached, a short second soak beats any amount of scraping.

After Removal: Nail Recovery
Your natural nails have just been through acetone and filing, so give them a week of gentle treatment before your next manicure. Keep nails short while they recover, moisturise cuticles daily with oil, and wear gloves for washing up and cleaning — water and detergents dry recovering nails out fast.
A nail strengthener or a plain base coat can protect the surface while it rehardens, but skip new gel for at least a few days. If your nails feel thin or bendy, that is normal after removal and usually improves within one to two weeks of careful treatment. For a longer-term plan, our guide on how to strengthen nails covers the daily habits that make the biggest difference. And if you are considering a gentler next manicure, TPO-free gel polish is worth a look — it cures the same way without the ingredient banned in the EU.
A simple recovery routine makes the next removal easier too: nails that are moisturised and kept short soak off faster, because there is less thick, dry gel to dissolve. That is why people who know how to remove gel nails at home properly often say the second removal is easier than the first — healthy nails release gel more cleanly.

When to See a Professional
Most at-home removals go smoothly, but see a nail professional or a dermatologist if you notice pain that does not fade, swelling or redness around a nail, green or dark discoloration under the nail, or a nail lifting away from the nail bed. These are general warning signs, not a diagnosis — a professional can look in person and advise. If gel simply will not budge after two full soaks, a salon can remove it with professional tools rather than risking damage by forcing it.
Final Thoughts
Knowing how to remove gel nails at home safely comes down to three habits: never peel, always soak long enough, and moisturise afterwards. The foil method is fastest and most precise; the warm soak is simplest for beginners. Either way, your natural nails will thank you for the patience — and your next manicure will look better on a healthy base.

Frequently Asked Questions
How long does it take to remove gel nails at home?
Plan on 30 to 45 minutes in total. The soak itself takes 15 to 20 minutes per hand with the foil method, plus filing, cleanup, and moisturising. Rushing the soak is the most common reason removal goes wrong, so treat the full time as part of the process. If you are new to how to remove gel nails at home, do one hand at a time so you can check your technique before moving on.
Can I remove gel nails without acetone?
Yes, but it takes much longer and needs more care. You can file the gel down very gently with a coarse file, stopping well before the natural nail, but this risks thinning the nail if you go too far. Acetone-free removers made for gel exist, yet they work slowly. For most people, pure acetone remains the safest and fastest at-home option. Whichever route you choose, the rule stays the same when you learn how to remove gel nails at home: never force, always soak.
Is it bad to peel off gel nails?
Yes. Peeling gel polish pulls away layers of your natural nail along with it, leaving nails thin, weak, and prone to splitting. The damage can take weeks or months to grow out. Always soak gel off instead, even when a nail is already lifting at the edge.
Can I use regular nail polish remover instead of acetone?
Regular remover is usually acetone-free and far too weak to dissolve gel polish in a reasonable time. You need 100% pure acetone for either method in this guide. Check the label — if it does not say pure acetone, it will not work well on gel. For best results when you learn how to remove gel nails at home, buy a bottle labelled 100% pure acetone and skip anything marked acetone-free.
Why are my nails thin after removing gel nails?
Thinning usually comes from peeling gel off or from over-filing during removal, not from the gel itself. Keep nails short, moisturise daily with cuticle oil, wear gloves for chores, and give nails a break of at least a few days before your next manicure. Strength usually returns within one to two weeks.
How often can I remove and reapply gel nails?
There is no strict limit, but nails benefit from a short break between sets — a few days of bare, moisturised nails after each removal keeps them in better condition long term. If nails stay weak or split despite breaks, extend the rest period and focus on strengthening care.
Compare Before You Choose
See the Closest Alternatives
Compare nearby shapes, colors and finishes before picking a final reference.
Recommended Next


Pingback: How to Remove Press On Nails (Without Damage)