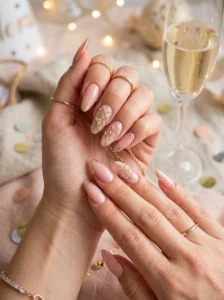
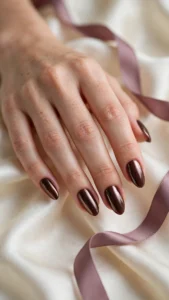
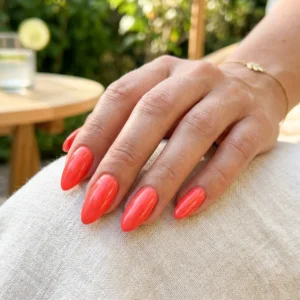
Press-on nails are the fastest route to a salon-looking manicure at home, but taking them off the wrong way can undo all of that convenience in seconds. Learning how to remove press on nails properly protects your natural nails from peeling, thinning, and soreness — and it takes less than half an hour once you know the method. Whether your set was applied with nail glue or adhesive tabs, the rule is the same: loosen first, lift gently, never force. This guide is the complete way to learn how to remove press on nails without harming the natural nail underneath.
This guide covers two safe ways to learn how to remove press on nails at home: the soak-off method for glue-on sets, and the gentle peel-off method for adhesive-tab sets. You will learn exactly what supplies you need, how long each step takes, what to do when a nail will not budge, and how to care for your natural nails afterwards. If you wear gel polish instead of press-ons, our guide on how to remove gel nails at home covers that removal process step by step, since gel needs a different technique.

What NOT to Do Before You Start
Almost all press-on removal damage comes from three mistakes. Avoid these and the rest of the process is straightforward.
Never rip, yank, or force a press-on off. A press-on that still feels firmly attached is still bonded to your nail plate. Ripping it away pulls off thin layers of keratin with it, leaving nails weak, flaky, and sometimes painful. If a nail resists, it simply is not ready — soak longer instead of pulling harder. This one habit is the difference between nails that look untouched after removal and nails that need weeks to recover.
Never use metal tools to pry underneath. A wooden orange stick, used gently on a loosened edge only, is all you need. Forcing a metal pusher or file under a bonded nail can gouge the nail surface and lift the nail plate from the nail bed. If the orange stick meets real resistance, stop and re-soak.
Never skip the soak to save time. Warm soapy water and oil need time to break the adhesive bond. People who learn how to remove press on nails the hard way usually skipped this step: they peeled a set off dry in front of the television and spent the next two weeks nursing sore, peeling nails. Ten to fifteen minutes of soaking feels slow, but it is faster than growing out damage. Anyone learning how to remove press on nails should treat the soak as non-negotiable, not optional.
What You Will Need
Gather everything before you start so you are not hunting for supplies with wet hands. You need: a small bowl, warm water, gentle soap or hand wash, cuticle oil (or any plain oil you have, such as coconut or olive oil), a wooden orange stick, a soft nail buffer, a towel, and hand cream. If your set was applied with strong nail glue and will not loosen with water alone, keep a bottle of pure acetone nearby as a backup — it is only needed for stubborn glue-on sets, and the safety notes for it are in Method 1.
Trimming is optional and depends on length. If your press-ons are very long, clipping the tips shorter first gives the soak better access to the edges. Do not file the surface of the press-ons — unlike gel, press-ons do not need their top coat broken for removal, and filing them only creates dust for no benefit. Having everything ready before you start is part of learning how to remove press on nails smoothly.

Method 1: The Soak-Off Method (Glue-On Press-Ons)
The soak-off method is the safest way to learn how to remove press on nails applied with nail glue. Warm soapy water softens the glue gradually, and oil finishes the job by sliding under the loosened edge. Set aside 20 to 30 minutes and work one hand at a time if this is your first attempt. Follow the steps below and you will know exactly how to remove press on nails with glue, from soak to final moisturise.
Step 1: Soak in Warm Soapy Water
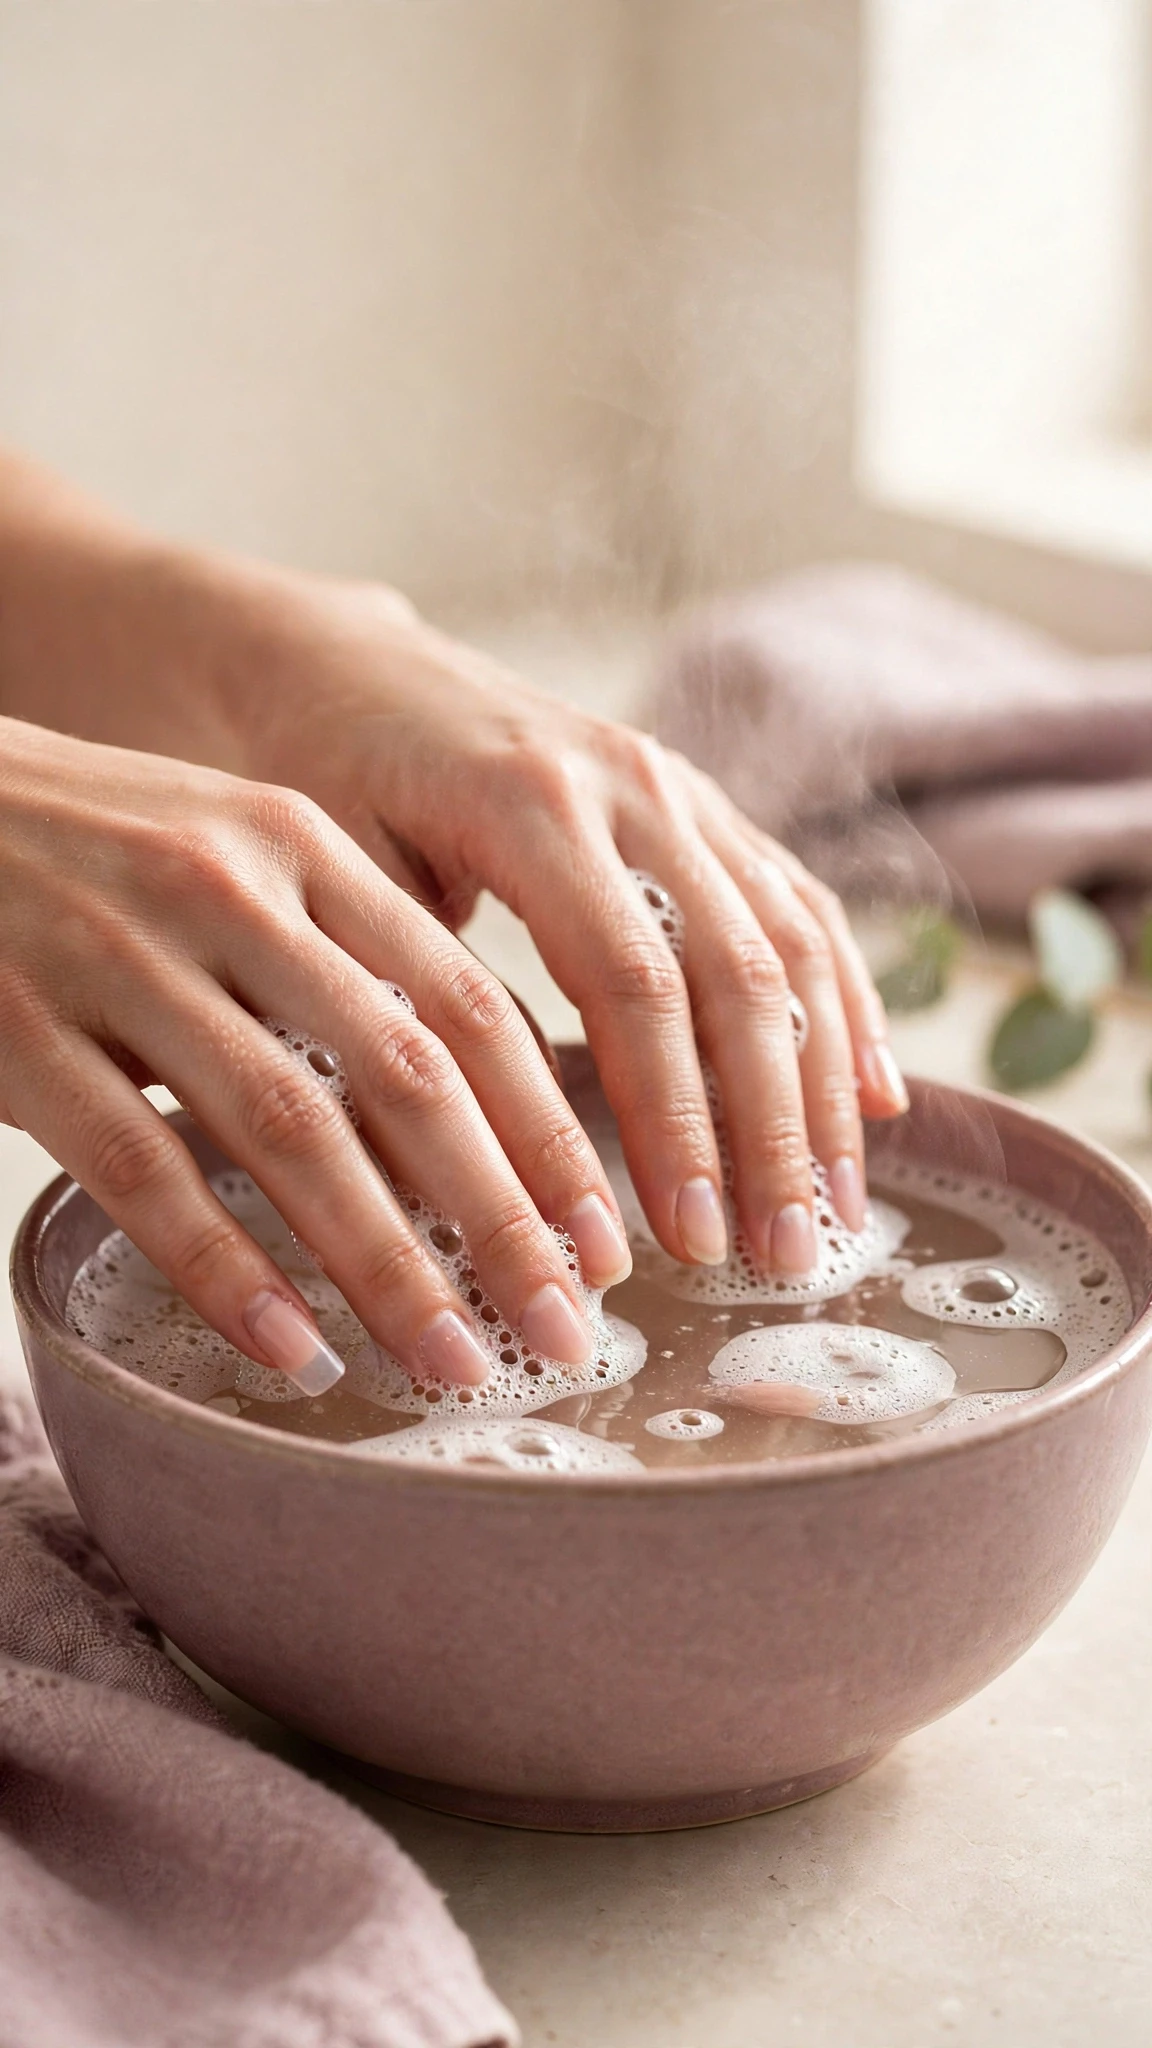
Fill a small bowl with comfortably warm water — warm, not hot — and add a squirt of gentle soap. Submerge the fingertips of one hand and soak for 10 to 15 minutes. The warm water softens the glue bond from the edges inward. You should feel the press-ons start to give slightly at the sides when you wiggle them gently. If nothing has loosened after 15 minutes, refresh the water with a new warm batch and soak for another 10 minutes rather than forcing anything.
Step 2: Lift the Edges Gently
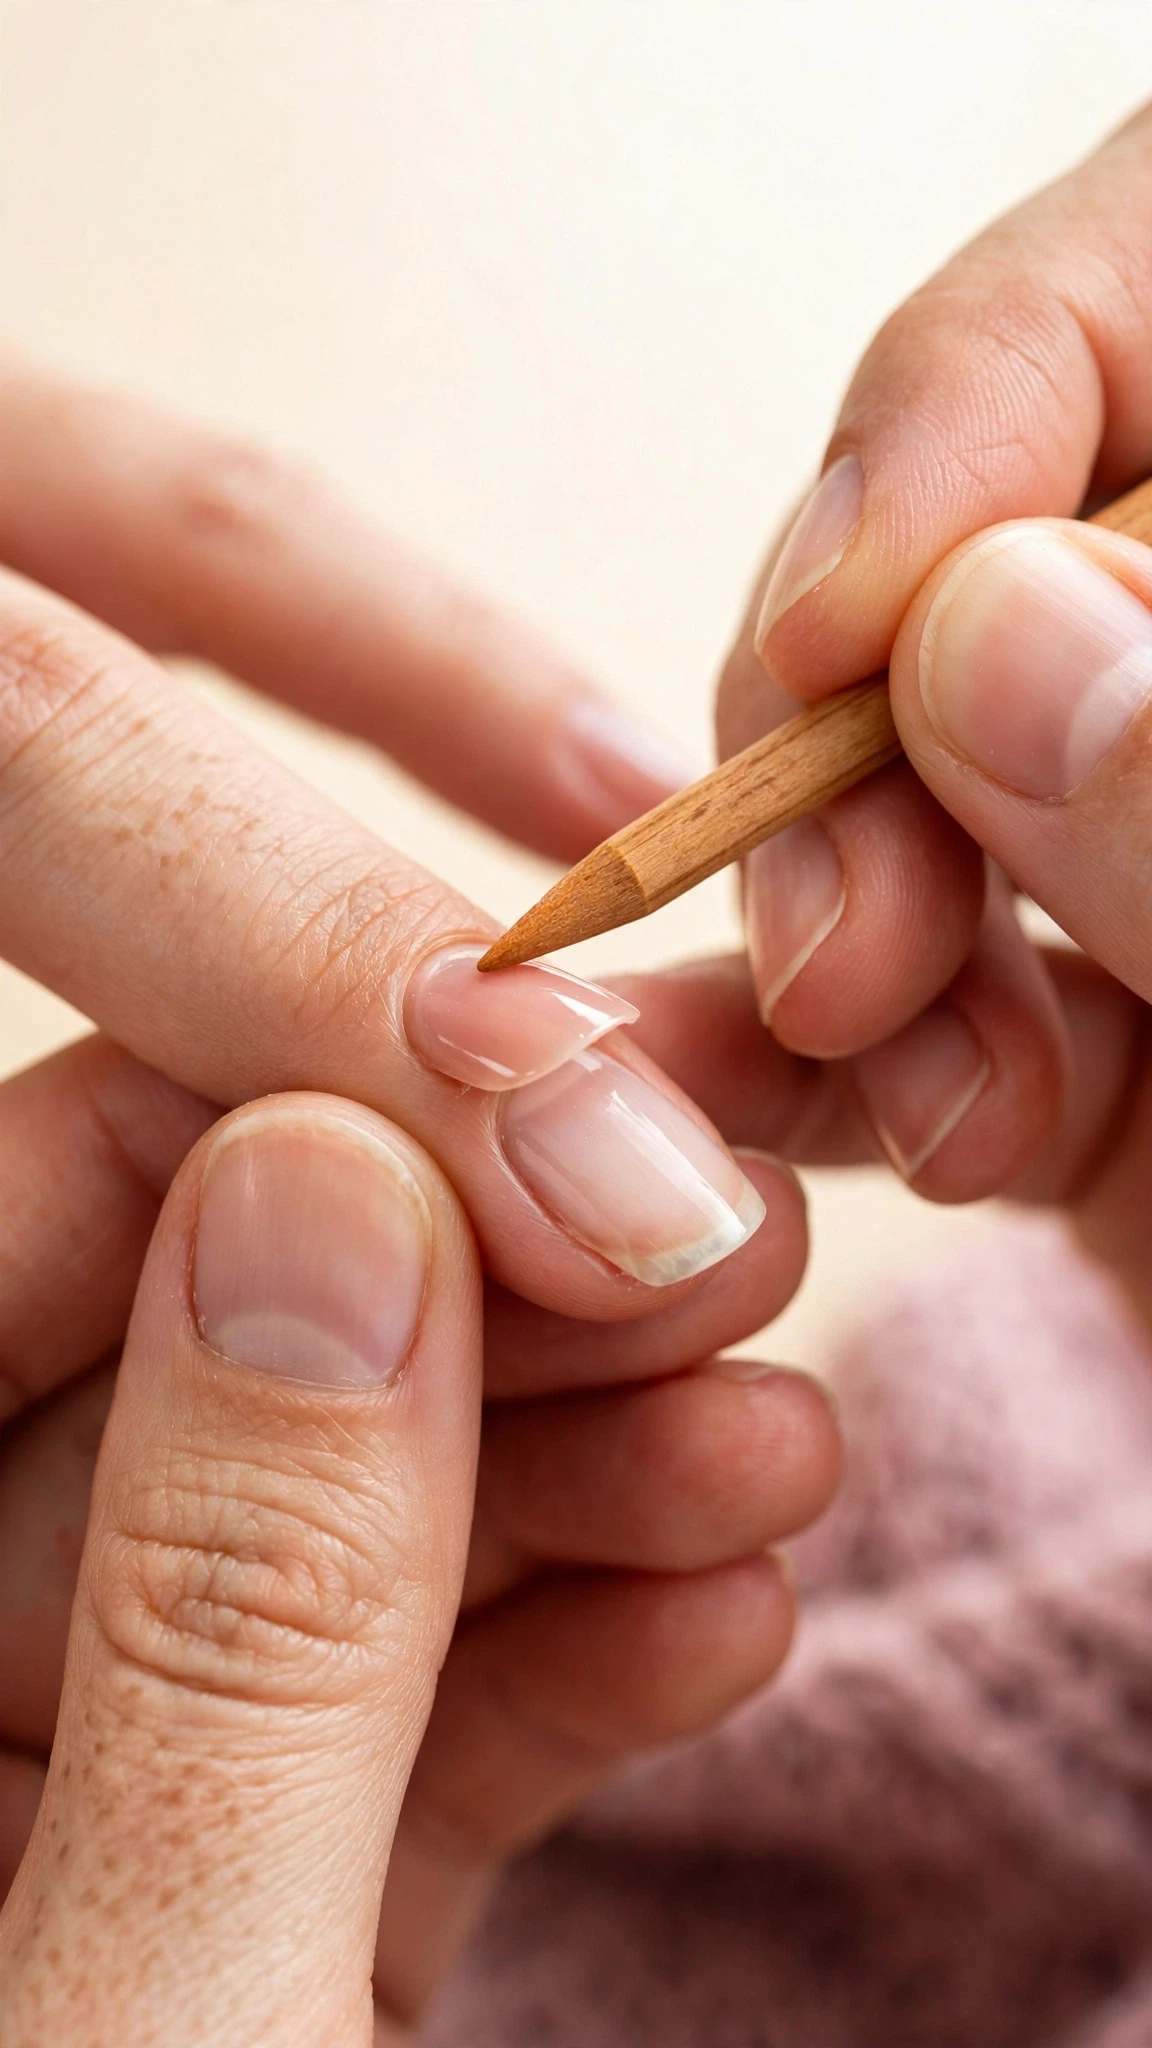
Take one nail and slide the flat end of a wooden orange stick just under a loosened corner, usually at the side near the cuticle or at a free edge that has started to lift. Use slow, gentle pressure and work the stick a millimetre or two further under the nail. You are testing the bond, not prying: if the stick meets firm resistance, that nail needs more soaking. Move to the next nail and come back to the stubborn one later. Patience at this stage is the whole skill behind how to remove press on nails without damage.
Step 3: Work Oil Under the Nail
Once an edge has lifted, apply a drop of cuticle oil right at the gap and let it seep underneath. Oil breaks down adhesive gently and lets the press-on slide rather than stick. Work the oil in with the orange stick, a little at a time, moving from the lifted edge toward the centre of the nail. For glue-on sets this step makes the biggest difference — the oil does what pulling never should, and it leaves the natural nail moisturised at the same time.

Step 4: Ease the Nail Off
With the edge lifted and oiled, ease the press-on away slowly, keeping it close to the natural nail rather than bending it upward. Bend the press-on, not your nail: a slow, flat lift puts almost no stress on the nail plate. If the nail stops moving halfway, add another drop of oil, wait a minute, and continue. When the press-on comes off, set it aside — undamaged press-ons can sometimes be cleaned and worn again, which is covered in the FAQ below. That slow, flat lift is the safest way to finish learning how to remove press on nails with the soak-off method. Repeat the soak, lift, and oil steps for each remaining nail, re-soaking the hand briefly if the water has cooled.

Method 2: The Gentle Peel-Off Method (Adhesive Tabs)
If your press-ons were applied with adhesive tabs, removal is usually quicker and needs no acetone at all. Tabs are designed to release with warm water and gentle peeling, which is why this method is the easiest way to learn how to remove press on nails for first-timers. The same rule still applies: slow and gentle beats fast and forceful every time.
Step 1: Start at the Cuticle Edge
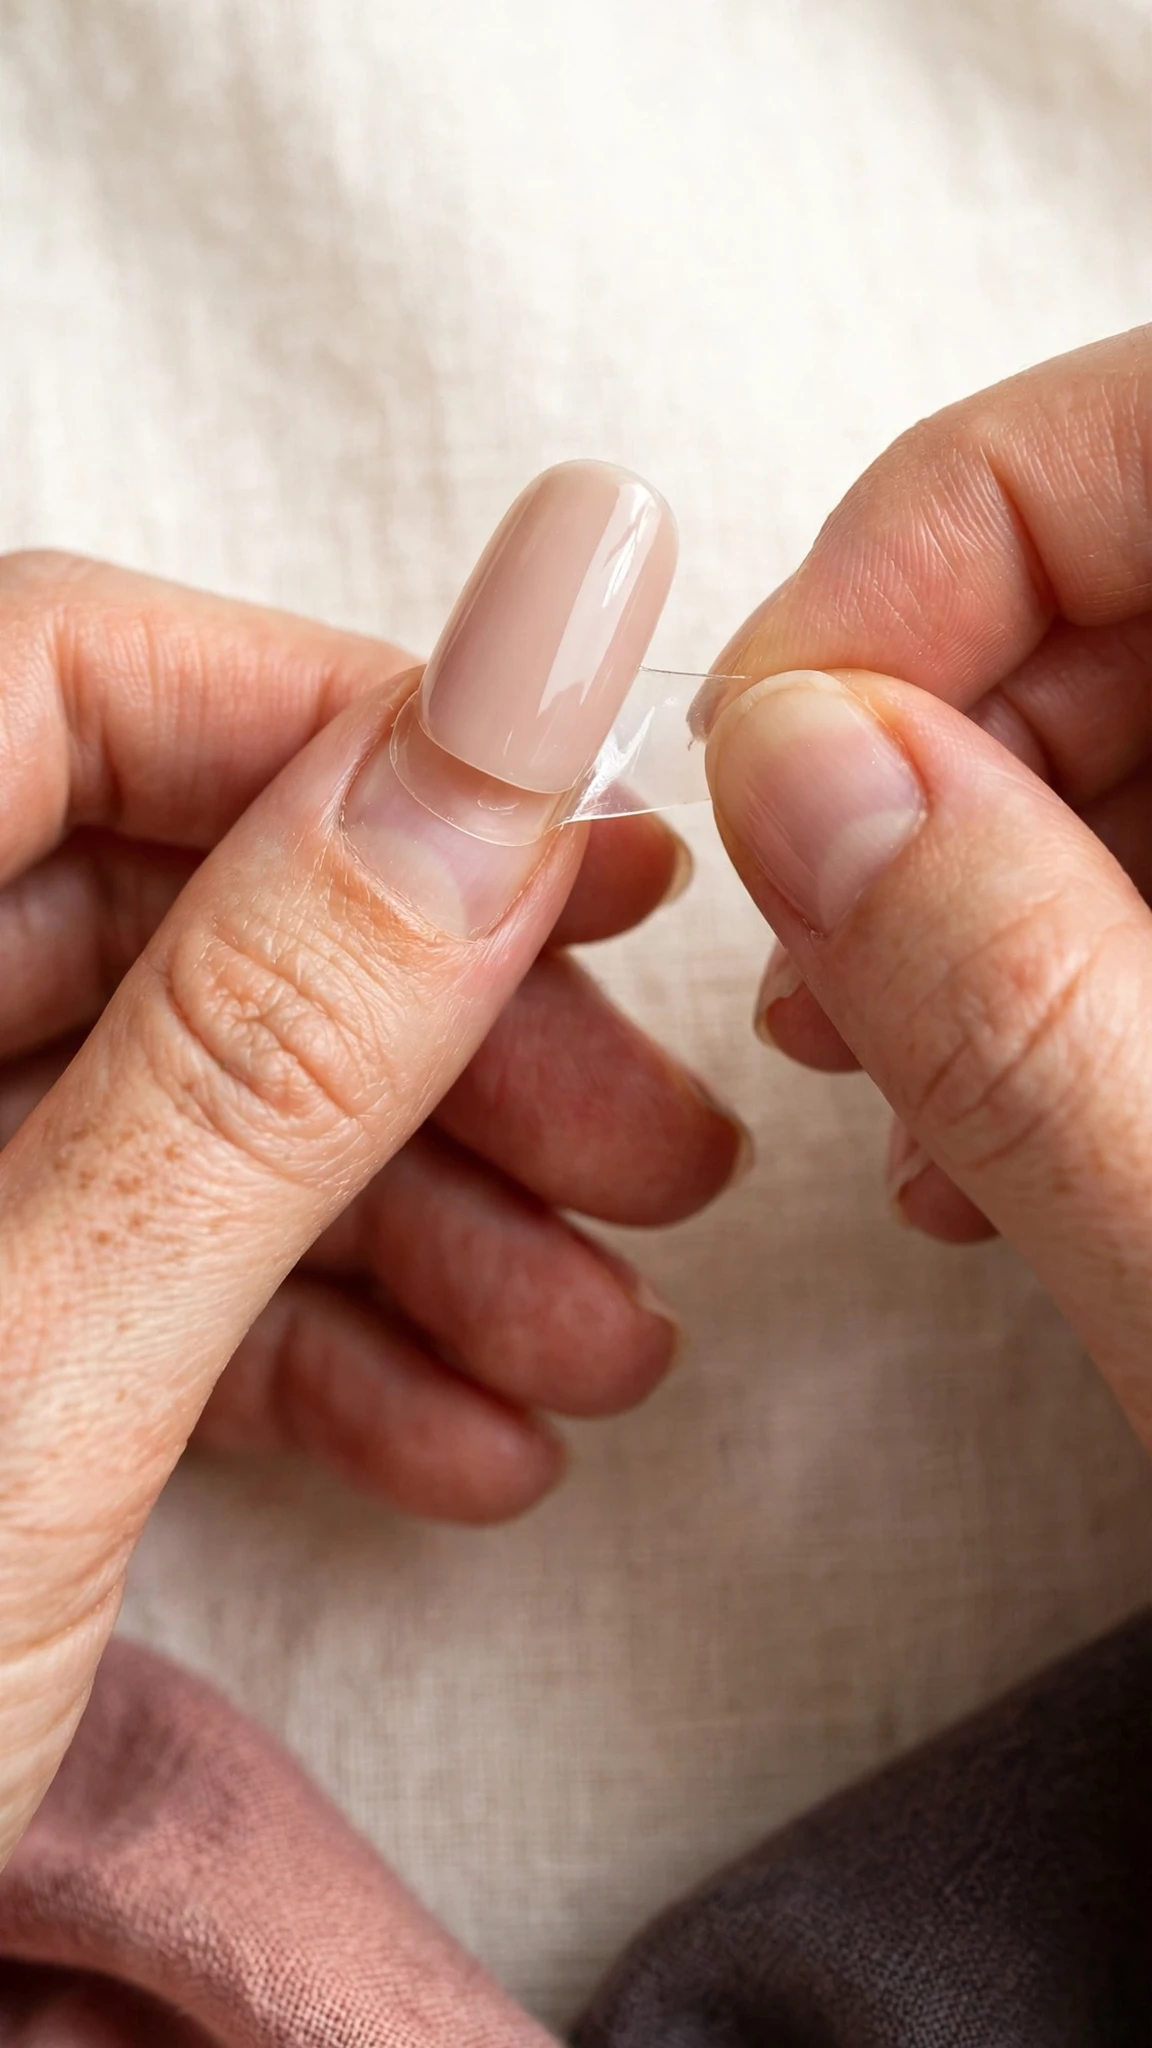
Soak your fingertips in warm soapy water for 5 to 10 minutes first, even for tab sets — the water softens the tabs and makes the peel far gentler. Then find the edge of the press-on nearest the cuticle, where tabs usually release first, and lift it slowly with a fingertip or the flat end of an orange stick. Starting at the cuticle gives you the most control over the angle of the peel.
Step 2: Peel Slowly, and Re-Soak If It Resists
Peel the press-on back slowly and steadily, keeping it low and close to the natural nail. If you feel sharp resistance or the natural nail starts to bend with the press-on, stop immediately: re-soak that nail for another 5 minutes and try again. A tab that will not release is a tab that needs more water, not more force. That patience is what separates people who know how to remove press on nails from people who end up with sore nails. People learning how to remove press on nails for the first time often rush this step because the first few nails came off easily — the last two nails always need the most patience.
Step 3: Remove Any Leftover Residue
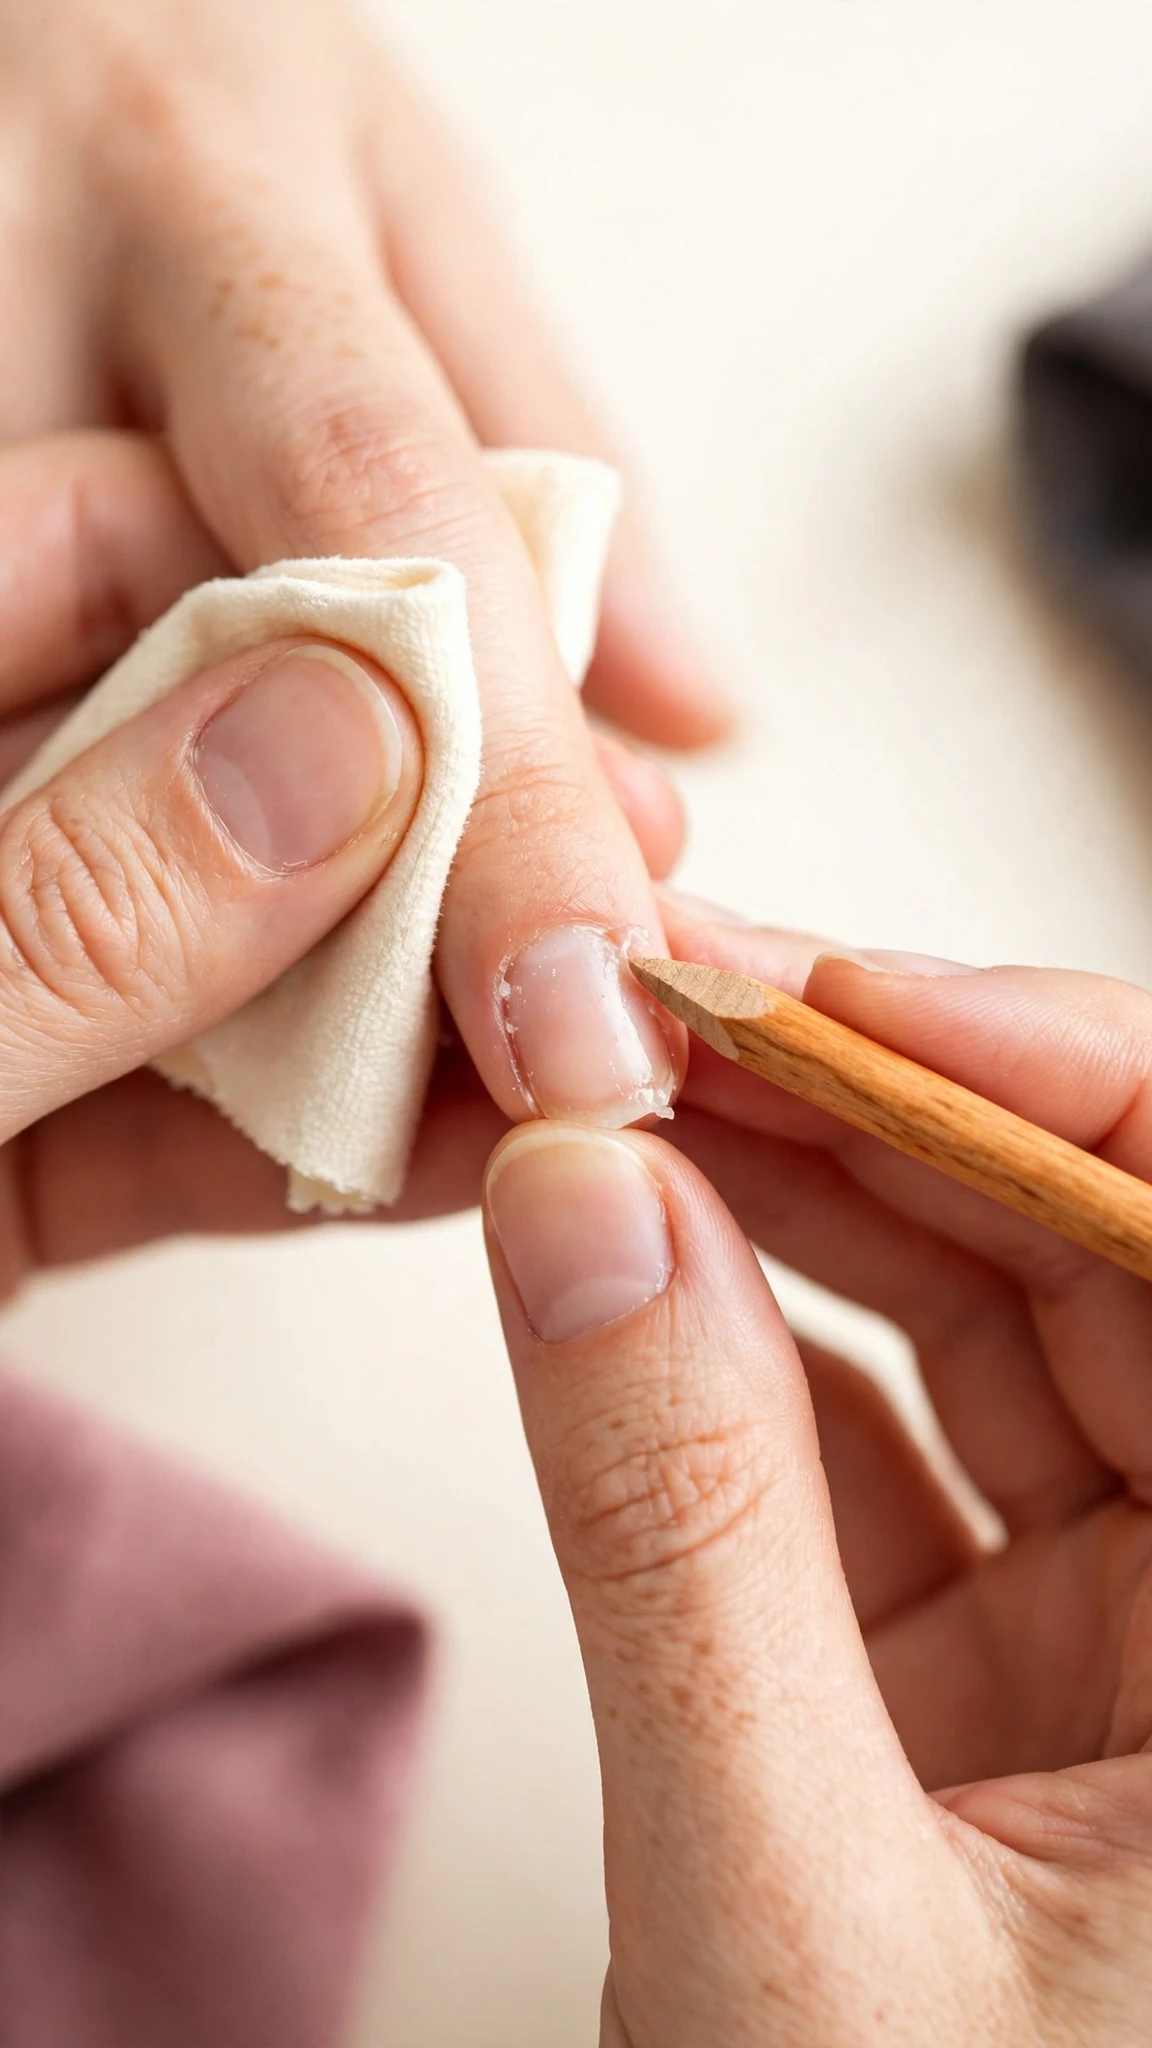
Once all ten press-ons are off, check each natural nail for leftover glue or tab residue. Roll it off gently with a fingertip, or wipe it away with a soft cloth dampened with warm soapy water. For a stubborn glue spot, hold a cotton pad with a little cuticle oil on it for a minute, then wipe — the oil dissolves the residue without drying the nail. Only if a glue-on set leaves residue that will not shift with oil should you use a brief acetone wipe, in a ventilated room and away from flames, followed immediately by washing and moisturising. Never soak in acetone for press-ons unless water and oil have both failed.
After Removal: Nail Recovery
Your natural nails have just come out from under a covering, so give them a day or two of gentle treatment. Wash your hands with warm water and mild soap, then massage cuticle oil into every nail and fingertip and follow with hand cream. According to the American Academy of Dermatology, keeping nails moisturised and protected is the foundation of nail care — you can read their full guidance at AAD nail care secrets, and our guide on how to strengthen nails covers the daily habits that help most. If you are comparing removal methods for a future set, our guide on how to remove acrylic nails at home explains why acrylics need a longer soak than press-ons.
Keep nails short for a day or two, wear gloves for washing up, and skip a new set for at least 24 hours so your nails can breathe and rehydrate. For general background, the Wikipedia overview of manicure describes the standard steps of professional nail care, which mirror the gentle routine above. A plain base coat or nail strengthener can protect the surface in the meantime. If nails feel dry or bendy, that usually settles within a few days of daily oiling — it is a sign they needed moisture, not a sign of permanent damage, provided the removal itself was gentle. Nails that are moisturised and kept short also release their next set more easily, which is why people who know how to remove press on nails properly often say the second removal is easier than the first.

When to See a Professional
Most press-on removals go smoothly, but see a nail professional or a dermatologist if you notice pain that does not fade, swelling or redness around a nail, green or dark discoloration under the nail, or a nail lifting away from the nail bed. These are general warning signs, not a diagnosis — a professional can look in person and advise. If a set simply will not loosen after two full soaks plus oil, a salon can remove it with professional tools rather than risking damage by forcing it.

Final Thoughts
Knowing how to remove press on nails safely comes down to three habits: soak first, lift gently with oil, and moisturise afterwards. The soak-off method suits glue-on sets; the gentle peel-off method suits adhesive tabs. Either way, your natural nails will thank you for the patience — and your next set will look better on a healthy base.

Frequently Asked Questions
How long does it take to remove press on nails?
Plan on 20 to 30 minutes in total. The soak itself takes 10 to 15 minutes per hand, plus lifting, residue cleanup, and moisturising. Tab sets are usually faster than glue-on sets. If you are new to how to remove press on nails, do one hand at a time so you can check your technique before moving on.
Can I remove press on nails without acetone?
Yes — most press-ons come off without acetone at all. Warm soapy water plus cuticle oil handles adhesive tabs easily and loosens most nail glue. Acetone is only a backup for stubborn glue-on residue that will not shift with water and oil, and even then a brief wipe beats a long soak. Whichever route you take when you learn how to remove press on nails, the rule stays the same: never force, always soak.
Is it bad to rip off press on nails?
Yes. Ripping press-ons off pulls away layers of your natural nail along with the adhesive, leaving nails thin, weak, and prone to splitting. The damage can take weeks to grow out. Always soak and lift gently instead, even when a nail is already lifting at the edge.
Can I reuse press on nails after removing them?
Sometimes. If a press-on came off intact, clean off old glue or tab residue gently, let it dry fully, and store it in its original case. Nails that bent, cracked, or lost their shape during removal should not be reused. You will need fresh adhesive tabs or glue for the next wear — never reuse old tabs, since they will not bond evenly.
Why do my nails feel weak after press on nails?
Weakness usually comes from forcing removal or from over-filing during cleanup, not from wearing press-ons themselves. Keep nails short, moisturise daily with cuticle oil, wear gloves for chores, and give nails a break of at least a day before your next set. Strength usually returns within a few days of careful treatment.
How often can I wear press on nails?
There is no strict limit, but nails benefit from a short break between sets — a day or two of bare, moisturised nails after each removal keeps them in better condition long term. If nails stay weak or split despite breaks, extend the rest period and focus on strengthening care before your next set.
Compare Before You Choose
See the Closest Alternatives
Compare nearby shapes, colors and finishes before picking a final reference.
Recommended Next