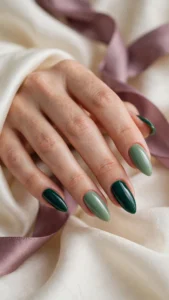
A single rhinestone can change a whole manicure. These simple rhinestone nail designs prove that sparkle does not need to be loud — one small crystal on a nude base, a tiny stone at the cuticle, or a single gem on a French tip is enough to make nails look finished and elegant. This guide collects 25 simple rhinestone nail designs for 2026, from single-stone accents to minimal French tips and easy at-home looks.
Every design keeps the stone count low and the base simple, so the look stays wearable for work, weddings, and everyday life. You will also find a short guide — what makes a rhinestone design simple, how it differs from full bling, who it suits, and how to place stones so they stay put.
If you are new to nail care, the manicure guide is a good place to start — healthy nails hold rhinestones better and chip less, and a tidy cuticle line makes a single crystal look intentional rather than accidental.
What Are Simple Rhinestone Nail Designs?
Simple rhinestone nail designs are manicures that use a small number of rhinestones — usually one to three stones per hand — on a plain or lightly coloured base. The stones are the accent, not the whole look, so the nails read as elegant first and sparkly second.
The difference from full bling is the stone count. A bling set covers the nail with crystals, which looks dramatic and needs careful upkeep; simple rhinestone nail designs use restraint, so the manicure survives everyday life — typing, washing up, opening doors — without stones catching or falling off.
Simple rhinestone designs suit almost everyone, but they are especially good for people who want sparkle without the commitment. They work on short nails, where a single stone fits the small canvas, and on long nails, where one crystal can balance a whole set. They also suit workplaces and formal occasions, where a full glitter set might feel too much.
Placement matters more than quantity. One stone at the cuticle draws the eye to the base of the nail; one stone at the tip finishes a French manicure; a single stone on the ring finger turns an accent nail into a quiet piece of jewellery. Keep the rest of the nails plain, and the stones do all the talking. That restraint is what makes simple rhinestone nail designs feel expensive rather than flashy.
Single-Stone Accents
One stone, done well. These five simple rhinestone nail designs use a single crystal per hand — on the ring finger, at the cuticle, or alone on a nude nail — for the quietest kind of sparkle.
1. Single Crystal Accent

One small crystal on the ring finger, over a sheer nude base. The single stone catches the light every time the hand moves, so the set feels finished without any extra decoration — the simplest of these simple rhinestone nail designs, and the easiest place to start.
Tip: Place the crystal slightly off-centre, toward the cuticle, for the most elegant line.
2. One-Stone Ring Finger
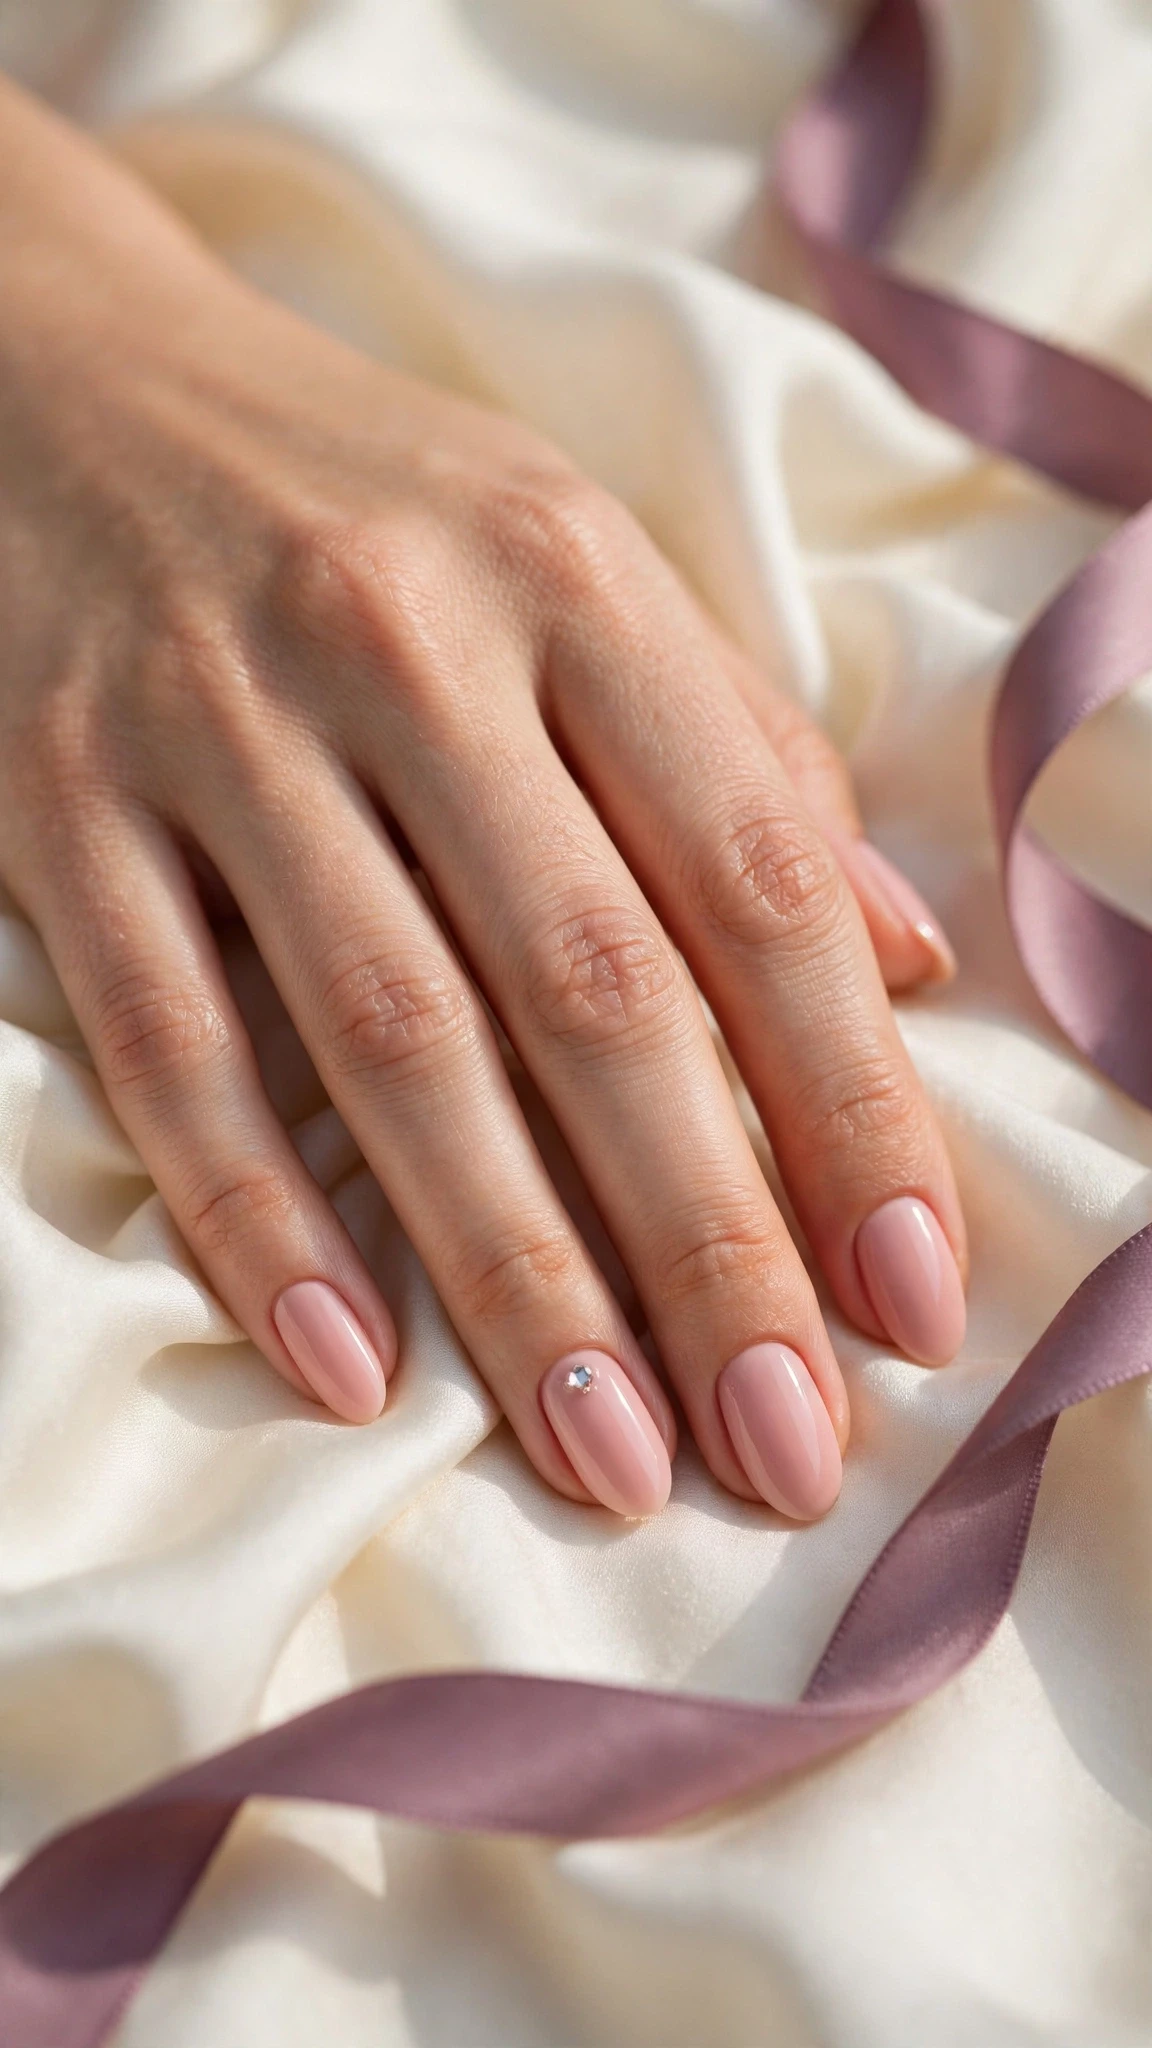
A single rhinestone on the ring finger, with the other nails in a plain blush shade. The accent nail works like a piece of jewellery — quiet, personal, and easy to wear — and the blush base keeps the whole set soft and romantic.
Tip: Match the stone to your jewellery: clear crystal with silver, warm gold with gold.
3. Tiny Crystal Cuticle Line
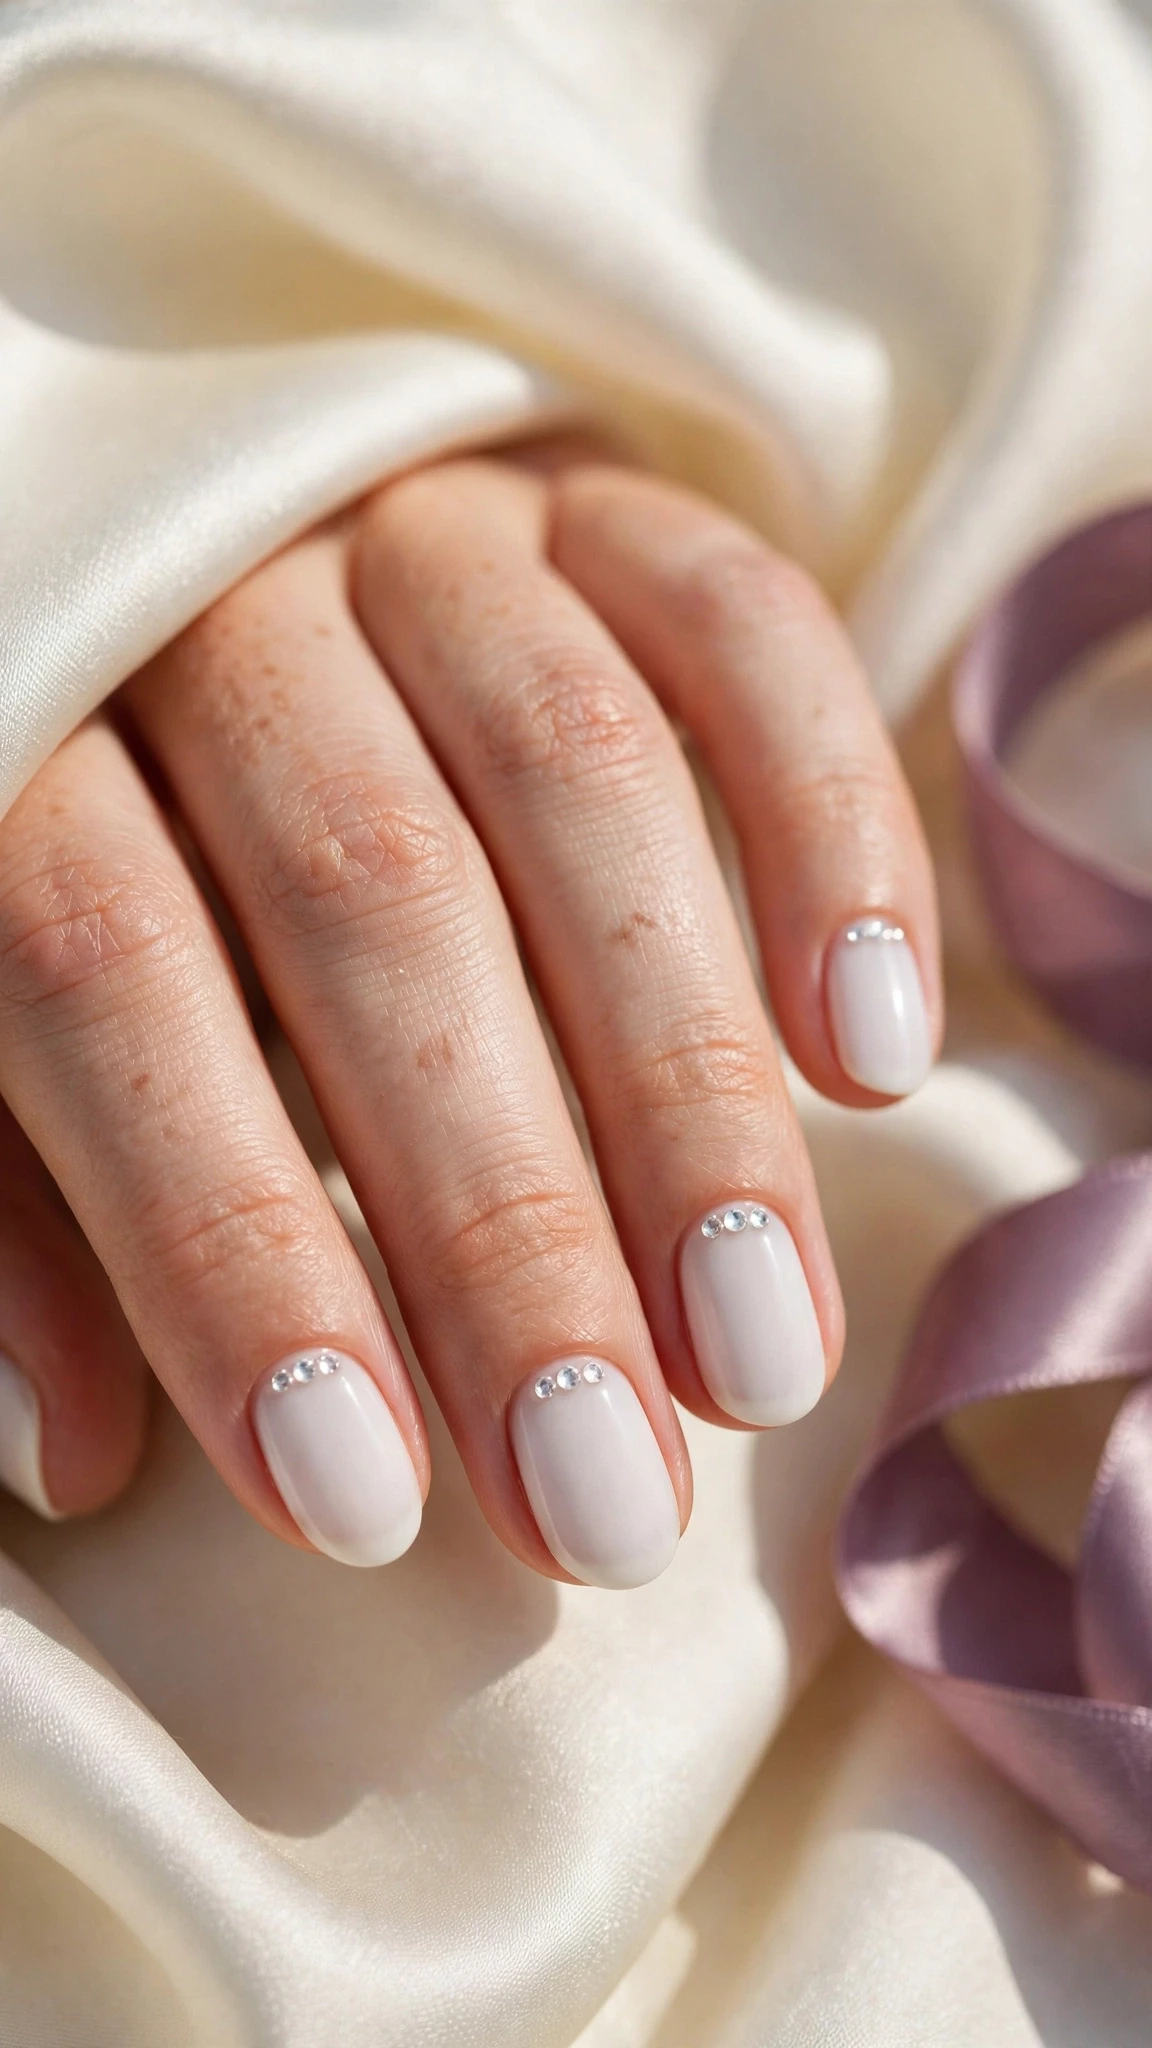
Three tiny crystals in a neat row along the cuticle of each nail, over a milky white base. The line frames the nail like a delicate border, so the sparkle feels structured rather than scattered — a pretty choice for anyone who likes symmetry.
Tip: Keep the crystals the same size and evenly spaced, or the line can look uneven.
4. Solo Stone on Nude
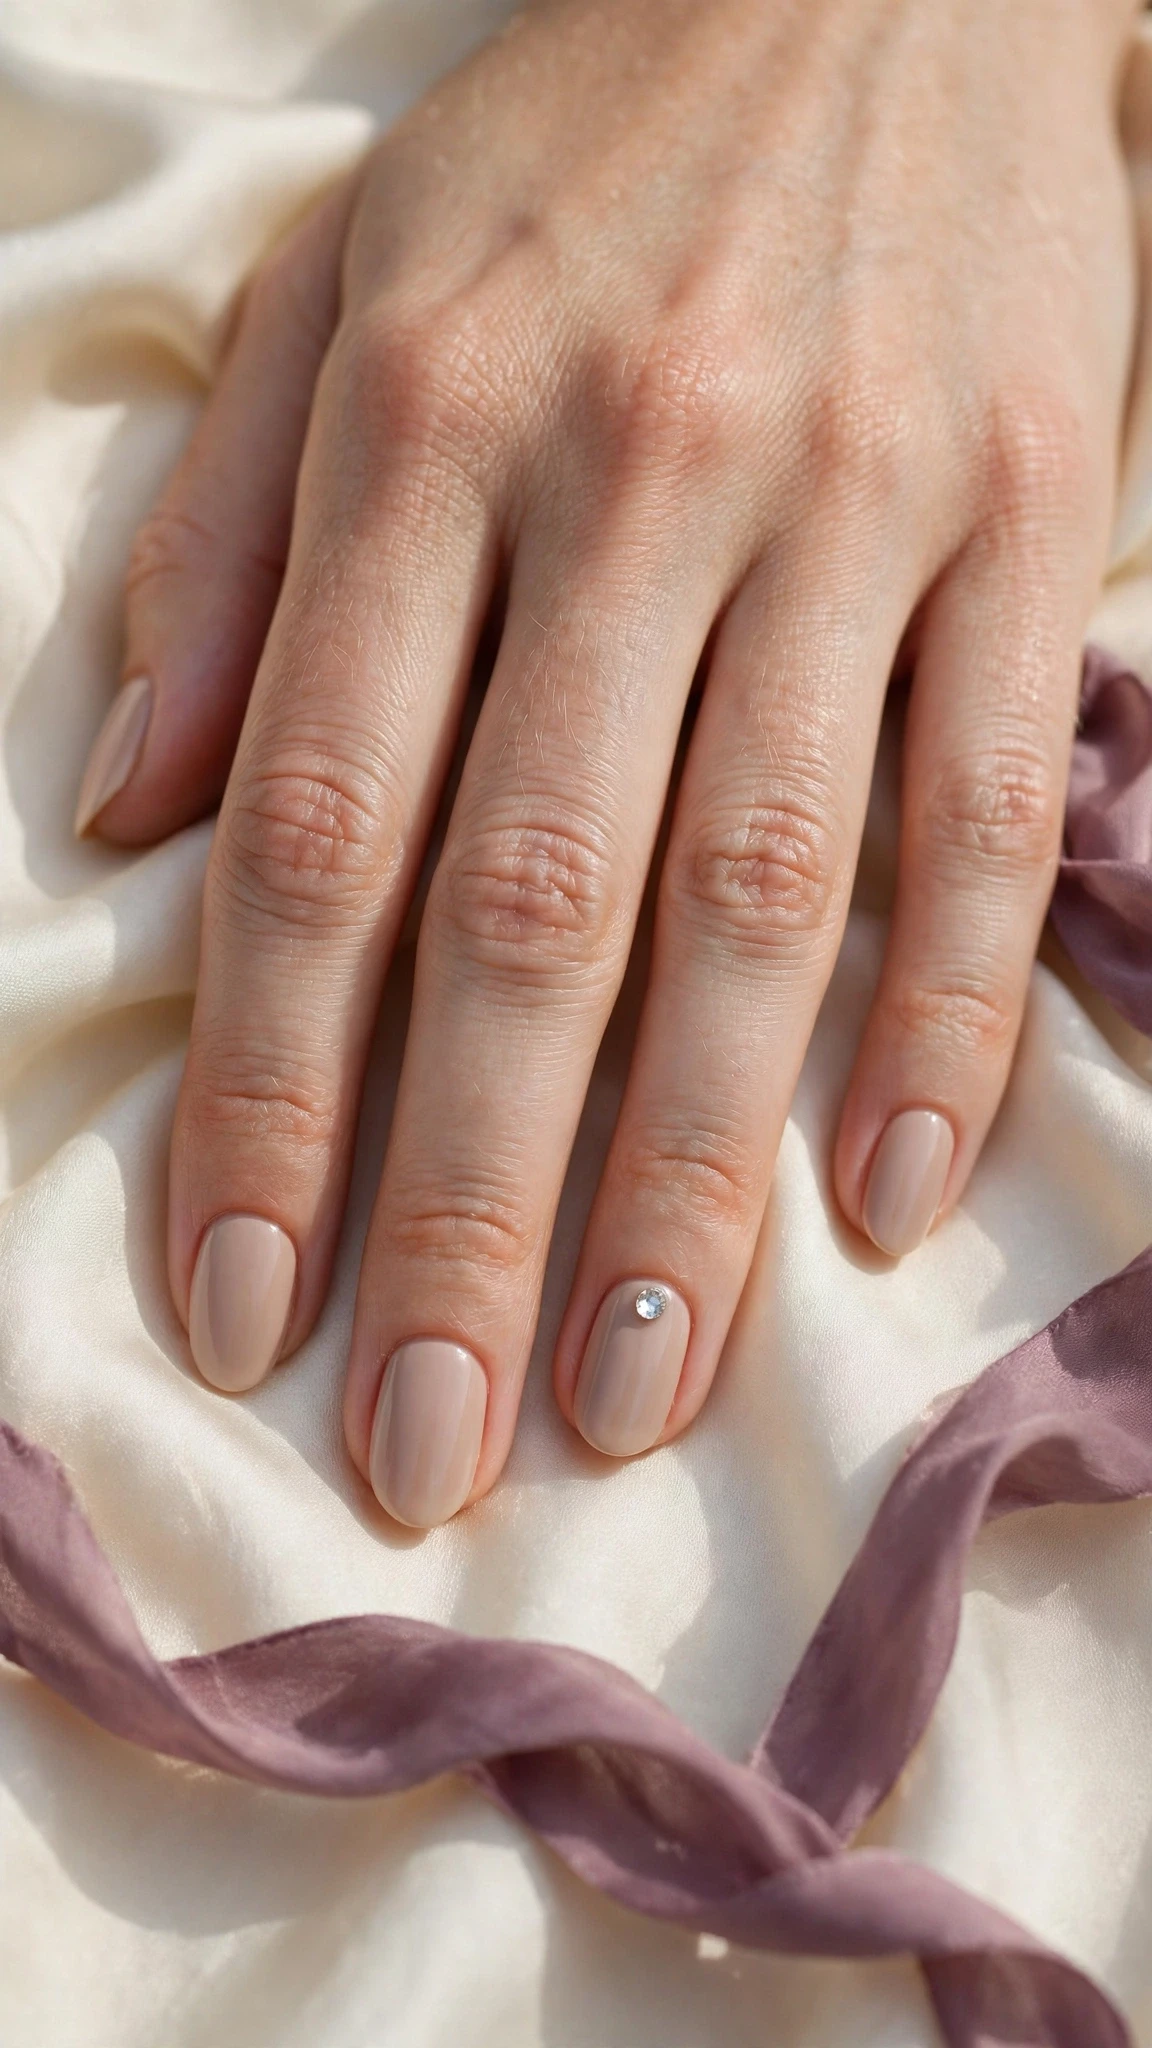
A solo crystal on a nude manicure, placed at the centre of the ring finger nail. The nude base lets the stone be the only colour on the hand, so the look is clean, modern, and quietly expensive — a favourite for work and for minimalists.
Tip: A nude that matches your skin tone makes the stone look like it is floating.
5. Single Rhinestone on Short Nails

A single rhinestone on short nails, over a sheer pink base. Short nails suit simple rhinestone nail designs best of all, because one stone fills the small canvas without crowding it — proof that you do not need length for sparkle.
Tip: On short nails, choose the smallest stones, so the crystal does not overwhelm the nail.
Minimal French with Rhinestones
French tips, finished with a stone. These five simple rhinestone nail designs pair a classic or pastel French tip with one small crystal, so the timeless manicure gets a gentle glint.
6. Pastel French with One Crystal

French tips in pastel pink, with one small crystal at the base of the ring finger tip. The pastel tip softens the classic French, and the single stone adds a glint exactly where the eye lands — a gentle spring look that works all year.
Tip: Use a different pastel on each nail for a playful set, or one pastel for a calmer look.
7. White French with Rhinestone Tips

A classic white French tip with a single crystal on the smile line of each ring finger. The white tip keeps the look timeless, and the crystal adds just enough sparkle to feel special without changing the character of the manicure.
Tip: Place the crystal where the tip meets the base, so it looks like part of the French line.
8. Micro French with a Single Stone

A micro French tip — a very thin white line — with one tiny crystal at the cuticle of the ring finger. The whisper-thin line keeps the look delicate, and the single stone gives it a focal point — the most understated French in this set.
Tip: A micro tip is the easiest French to do at home, and it suits short nails well.
9. Gold French with Tiny Crystals

Gold French tips with a row of three tiny crystals along the base of each ring finger. The gold tip already glints, and the small stones echo it without adding colour — a warm, gilded take on simple rhinestone nail designs.
Tip: Keep the gold tip thin, or the crystals can get lost against the metallic edge.
10. Baby Pink French with One Rhinestone

Baby pink French tips on a sheer nude base, with one crystal on the ring finger. The soft pink tip feels romantic and fresh, and the single stone makes the set feel finished — a pretty choice for spring, weddings, and anyone who loves pink in its quietest mood.
Tip: Baby pink tips look best with a glossy top coat, which keeps the shade from looking chalky.
Soft & Sheer Rhinestone
Stones on the softest bases. These five designs wear a few small crystals over milky white, blush, nude, and sheer shades, so the sparkle feels like part of the skin, not an addition to it.
11. Milky White with One Stone
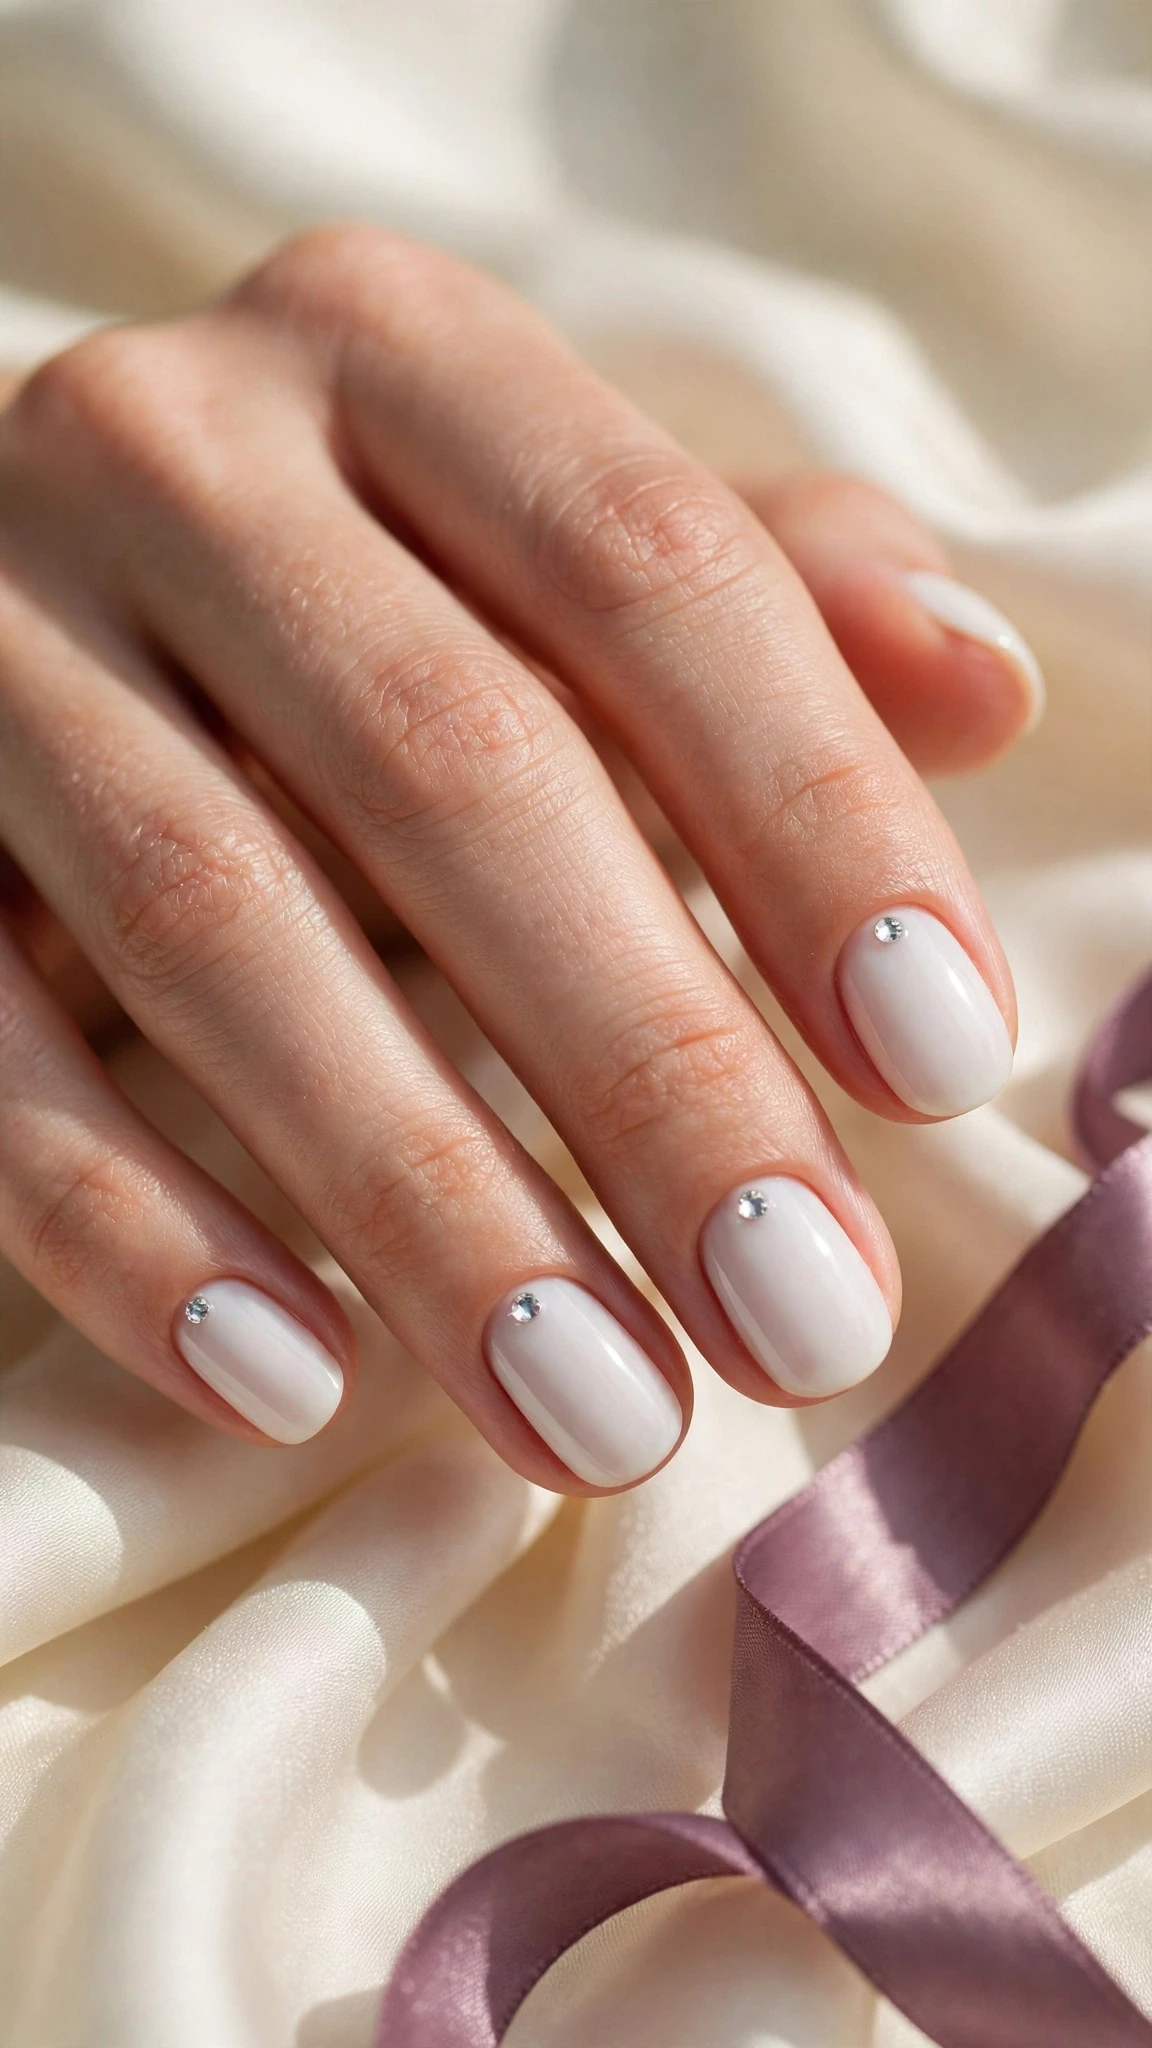
A milky white base with one small crystal at the cuticle of each nail. The hazy white feels clean and modern, like a glass of milk, and the single stone adds a point of light — a calm, expensive-looking manicure that suits every outfit.
Tip: Milky white needs two thin coats for full, even coverage.
12. Blush with Tiny Stones
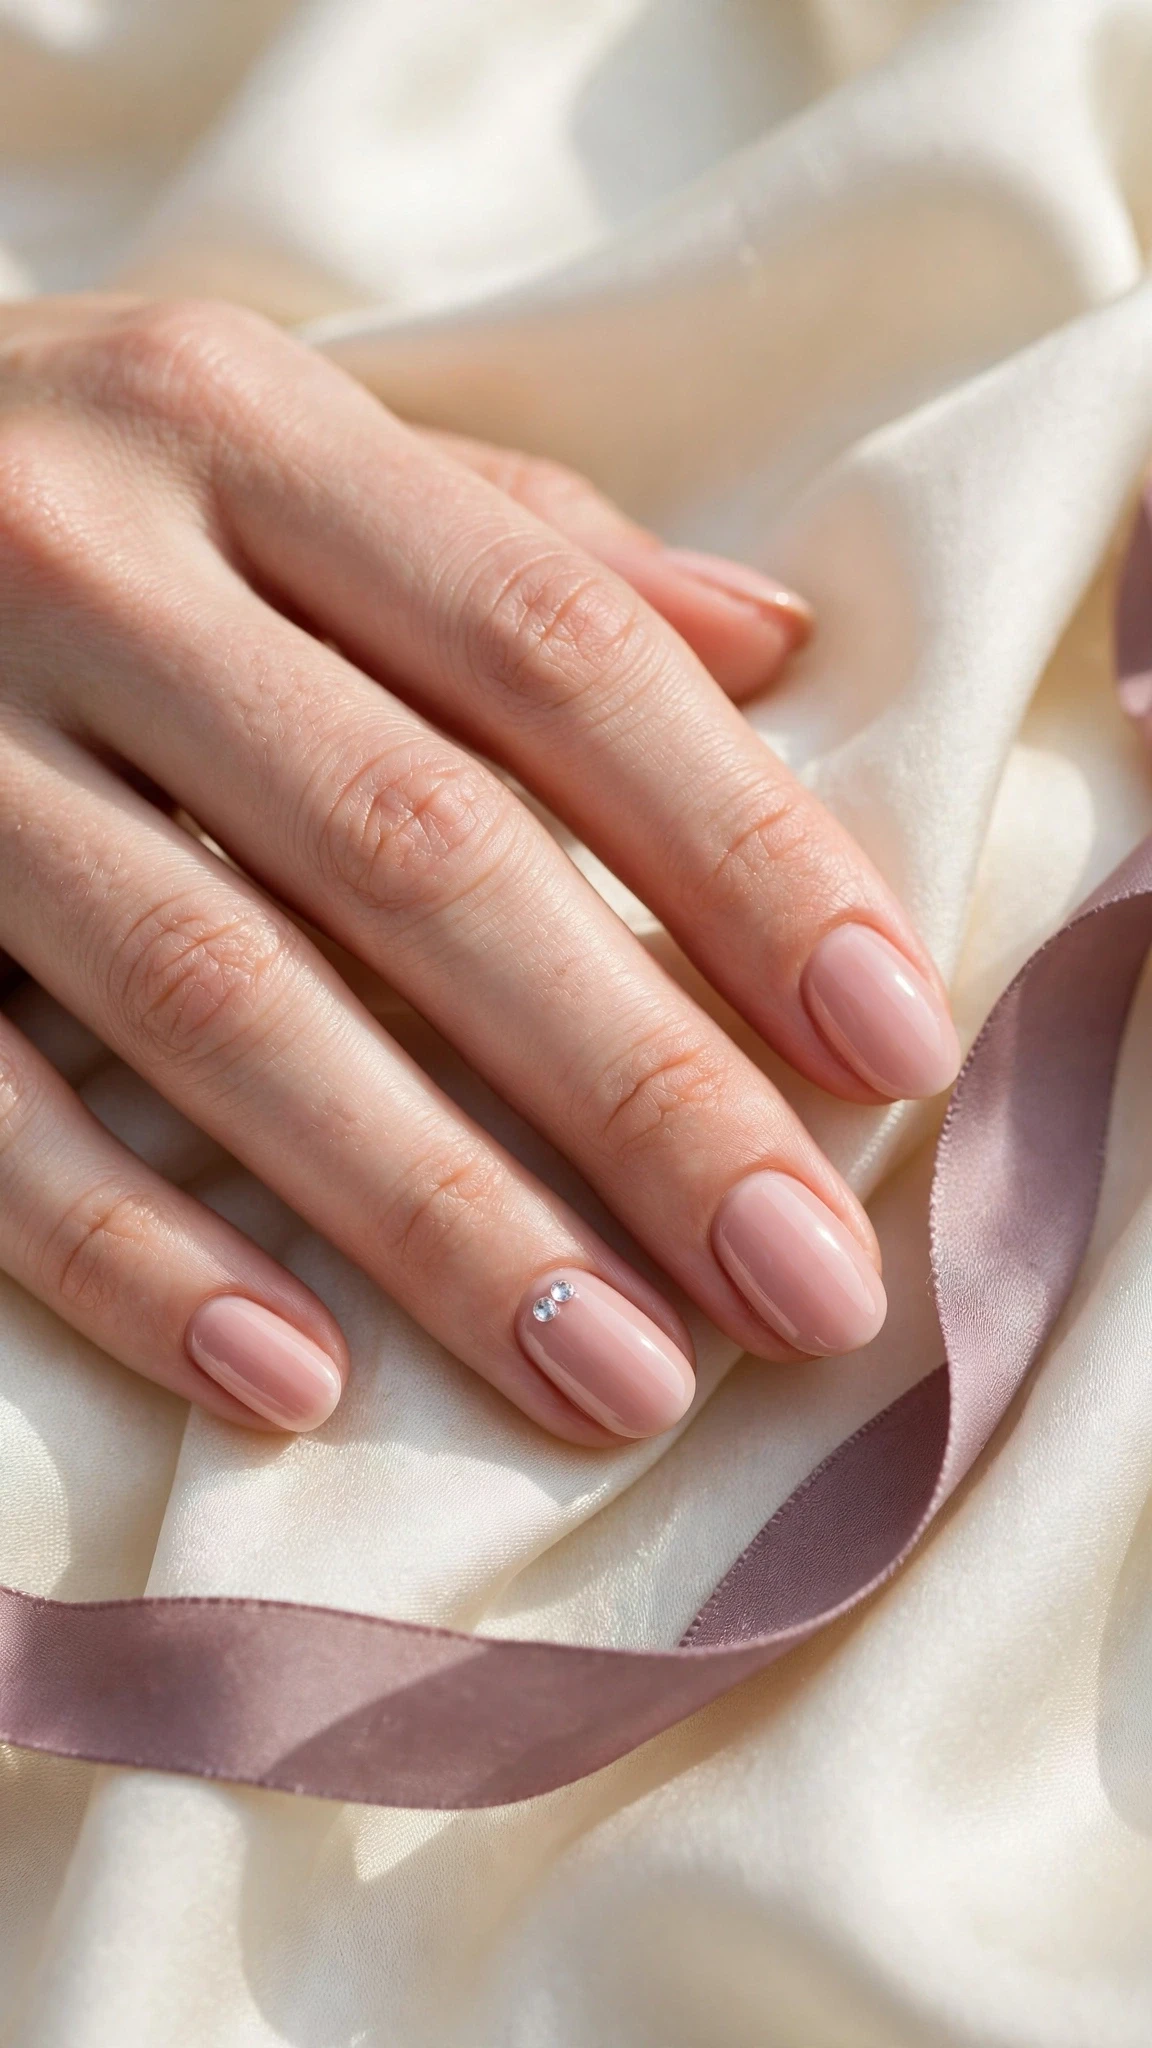
A blush pink base with two tiny crystals on the ring finger, placed like a small pair. The soft pink feels warm and romantic, and the paired stones add a touch of sparkle without breaking the calm of the colour — a gentle, feminine choice.
Tip: Place the two stones close together, like a pair of earrings, for the prettiest effect.
13. Nude with a Crystal Curve

A nude base with five tiny crystals following the curve of the cuticle on the ring finger. The curved line echoes the shape of the nail, so the stones feel like part of the manicure rather than stuck on top — a graceful, architectural detail.
Tip: Follow the natural curve of the cuticle, and keep the stones the same size.
14. Clear Base with Crystal Sprinkle
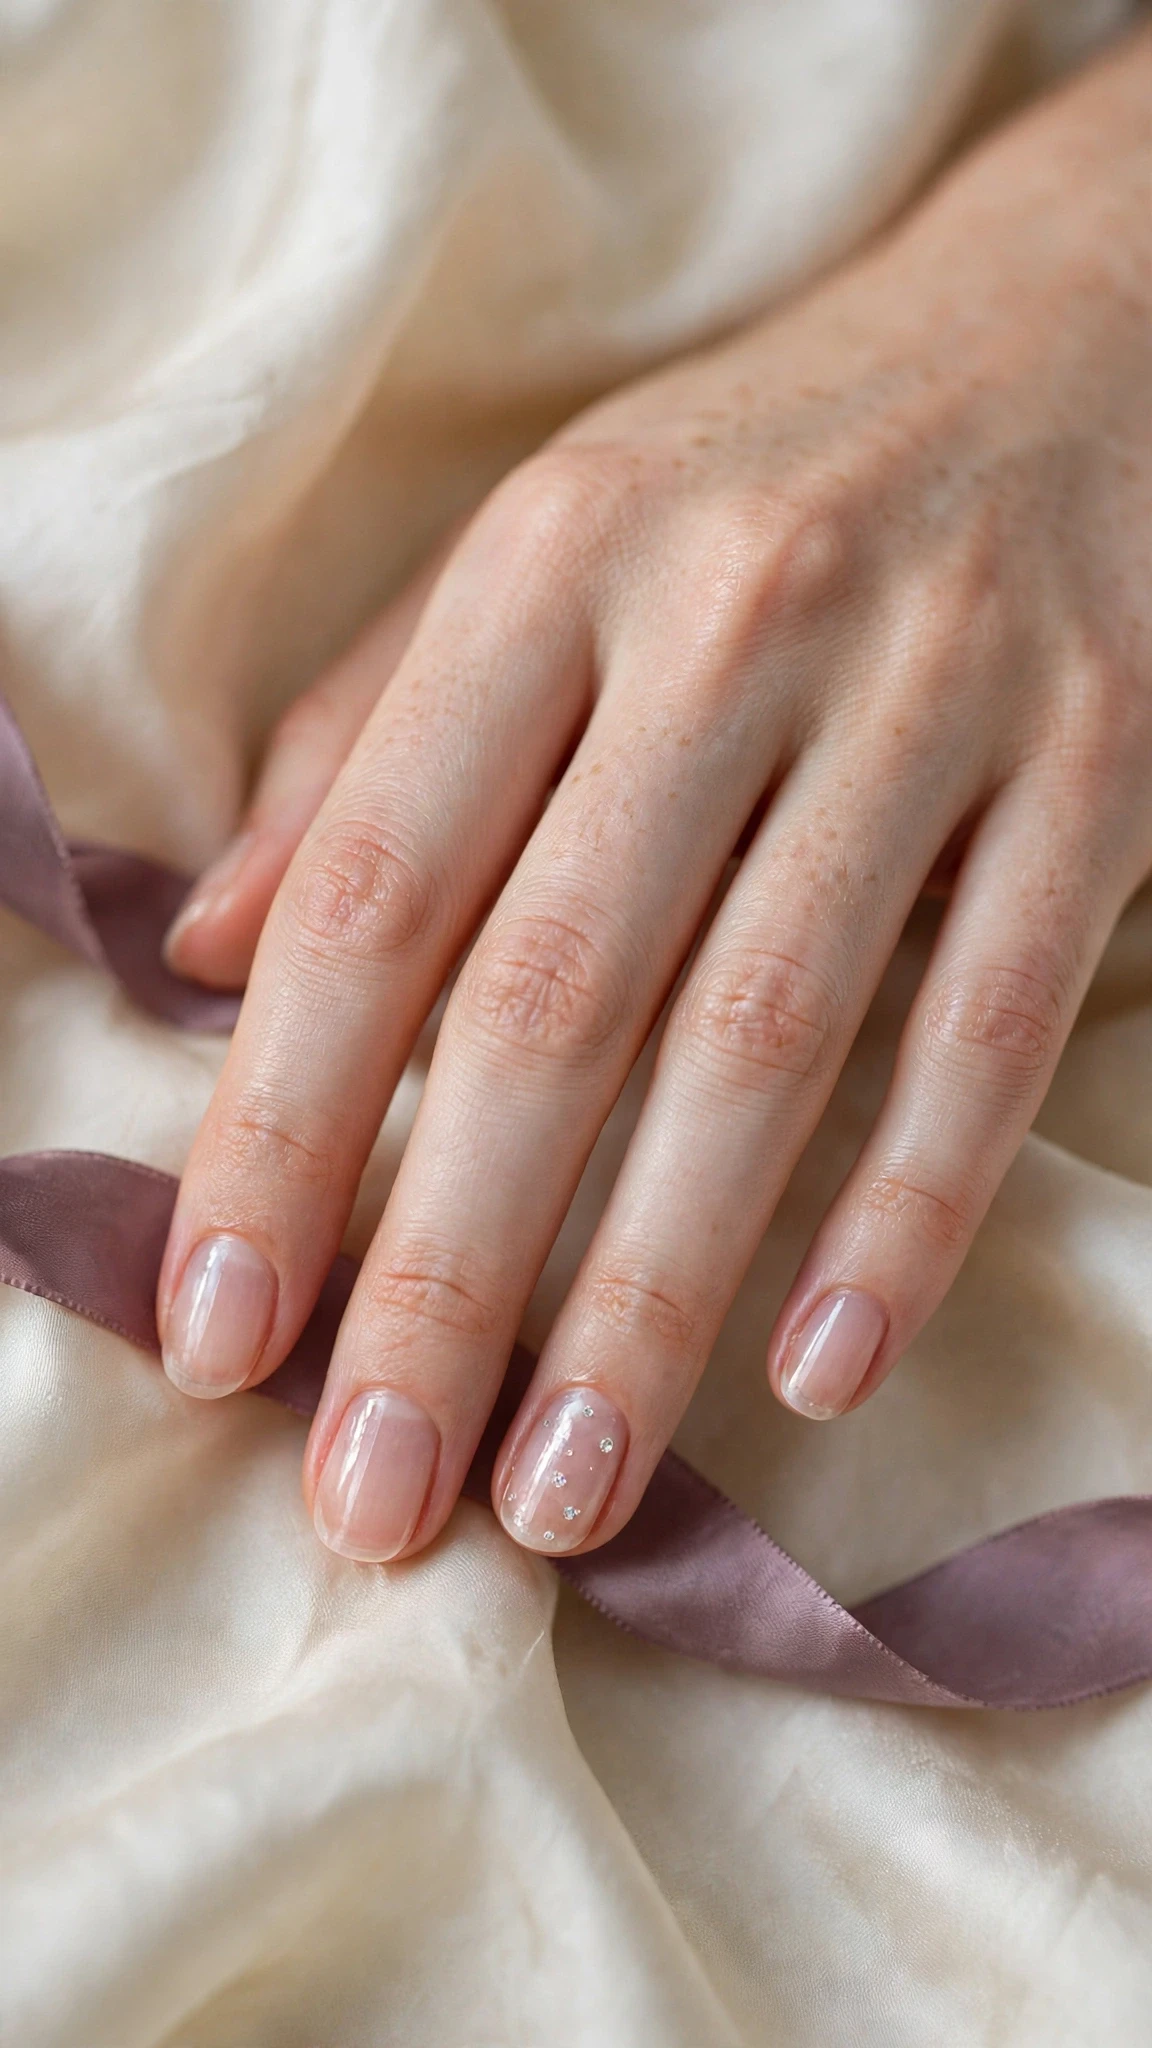
A clear, glossy base with a light sprinkle of tiny crystals across the ring finger only. The bare nail shows through, so the stones look like dew on glass — the airiest of these designs, and a lovely choice for summer.
Tip: Use the smallest crystals for a sprinkle, or the design can look heavy.
15. Soft Grey with a Single Crystal
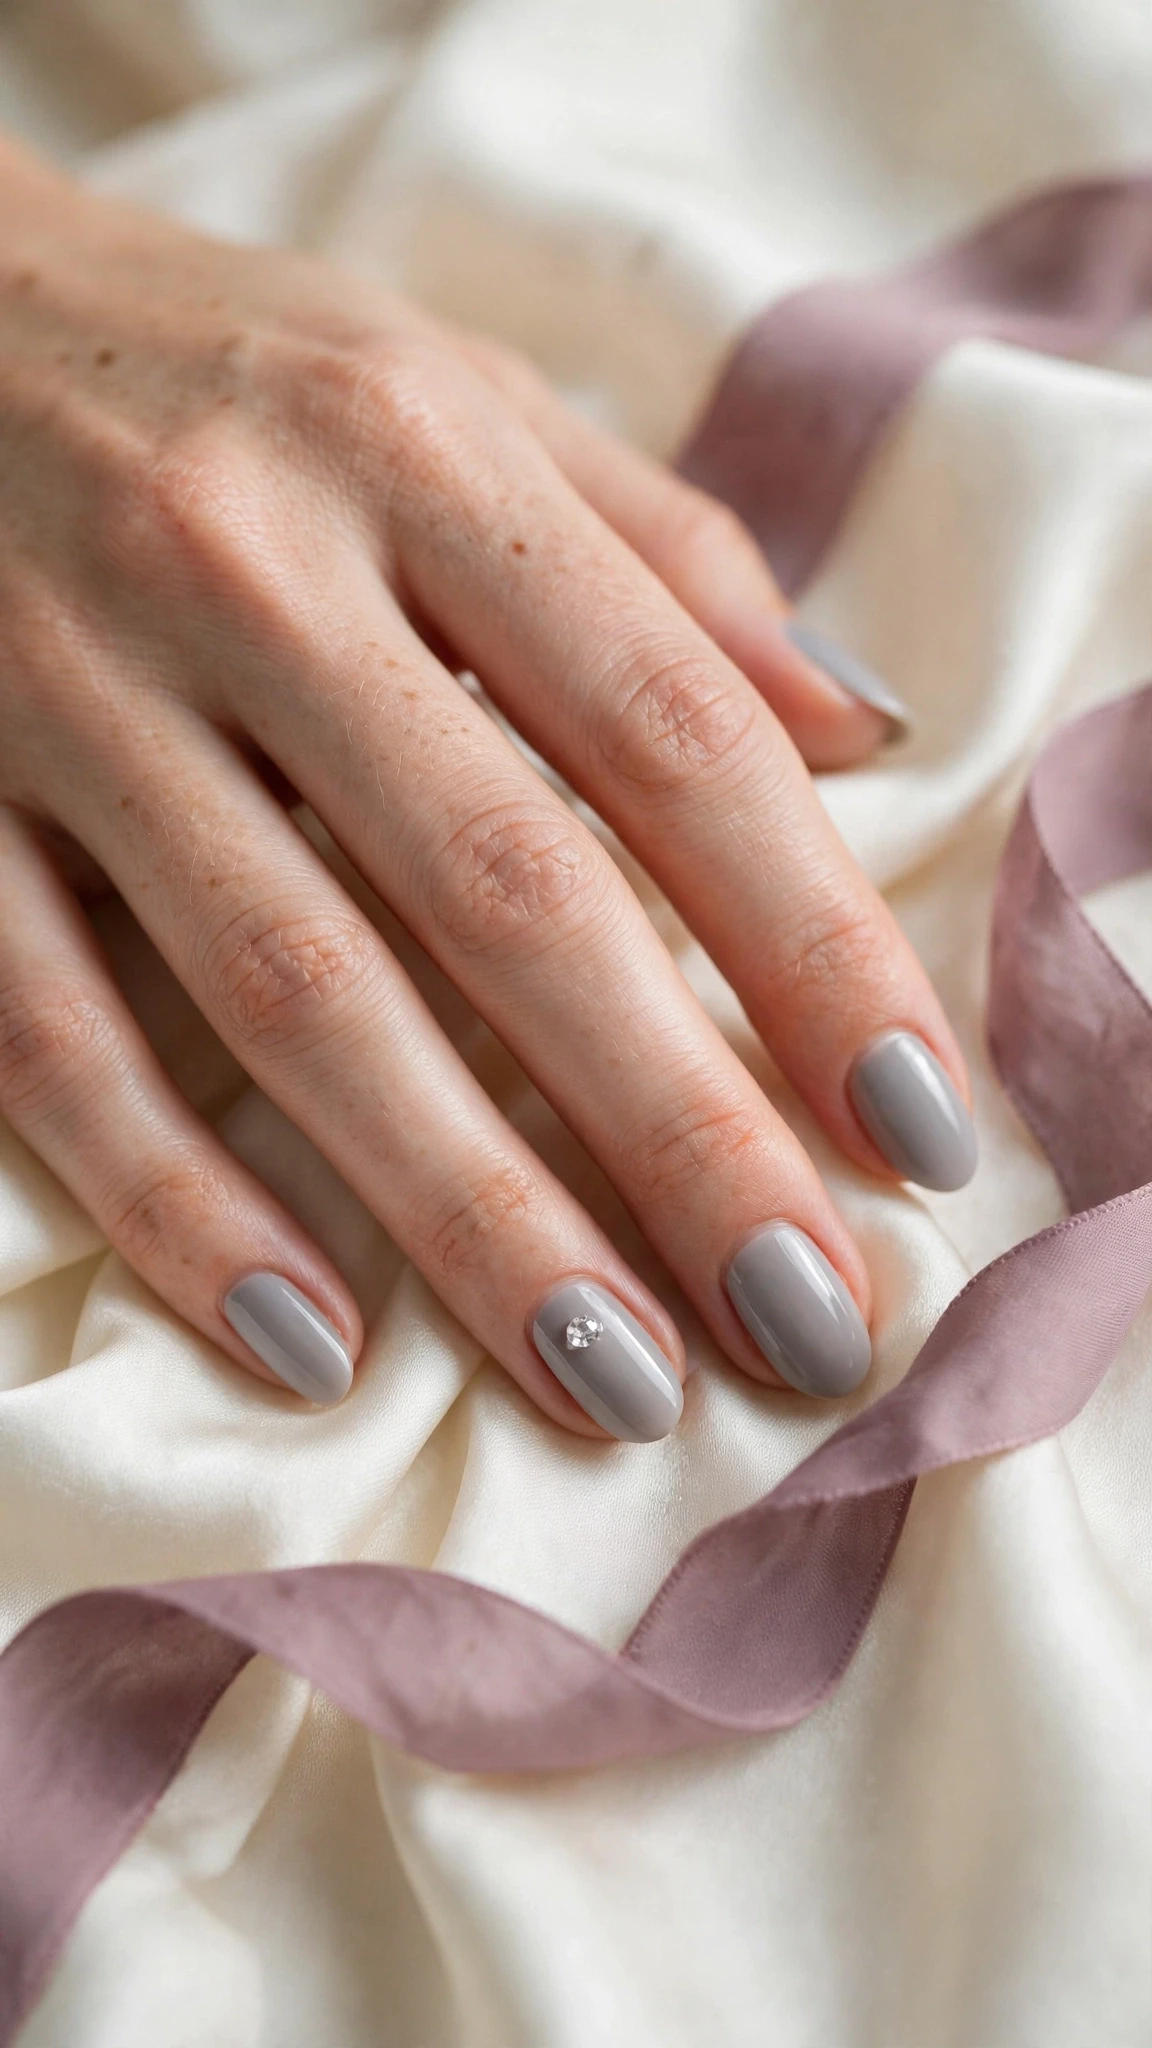
A soft grey base with one crystal at the centre of the ring finger nail. The cool grey feels modern and understated, and the single stone adds a cool glint that matches the shade — one of the calmest simple rhinestone nail designs, and a chic, minimal choice for anyone who likes neutral nails with a twist.
Tip: Soft grey pairs beautifully with silver jewellery and cool-toned outfits.
Simple Elegant Occasion
Sparkle for special days, kept simple. These five simple rhinestone nail designs are made for weddings, parties, and date nights — a pearl, a gold stud, or one crystal, placed where it counts.
16. Bridal Single-Stone

The bridal single-stone: a sheer white tip over a nude base, with one crystal on the ring finger, placed like an engagement ring. It is the most elegant bridal set here — timeless, photogenic, and made to be worn with a ring.
Tip: Book a trial run before the wedding so the stone size and placement are exactly right.
17. Pearl and One Crystal
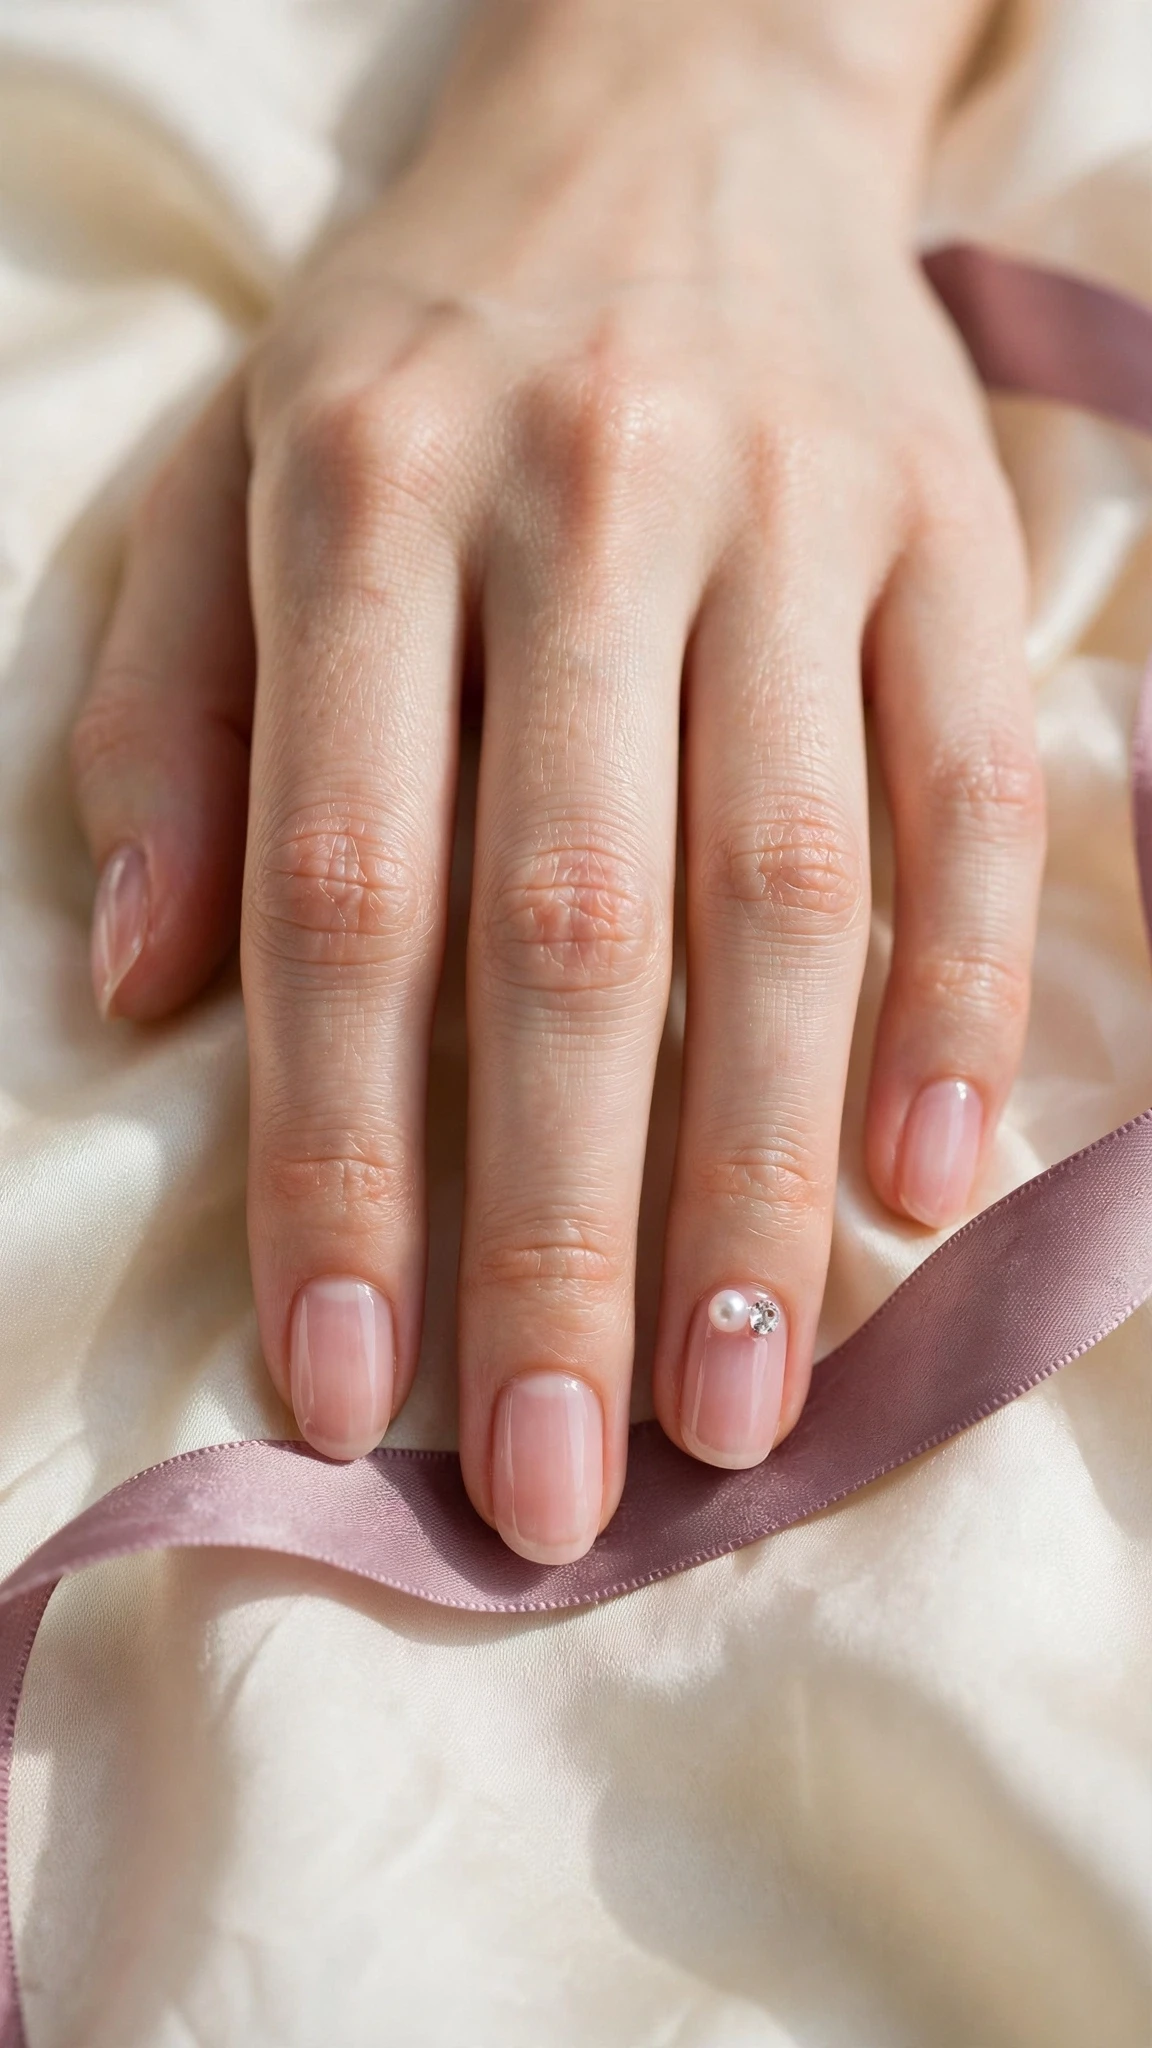
A sheer pink base with one tiny pearl and one crystal side by side on the ring finger. The pearl adds a round, soft shine next to the crystal’s sharp glint, so the set feels like evening jewellery — refined, romantic, and made for special occasions.
Tip: Glue pearls onto tacky top coat and seal around them, not over them, to keep their shine.
18. Gold Stud and Crystal

A small gold stud and a single crystal, placed together at the cuticle of the ring finger, over a nude base. The gold and crystal catch the light in different ways, so the accent feels layered rather than flat — a modern, gilded detail for parties.
Tip: Place the stud first, then the crystal beside it, so the pair sits neatly.
19. Minimal Black with One Crystal

A glossy black base with one crystal at the cuticle of the ring finger. The dark base makes the single stone shine brighter, so the contrast does all the work — a bold, minimal look that suits evenings and anyone who loves dark nails with a twist.
Tip: Black polish shows every edge, so keep the cuticle line clean before placing the stone.
20. Date-Night Single Stone

A deep red base with one crystal on the ring finger, placed at the cuticle. The red feels confident and romantic, and the single stone adds a glint that catches candlelight — the most flirtatious of these simple rhinestone nail designs, made for evenings out.
Tip: Deep red needs two coats and a steady hand at the cuticle for a clean edge.
Easy At-Home Rhinestone
Stones you can place yourself. These five designs use the simplest techniques — dots, half moons, and cuticle crescents — so anyone can try rhinestones at home with a dotting tool and a steady hand.
21. Crystal Dot Manicure
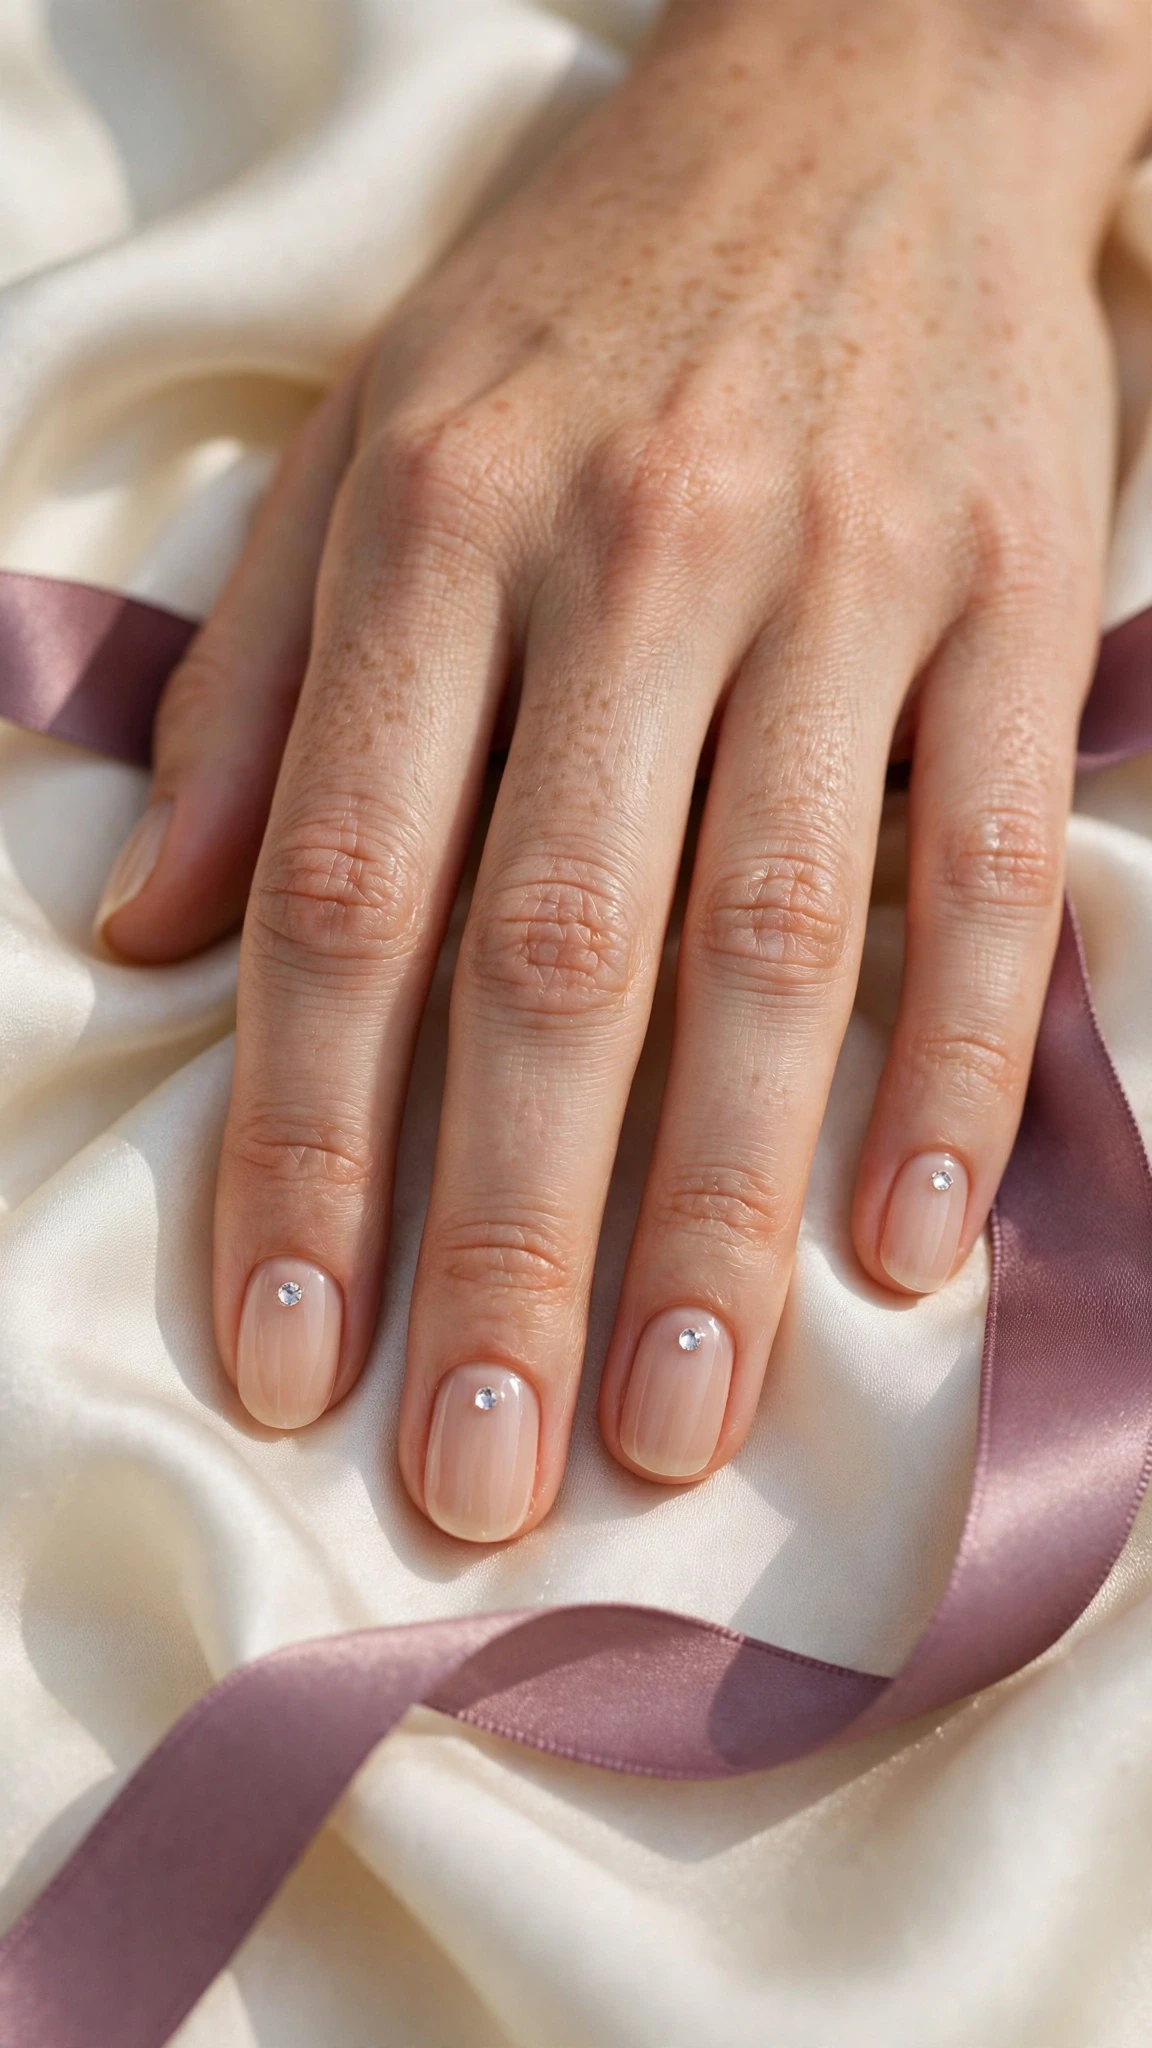
One tiny crystal in the centre of each nail, over a sheer nude base — a dot manicure, but with stones instead of polish. The repeated dot feels playful and neat, like a row of tiny jewels, and it is the easiest rhinestone design to do at home.
Tip: Use a dotting tool or a toothpick to place each stone exactly in the centre.
22. Simple Rhinestone Half Moon
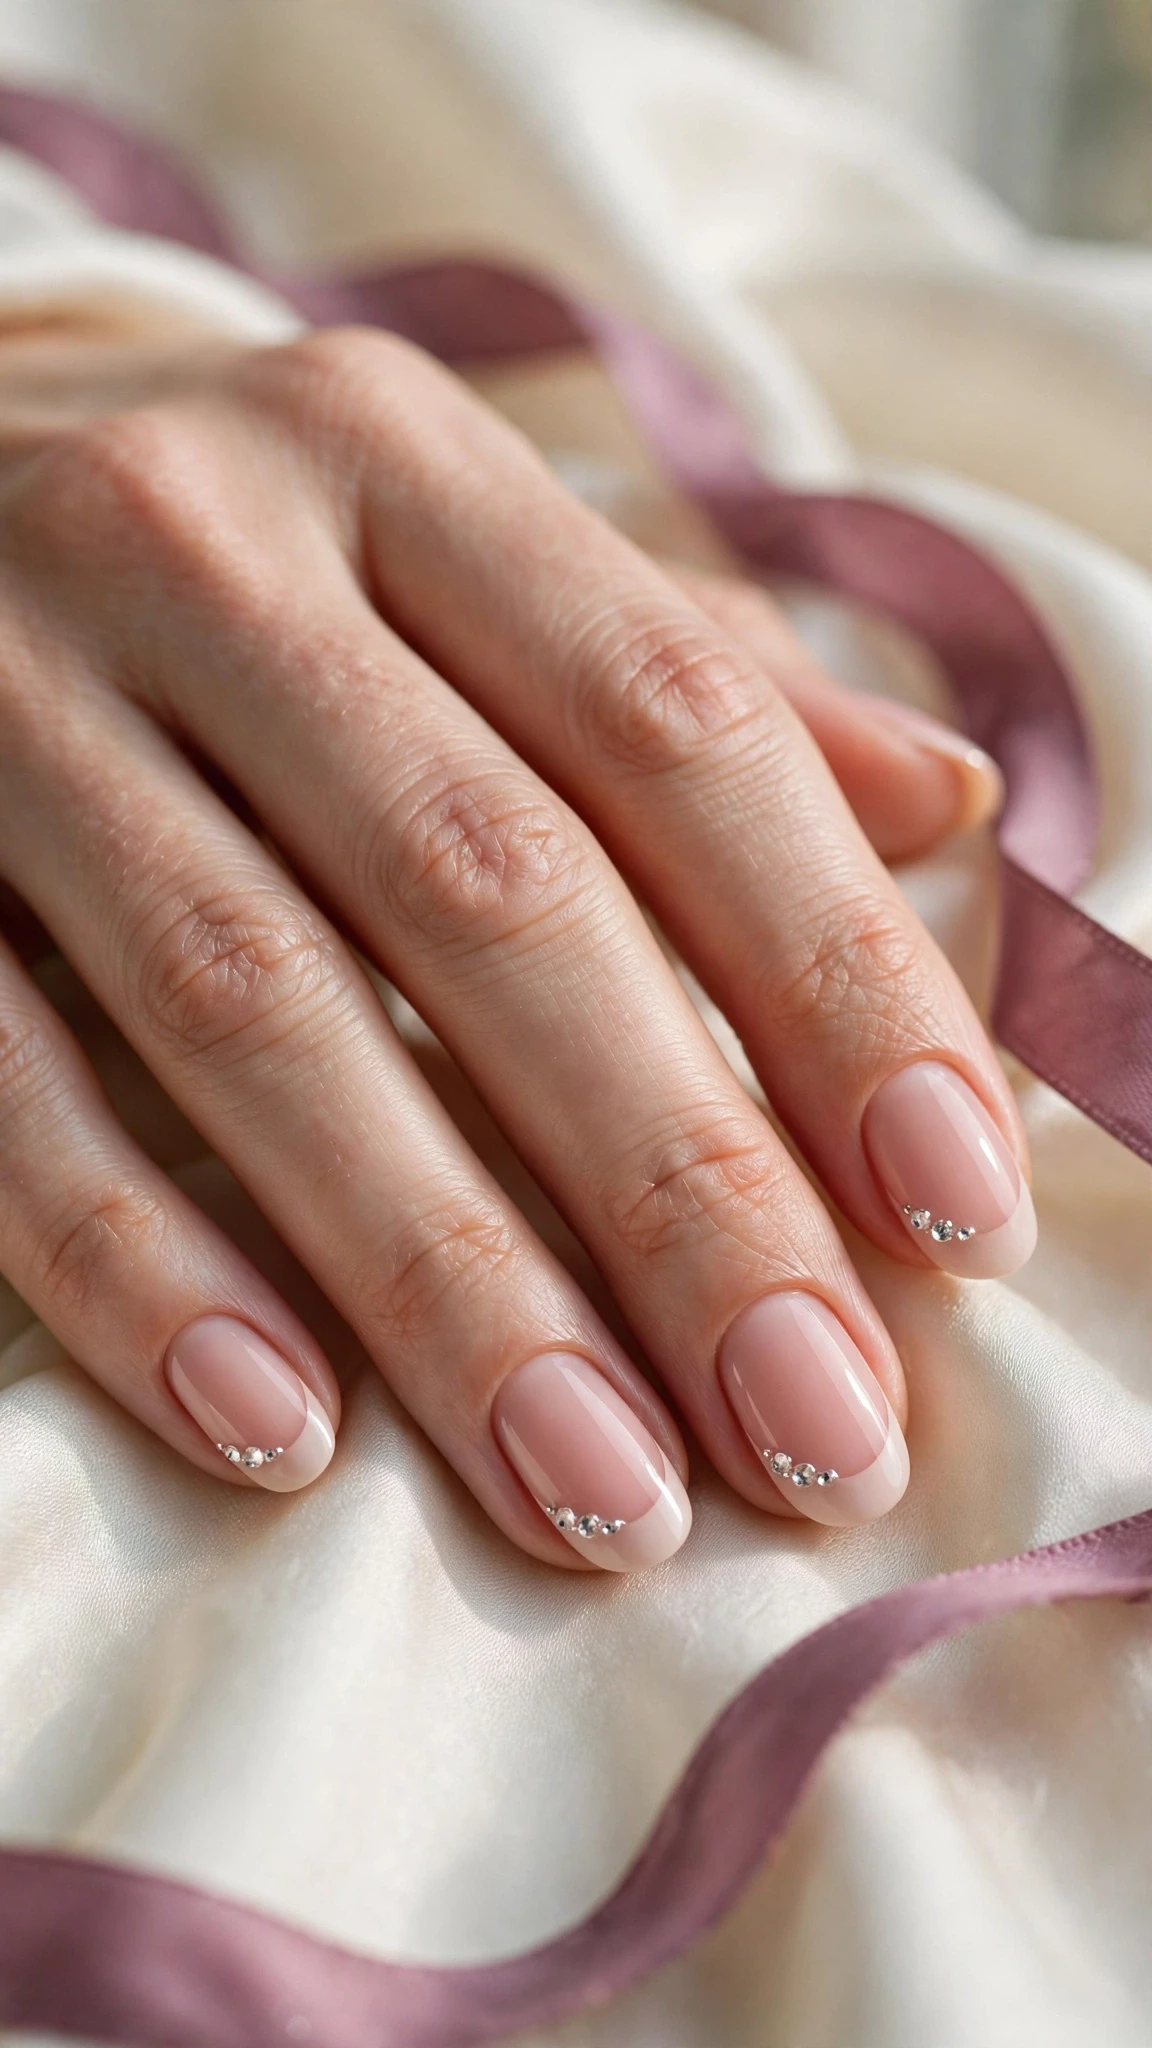
A half-moon design with three tiny crystals following the curve at the base of each nail, over a blush base. The crescent shape is classic and easy to paint, and the stones trace it like a delicate necklace — a vintage touch that still feels fresh.
Tip: Paint the half moon first, let it dry, then place the stones along the curve.
23. Crystal Cuticle Crescent

A crescent of five tiny crystals hugging the cuticle of the ring finger, over a milky white base. The crescent frames the nail like a tiara, so the sparkle feels regal rather than random — a pretty, easy design for a special day.
Tip: Start with the centre stone and work outward, so the crescent stays symmetrical.
24. Rhinestone French Fade
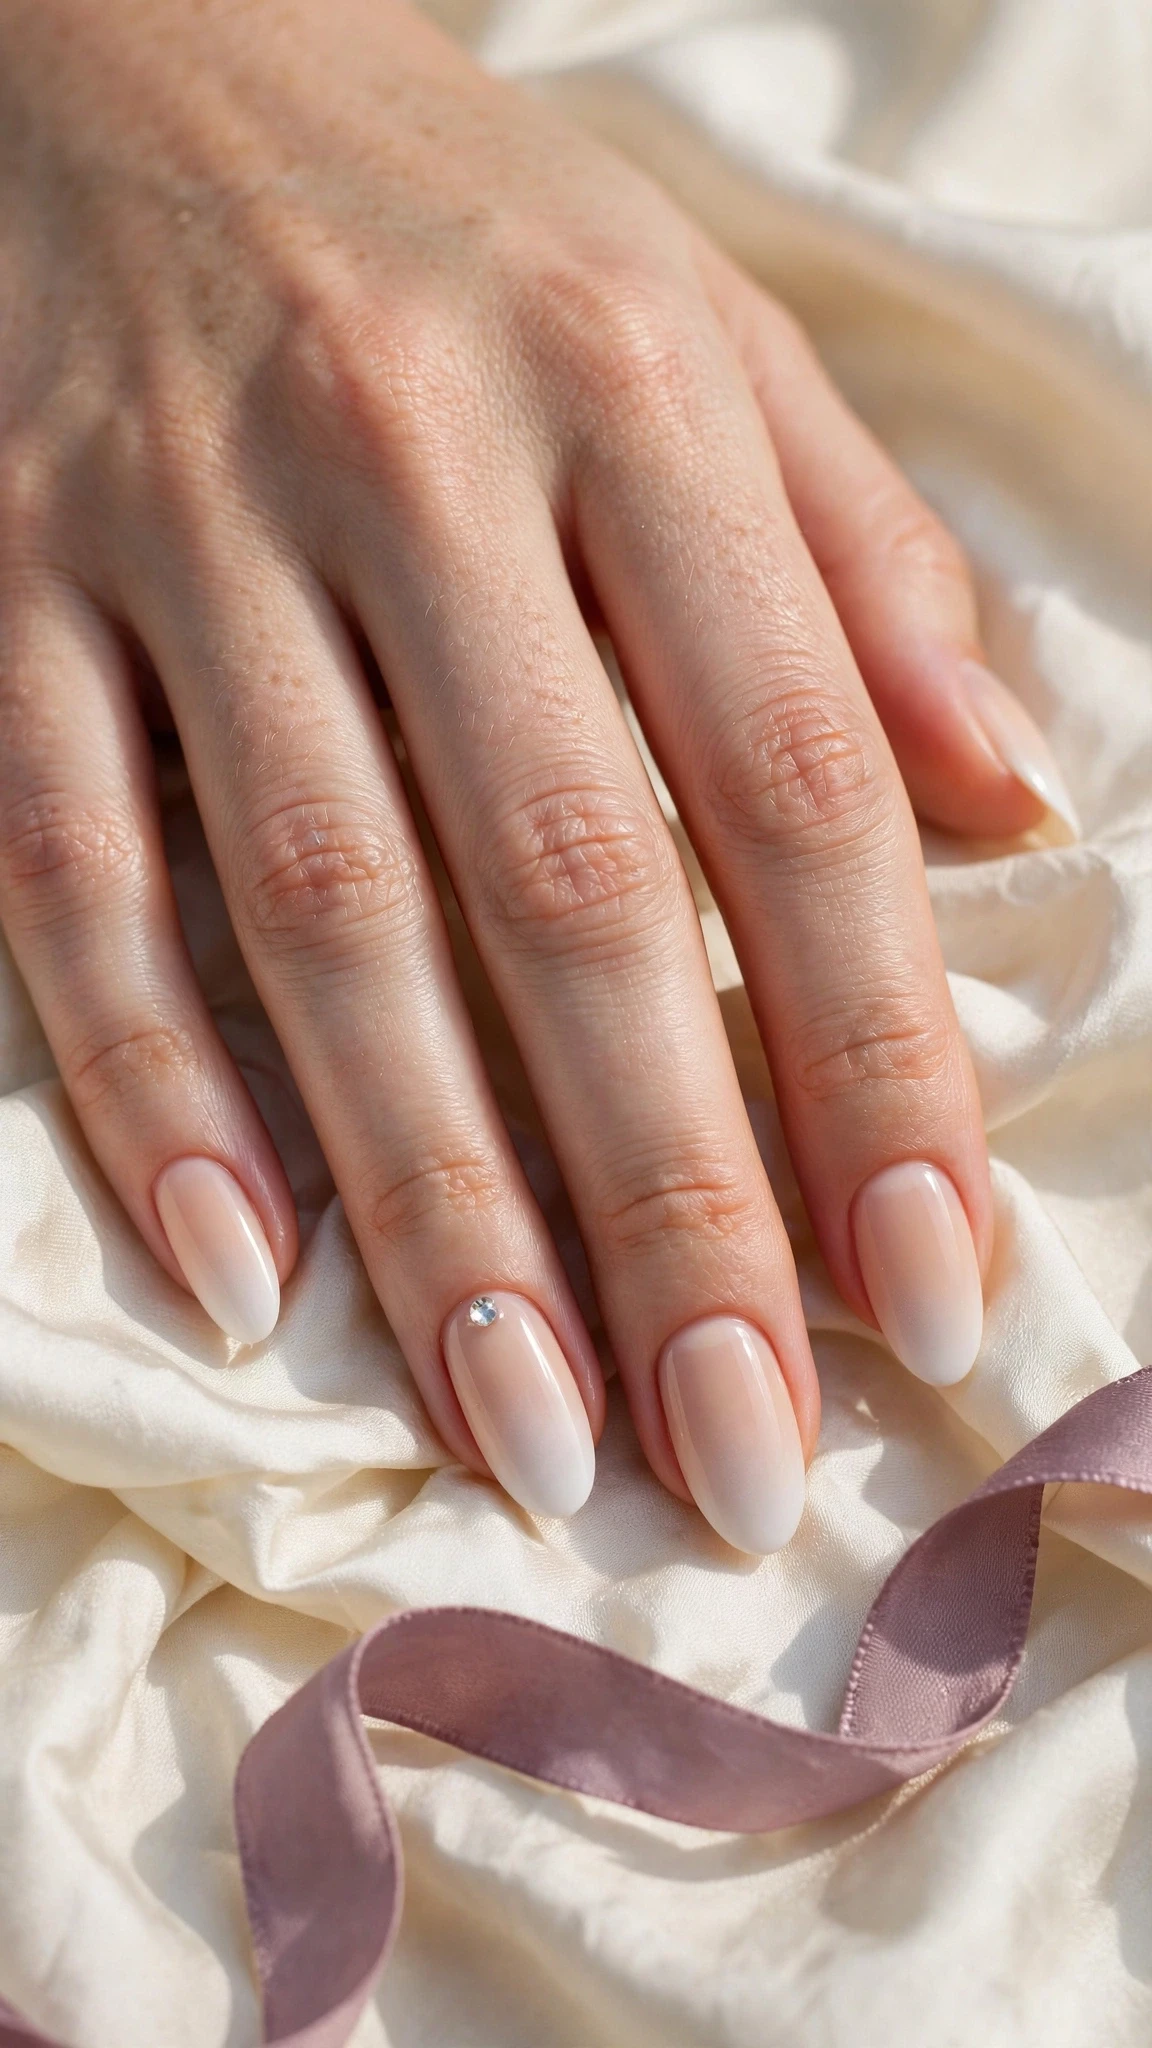
An ombre French fade — white melting into nude — with one crystal where the fade begins on the ring finger. The soft gradient keeps the look gentle, and the single stone marks the point where the colours meet — the softest French in this set.
Tip: Blend with a makeup sponge in thin layers; two passes give a smoother fade than one heavy one.
25. Simple Rhinestone Accent Trio
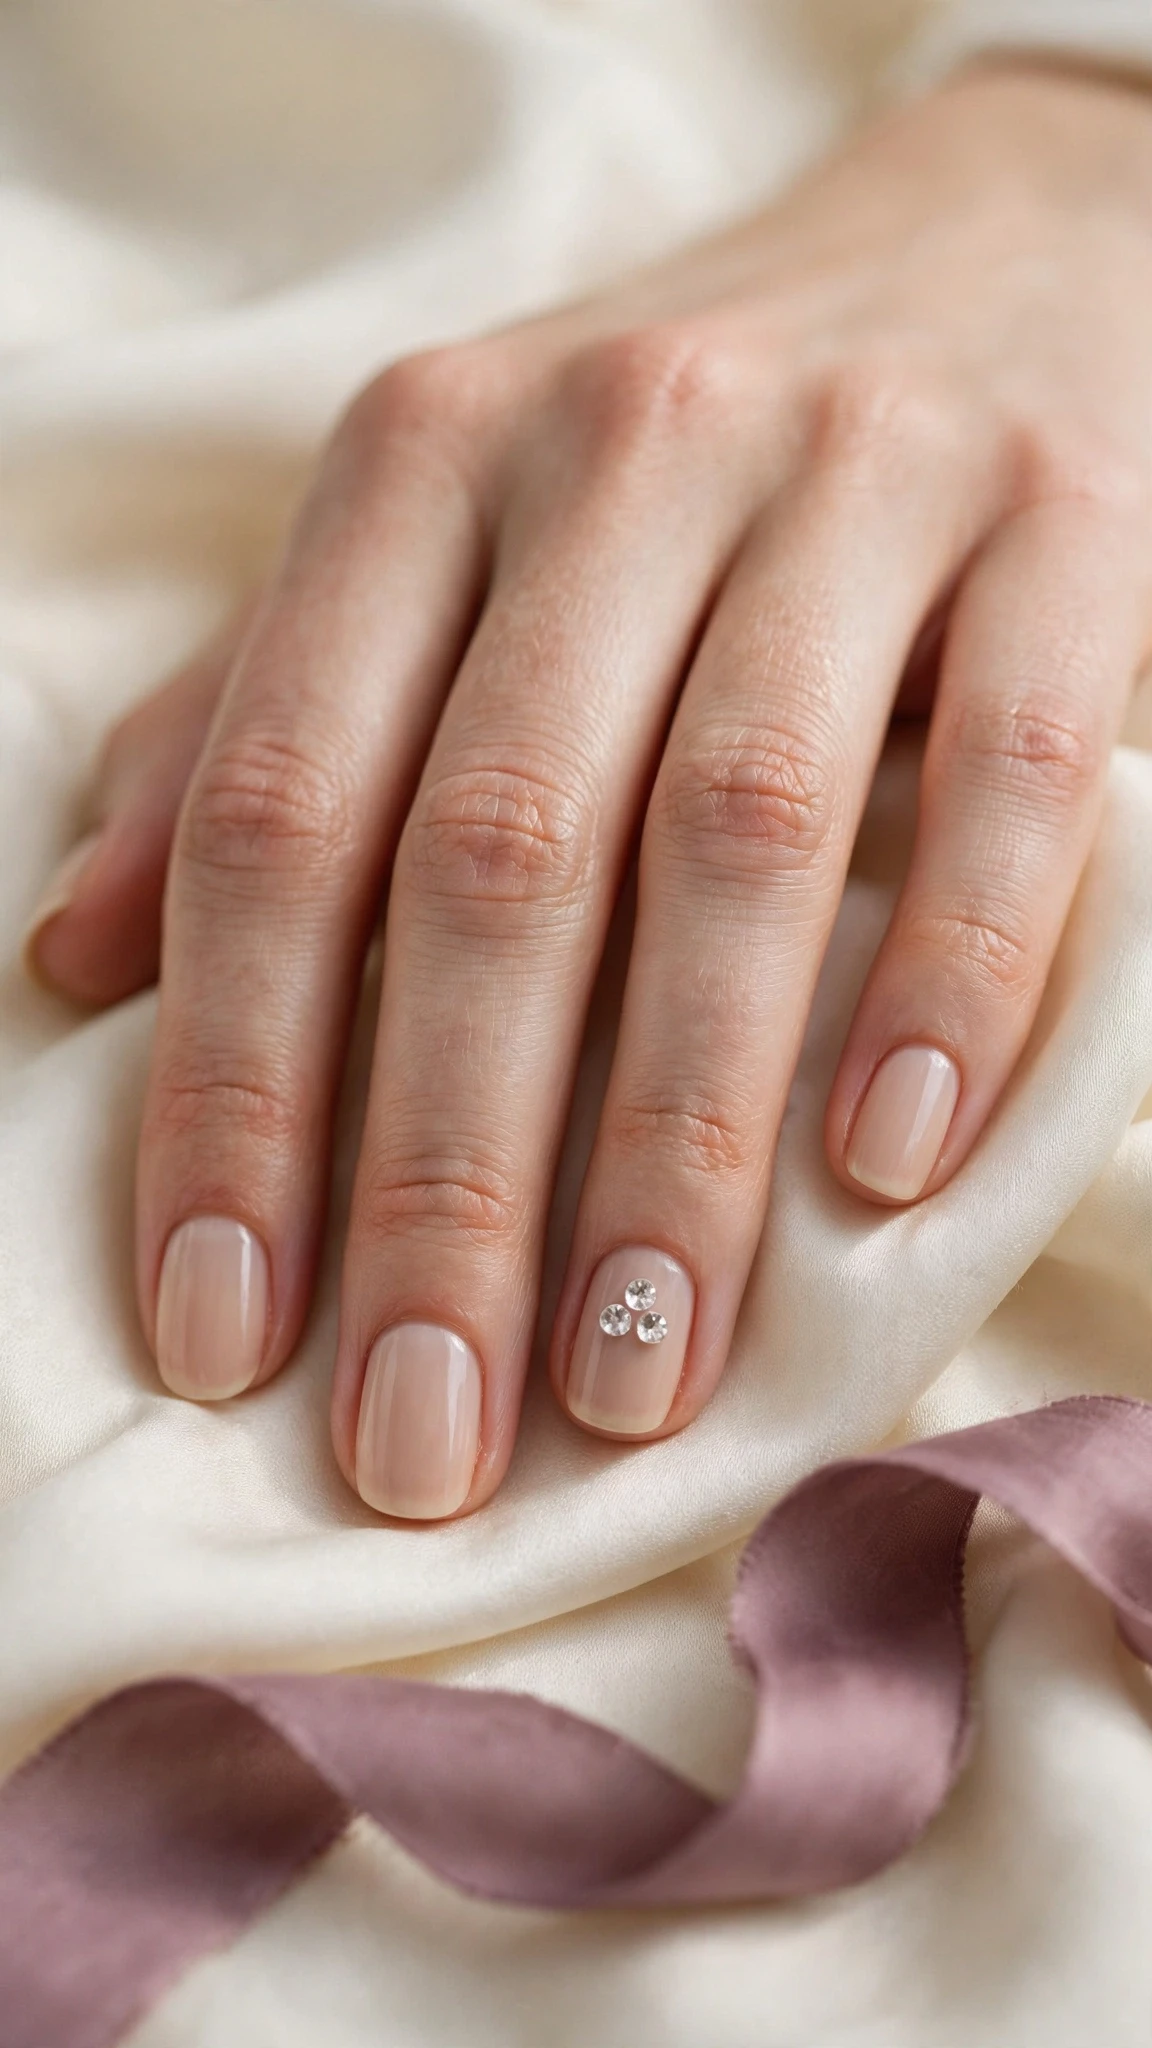
Three small crystals in a neat triangle on the ring finger, over a nude base, with the other nails plain. The trio is the boldest of these simple rhinestone nail designs — three stones, one nail, and nothing else — so the accent feels deliberate and complete.
Tip: Keep the triangle small and tight, or the three stones can look scattered.
How to Care for Simple Rhinestone Nails
Simple rhinestone nail designs last longest when the stones are sealed properly. According to the American Academy of Dermatology, keeping nails moisturized and avoiding harsh chemicals helps any manicure last longer — and rhinestones benefit most, because dry, brittle nails let stones lift at the edges.
Seal every stone with two coats of clear top coat, wrapping the edges of each crystal so water cannot get underneath. Reapply top coat every two or three days, and wear gloves for washing up and cleaning, since hot water and detergents loosen the glue faster than anything else.
If a stone falls off, do not pick at the rest — remove the remaining stones gently with an orangewood stick and a little acetone on a cotton bud, then reapply. And never use rhinestone nails as tools: opening cans or scraping labels puts all the pressure on the stones, which is where they pop off first.
Final Thoughts
From a single crystal on a nude nail to a tiny stone on a French tip, simple rhinestone nail designs prove that sparkle works best in small doses. The stones add light without adding fuss, so each of these 25 designs works on its own — pick the mood that matches your week and let one crystal do the talking.
Which of these 25 designs is your favourite? Try one this week, and keep the rest of the manicure plain so the rhinestones get the spotlight they deserve.
More Nail Ideas
See also: Bling Nail Designs: Rhinestones & Glam Ideas
See also: Simple Nail Designs: 40+ Easy Polished Ideas (2026)
See also: Gold Glitter Nails: 25+ Gorgeous Shiny Designs (2026)
Frequently Asked Questions
What are simple rhinestone nail designs?
Simple rhinestone nail designs are manicures that use a small number of rhinestones — usually one to three stones per hand — on a plain or lightly coloured base. The stones are the accent, not the whole look, so the nails read as elegant first and sparkly second.
How many rhinestones should a simple design use?
One to three stones per hand is the sweet spot for simple rhinestone nail designs. A single stone on the ring finger is the classic choice; three small stones in a line or a triangle is the most you need before the look stops feeling simple.
Do rhinestones damage your nails?
Rhinestones do not damage healthy nails when they are applied and removed properly. Use nail glue or a tacky top coat to place them, seal with top coat, and remove them gently with an orangewood stick and a little acetone rather than picking them off, which can lift the top layer of the nail. Simple rhinestone nail designs are a safe way to try sparkle, because so few stones are involved.
How do you apply rhinestones at home?
Start with a dry base coat, then place a tiny dot of nail glue or tacky top coat where the stone should sit. Pick the stone up with a wax pencil or a damp dotting tool, press it gently into place, and seal with two coats of clear top coat, wrapping the edges of the stone.
How long do simple rhinestone nails last?
Simple rhinestone nail designs usually last two to three weeks with care. Seal the stones with two coats of top coat, reapply top coat every two or three days, wear gloves for cleaning, and avoid using the nails as tools — stones pop off first when they catch on something.
Can I wear simple rhinestone nails to work?
Yes — simple rhinestone designs are one of the most work-friendly ways to wear sparkle. One small crystal on a nude or blush base reads as polished and professional, where a full glitter or bling set might feel too much for a conservative workplace.
Compare Before You Choose
See the Closest Alternatives
Compare nearby shapes, colors and finishes before picking a final reference.
Recommended Next

Delicate Animal Print Nails: Fawn and Butterfly Wing Nail Art for 2026
Read the guide →