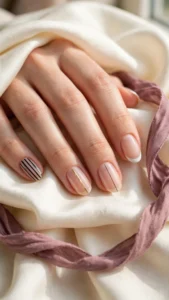
Builder gel nails are the strongest thing to happen to the at-home manicure in years. A builder gel is a thicker gel that adds real structure to the natural nail, so it can lengthen a short nail, fix a break, and hold a shape that regular gel polish never could. If your nails bend, peel, or snap just as they reach a nice length, builder gel is probably the product you have been looking for.
This guide explains everything about builder gel nails in one place: what builder gel is, the difference between hard and soft builder gel, how builder gel compares with gel polish, Gel-X, and acrylic, who it suits best, and a full ten-step application you can follow at home. You will also find aftercare, safe removal, and fixes for the most common problems, so your first set lasts instead of lifting in a week.
You do not need salon training to get a good result, but you do need a UV or LED lamp, because builder gel only hardens under light. If you are new to gel altogether, start with our guide on how to do gel nails at home to learn the basics of prep and curing before you add builder gel to the routine.
What Is Builder Gel?
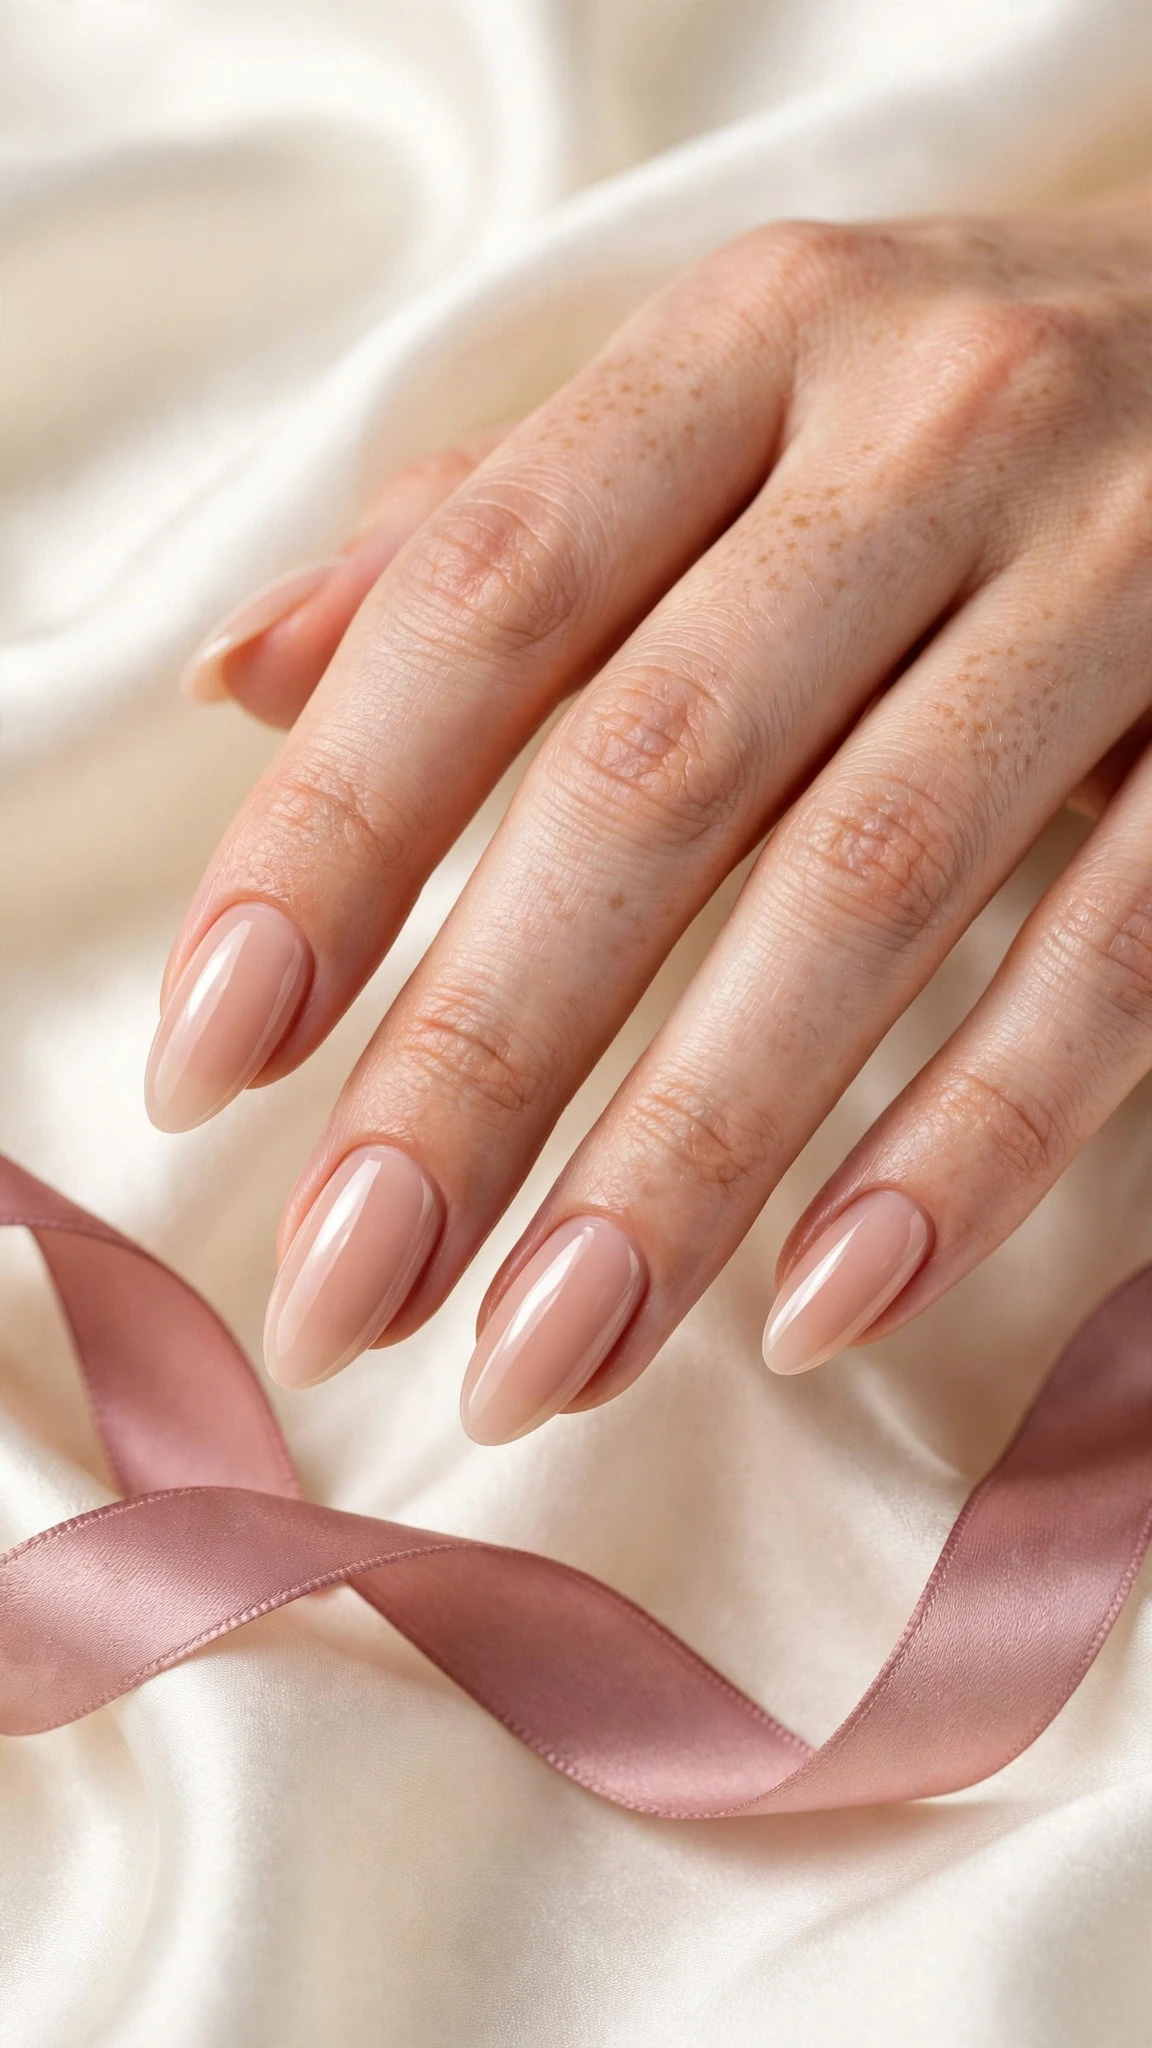
So what is builder gel? Builder gel is a thick, soak-off or file-off gel used to add strength, length, and shape to the natural nail. It sits between gel polish and acrylic in the nail world: stronger and more structural than a coat of gel polish, but lighter and more flexible than acrylic. Most builder gels come in a pot or a bottle, and they cure under a UV or LED lamp in the same way gel polish does.
The key difference between builder gel nails and gel polish is thickness and purpose. Gel polish is a colour coat — thin, flexible, and made to look pretty for two weeks. Builder gel is a structure coat — it is applied in a thicker layer and sculpted into an apex, the gentle curve that gives the nail its strength. That apex is what stops a nail from bending and snapping, and it is why builder gel nails feel so much sturdier than a gel polish manicure.
Builder gel nails also work as an overlay on your natural nails or as a short extension over a tip or form. An overlay keeps your own length and simply makes it stronger, which is the best starting point at home. Extensions need a form or tip to build on, and they take more practice, so try an overlay first and move to extensions once your application is smooth.
Hard vs Soft Builder Gel
Builder gels come in two families, hard gel and soft gel, and the difference matters more than the brand on the bottle. Hard gel cannot be soaked off — it has to be filed off, which takes time and a steady hand. Soft gel, also called soak-off builder gel, can be removed with acetone in the same way as gel polish.
Hard gel is stronger and holds longer extensions, which is why salons use it for sculpted sets. But removing it at home is risky: filing through a hard gel layer without touching the natural nail underneath takes practice, and one slip can thin the nail badly. Unless you are confident with an e-file and know exactly when to stop, leave hard gel to a professional — for builder gel nails at home, soft gel is the safer choice by a long way.
Soft builder gel still gives most people all the strength they need. It holds an overlay beautifully, supports a short extension, and soaks off in fifteen to twenty minutes when it is time for a change. Check the bottle before you buy — if it says soak-off, it is soft gel; if it says file-off only, it is hard gel.
Builder Gel vs Gel Polish, Gel-X and Acrylic
Against gel polish, builder gel nails win on strength: gel polish adds colour, builder gel adds structure. You can wear builder gel alone for a natural look or paint gel polish over it for colour — the two products work together rather than competing.
Against Gel-X, the difference is the method. Gel-X uses a full-cover soft gel tip glued on with gel and cured under a lamp, while builder gel is sculpted directly onto the nail. Gel-X is faster for instant length, but builder gel nails give you more control over the shape and the apex. Our builder gel vs Gel-X comparison looks at both systems side by side if you are choosing between them.
Against acrylic, builder gel is lighter, odour-free, and more flexible, so it feels more like a natural nail and is kinder to wear. Acrylic is harder and better for very long sculpted extensions, but it needs monomer liquid, smells strong, and is harder to remove. For most home users who want stronger nails without the acrylic learning curve, builder gel is the easier place to start.
Who Should Try Builder Gel Nails?
Builder gel nails suit anyone whose nails will not grow past a certain length on their own. If your nails peel in layers, bend at the sides, or snap the moment they get past your fingertips, a builder gel overlay gives them the support they need to grow underneath. It also suits people who work with their hands and need a manicure that survives typing, cleaning, and daily life.
Builder gel nails are also a good choice if you like the look of long nails but do not want tips or acrylic. A builder gel overlay keeps your own nails, adds a smooth apex, and can be worn sheer for a natural finish or painted with any gel colour. Short nails benefit just as much as long ones — strength is about the apex, not the length.
Skip builder gel for now if your nails are damaged, very thin, or lifting from the nail bed, and let them recover first with a plain moisturiser and a break from enhancements. According to the American Academy of Dermatology, keeping nails moisturised and avoiding harsh chemicals helps damaged nails recover, and a damaged nail is a poor base for any gel system. If your nails hurt, look infected, or keep lifting, see a dermatologist before applying anything.
What You Need
You do not need a salon trolley full of products to start. A basic kit for builder gel nails fits in a small box, and most of it overlaps with what you already own if you paint gel polish at home. Buy the builder gel itself from a reputable brand, and check that your lamp matches the gel’s curing instructions — most gels cure in 30 to 60 seconds under LED, and longer under UV.
- Soft (soak-off) builder gel in a clear or nude shade
- UV or LED lamp
- Nail file (180 grit) and a buffer
- Cuticle pusher and cuticle nippers
- Nail dehydrator and primer
- Gel base coat and a no-wipe top coat
- Lint-free wipes and rubbing alcohol or cleanser
- Builder gel brush, or the brush in the bottle
- Cuticle oil
- Acetone, foil, and cotton pads for removal
How to Apply Builder Gel Nails: 10 Steps
Step 1: Shape Your Nails

Start with clean, dry nails and file them into the shape you want — oval and almond suit builder gel best, because the tapered shape works with the apex you will build later. File in one direction, from the side toward the centre, instead of sawing back and forth, which can split the free edge. Keep the length you already have for your first set; length comes later, once your application is smooth.
Tip: File the free edge before you push the cuticles back, so you do not file skin by accident.
Step 2: Prep the Nail Surface
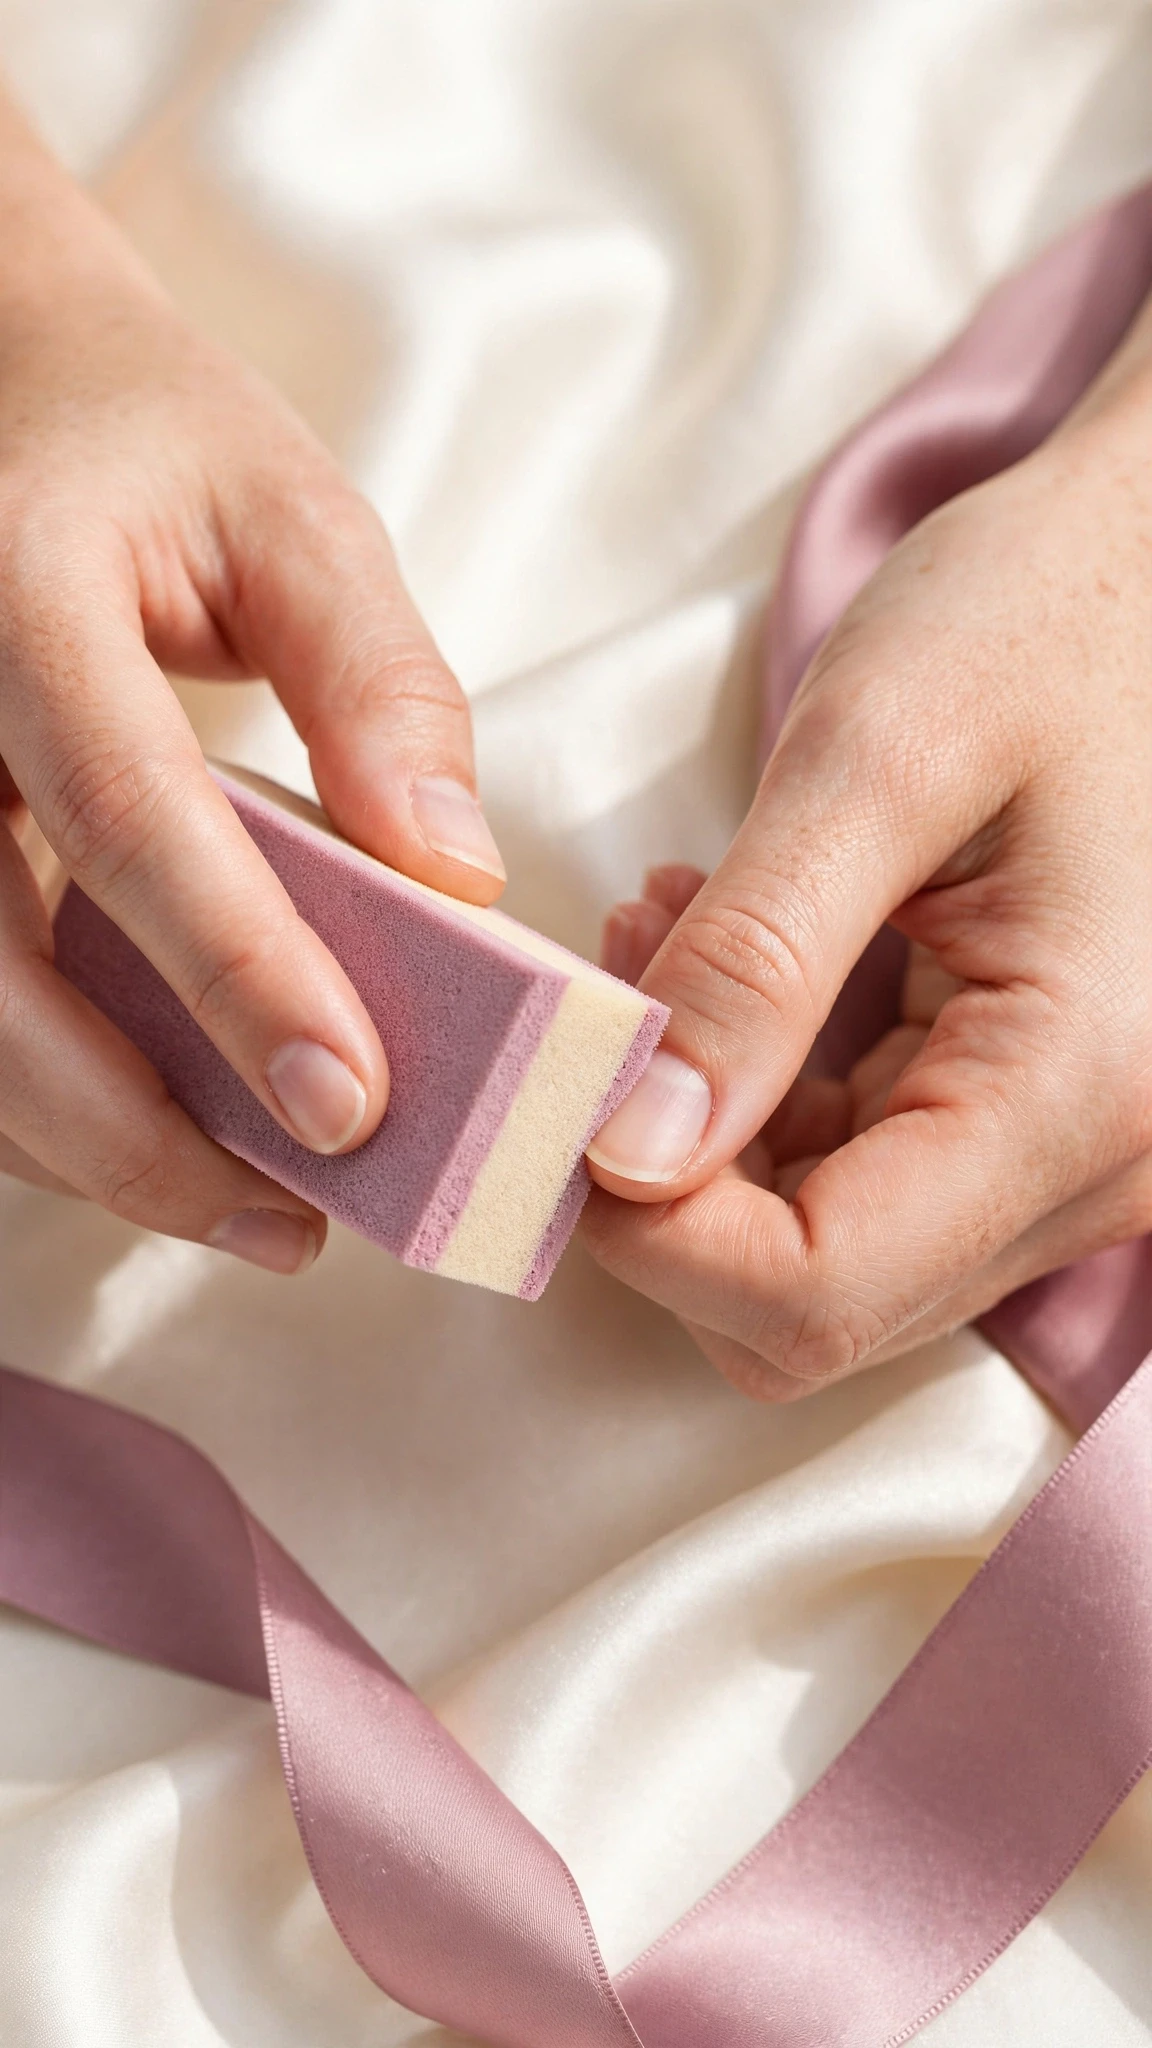
Push the cuticles back gently and remove any dead skin from the nail plate. Then buff the shine off the nail surface with a fine buffer — just enough to remove the gloss, not enough to thin the nail. Builder gel needs a slightly roughened surface to grip, and skipping this step is the most common reason a set lifts within days.
Tip: Buff lightly and evenly; if the nail looks white and chalky, you have buffed too hard.
Step 3: Dehydrate and Prime
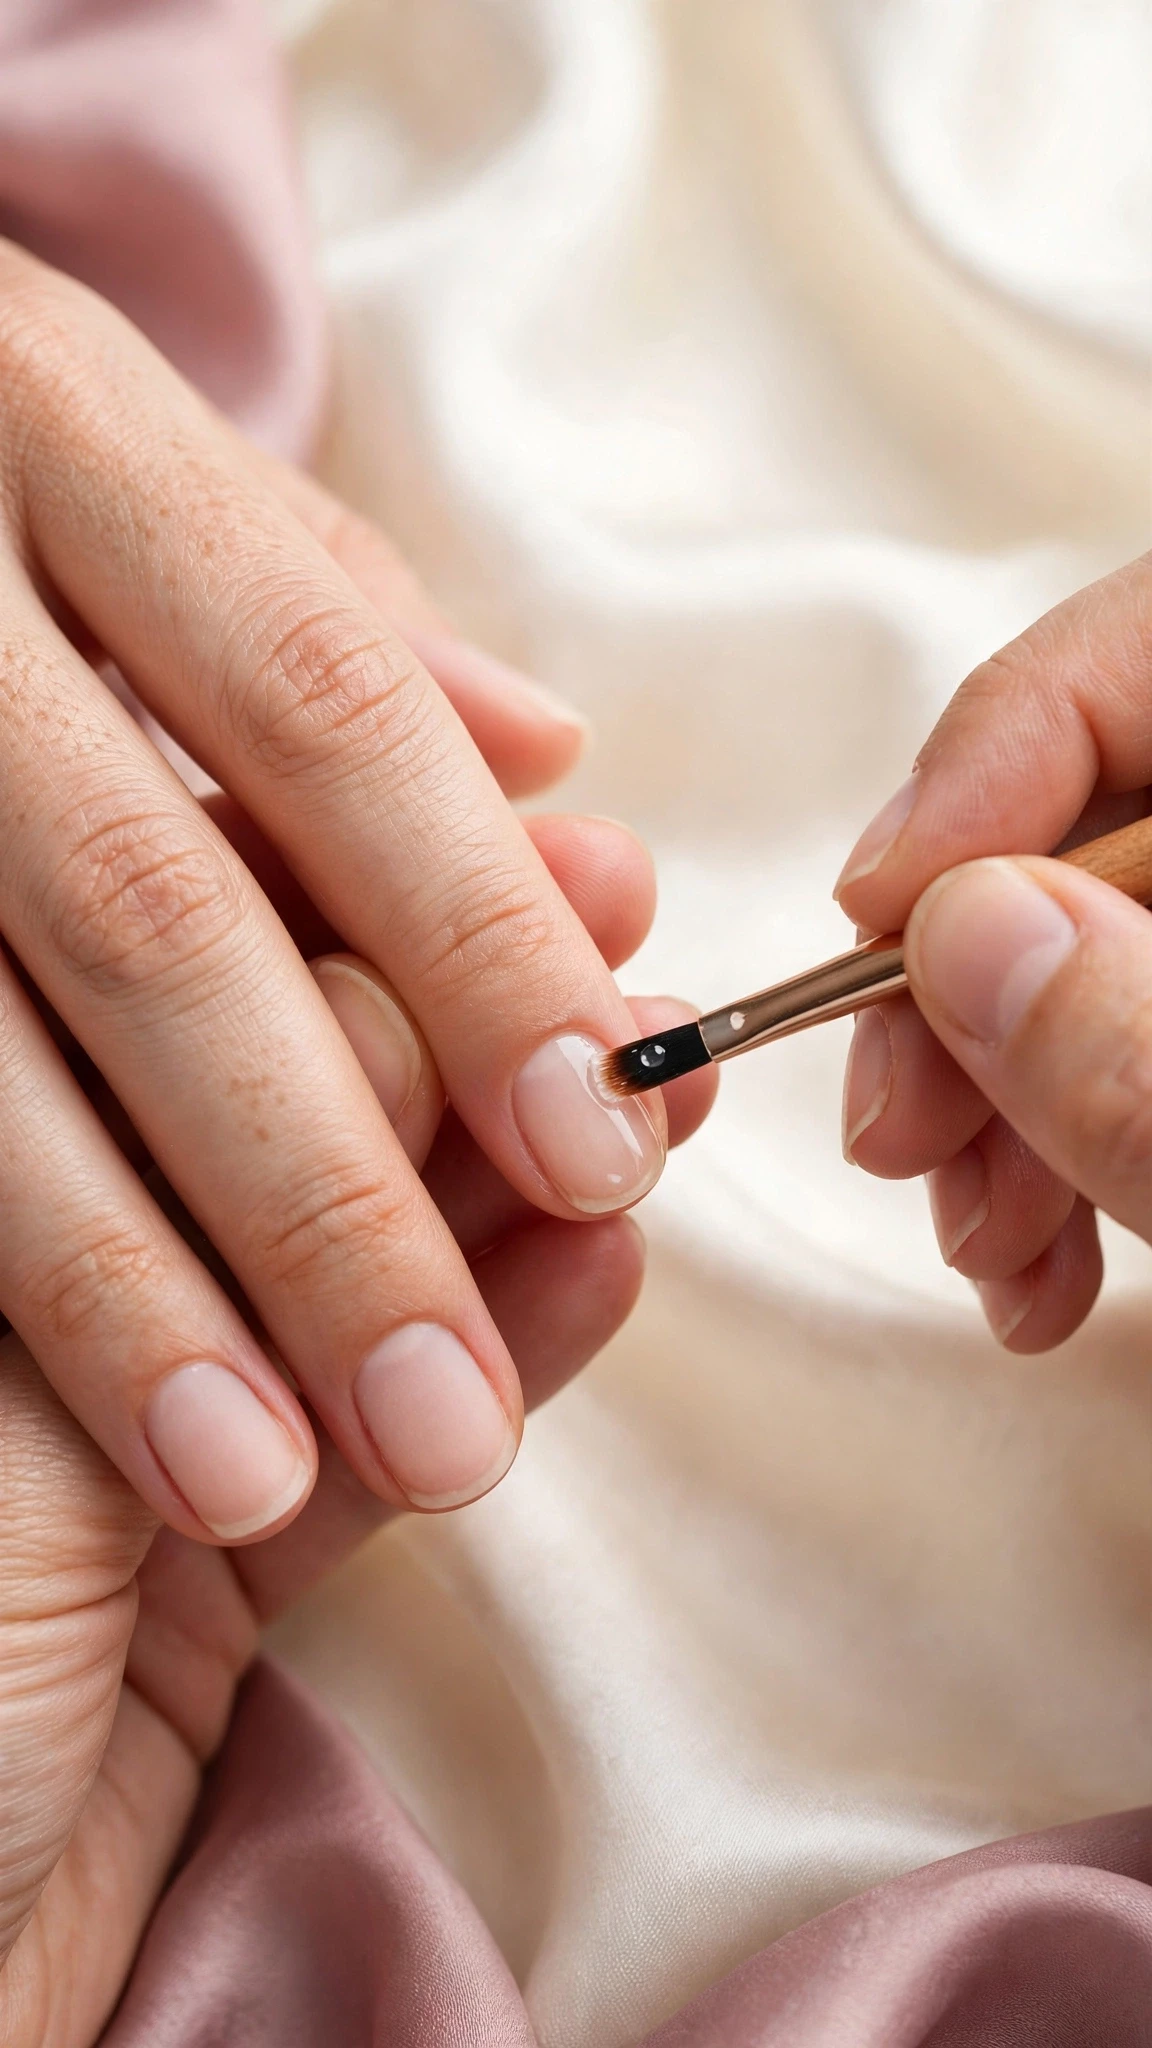
Wipe each nail with a lint-free pad soaked in nail dehydrator or rubbing alcohol to remove oils and dust. Then apply a thin layer of primer if your gel system calls for it, and let it dry completely — primer should look dry, not wet, before the next layer. Good prep is quiet work, but it is the reason one person’s builder gel lasts three weeks while another’s peels in three days.
Tip: Do not touch the nail plate after dehydrating — the oils on your fingertips undo the prep.
Step 4: Apply a Gel Base Coat and Cure
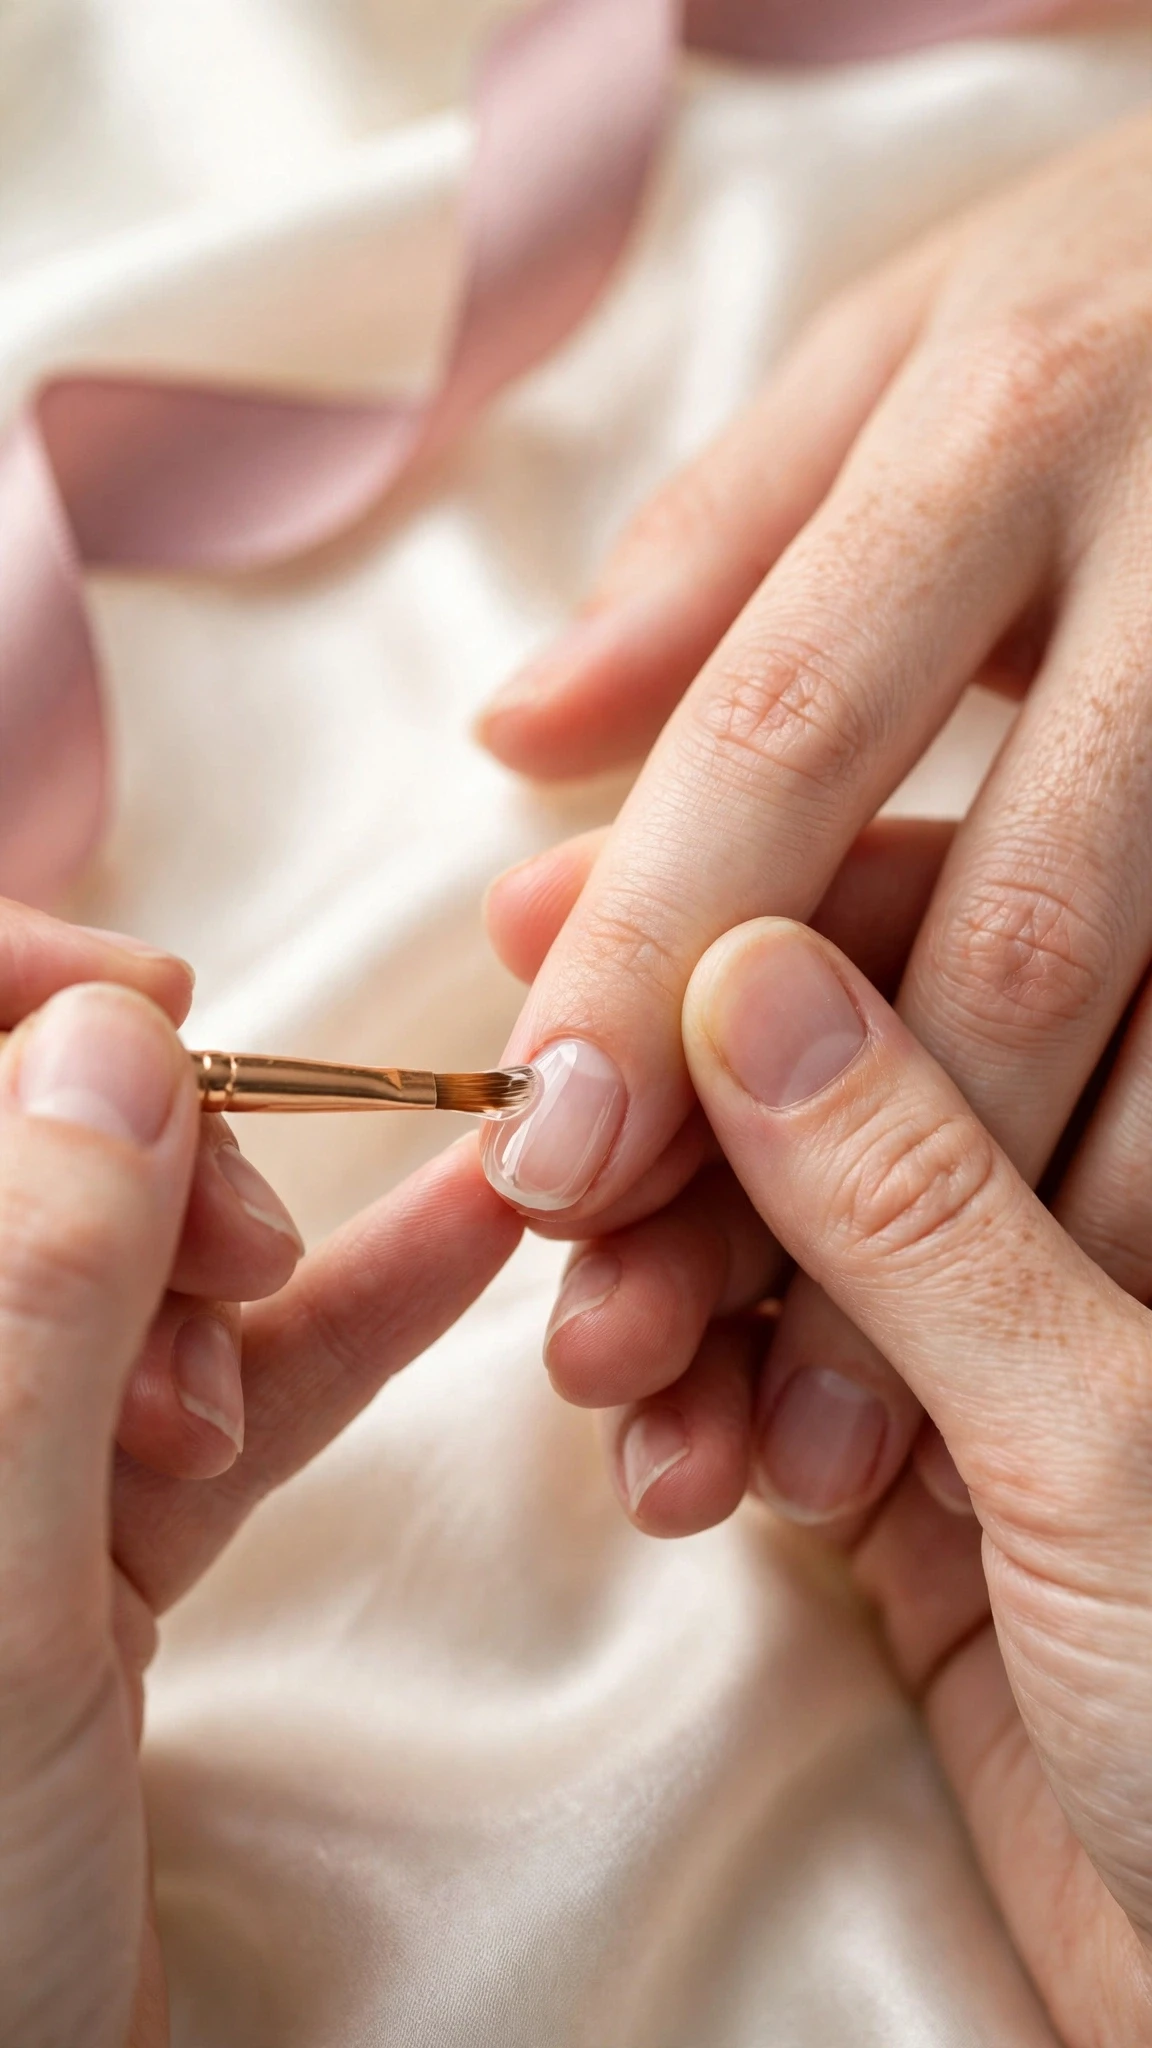
Paint a thin layer of gel base coat over the whole nail, cap the free edge, and cure for the time the bottle recommends. The base coat is the bond between your nail and the builder gel, so keep it thin and even — a thick base coat pools at the cuticles and causes lifting. If any gel touches the skin, wipe it away with a clean brush before curing.
Tip: Cap the free edge on every layer, including the base coat, to seal the nail against water.
Step 5: Apply a Slip Layer of Builder Gel
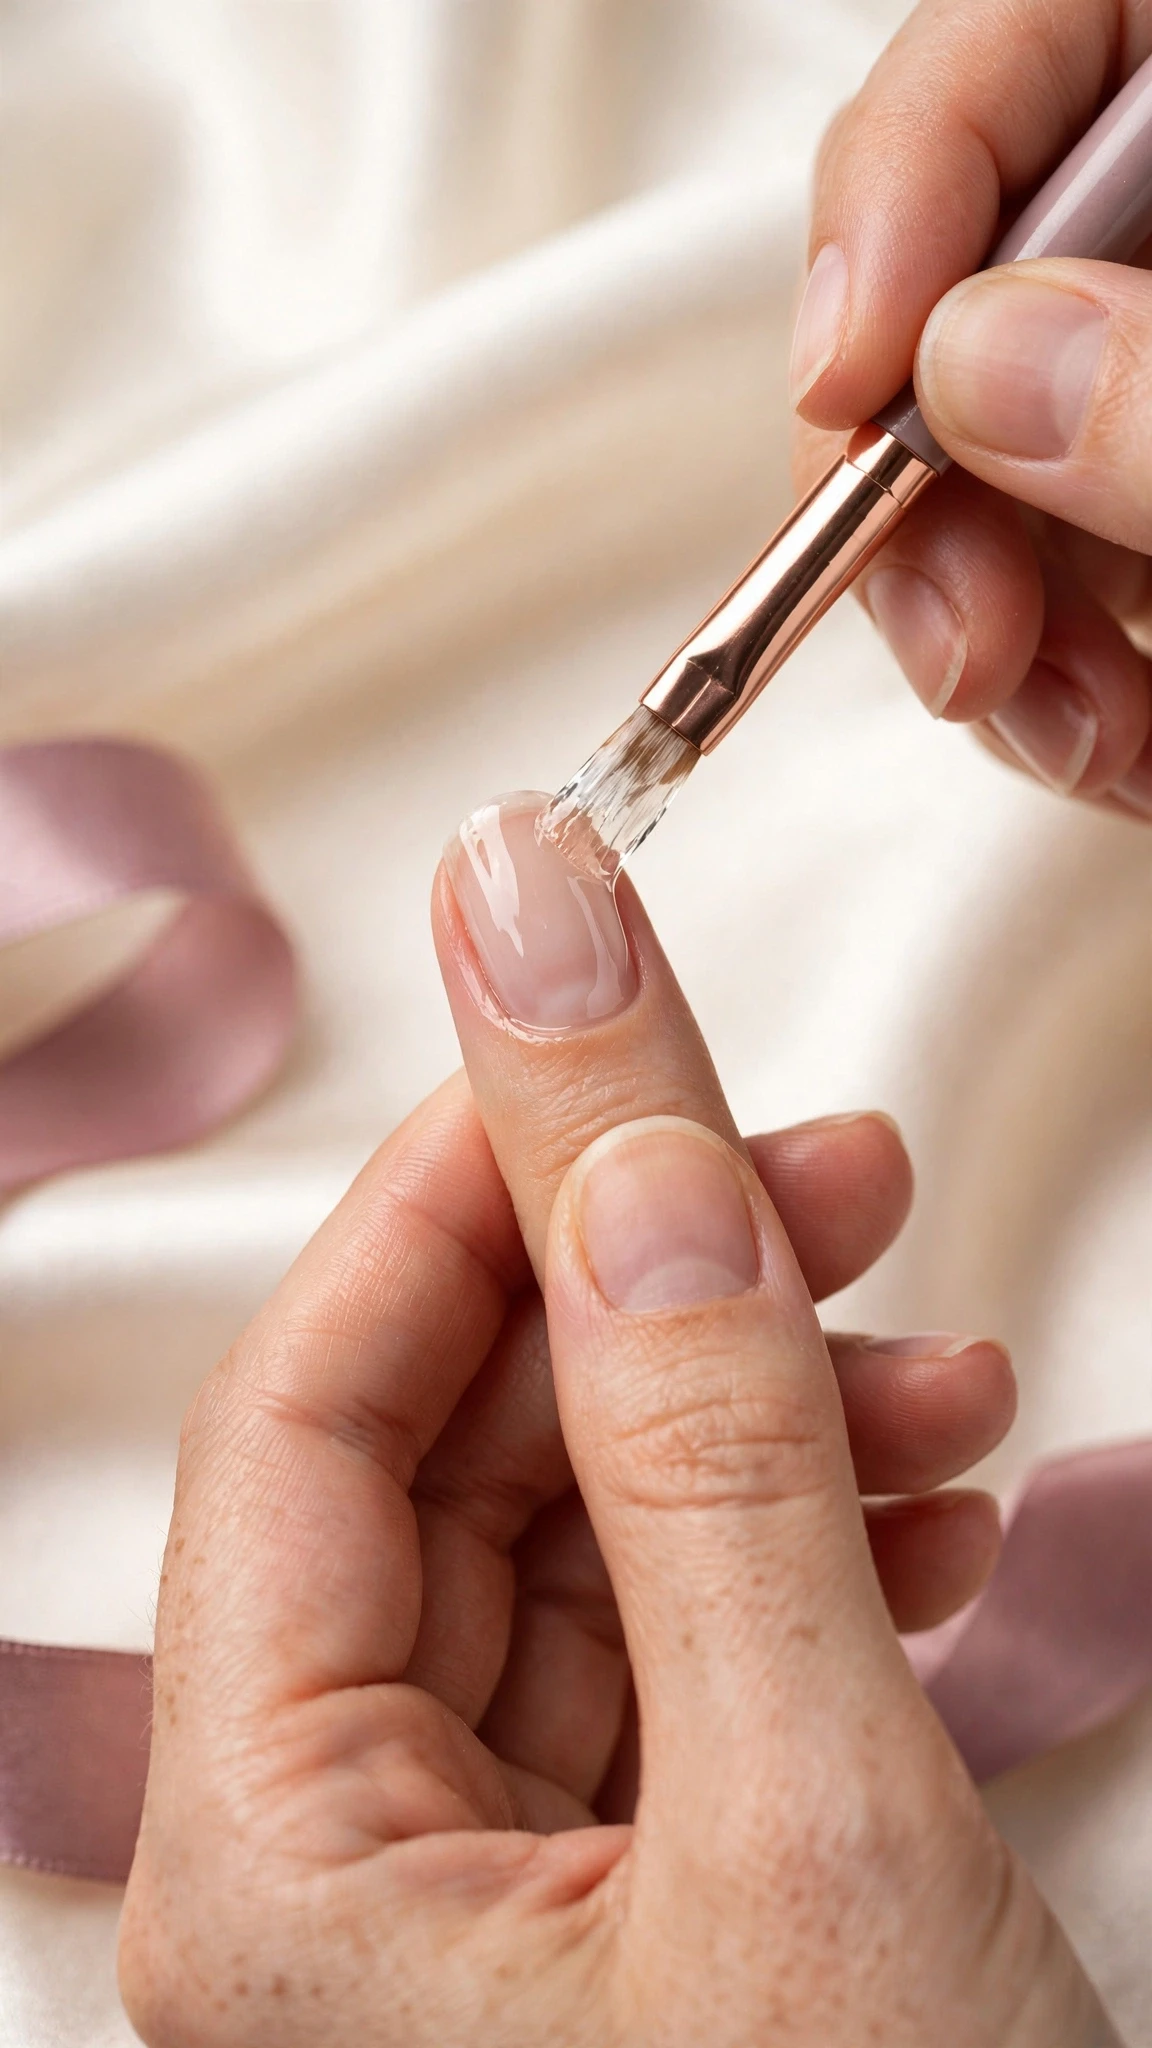
Take a small bead of builder gel on your brush and paint a thin slip layer over the whole nail, just like a base coat, without curing it yet. This wet layer is what the thicker bead will float on, so it stops the gel from dragging or pulling as you build the apex. Work one nail at a time from here on, because builder gel starts to move the moment it is on the nail.
Tip: Keep the slip layer thin — it is a guide coat, not the structure itself.
Step 6: Build the Apex
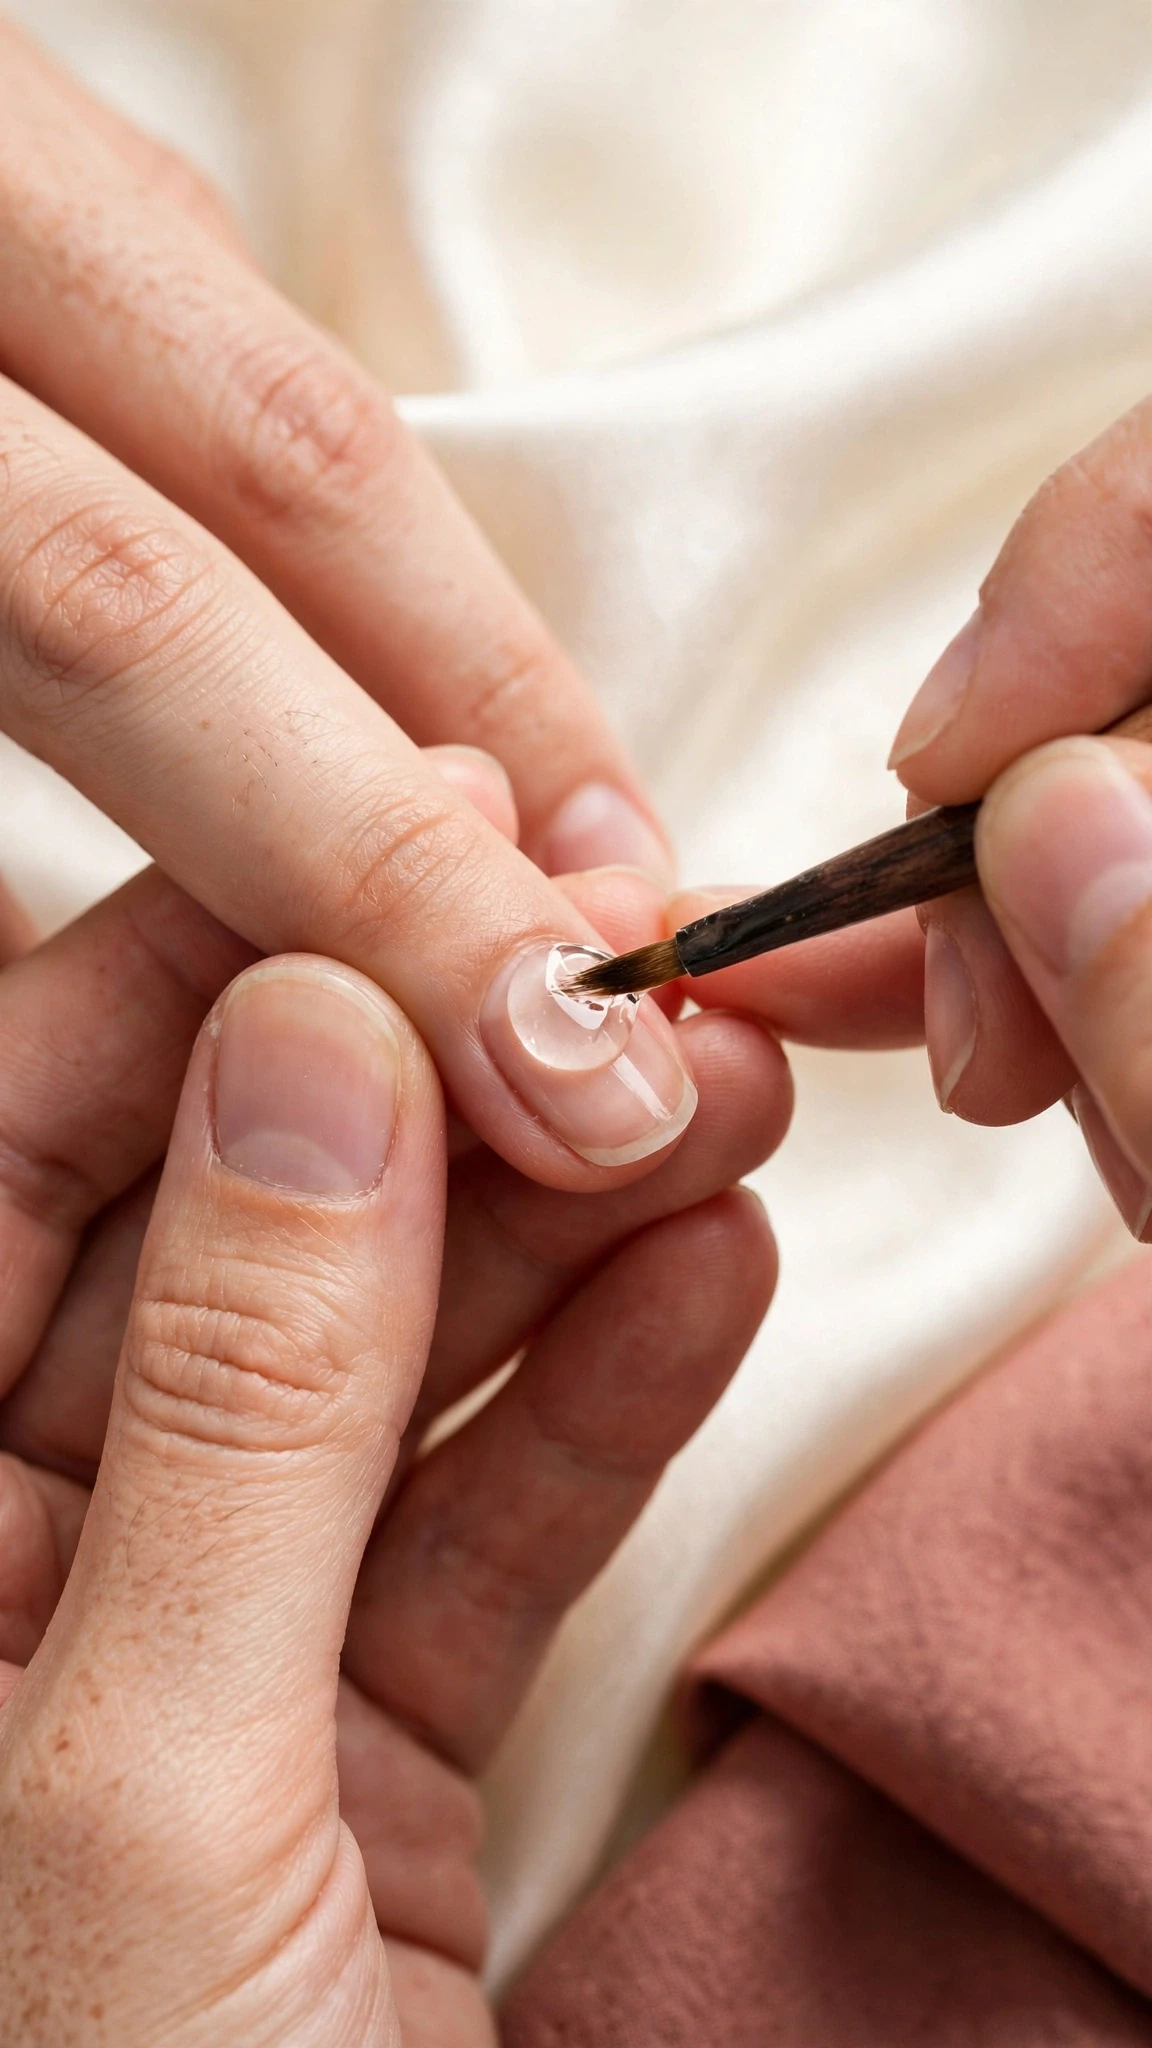
Place a bead of builder gel in the centre of the nail, roughly over the stress area, and use the brush to float it toward the cuticle and the free edge without pressing down. The gel should be thickest in the middle and thinnest at the edges — that gentle curve is the apex, and it is what gives builder gel nails their strength. Turn your hand upside down for a few seconds and let gravity pull the gel into a smooth dome before you cure.
Tip: If the gel floods the cuticle, wipe it away with a clean brush before curing — cured gel on skin always lifts.
Step 7: Cure Under the Lamp
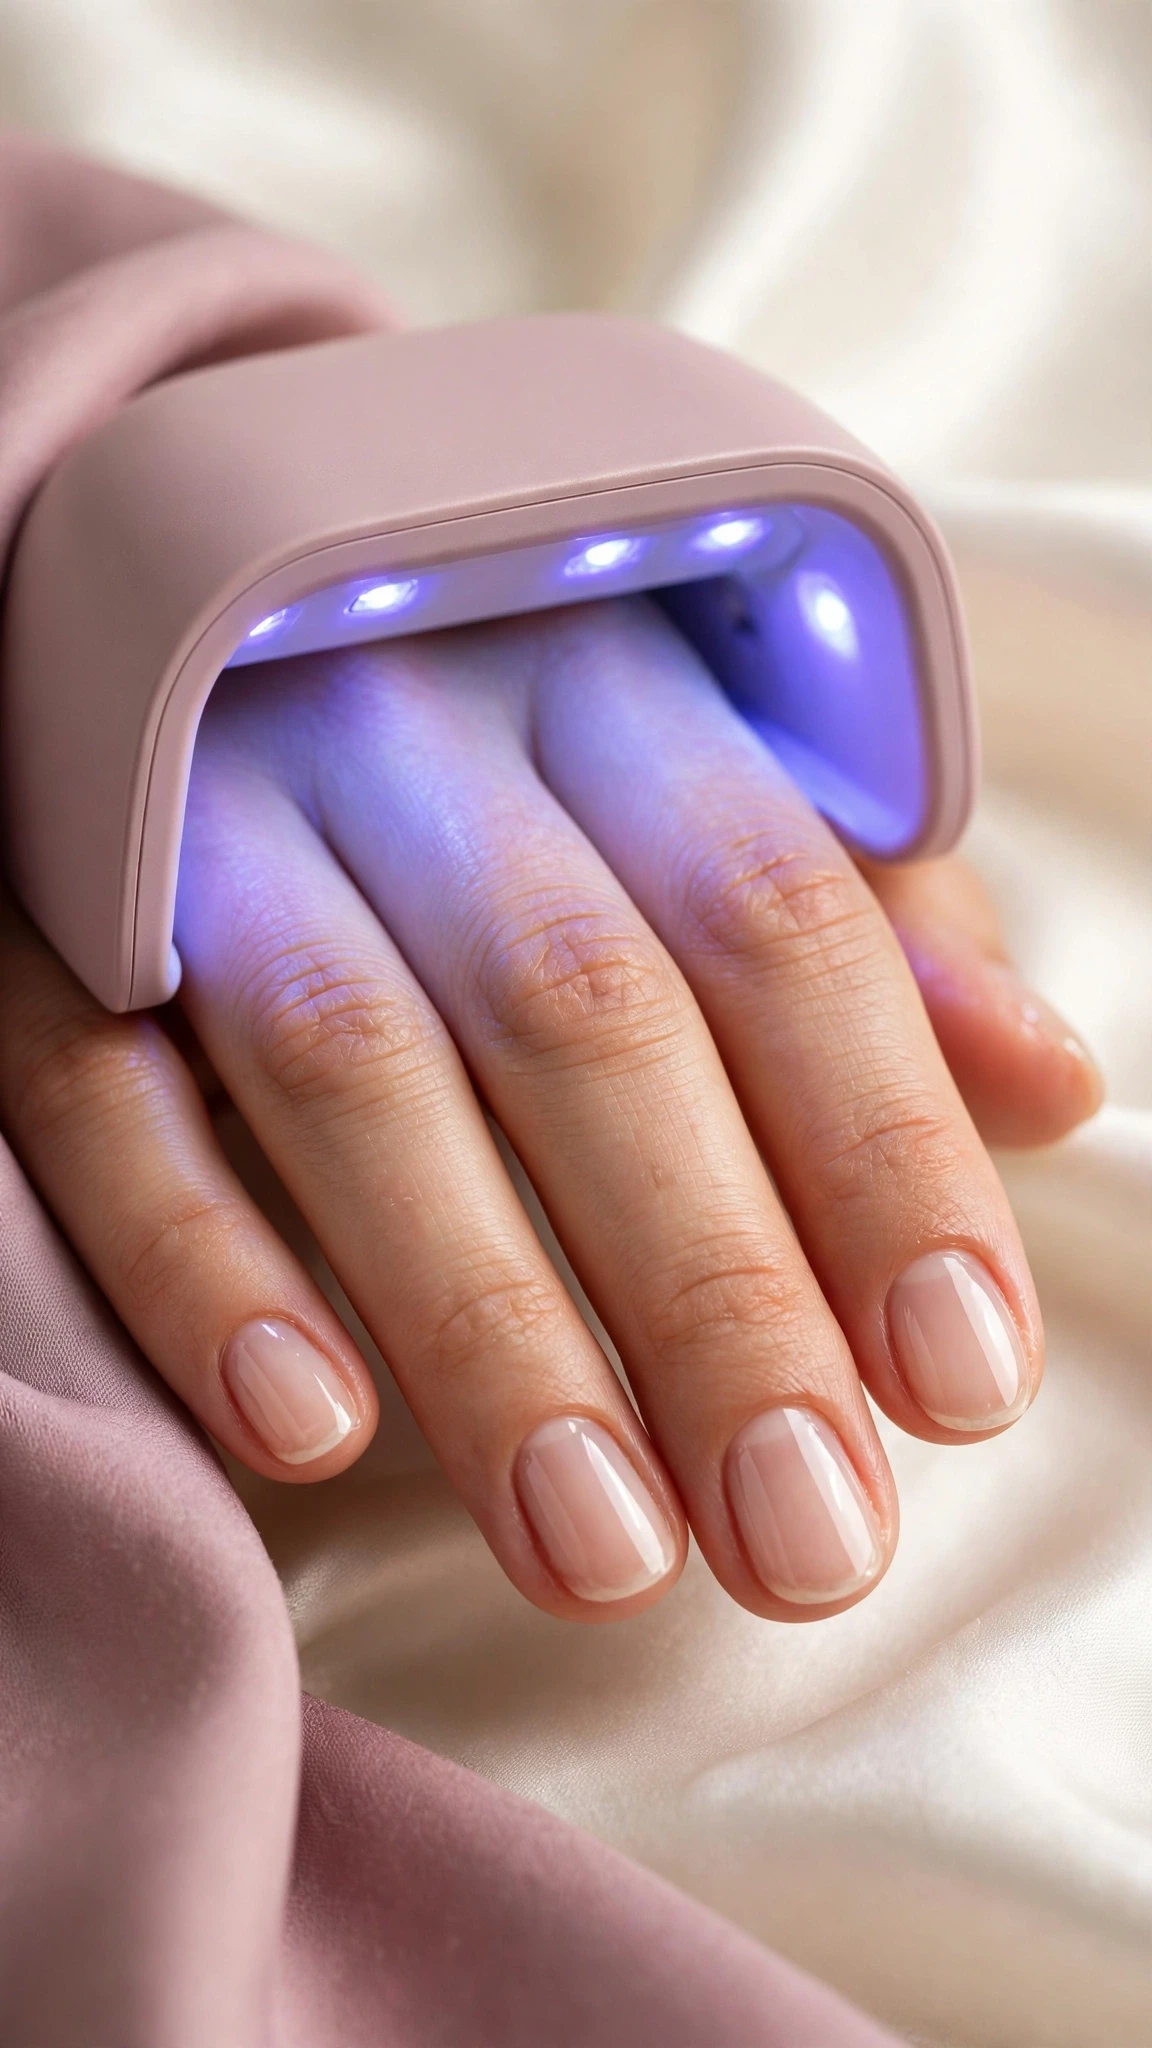
Cure your builder gel nails for the full time the bottle recommends, usually 60 seconds under LED or 120 seconds under UV. Do not rush this step: builder gel is thicker than gel polish, and an under-cured layer stays soft underneath while feeling hard on top, which leads to lifting and dents. If you feel a heat spike, pull your hand out for a few seconds and put it back in — the warmth passes quickly.
Tip: Cure one hand at a time and keep your fingers flat so the gel does not slide to one side.
Step 8: File and Shape the Apex
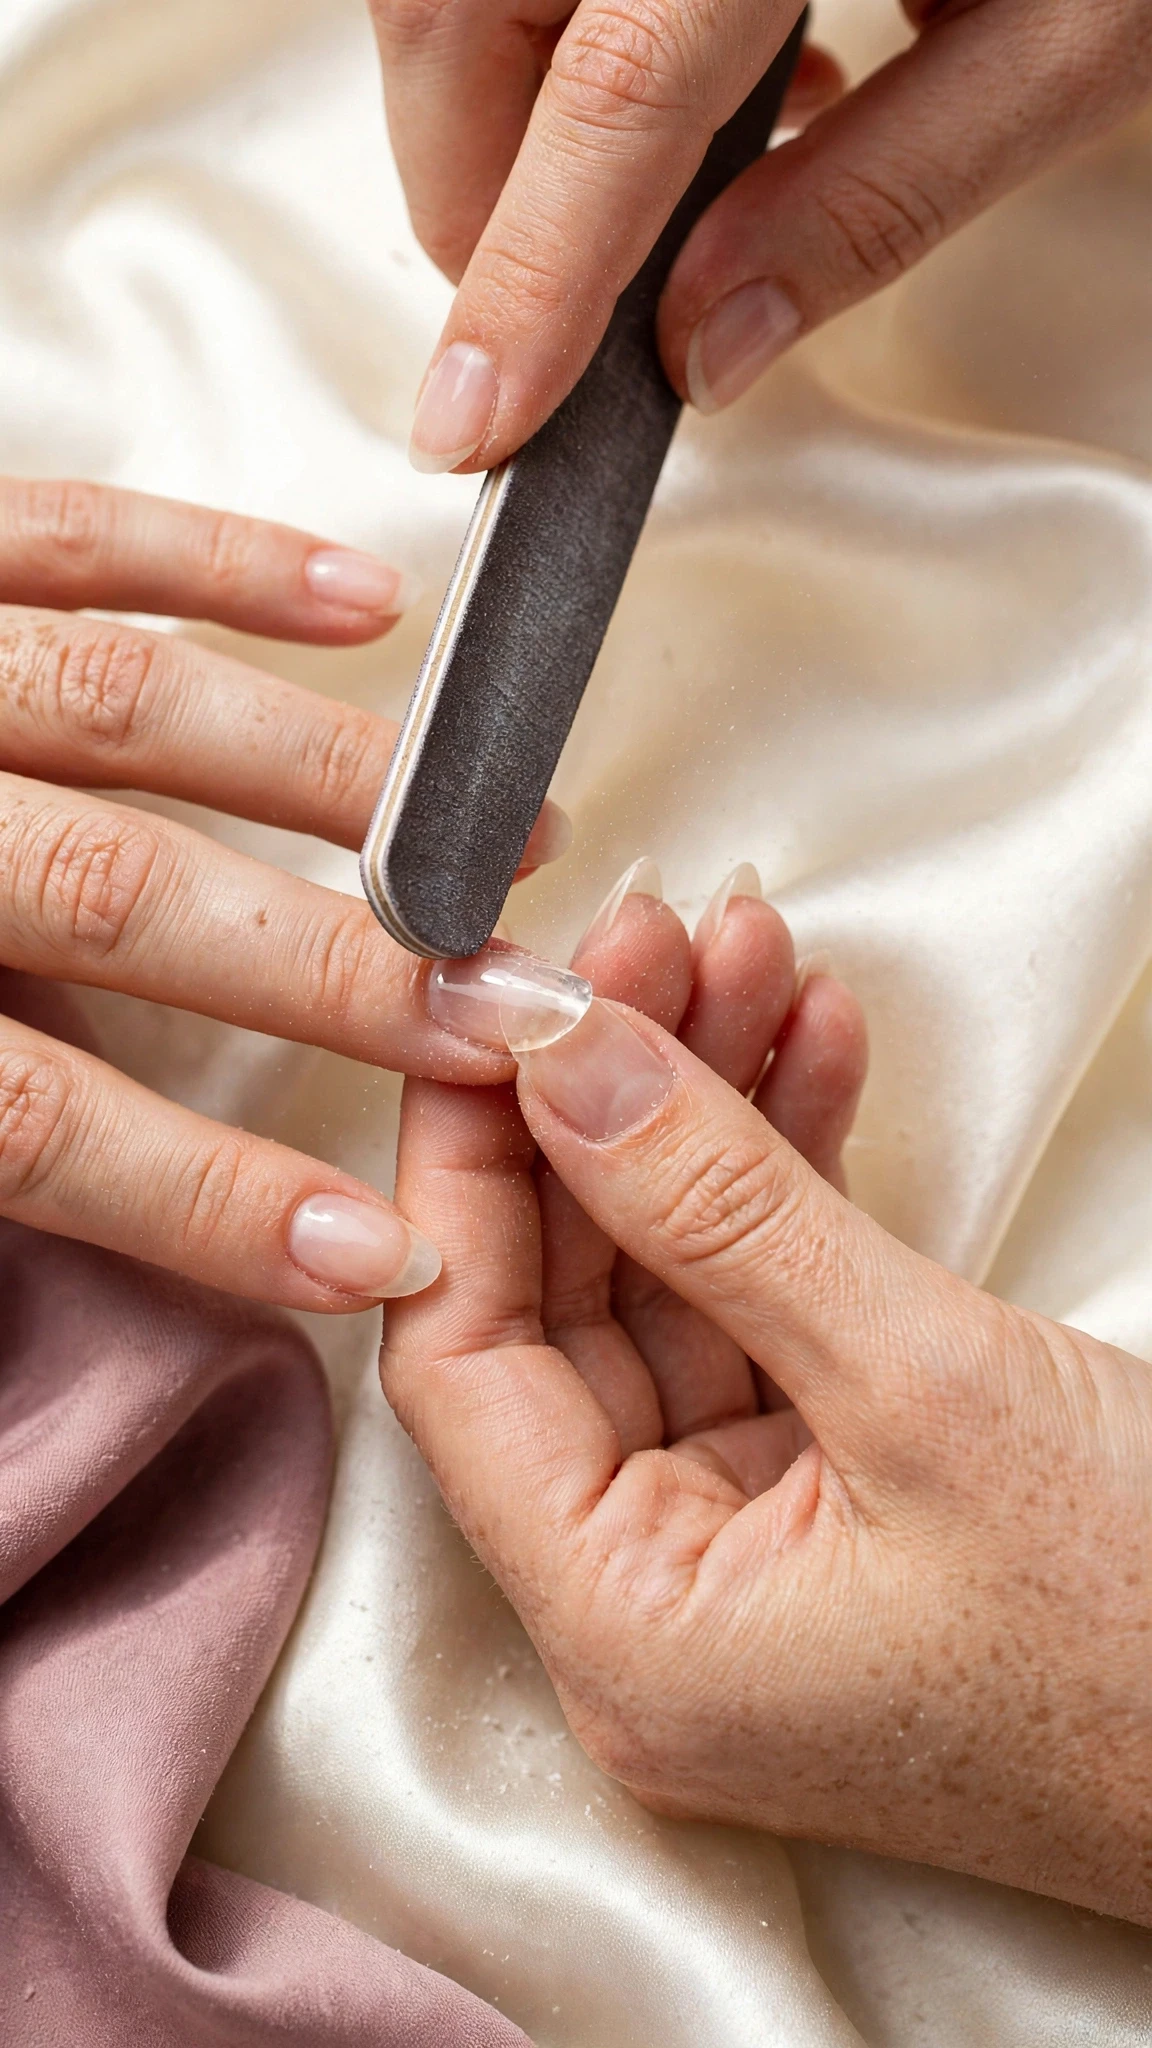
Once cured, wipe off the sticky layer with cleanser and check the shape. File the sides and the free edge to refine the outline, then gently file the surface to smooth any bumps and perfect the apex. File lightly — you are shaping, not removing, and the builder gel layer should still look even and smooth when you finish.
Tip: Check the apex from the side: it should rise gently in the middle and taper to the edges.
Step 9: Colour and Top Coat
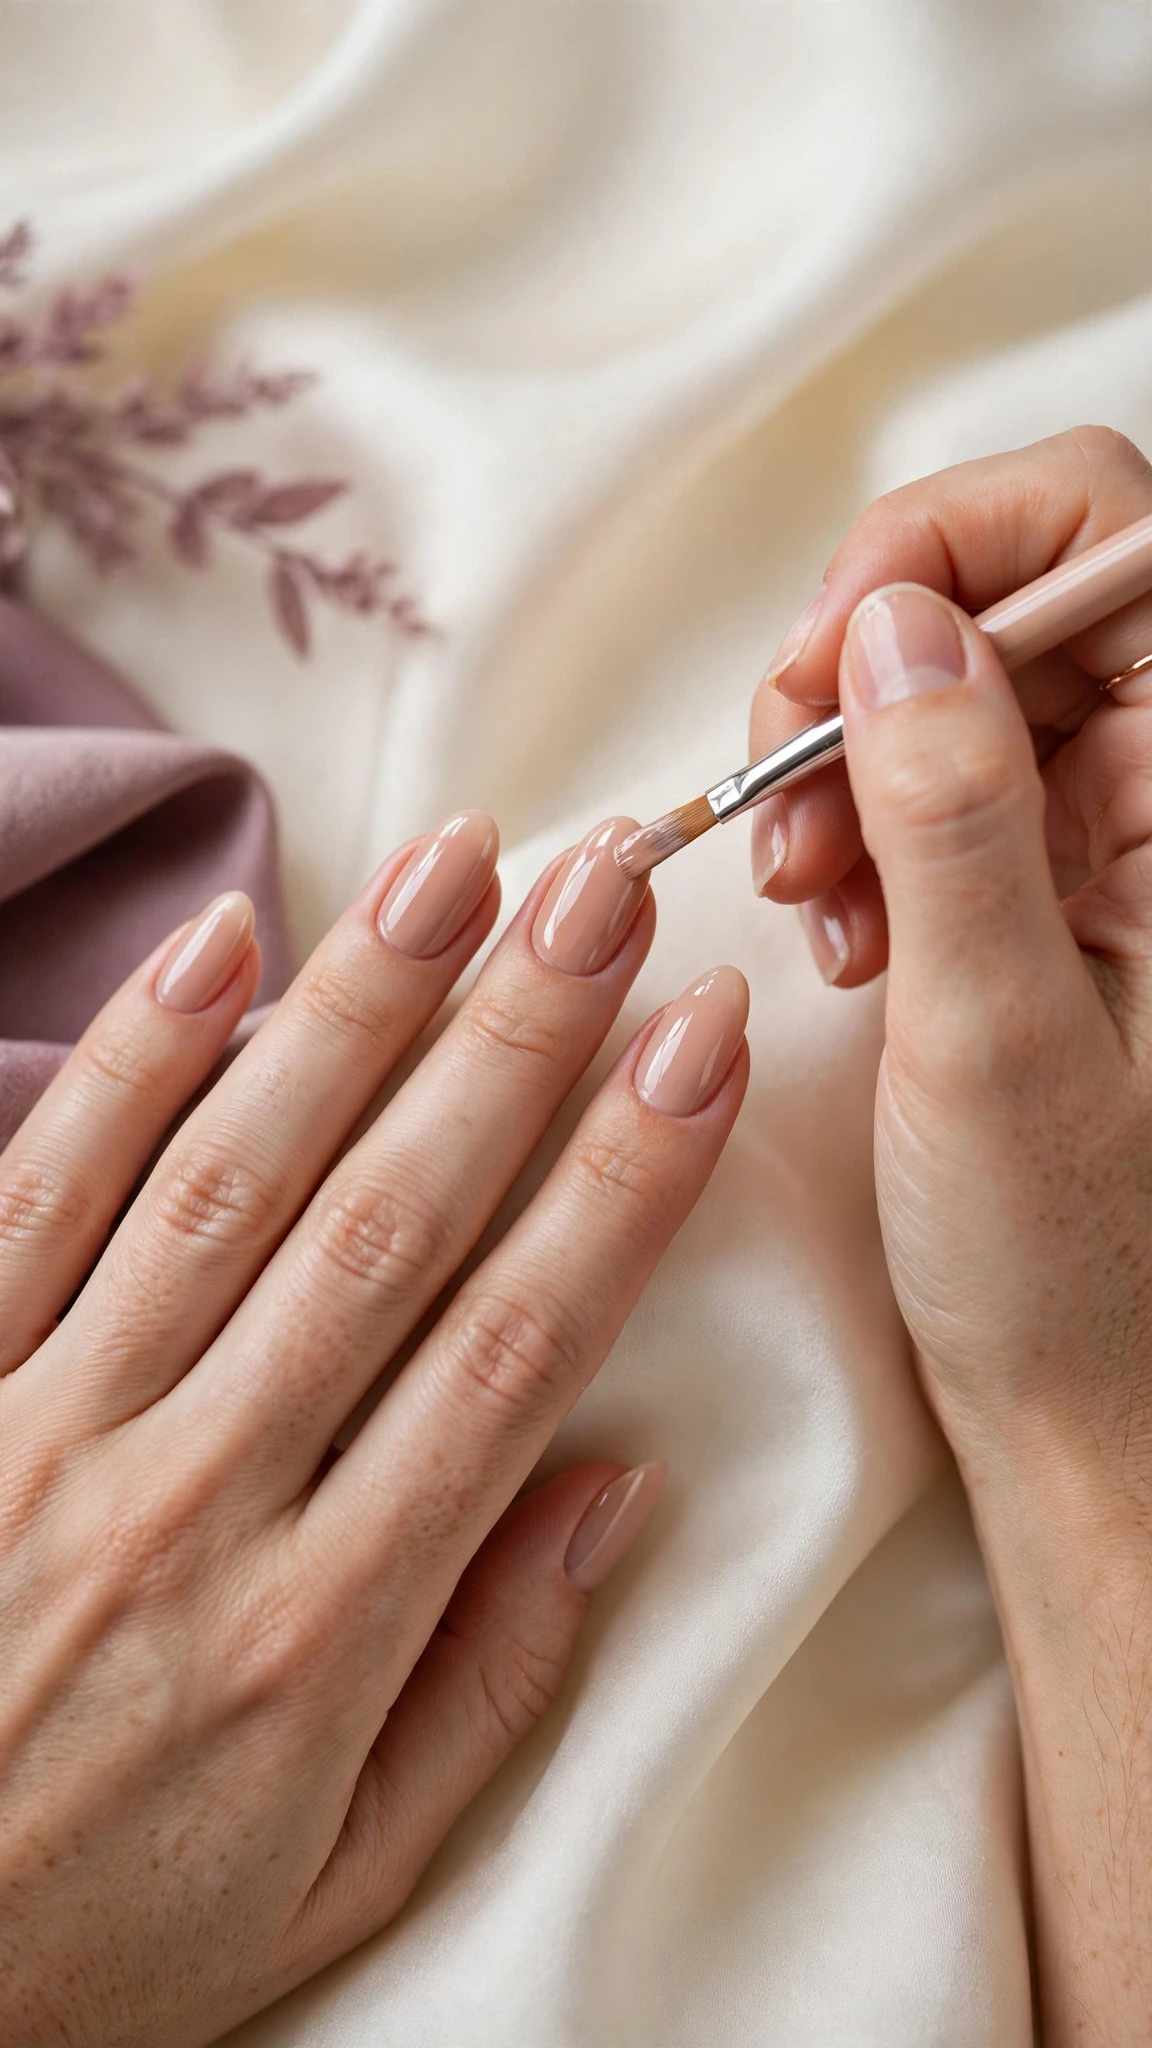
Paint your gel colour over the builder gel in thin coats, curing each one, or leave the builder gel bare for a natural look — a nude builder gel on its own is a clean, strong manicure. Finish with a no-wipe top coat, cap the free edge, and cure once more. The top coat seals everything and gives the set its shine.
Tip: Two thin colour coats always look better than one thick coat, which can wrinkle as it cures.
Step 10: Finish with Cuticle Oil
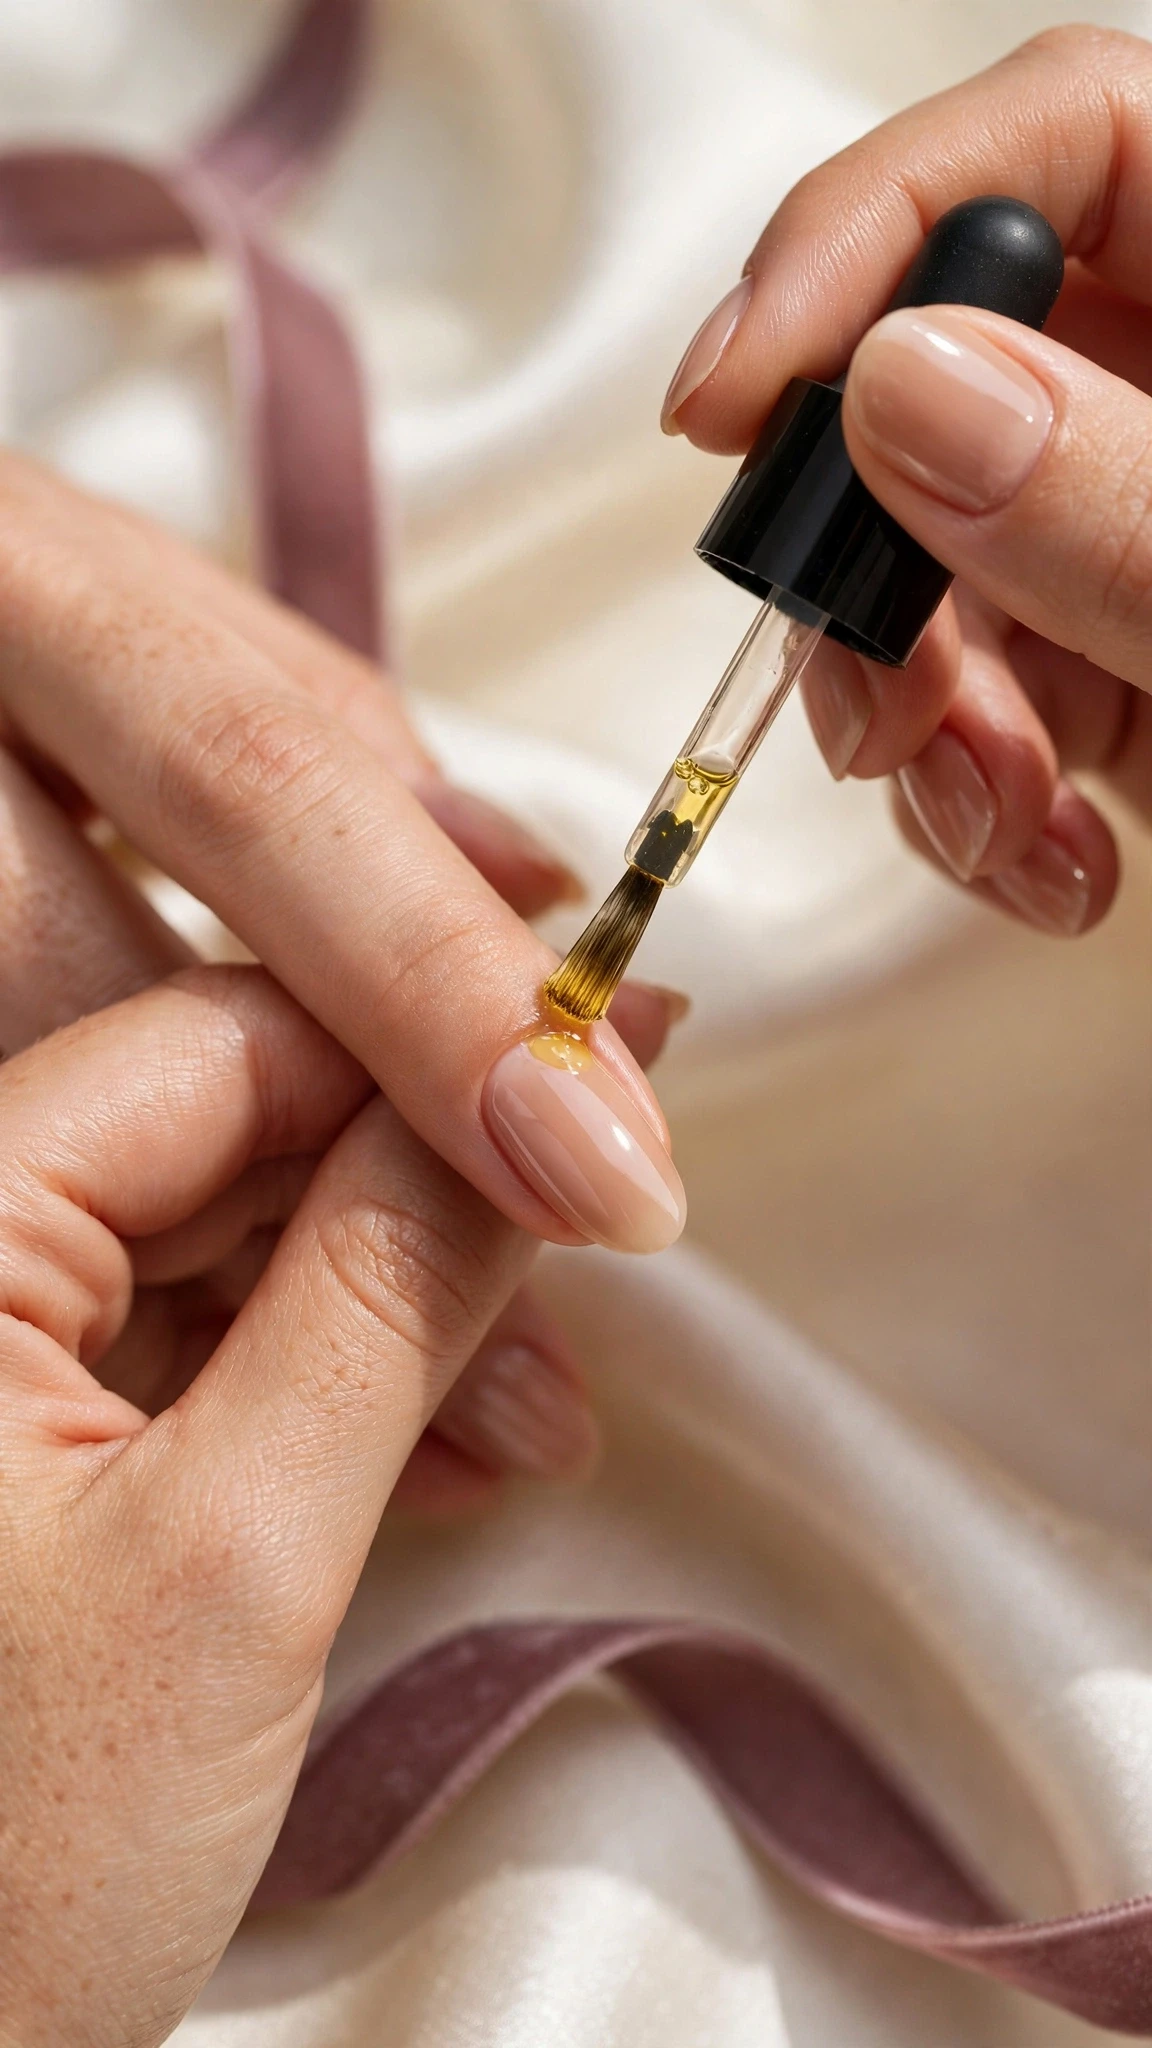
Massage cuticle oil into the skin around each nail and admire the result in natural light. The oil keeps the cuticles soft and stops the skin from drying out around the gel, which is what keeps the set looking fresh for weeks. From here, daily cuticle oil and gloves for cleaning are all the maintenance builder gel nails need.
Tip: Apply cuticle oil every evening — hydrated cuticles are the easiest way to make any gel manicure last.
How to Care for Builder Gel Nails
Builder gel nails last longest when the manicure is protected. According to the American Academy of Dermatology, keeping nails moisturised and avoiding harsh chemicals helps any manicure last longer — and builder gel benefits most, because a strong apex is only useful if the natural nail underneath stays healthy. Apply cuticle oil daily and use a hand cream after washing your hands.
Wear gloves for washing up and cleaning, since hot water and detergents lift builder gel nails at the edges faster than anything else. Avoid using your nails as tools — opening cans and scraping labels chips the free edge and breaks the seal, which is where lifting starts.
If one of your builder gel nails starts to lift at the edge, do not peel it off. Peeling pulls up layers of your natural nail and leaves it thin and sore. Instead, file the lifted edge smooth, seal it with a little top coat, and plan a proper soak-off removal when you have time.
How to Remove Builder Gel Nails
Removing builder gel nails the right way takes patience, but it protects the natural nail underneath. File the top coat and the bulk of the builder gel down gently, stopping when a thin layer remains, then soak cotton pads in acetone, place them on the nails, and wrap each fingertip in foil for fifteen to twenty minutes.
After soaking, the remaining gel should lift away easily with a wooden stick. If it resists, re-wrap and soak for another five minutes rather than forcing it — scraping at stuck gel is what damages nails. Our guide on how to remove gel nails at home walks through the soak-off method step by step, and the same gentle approach applies here.
Once the gel is off, wash your hands, push the cuticles back, and apply cuticle oil generously. Give your nails a rest day with plain moisturiser before your next set, especially if you change sets often — a short break keeps the natural nail strong for the next application.
Troubleshooting Builder Gel Problems
Lifting at the edges of builder gel nails almost always comes from prep. If the nail plate still had oil, dust, or cuticle skin on it when the gel went on, the bond fails at the edges first. Next time, dehydrate carefully, keep gel off the skin, and cap the free edge on every layer.
Bubbles in the gel usually mean the layer was too thick or the brush trapped air. Apply thinner layers, let the gel self-level for a few seconds before curing, and avoid shaking the bottle — roll it gently instead. Heat spikes, that warm feeling during curing, are normal with thick builder gel and pass in seconds; pulling your hand out briefly and putting it back in is all it takes.
If the apex looks lumpy or the set feels too thick, the bead was too big. Use a smaller bead next time and let gravity do the work — turn the hand upside down and let the gel settle into a smooth dome before curing, rather than pushing it around with the brush.
Final Thoughts
Builder gel nails turn weak, bendy nails into a strong, smooth canvas that holds its shape for weeks. Once you know what builder gel is, which type suits home use, and how the ten steps fit together, the technique is repeatable every time — start with a soft gel overlay on your natural length, get comfortable with the apex, and add length only when the basics feel easy.
Which part will you try first — a sheer nude overlay, or a full set with colour? Pick one, gather the kit, and give your nails the strength they have been missing.
More Gel Nail Ideas
See also: How to Do Gel Nails at Home: Easy Step-by-Step Guide
See also: How to Remove Gel Nails at Home (Without Damage)
See also: Builder Gel vs Gel-X: Which Is Better for You?
Frequently Asked Questions
What is builder gel?
Builder gel is a thick gel used to add strength, length, and shape to the natural nail. It is applied in a thicker layer than gel polish and sculpted into an apex, the gentle curve that gives the nail its strength, then cured under a UV or LED lamp.
What is the difference between builder gel and gel polish?
Gel polish is a thin colour coat made to look pretty for about two weeks. Builder gel is a structure coat — thicker, sculpted into an apex, and made to strengthen the nail and hold a shape. You can wear builder gel alone or paint gel polish over it for colour.
Is builder gel better than acrylic?
Builder gel is lighter, odour-free, and more flexible than acrylic, so it feels more like a natural nail and is easier to use at home. Acrylic is harder and better for very long sculpted extensions, but it needs monomer liquid, smells strong, and is harder to remove.
Can beginners use builder gel at home?
Yes, if you start with a soft (soak-off) builder gel overlay on your natural nails. You need a UV or LED lamp, because builder gel only hardens under light. Try an overlay first and move to extensions once your application is smooth.
How long do builder gel nails last?
Builder gel nails usually last three to four weeks with good prep and aftercare. Daily cuticle oil, gloves for cleaning, and capping the free edge on every layer all help the set last longer.
How do you remove builder gel nails?
File the top coat and most of the gel down gently, then soak cotton pads in acetone, wrap each fingertip in foil for fifteen to twenty minutes, and lift the softened gel away with a wooden stick. Never peel or force gel off, as that pulls up layers of your natural nail.
Compare Before You Choose
See the Closest Alternatives
Compare nearby shapes, colors and finishes before picking a final reference.
Recommended Next