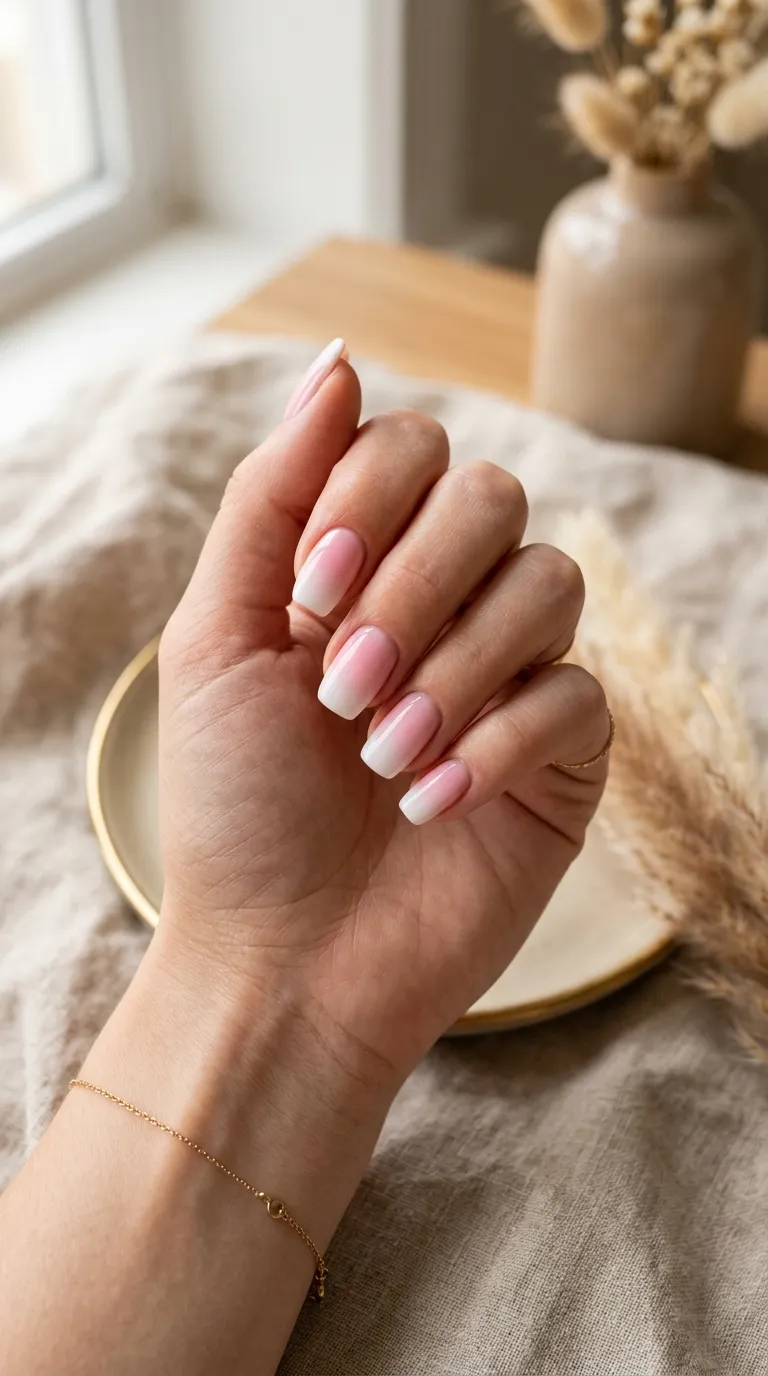
Ombre nails look complicated — a smooth gradient from one color into another, no hard lines — but the technique itself is one of the more beginner-friendly ones in nail art, as long as you know the right method. If you’ve searched how to do ombre nails and ended up with patchy, streaky results, the sponge technique below is the fix. It’s the same base method salons use, adapted for doing it yourself at home.
What You’ll Need
- A makeup sponge or dedicated nail-art gradient sponge (cut into small squares) (how to do ombre nails)
- Two to three polish shades that blend well together (adjacent shades on the color wheel blend more smoothly than high-contrast pairs) (how to do ombre nails)
- A base coat and top coat (how to do ombre nails)
- A thin nail-art brush or old brush for touch-ups (how to do ombre nails)
- Cuticle oil or acetone-dipped cotton swabs for cleanup around the edges (how to do ombre nails)
- Wax paper or a paper plate to apply the polish to before dabbing (how to do ombre nails)
Step 1: Prep and Base Coat
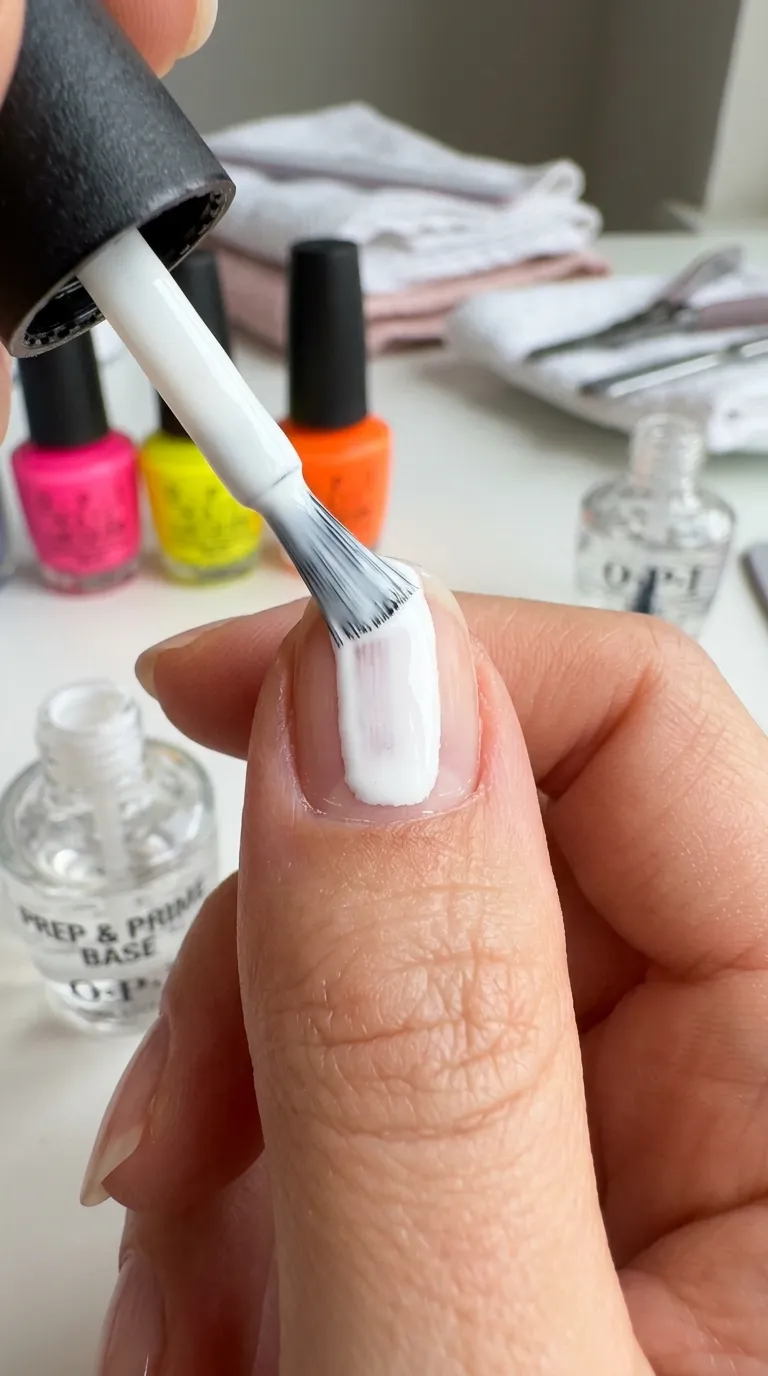
Start with clean, shaped nails and one coat of base coat, fully dried. This protects your natural nail from staining and gives the sponge something smooth to work against. If you’re using a white or very light base shade as part of your gradient, apply one coat of that as your true base color first and let it dry completely before moving to the sponge step — this keeps the lightest part of your gradient looking clean rather than sheer.
Step 2: Apply Polish Stripes to the Sponge
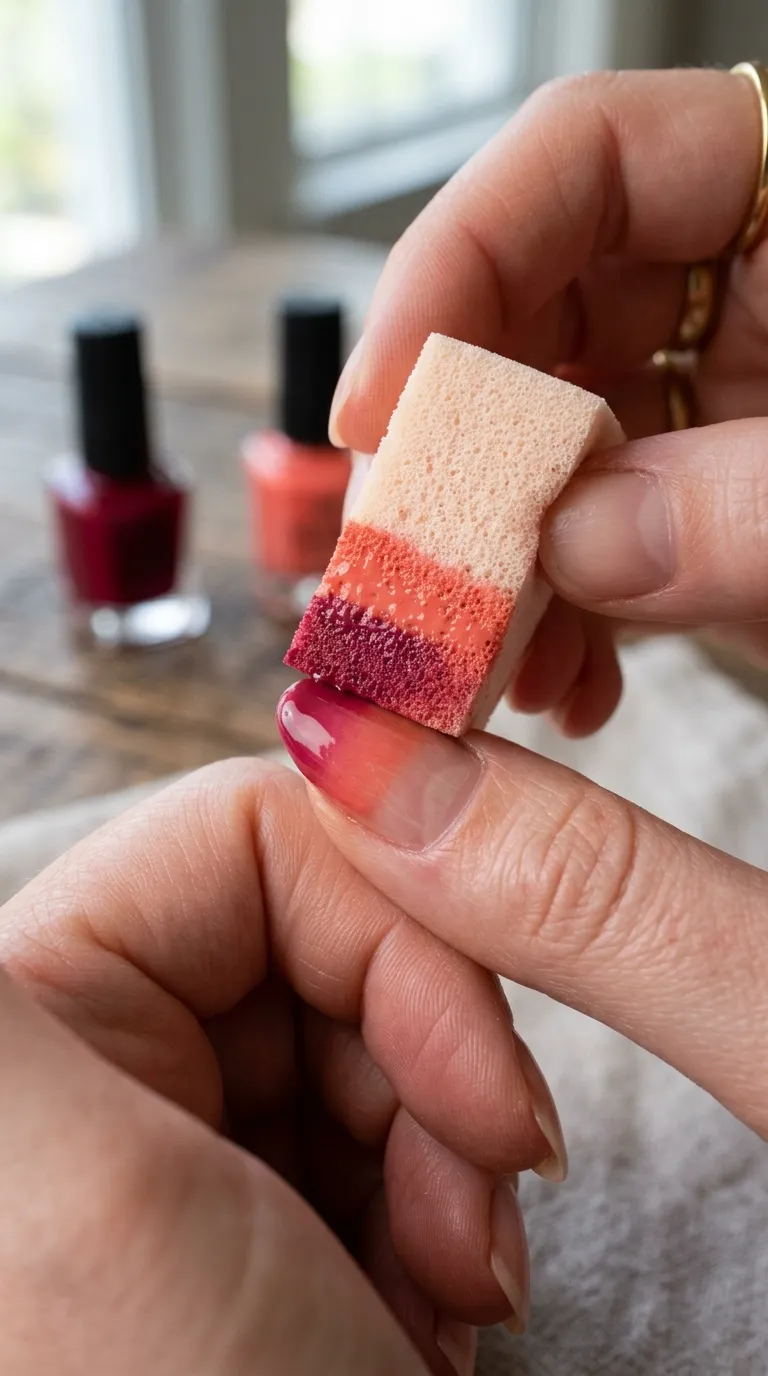
Paint two to three horizontal stripes of your chosen colors directly onto the edge of your makeup sponge, slightly overlapping where they meet. This overlap is what creates the gradient — if the stripes don’t touch at all, you’ll get a hard line instead of a blend.
Knowing how to do ombre nails well makes a big difference here. Work quickly here. Polish dries fast once it’s out of the bottle, and a dried-out sponge won’t transfer color evenly.
Step 3: Dab, Don’t Drag
This is the step most people get wrong when learning how to do an ombre nail for the first time: press the sponge straight down onto the nail and lift straight back up. Dragging or rubbing the sponge sideways smears the colors into mud instead of a clean gradient.
Dab two to three times in slightly different positions on the same nail, re-loading the sponge with fresh polish between nails (and sometimes between dabs, if the color starts looking patchy). Each nail needs its own sponge or a freshly re-striped one — reusing a dried sponge is the most common cause of a weak, streaky gradient.
Step 4: Build Up Gradually
Resist the urge to get a perfect gradient in one dab. Ombre nails build in thin layers — dab once, let it tack up for about 20-30 seconds, then dab again over the same area to deepen and smooth the transition. Two to three light layers almost always look better than one heavy one, which tends to look blotchy rather than blended.
Step 5: Clean Up the Edges
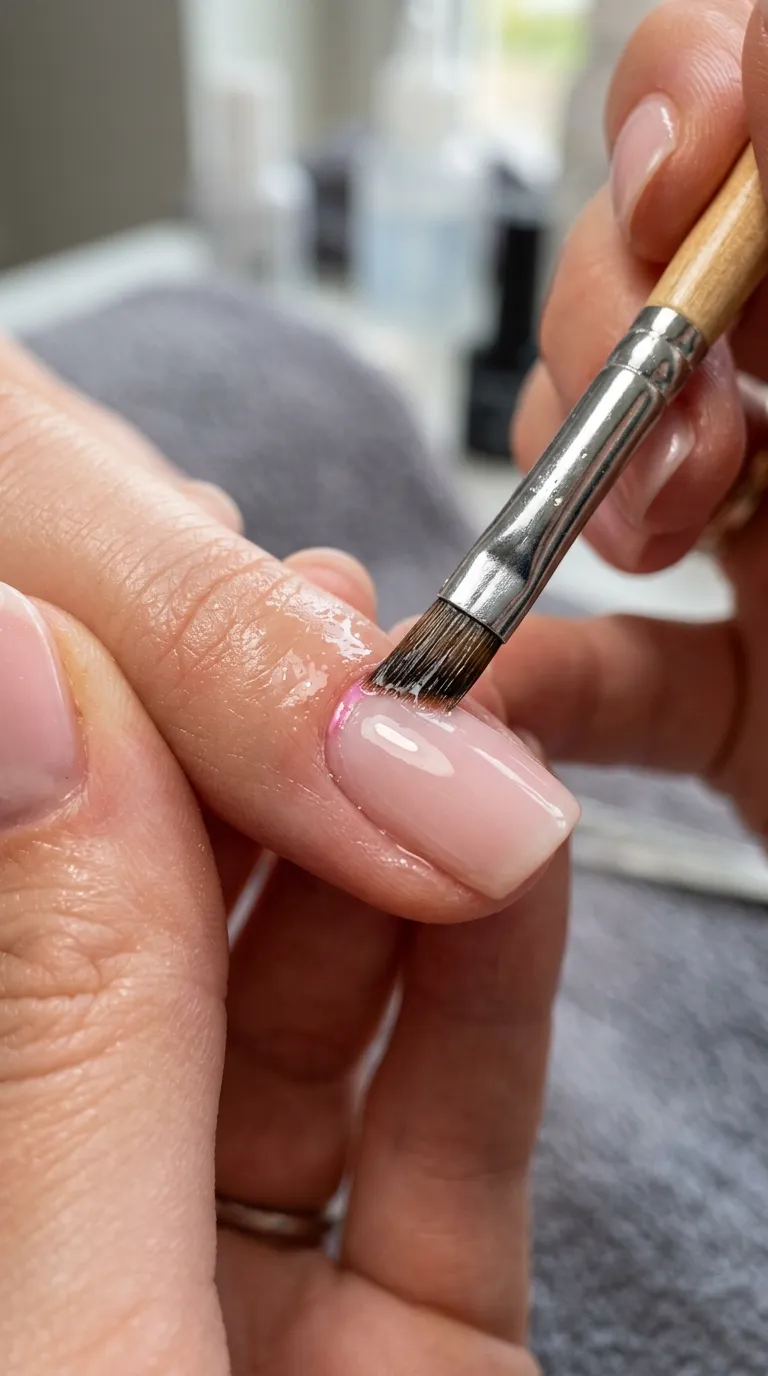
However careful you are, some polish ends up on the skin around the nail. Dip a small angled brush in acetone and trace along the cuticle line and sidewalls to clean it up. Do this after each nail rather than waiting until all ten are done — dried polish on skin is much harder to remove cleanly.
Step 6: Seal With Top Coat
Once the gradient is fully dry (give it a full 10-15 minutes — ombre layers are thin but there are several of them), apply one or two coats of a glossy top coat. This is what makes the finish look smooth and salon-like rather than sponge-textured; skipping it or rushing it is the difference between a flat, professional gradient and one that looks slightly grainy under light.
Common Ombre Mistakes and How to Fix Them
- Hard line instead of a blend: your polish stripes on the sponge weren’t overlapping enough, or you didn’t build up enough layers. Add a thin layer right at the transition point to soften it.
- Patchy or streaky color: the sponge dried out between dabs. Re-stripe with fresh polish more often than feels necessary.
- Muddy color where shades meet: you’re combining colors that are too far apart on the color wheel, or dragging the sponge instead of dabbing. Stick to adjacent tones for your first few tries.
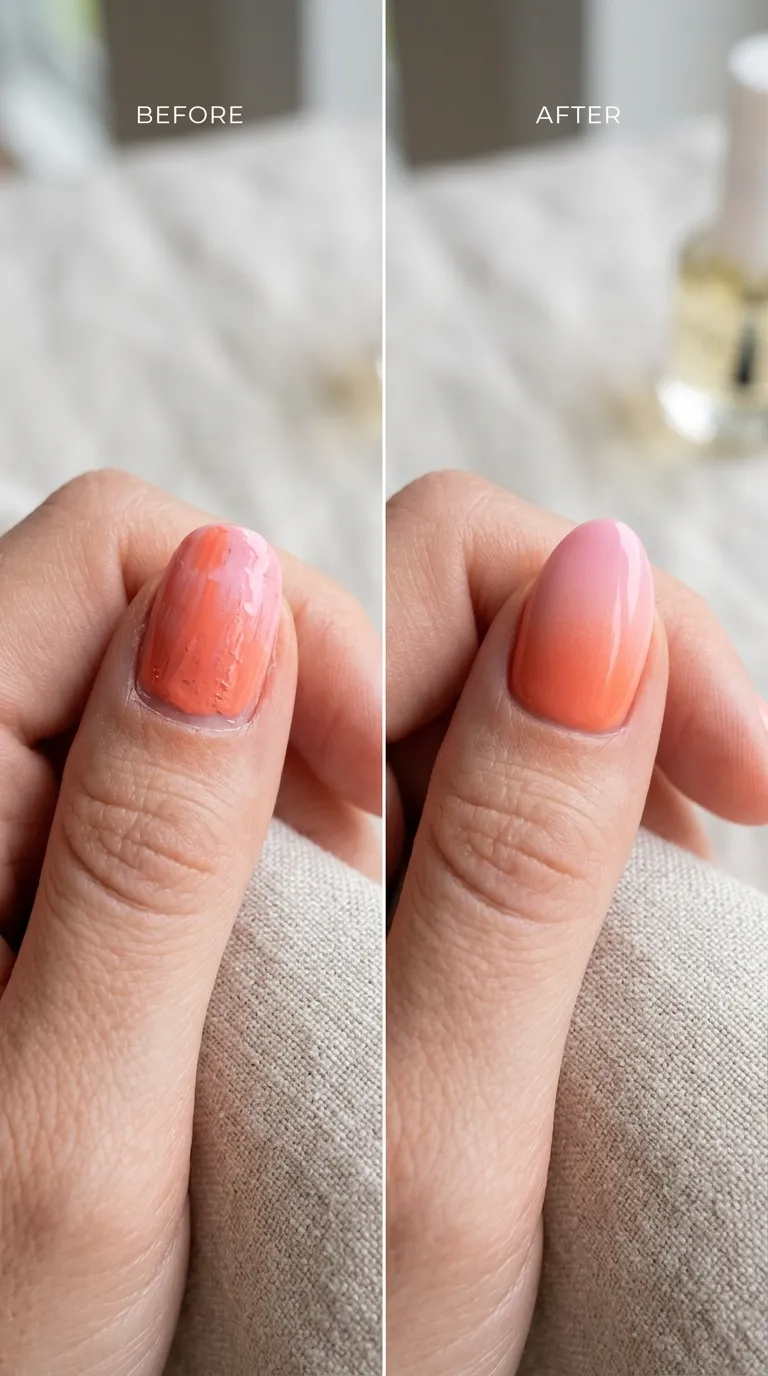
- Gradient looks textured under top coat: the layers weren’t fully dry before top coat was applied, trapping texture. Let each stage dry longer than you think you need to.
Color Combinations That Blend Easily for Beginners
If this is your first time trying the technique, pick shades that are naturally close in tone rather than high-contrast pairs — the blend does most of the work for you. Nude into soft pink, white into baby blue, and lilac into deep purple are all reliable starting points. Once you’re comfortable with the sponge technique itself, you can move on to bolder combinations, including the multi-color looks in our ombre nail art gallery, which is worth browsing for inspiration once you’ve got the base method down.

Can You Do Ombre Nails With Gel Polish?
Yes, and the technique is nearly identical — the main difference is curing between steps. Apply your gel base color, cure, then do the sponge gradient step with a second gel shade, cure again before cleanup, and finish with a gel top coat. Gel ombre tends to look slightly crisper because the polish doesn’t shift or settle while drying the way regular polish can. If you’re new to gel application generally, our winter nail art guide covers gel-friendly finishes that pair well with a gradient base.
For nail health during any at-home technique that involves acetone cleanup, the American Academy of Dermatology recommends moisturizing the cuticle area afterward — acetone is drying, and repeated exposure without follow-up care is one of the more common causes of brittle, peeling nails among people who do frequent at-home manicures.
Vertical Ombre vs. Horizontal Ombre (a Quick Ombre Nails Tutorial Variation)
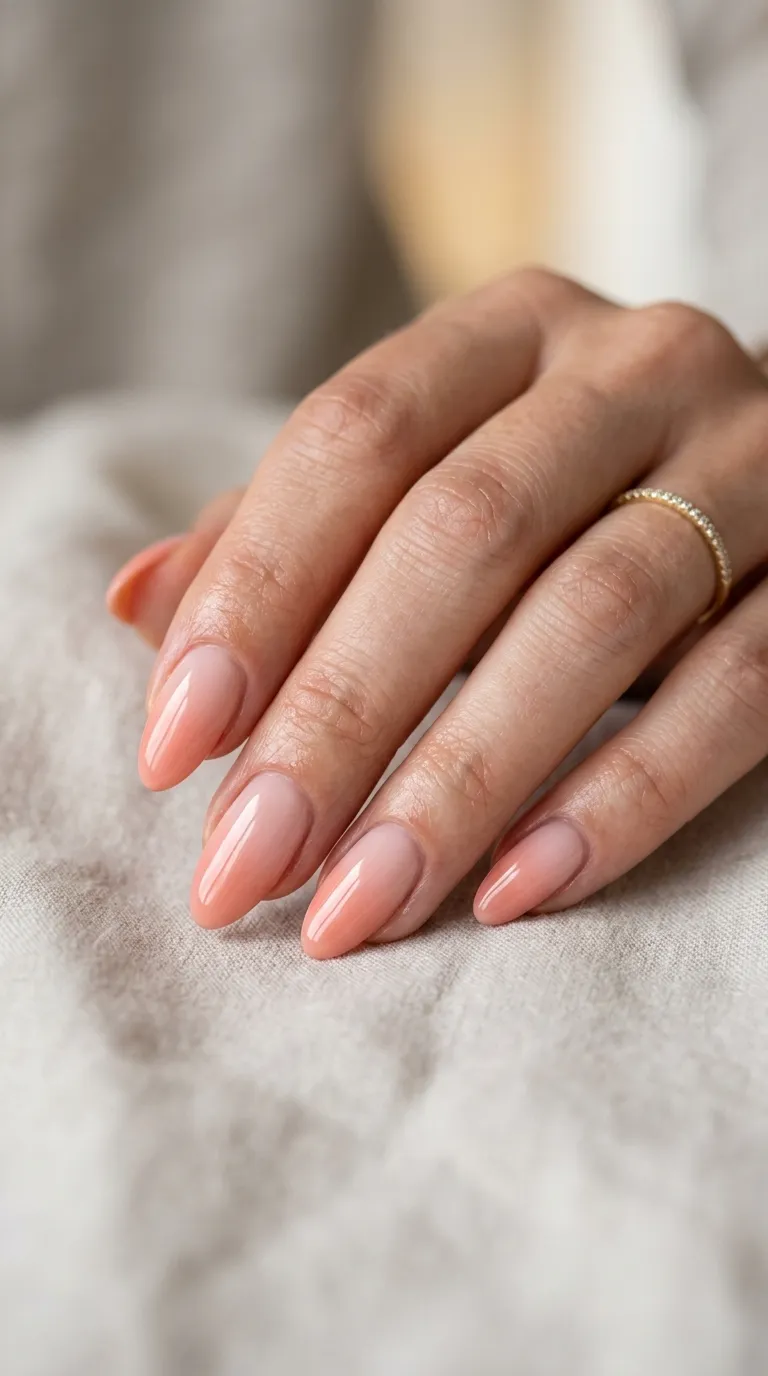
Most people default to a horizontal gradient — light at the cuticle fading to dark at the tip, or vice versa — but a vertical gradient, blending from one side of the nail to the other, is worth trying once the basic sponge technique feels comfortable. Vertical ombre tends to suit wider nail beds particularly well, since the blend runs across the widest part of the nail rather than along its length, giving the gradient more visual room to develop smoothly.
To switch from horizontal to vertical, the method stays identical — you’re simply rotating the direction you stripe the sponge and the angle you dab it onto the nail. It’s a small technique change that gives an entirely different finished look from the same tools and colors.
Reverse Ombre: Dark to Light Instead of Light to Dark
Reverse ombre — dark at the cuticle, fading to a lighter shade at the tip — reads as more dramatic and slightly more editorial than the traditional light-to-dark direction most people picture when they think of a gradient manicure. It follows the exact same sponge-dabbing process; the only change is which color you apply as the true base coat versus which color you build up with the sponge. If you’re aiming for a moodier gradient — say, a deep plum fading into a soft lilac — reverse ombre tends to hold the color story together better than the traditional direction.
How Long the Whole Process Actually Takes
Budget more time than a standard manicure. A full gradient set with proper dry time between the base coat, the sponge layers, cuticle cleanup, and top coat typically runs 45 minutes to an hour for ten nails, compared to roughly 20-25 minutes for a simple single-color manicure. Most of that extra time is drying, not technique — rushing the dry time between steps is the single most common reason an otherwise well-blended gradient ends up looking smudged or textured once the top coat goes on.
Frequently Asked Questions
How do you do ombre nails without a sponge?
A sponge gives the most even, professional-looking blend, but in a pinch you can use a soft brush to feather two wet polish colors together right at the transition line — it’s harder to control and tends to look less smooth, but it works if you don’t have a sponge on hand.
How long does an ombre manicure last?
Knowing how to do ombre nails well makes a big difference here. With regular polish, expect 5-7 days before noticeable chipping, similar to a standard manicure. With gel polish and a proper cure at each stage, ombre nails typically last 2-3 weeks.
What’s the easiest ombre nail technique for beginners?
Knowing how to do ombre nails well makes a big difference here. The sponge dab method described above is the most beginner-friendly — it’s more forgiving of imperfect technique than brush-blending, and mistakes are easy to fix by adding another thin layer.
Do ombre nails work on short nails?
Knowing how to do ombre nails well makes a big difference here. Yes — the gradient effect doesn’t depend on length. If anything, it’s a good option for short nails since it adds visual interest without needing extra length to show off a design.
Can I remove just one ombre nail without redoing the whole set?
You can, but matching the exact gradient on a single replacement nail is difficult by eye. Most people who chip one nail either do a simpler single-color fix on that nail or redo the full set for consistency. This is exactly how to do ombre nails the professional way.
Final Thoughts
Ombre nails come down to two things: overlapping your colors on the sponge, and dabbing rather than dragging. Once that clicks, the rest is patience — thin layers, full drying time between steps, and a good top coat to finish. For more gradient inspiration once you’ve got the technique down, see our full ombre nail art gallery.
Final Tips on How to Do Ombre Nails
Once you know how to do ombre nails with the sponge method, the technique translates easily to almost any color combination. The trickiest part of learning how to do ombre nails is controlling the sponge pressure — too much and the gradient turns muddy, too little and the blend looks patchy.
Byrdie and Allure both cover how to do ombre nails using gel polish for a longer-lasting finish, and the American Academy of Dermatology recommends letting nails rest between heavy polish removal sessions, which matters if you’re practicing how to do ombre nails often. For more shape and finish pairing ideas, see WhoWhatWear‘s roundup of seasonal manicure trends.
Once you’ve mastered how to do ombre nails, try pairing the technique with our Rainbow Nail Designs guide for a multi-color gradient, or our Bling Nail Designs article to add glitter accents on top of your gradient.
Compare Before You Choose
See the Closest Alternatives
Compare nearby shapes, colors and finishes before picking a final reference.
Recommended Next